I was editing a landscape shot last week, a late-afternoon frame with a ridgeline cutting across a gradient sky, and I hit the same wall I’ve been hitting for years. The luminance range mask was doing most of the job, but the edge blending looked like it had been cut out with scissors. I’ve built enough workarounds for this problem that I stopped noticing how annoying it was. That’s a bad sign. It means a limitation has become a habit.
Then I watched this tutorial and realized Adobe had quietly shipped a fix.
In this Mark Denney tutorial, he walks through a couple of new masking tools that Adobe added to Adobe Camera Raw without much fanfare. If you’re working in Lightroom Classic or Lightroom desktop, these features are accessible through the same masking panel you already use. They’re not headline features. Adobe didn’t throw a launch party. But they solve two specific problems that have been sitting on photographers’ wish lists for a long time.
The Blending and Feathering Problem With Luminance Masks
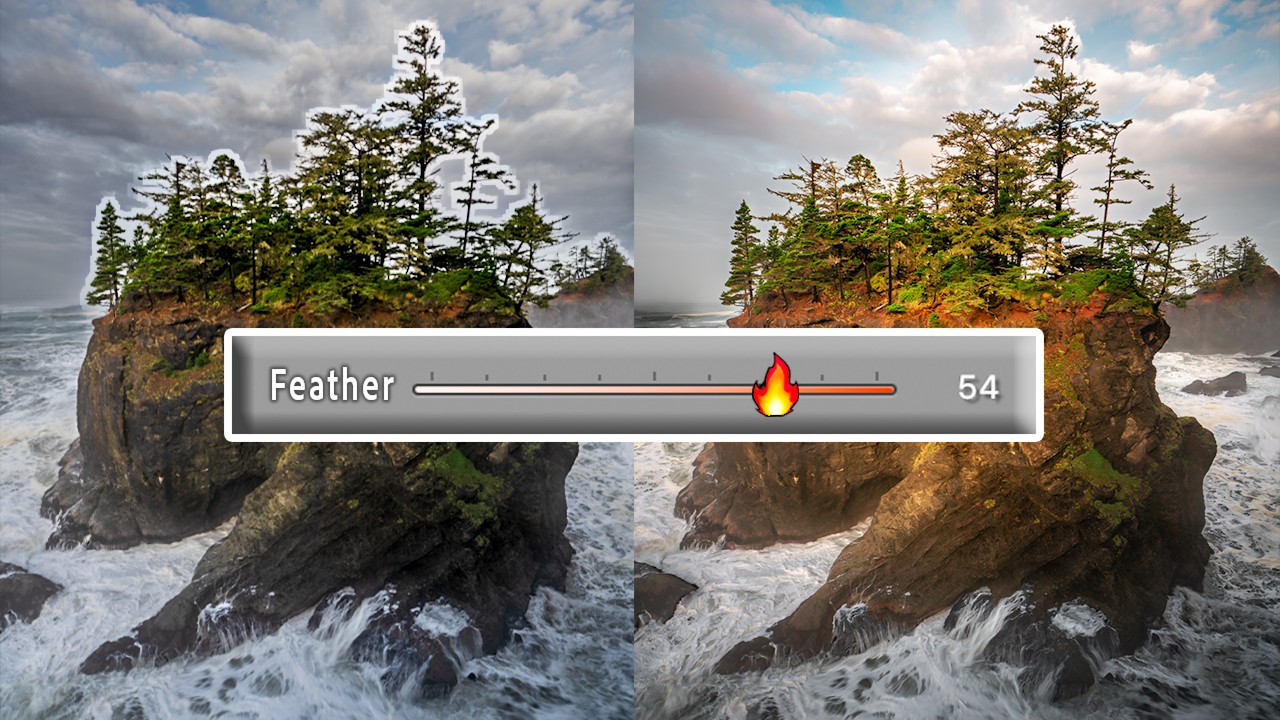
If you’ve used luminance range masks to isolate skies or shadows, you know how the edge transition can fall apart. You push the feathering slider and you get a soft edge, but it’s a uniform softness. It doesn’t respond to the actual tonal complexity at the boundary. Trees against a bright sky, a mountain ridge with atmospheric haze, a subject with flyaway hair, these edges have texture and variation, and a flat feather doesn’t account for any of that.
What Denney demonstrates is a new blending control inside the mask that works differently from the feather slider. Instead of softening the edge uniformly, it allows the mask to blend based on the underlying tonal information at the transition zone. The result is that difficult edges, the ones where luminance values shift quickly and unevenly, get a more natural falloff. The mask breathes with the image instead of sitting on top of it.
The practical step is straightforward. Create your luminance range mask as you normally would. Then look for the blending slider in the mask options, separate from the feather control. Pull it toward the middle rather than maxing it out. Denney’s point, and I’d agree from testing it myself, is that a moderate value here does more useful work than a high feather setting ever did.
Gradient Masks That Actually Respect Edges
The second tool Denney covers is the one photographers have been requesting for longer. Linear gradient masks are fast and useful, but the gradient doesn’t know where the horizon is. It cuts straight across the frame, which means if your horizon has any shape to it, you’re masking the wrong thing. A mountain peak gets darkened along with the sky. A treeline catches the adjustment meant for the clouds above it.
The new behavior lets the linear gradient mask adapt to the edges beneath it. Denney shows this applied to a sky with uneven terrain below it. The gradient darkens the sky, and where there’s a tree or peak that intersects the gradient, the mask pulls back from that edge rather than plowing through it. It’s using subject-aware edge detection combined with the gradient shape, essentially stacking two masking approaches into one operation.
To use it, drop a linear gradient over your image as usual. In the mask options, you’ll see a toggle that activates the edge-aware behavior. Turn it on. You can then adjust the sensitivity, which controls how aggressively the mask respects edges. Too high and the mask becomes choppy. Too low and you’re back to the original problem. Denney lands somewhere in the middle, and through trial and error I found the same. Think of it like the clarity slider. The answer is rarely zero and rarely maximum.
Where I’d Push This Further
Here’s where I’d do something slightly different from what Denney demonstrates. His examples are landscapes, which is where these tools shine most obviously. But I’ve started applying the edge-aware gradient to portrait work, specifically when I want to darken a background behind a subject with complex hair or a soft-focus foreground element.
The catch is that portrait edges are often lower-contrast than a ridge against a sky, and the edge detection can struggle when the subject and background share similar tones. In those cases I’ll combine the edge-aware gradient with a subject mask intersected together, using the “Intersect Mask” option. You get the gradient’s directional falloff AND the subject boundary precision. It takes about thirty more seconds and the result holds up better in print.
That said, for landscape and nature work, the tools Denney covers are close to plug-and-play. The before-and-after he shows in the video is not subtle.
One Setting Most People Will Skip Past
Denney mentions this briefly and I want to make sure it lands. When you’re using the new blending control, there’s a “smoothness” parameter that affects how gradually the blend transitions across the mask boundary. It’s easy to miss because it sits below the main sliders. Most people will never scroll down to find it.
Don’t skip it. Smoothness is doing a lot of quiet work, especially on images with lots of fine detail at the transition edge. Raise it when the mask looks noisy or fragmented. Lower it when you want the mask to track tight detail. It’s the difference between a mask that looks edited and a mask that looks like the light just fell that way.
The single most important thing these tools give you is the ability to make local adjustments that don’t announce themselves. That’s the whole game. Watch Mark Denney’s full video to see these tools in action with the visual side-by-side comparisons that are genuinely hard to replicate in words.
Comments (8)
The before and after really sells it. Incredible difference.
My workflow just got 10x faster. Not even kidding.
Finally someone explains this in a way that actually makes sense.
I've watched a dozen tutorials on this and yours is the clearest by far.
Great article! I actually covered something related on my site — the photoshop angle is really complementary to this.
Love how you break down complex stuff into manageable steps.
Applied this to my portfolio shots and the improvement is noticeable.
This is fantastic. I've been recommending this approach to my readers too.
Leave a Comment