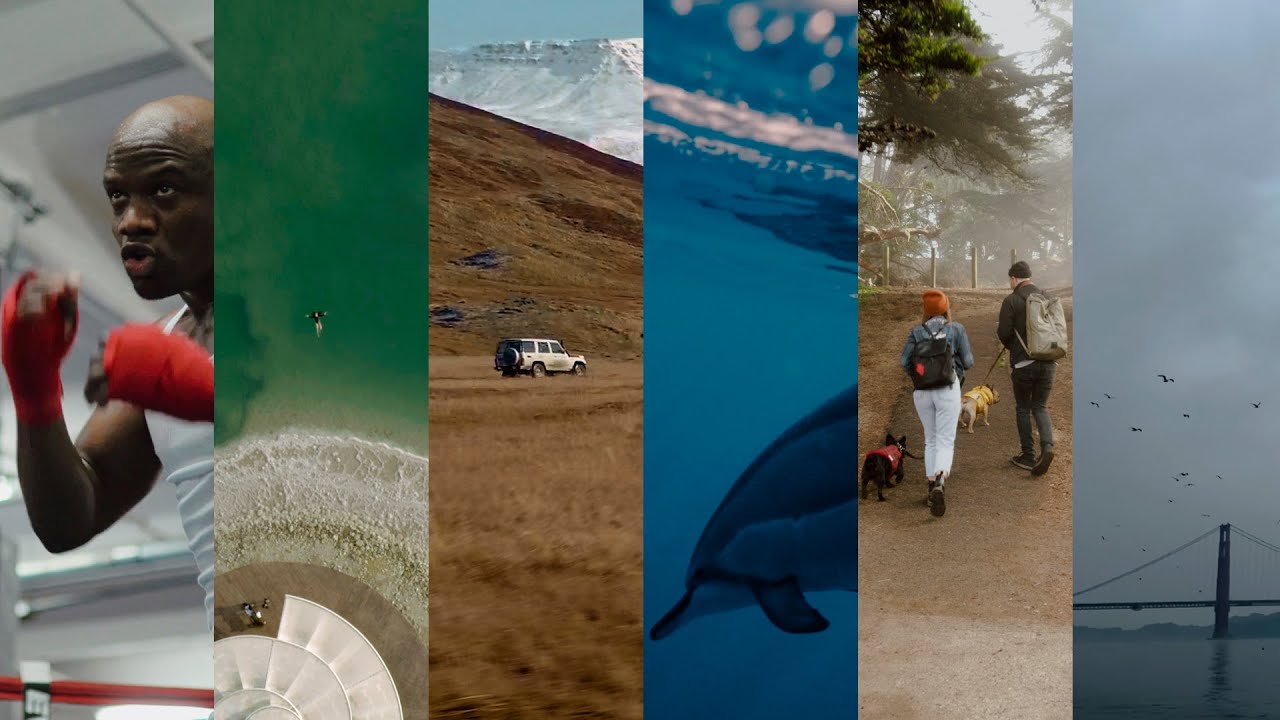
Color grading video has always been the part of post-production where I’ve seen talented creators give up and just hit “auto.” I get it. You shoot something beautiful, you drag it into Premiere, and then you stare at flat, lifeless footage wondering where the cinematic magic is supposed to come from. LUTs promise to fix that in one click, and sometimes they deliver. But more often, people slap a LUT onto raw footage and wonder why it looks muddy, blown out, or just… wrong.
The missing piece is almost always preparation. In this Mango Street tutorial, Watch the full tutorial on YouTube, creators Rachel and Daniel team up with colorist Caitlyn from White in Reverie to walk through exactly how to prep different types of footage before a LUT ever touches it. The workflow they demonstrate is clean, replicable, and works across camera types in a way that most LUT tutorials skip entirely.
What I appreciate most is that they test the process across a genuinely diverse set of cameras. Blackmagic, RED, Sony, Canon C200, a DJI drone, and even an iPhone. That range is rare in a tutorial this short, and it turns an otherwise promotional video into something actually instructional.
Step 1: Normalize Your Footage to Rec 709 First
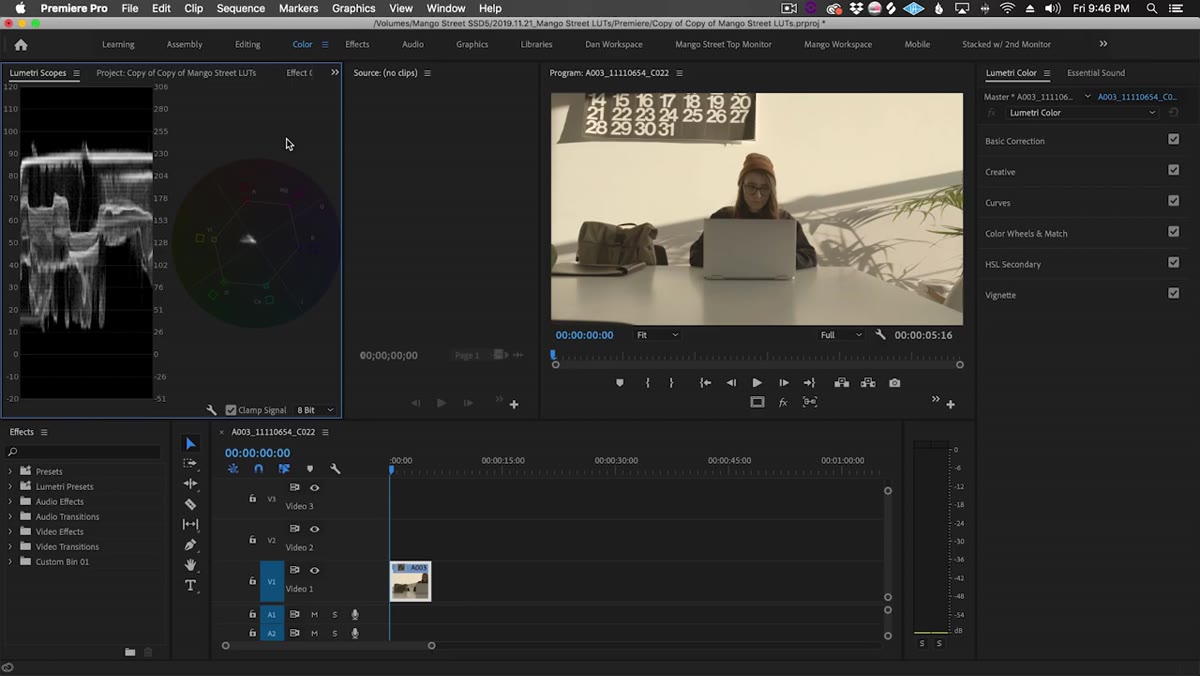 Basic corrections panel open on flat Blackmagic footage
Before a LUT goes anywhere near your timeline, your footage needs to be in the same ballpark: Rec 709 color space, correct exposure, and neutral white balance. This step is non-negotiable if you want consistent results. LUTs are designed to work on footage that already looks “normal.” Feed them a flat log profile straight out of camera and the math goes sideways.
Basic corrections panel open on flat Blackmagic footage
Before a LUT goes anywhere near your timeline, your footage needs to be in the same ballpark: Rec 709 color space, correct exposure, and neutral white balance. This step is non-negotiable if you want consistent results. LUTs are designed to work on footage that already looks “normal.” Feed them a flat log profile straight out of camera and the math goes sideways.
For the Blackmagic Pocket Cinema Camera 6K footage in the tutorial, that means pulling down the highlights, lifting the shadows, boosting whites, and adjusting temperature and tint in Premiere’s Basic Corrections panel. A small saturation bump is added at the end. It doesn’t look pretty yet. It just looks correct. That’s the goal of this step.
Step 2: Boost Contrast and Saturation on Log Footage From Other Cameras
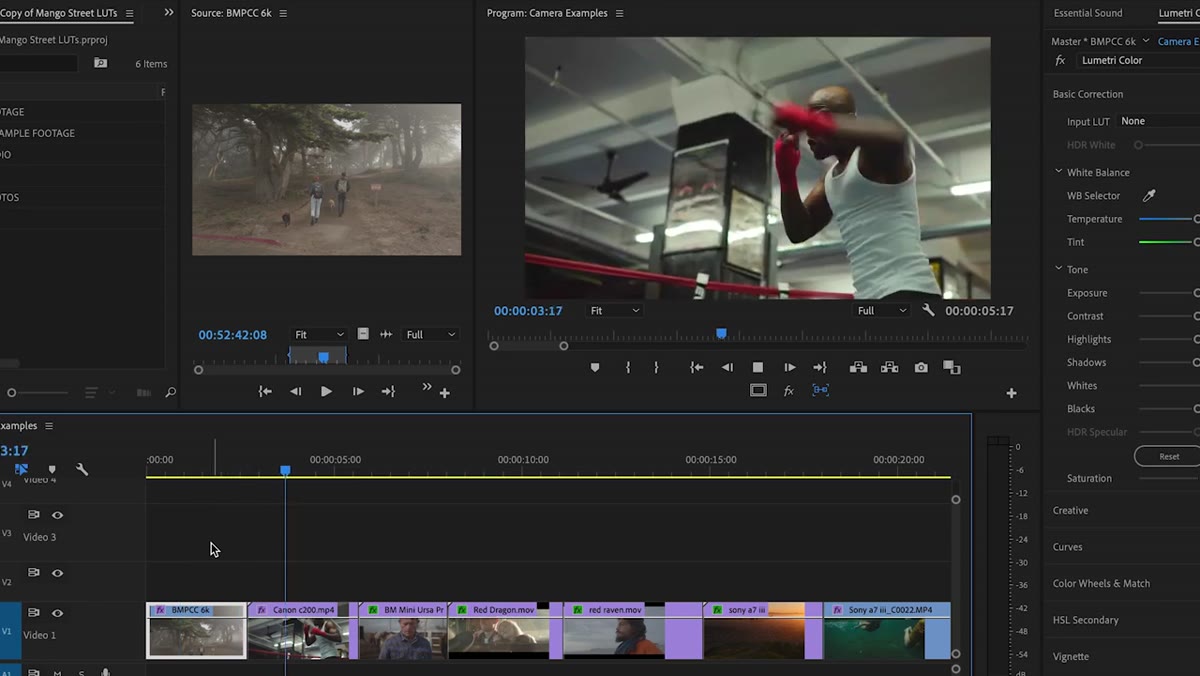 Multiple camera clips in timeline with contrast adjustments applied
If you’re working with log footage from cameras like a Sony A7 III or Canon C200, the prep is slightly different but follows the same logic. Log profiles are intentionally flat and desaturated to preserve dynamic range. You need to add contrast and saturation back before applying a LUT, not after.
Multiple camera clips in timeline with contrast adjustments applied
If you’re working with log footage from cameras like a Sony A7 III or Canon C200, the prep is slightly different but follows the same logic. Log profiles are intentionally flat and desaturated to preserve dynamic range. You need to add contrast and saturation back before applying a LUT, not after.
The tutorial keeps this simple: bring up contrast and saturation in the Basic Corrections panel until the image looks roughly like a properly exposed photo. You’re not going for a final look here. You’re building a neutral foundation. Think of it like priming a canvas before you paint.
Step 3: Create a Dedicated Adjustment Layer for Your LUT
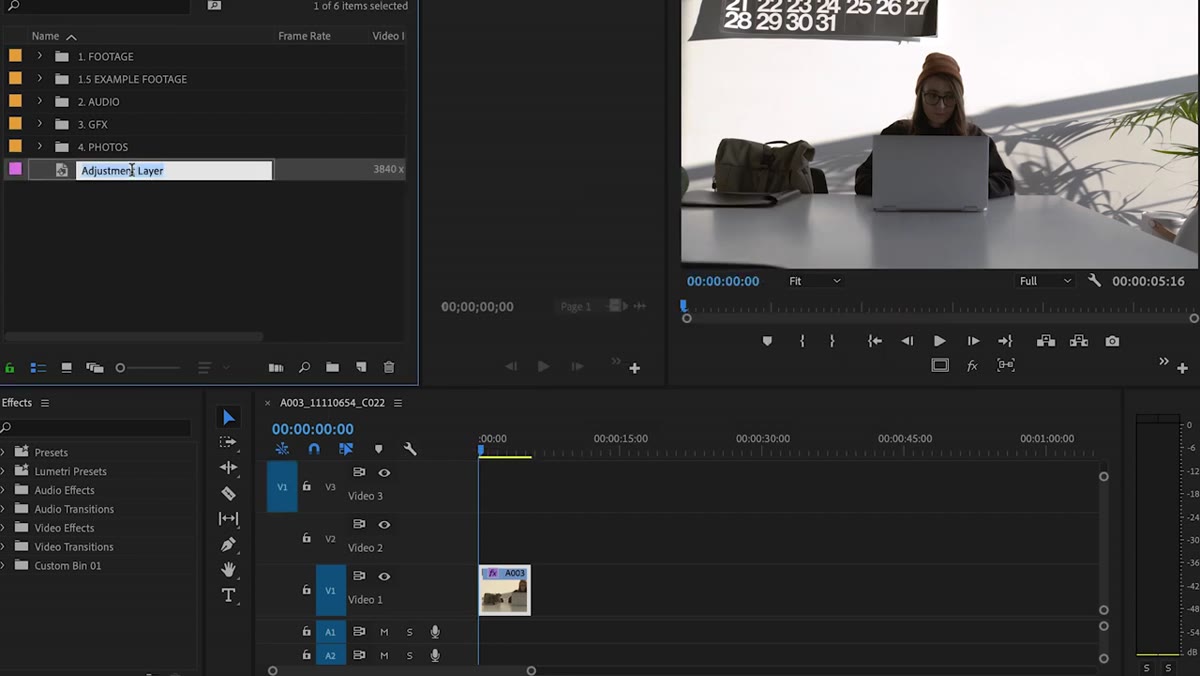 New adjustment layer dragged above footage in Premiere timeline
Here’s a workflow detail that makes a significant difference in flexibility: rather than applying a LUT directly to each clip, create a single adjustment layer, rename it something descriptive like “LUT,” and drag it above all your footage on the timeline. Extend it to cover every clip you want affected.
New adjustment layer dragged above footage in Premiere timeline
Here’s a workflow detail that makes a significant difference in flexibility: rather than applying a LUT directly to each clip, create a single adjustment layer, rename it something descriptive like “LUT,” and drag it above all your footage on the timeline. Extend it to cover every clip you want affected.
This keeps your color grading non-destructive and lets you swap LUTs or adjust intensity in one place rather than hunting through individual clips. If you’ve ever had to re-grade an entire sequence because a client changed their mind, you’ll understand immediately why this matters.
Step 4: Apply the LUT in the Creative Tab of Lumetri Color
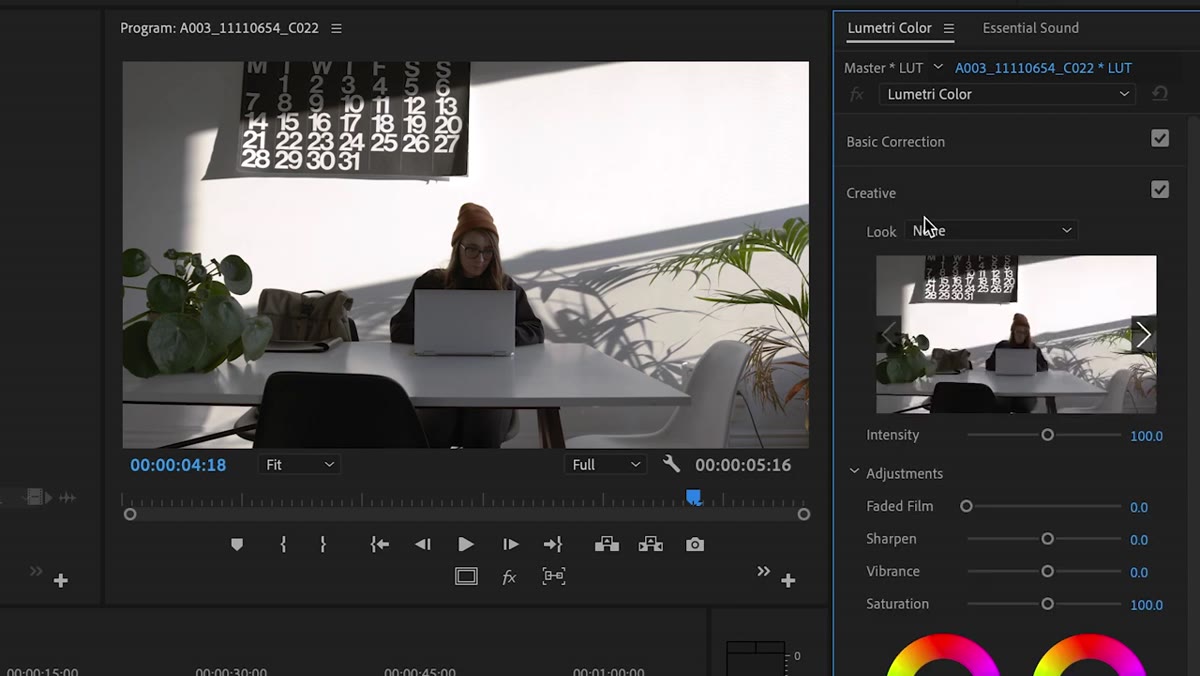 Creative tab open in Lumetri Color panel with Look dropdown selected
With the adjustment layer selected, open the Lumetri Color panel and navigate to the Creative tab. Look for the “Look” dropdown near the top. This is where you load your LUT file. Once applied, the image will shift in tone, color temperature, and contrast based on whatever profile the LUT carries.
Creative tab open in Lumetri Color panel with Look dropdown selected
With the adjustment layer selected, open the Lumetri Color panel and navigate to the Creative tab. Look for the “Look” dropdown near the top. This is where you load your LUT file. Once applied, the image will shift in tone, color temperature, and contrast based on whatever profile the LUT carries.
At full intensity, most LUTs are too strong. The tutorial’s approach is to dial intensity back, often to somewhere between 60 and 85 percent depending on the footage. There’s no universal number here. Trust your eyes. The goal is that the LUT enhances the image rather than announcing itself.
Step 5: Flatten Heavily Processed Footage Before Applying a LUT
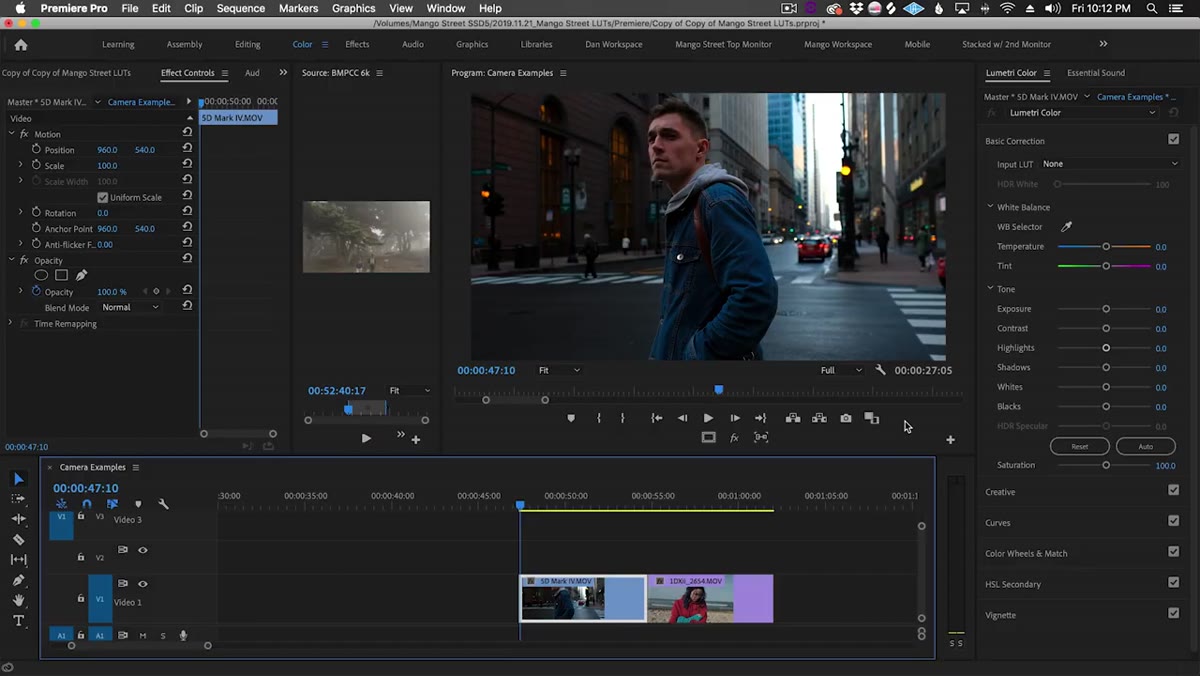 Canon 5D Mark IV standard profile with saturation reduced in color wheels
Cameras like the Canon 5D Mark IV on a standard picture profile present a different challenge. The footage comes out of camera already contrast-heavy and saturated. Dropping a LUT on top of that creates an over-cooked mess.
Canon 5D Mark IV standard profile with saturation reduced in color wheels
Cameras like the Canon 5D Mark IV on a standard picture profile present a different challenge. The footage comes out of camera already contrast-heavy and saturated. Dropping a LUT on top of that creates an over-cooked mess.
The fix is to reverse-engineer some of that baked-in processing before you apply anything. In the Color Wheels panel, pull the highlights down, lift the shadows and midtones, and drop overall saturation. You’re essentially trying to simulate a flatter starting point. It feels counterintuitive to make footage look worse before making it look better, but the LUT result is noticeably cleaner when you do.
Step 6: Adjust Intensity Per Clip When Shooting Mixed Cameras
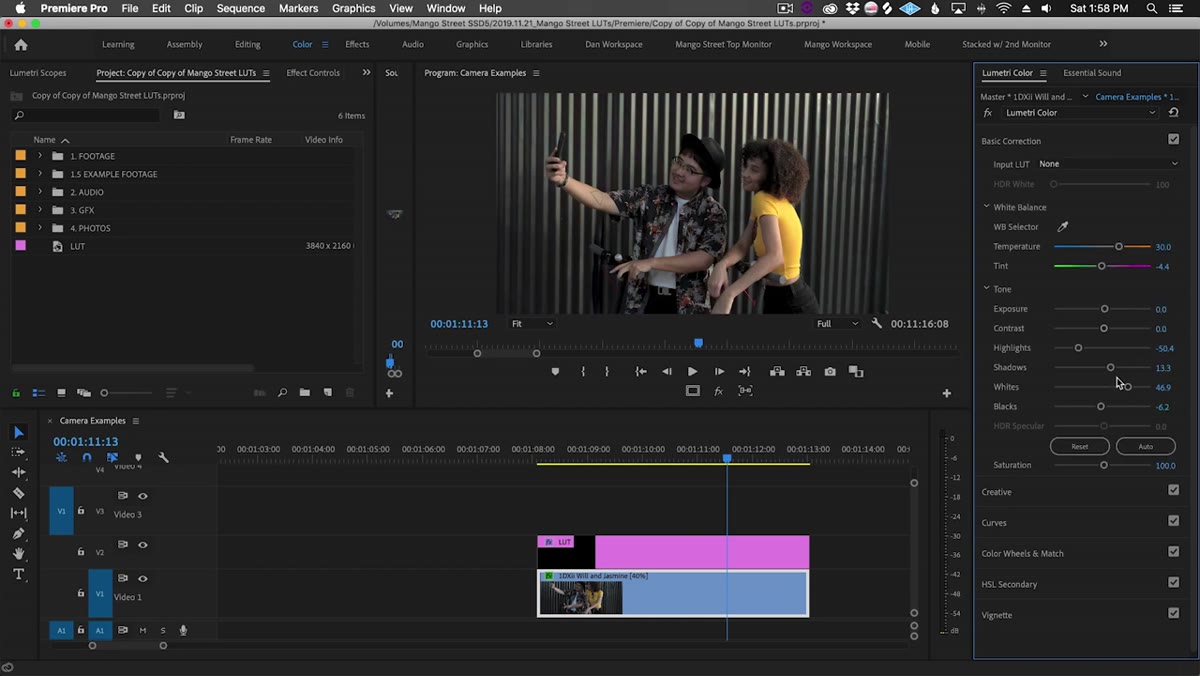 Neutral profile Canon 1DX footage with LUT intensity slider reduced
When your project includes footage from multiple cameras, each clip will respond to the same LUT differently, even after normalization. Footage shot on a neutral or natural picture profile tends to be already close to Rec 709 and may need the LUT intensity reduced further than log footage does.
Neutral profile Canon 1DX footage with LUT intensity slider reduced
When your project includes footage from multiple cameras, each clip will respond to the same LUT differently, even after normalization. Footage shot on a neutral or natural picture profile tends to be already close to Rec 709 and may need the LUT intensity reduced further than log footage does.
The tutorial handles this by adjusting the intensity slider on a clip-by-clip basis rather than applying a blanket setting. A clip that’s already well-exposed and balanced might only need 50 percent intensity. One that started flat and needed more correction might land better at 80. The adjustment layer approach from Step 3 actually makes this harder to do per-clip, so if you need per-clip control, apply the LUT directly to individual clips in those cases.
What I’d Add From My Own Workflow
One thing the tutorial doesn’t touch on but I’ve found essential: color check your LUT on a reference frame before committing to it across a sequence. Pull a still from your most important shot, apply the LUT, then view it on a calibrated monitor or at minimum check your scopes in Premiere. Waveform and vectorscope readings will tell you immediately if highlights are clipping or if skin tones are drifting into unnatural territory.
I also recommend keeping a “LUT test” sequence in your project where you can drop any clip and quickly compare two or three LUT options side by side before touching your main timeline. Sounds obvious. Almost nobody does it until they’ve wasted an hour re-grading.
The underlying principle in this entire workflow is one that applies to Lightroom presets just as much as it does to video LUTs: a LUT is a finishing tool, not a rescue tool. Feed it clean, normalized footage and it rewards you. Feed it problem footage and it amplifies every problem. Get your foundation right first, and cinematic color grading becomes the easy part.
Watch the full tutorial on YouTube to see Mango Street’s workflow in action across all the camera types they tested, including drone and phone footage, which is worth watching even if you never plan to grade either.
Comments (1)
Just used this on a wedding shoot edit. Client was thrilled.
Leave a Comment