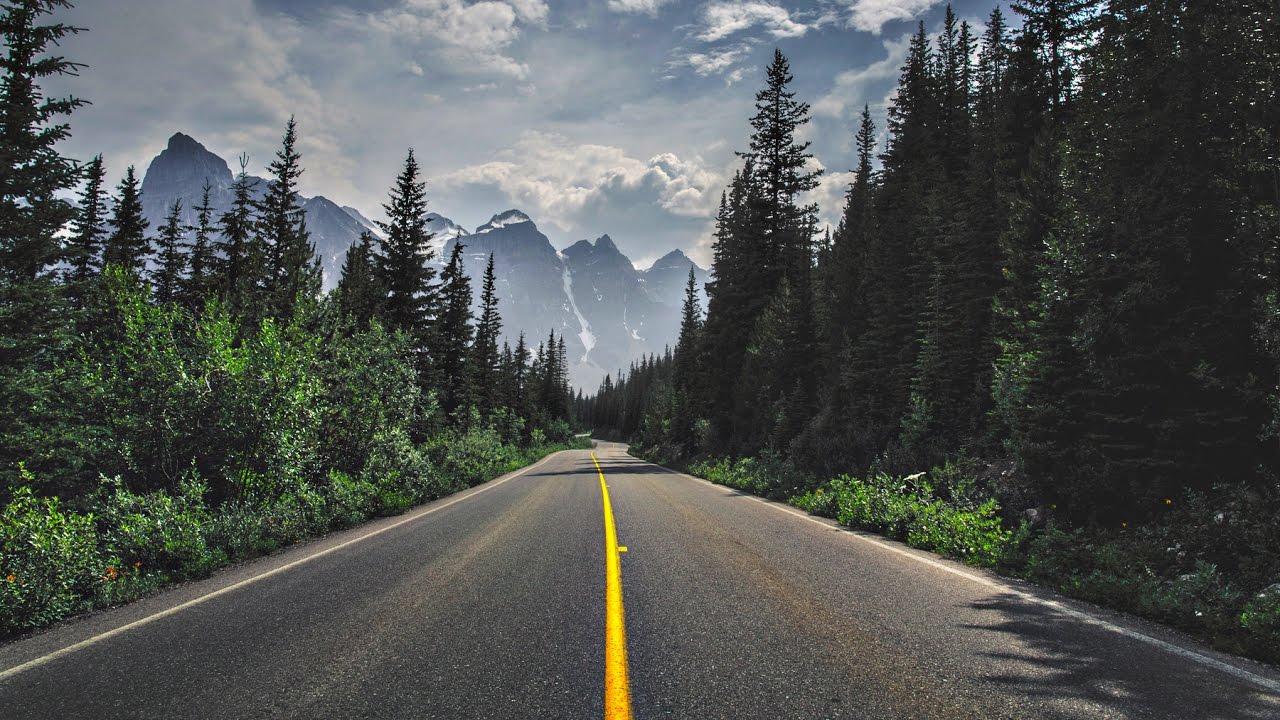
Every editor I know has a folder somewhere called something like “finals_FINAL_v3” and inside it, footage that looks technically fine but emotionally flat. Sharp, exposed correctly, maybe even well-composed. And yet it feels like a screenshot instead of a frame. That gap between “recorded” and “cinematic” is exactly what LUTs are designed to close, and it’s something I think about constantly, even though my main home is in Lightroom editing stills.
In this Peter McKinnon tutorial, he walks through his complete LUT workflow inside Adobe Premiere Pro, using seven custom .cube files he built for his own cinematic work. Watch the full tutorial on YouTube before or after reading this, but the goal here is that you can follow every step without needing to pause and rewind. His core insight, the one that actually changes how you work, is that a LUT applied directly to a clip is a trap. The adjustment layer approach he demonstrates is what separates a flexible, revisable edit from one you’re stuck with.
The technique translates cleanly to anyone editing video, whether you’re a photographer crossing over into reels, a filmmaker just getting comfortable with Premiere, or someone who has been slapping LUTs directly onto clips and wondering why results are always too heavy-handed. Let’s go through it step by step.
Step 1: Organize and Save Your LUT Files Somewhere You’ll Keep Them
 Seven .cube LUT files shown open in a file browser
Before you touch Premiere, get your .cube files somewhere permanent. McKinnon recommends a three-point backup: one copy locally on your machine, one on an external drive, and one in cloud storage like Dropbox. This sounds like housekeeping, but I’ve seen editors lose a full preset library to a hard drive swap and spend hours rebuilding something that should have taken thirty seconds to restore. Treat your LUTs like your original footage. They’re part of the edit.
Seven .cube LUT files shown open in a file browser
Before you touch Premiere, get your .cube files somewhere permanent. McKinnon recommends a three-point backup: one copy locally on your machine, one on an external drive, and one in cloud storage like Dropbox. This sounds like housekeeping, but I’ve seen editors lose a full preset library to a hard drive swap and spend hours rebuilding something that should have taken thirty seconds to restore. Treat your LUTs like your original footage. They’re part of the edit.
Step 2: Create an Adjustment Layer in Your Premiere Timeline
 Right-click menu open in media bin showing “New Item” option
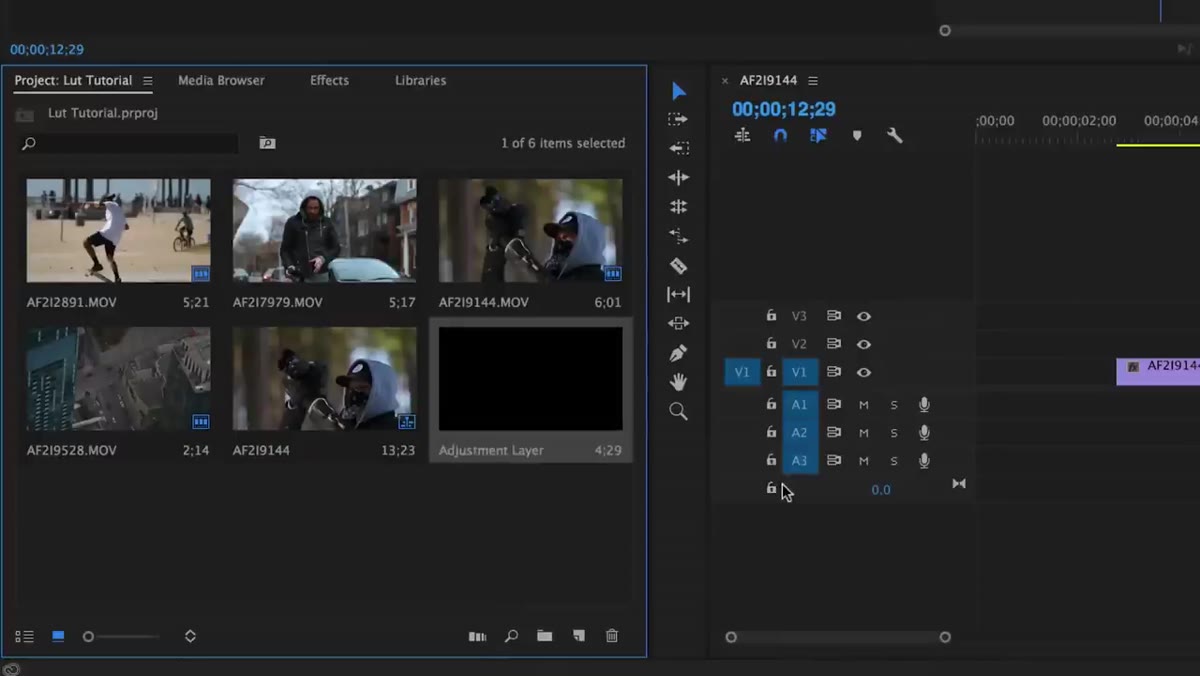
In Premiere, go to your media bin, right-click, and choose New Item, then Adjustment Layer. Accept the default settings and hit Enter. This creates a transparent layer you can stack above your clips in the timeline. Drag it onto a track above your footage and stretch or trim it to cover whatever clips you want the LUT applied to. You can Alt-drag to duplicate it across multiple clips quickly.
Right-click menu open in media bin showing “New Item” option
In Premiere, go to your media bin, right-click, and choose New Item, then Adjustment Layer. Accept the default settings and hit Enter. This creates a transparent layer you can stack above your clips in the timeline. Drag it onto a track above your footage and stretch or trim it to cover whatever clips you want the LUT applied to. You can Alt-drag to duplicate it across multiple clips quickly.
The reason this matters: applying a LUT to the adjustment layer instead of to individual clips means you can hide it, delete it, or swap LUTs at any point without touching the underlying footage. Your original clip stays untouched underneath. This is the same non-destructive philosophy that makes Lightroom adjustments so freeing. You’re never committed to a look until you choose to be.
Step 3: Do a Light Base Grade in the Lumetri Panel First
 Lumetri Color panel open with highlight and saturation sliders visible
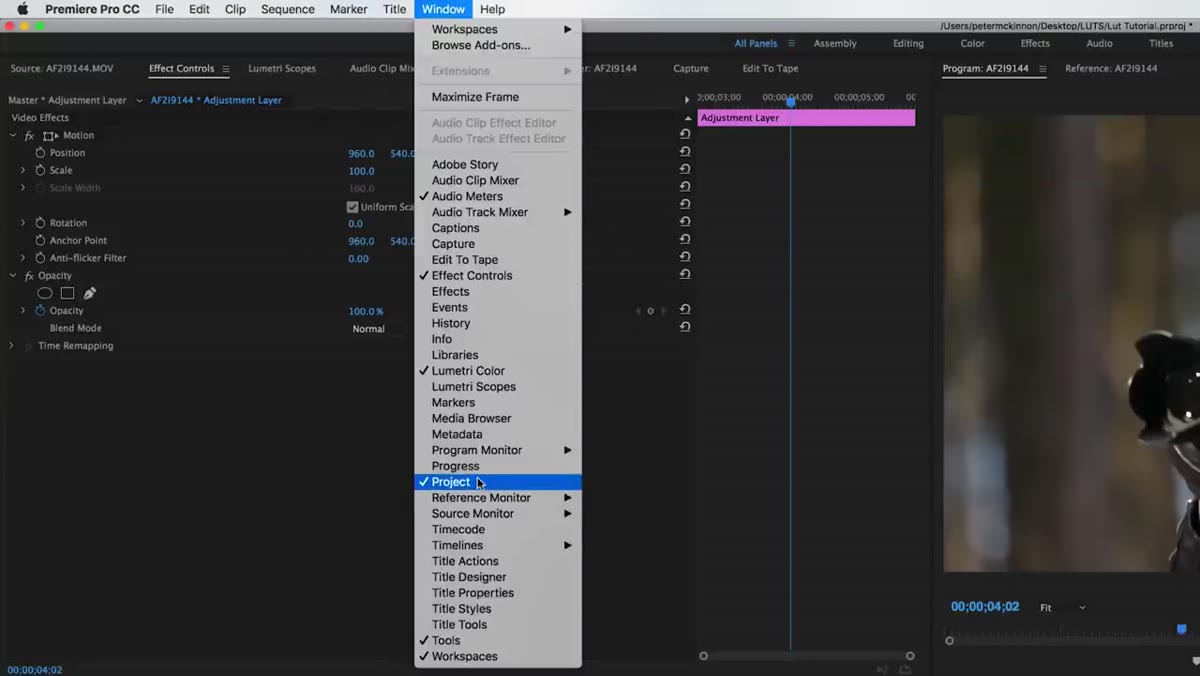
With the adjustment layer selected, open the Lumetri Color panel by going to Window and then Lumetri Color. Before loading any LUT, McKinnon does a quick base pass on the footage. Think of it like priming a wall before painting. He nudges up the color and saturation slightly, pulls the highlights down a touch, and opens up the overall brightness. Nothing dramatic. Just getting the image to a neutral, healthy starting point.
Lumetri Color panel open with highlight and saturation sliders visible
With the adjustment layer selected, open the Lumetri Color panel by going to Window and then Lumetri Color. Before loading any LUT, McKinnon does a quick base pass on the footage. Think of it like priming a wall before painting. He nudges up the color and saturation slightly, pulls the highlights down a touch, and opens up the overall brightness. Nothing dramatic. Just getting the image to a neutral, healthy starting point.
The exact values depend on your footage. If you shot in a flat or log profile, you’ll have more room to push. If you shot in a standard picture profile, be conservative. The point is to make sure you’re feeding the LUT a clean image, not one that’s already underexposed or blown out in the highlights, because LUTs are not exposure correction tools. They’re mood tools.
Step 4: Load Your LUT Through the Lumetri Input LUT Menu
 Lumetri panel showing “Input LUT” dropdown with Browse option highlighted
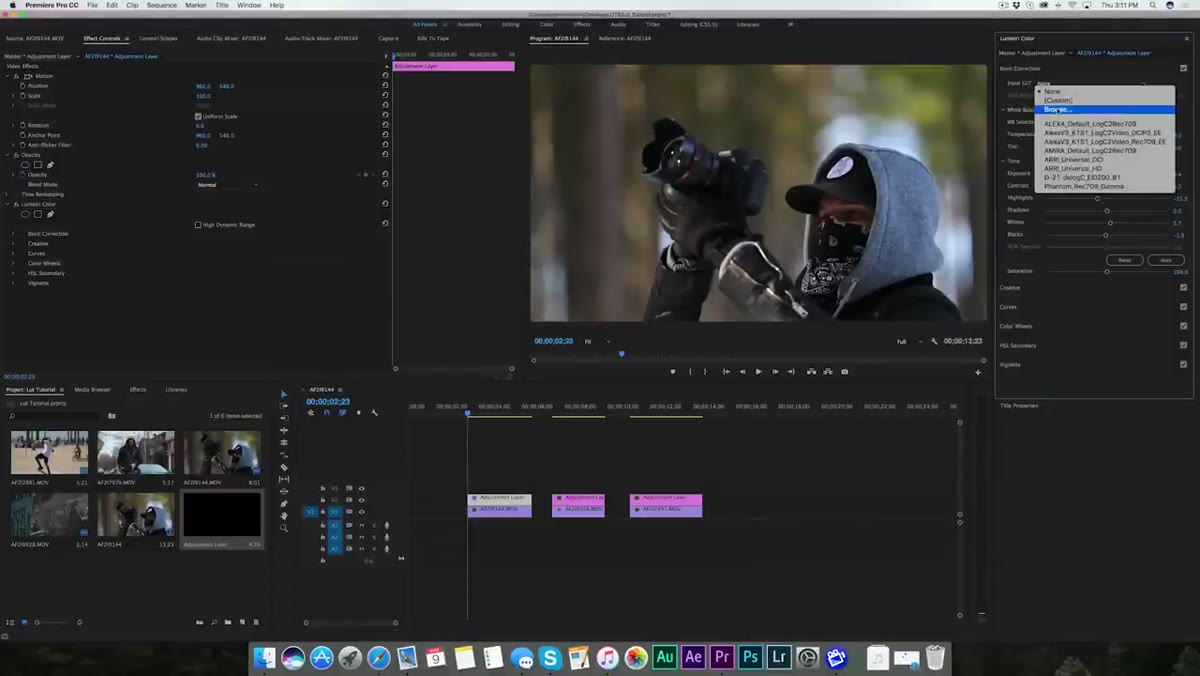
Still in the Lumetri Color panel with your adjustment layer selected, look for the Input LUT dropdown near the top of the panel. Click it, choose Browse, and navigate to where you saved your .cube files. Select one and hit Open. Premiere applies it instantly. McKinnon’s seven LUTs cover a range of looks, from a cool, desaturated Arctic feel to a warm teal-and-orange grade, a faded film look, and a high-contrast noir style.
Lumetri panel showing “Input LUT” dropdown with Browse option highlighted
Still in the Lumetri Color panel with your adjustment layer selected, look for the Input LUT dropdown near the top of the panel. Click it, choose Browse, and navigate to where you saved your .cube files. Select one and hit Open. Premiere applies it instantly. McKinnon’s seven LUTs cover a range of looks, from a cool, desaturated Arctic feel to a warm teal-and-orange grade, a faded film look, and a high-contrast noir style.
Pick the one that fits the emotional tone of your footage, not the one that looks most impressive in isolation. A moody, desaturated LUT on a sunny beach wedding is going to fight your footage instead of enhancing it. Start with something that already leans the direction your clip wants to go.
Step 5: Dial Back the Intensity Using Opacity
 Effect Controls panel open showing adjustment layer opacity slider
This is the step most people skip and then complain that LUTs look fake. After applying your LUT, click on the adjustment layer in the timeline and open the Effect Controls panel. Find the Opacity slider and pull it down from 100. McKinnon uses this to control how strongly the LUT is hitting the footage. Somewhere between 60 and 85 percent is usually where things start to look right rather than processed.
Effect Controls panel open showing adjustment layer opacity slider
This is the step most people skip and then complain that LUTs look fake. After applying your LUT, click on the adjustment layer in the timeline and open the Effect Controls panel. Find the Opacity slider and pull it down from 100. McKinnon uses this to control how strongly the LUT is hitting the footage. Somewhere between 60 and 85 percent is usually where things start to look right rather than processed.
Think of it like cologne. Full strength is almost always too much. A LUT at 100% opacity on flat-graded footage is the visual equivalent of someone walking into a room before the smell does. Dial it back until the look feels like it belongs to the image rather than being layered on top of it.
What I Do Differently: Secondary Grading After the LUT
I work primarily in Lightroom, and when I started experimenting with video presets and LUTs, my instinct was to treat them as the final step. McKinnon’s workflow changed that for me. Now I think of the LUT as the middle of the process, not the end.
After the LUT is applied and opacity is dialed in, I’ll go back into Lumetri and do a second pass, using HSL secondaries to pull specific colors. If the LUT pushed the greens too yellow, I correct just the greens. If skin tones went muddy, I isolate and warm them back up. The LUT establishes the palette; your secondaries finish the painting. It adds maybe five minutes to the process and closes the gap between “close enough” and “exactly right.”
The biggest thing I took from McKinnon’s tutorial is a workflow principle I now apply to every edit, video or stills: protect your original, work in layers, and build from neutral to styled rather than trying to correct a mistake after the fact. The adjustment layer approach is the video equivalent of Lightroom’s non-destructive editing, and once you work that way, going back feels like editing in pen.
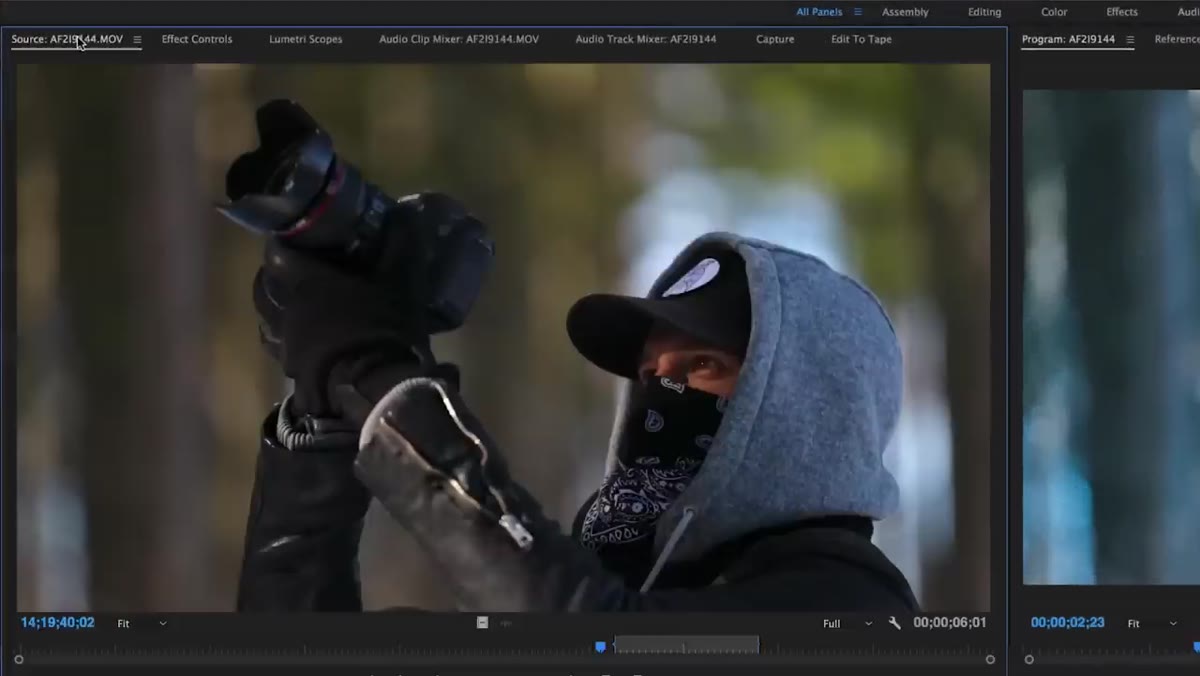
Watch the full tutorial on YouTube to see McKinnon’s seven LUTs in action across different types of footage, including forest b-roll, aerial city shots, and skate footage. Seeing the before-and-after on varied clips is the fastest way to understand which LUT fits which situation.
Comments
Leave a Comment