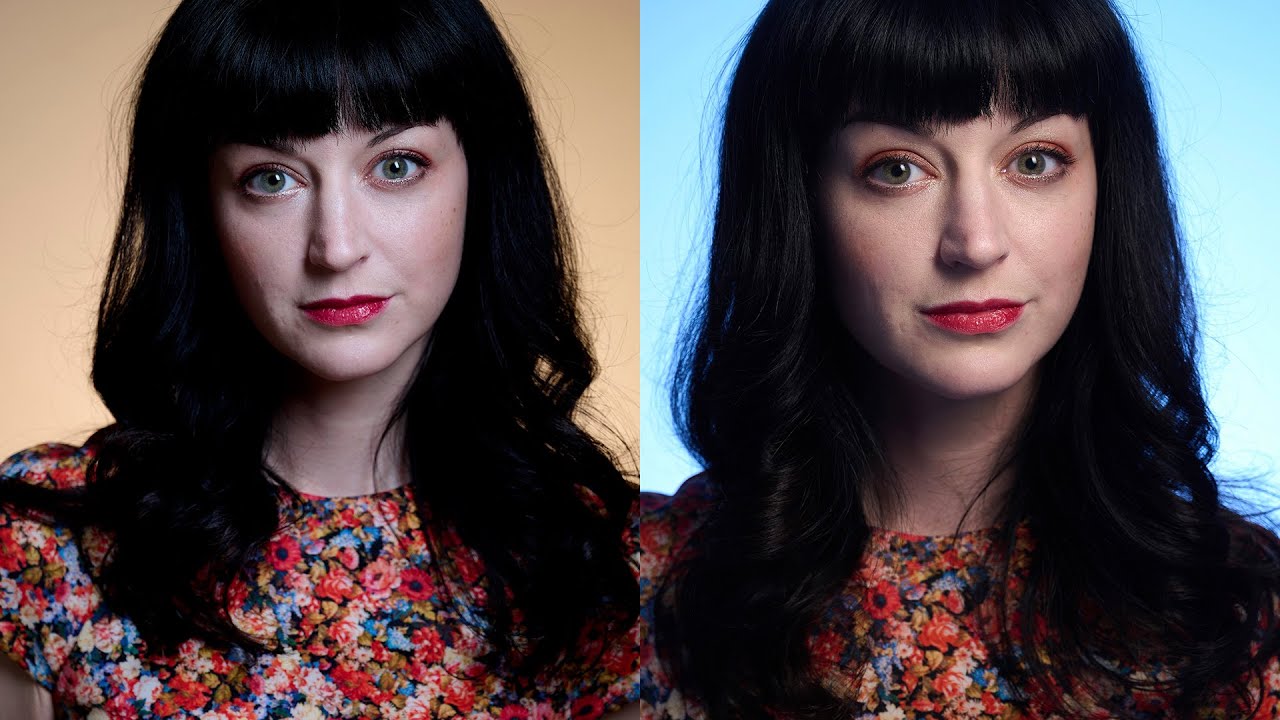
There’s a lighting problem I kept running into during studio portrait sessions: I wanted a cool, moody background behind a warm, well-lit subject, but I didn’t want to wrestle a gel onto every single background light in the setup. If you’re running two or three lights on a backdrop, that’s a lot of fiddling between shots, and the color consistency gets messy fast. I started wondering if there was a smarter way to create that warm-cool contrast without touching the background lights at all. Turns out, there is, and it involves working with your camera’s white balance in a way most photographers never think about.
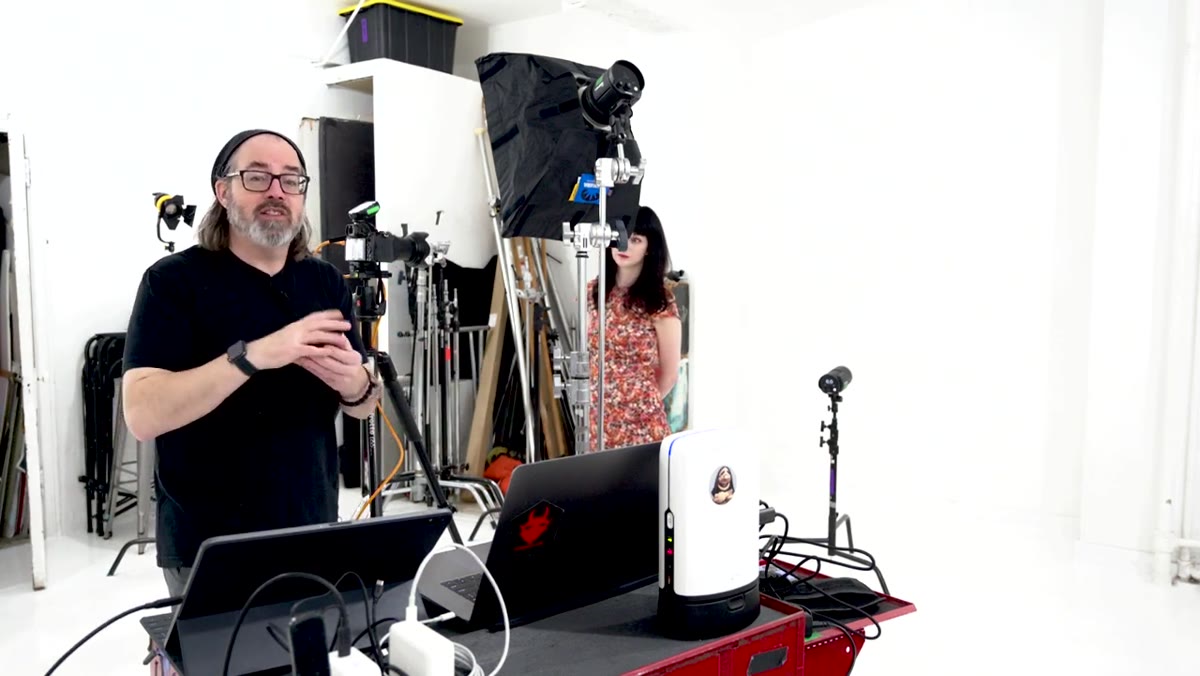
In this Daniel Norton Photographer tutorial, Watch the full tutorial on YouTube, Daniel walks through a clever technique using a single CTO gel on the main subject light combined with an incandescent white balance setting on the camera. The result is a subject with natural, warm skin tones and a background that reads as cool and blue, without a single gel ever touching the background light. It’s the kind of technique that sounds like a trick until you understand the physics behind it, and then it feels obvious.
I’ve had a strong Lightroom-first workflow for years, but this is a technique you get right in camera, which means less color correcting later. When the contrast between warm and cool is baked into the raw file correctly, your edit becomes about refinement rather than reconstruction. Here’s how the whole thing works.
Step 1: Separate Your Subject Light From Your Background Light
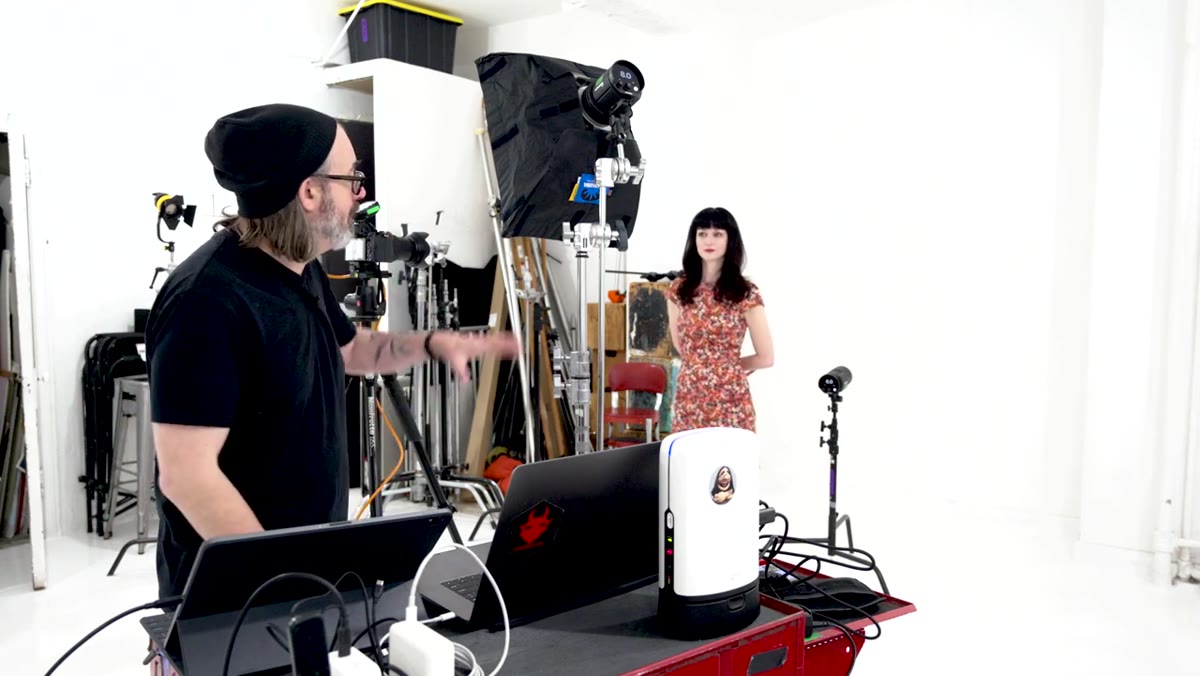 Studio setup showing softbox and background light positioned separately
The foundation of this technique is having independent control over your foreground and background lighting. Daniel uses a softbox positioned in front of his subject and a completely separate light pointed at the background. These two lights should not be bleeding into each other’s zones. Use the inverse square law to your advantage here: your subject light falls off quickly as it moves toward the background, which means you can dial in very different exposures for each zone.
Studio setup showing softbox and background light positioned separately
The foundation of this technique is having independent control over your foreground and background lighting. Daniel uses a softbox positioned in front of his subject and a completely separate light pointed at the background. These two lights should not be bleeding into each other’s zones. Use the inverse square law to your advantage here: your subject light falls off quickly as it moves toward the background, which means you can dial in very different exposures for each zone.
Start with just your subject light and no background light. You’re looking for a clean, dark gray background behind your subject, with proper exposure on the face. This gives you a neutral baseline to build on.
Step 2: Confirm the Background Light Is Working Independently
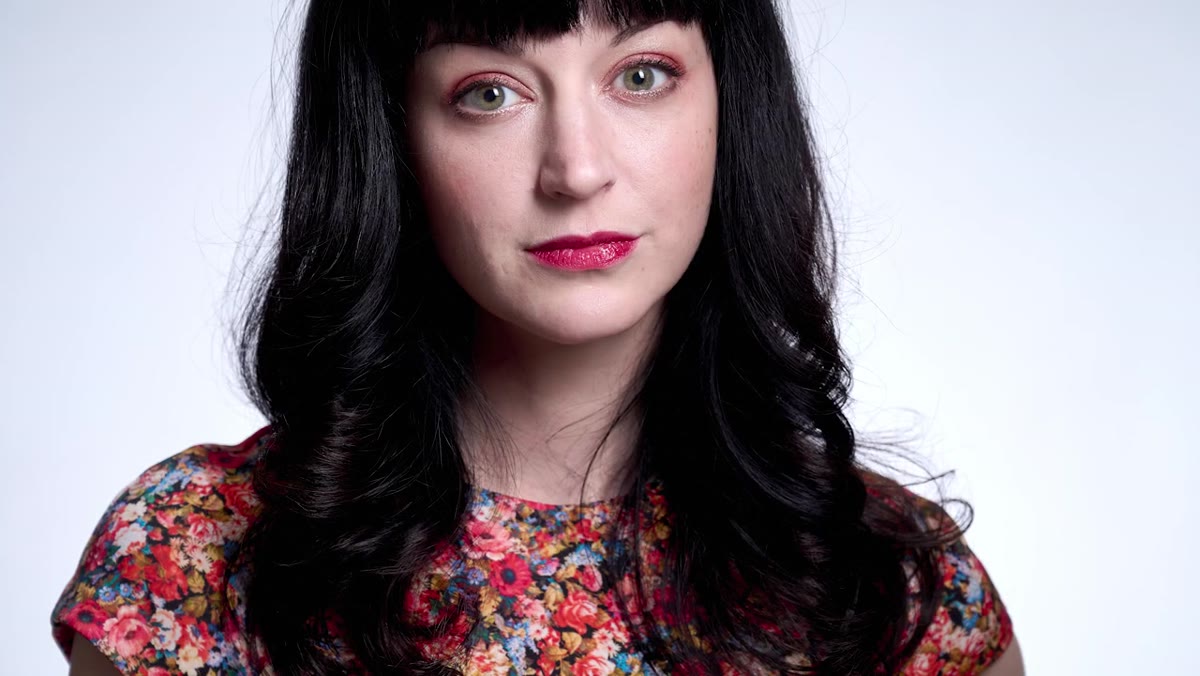 Background light turned on showing bright white backdrop behind subject
Turn on your background light with the subject light still active and take a test shot. You want the background to read as bright, somewhere in the range of a light gray to near-white, but not blown out completely. Daniel flags this directly: if you push the background too far into pure white and then hit it with color, the saturation won’t show up. You need some density in that background tone for color to land visibly.
Background light turned on showing bright white backdrop behind subject
Turn on your background light with the subject light still active and take a test shot. You want the background to read as bright, somewhere in the range of a light gray to near-white, but not blown out completely. Daniel flags this directly: if you push the background too far into pure white and then hit it with color, the saturation won’t show up. You need some density in that background tone for color to land visibly.
Also verify the separation is real. Switch off your subject light momentarily. Your subject should fall into something close to silhouette. That tells you the background light is doing its own job and not propping up your subject’s exposure at all.
Step 3: Attach a Full CTO Gel to Your Subject Light
 CTO gel being placed over studio strobe head
CTO stands for Color Temperature Orange. A full CTO shifts your light source from daylight or flash white balance, roughly 5,600 Kelvin, down to tungsten, around 3,200 Kelvin. It’s a significant shift, and it will change your exposure because the gel absorbs some of the light output. That’s why you don’t just slap it on and assume your settings are still valid.
CTO gel being placed over studio strobe head
CTO stands for Color Temperature Orange. A full CTO shifts your light source from daylight or flash white balance, roughly 5,600 Kelvin, down to tungsten, around 3,200 Kelvin. It’s a significant shift, and it will change your exposure because the gel absorbs some of the light output. That’s why you don’t just slap it on and assume your settings are still valid.
Daniel also mentions that full CTO is the most dramatic version. If you want a subtler effect, half, quarter, or even eighth CTO gels exist and give you more nuanced shifts. For learning the technique, start with full CTO so the effect is impossible to miss.
Step 4: Switch Your Camera’s White Balance to Incandescent
 Camera white balance menu showing incandescent setting selected
This is the step that actually does the magic. Set your camera white balance to incandescent, which is labeled as such in Nikon cameras and sits around 3,200 Kelvin. What this tells your camera is: the light hitting my subject is warm tungsten light, so compensate by cooling everything down to make it look neutral.
Camera white balance menu showing incandescent setting selected
This is the step that actually does the magic. Set your camera white balance to incandescent, which is labeled as such in Nikon cameras and sits around 3,200 Kelvin. What this tells your camera is: the light hitting my subject is warm tungsten light, so compensate by cooling everything down to make it look neutral.
Your subject, lit by the CTO-gelled strobe, will look naturally exposed and color-correct because the camera and the gel are now speaking the same language. But your background, lit by an unmodified flash running at 5,600 Kelvin, will look cool and blue because the camera is interpreting that daylight-balanced light through a warm filter. The camera overcorrects for it and the background shifts toward blue. One setting. Two completely different color temperatures in the same frame.
Step 5: Rebalance Your Subject Light Exposure With TTL
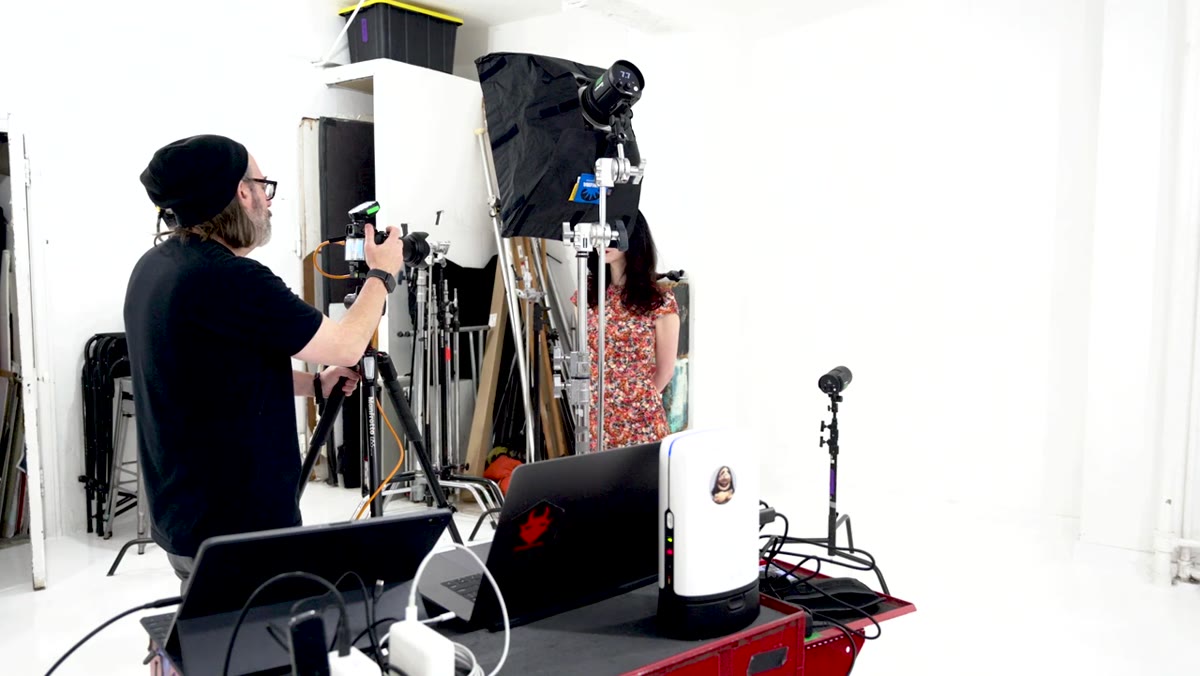
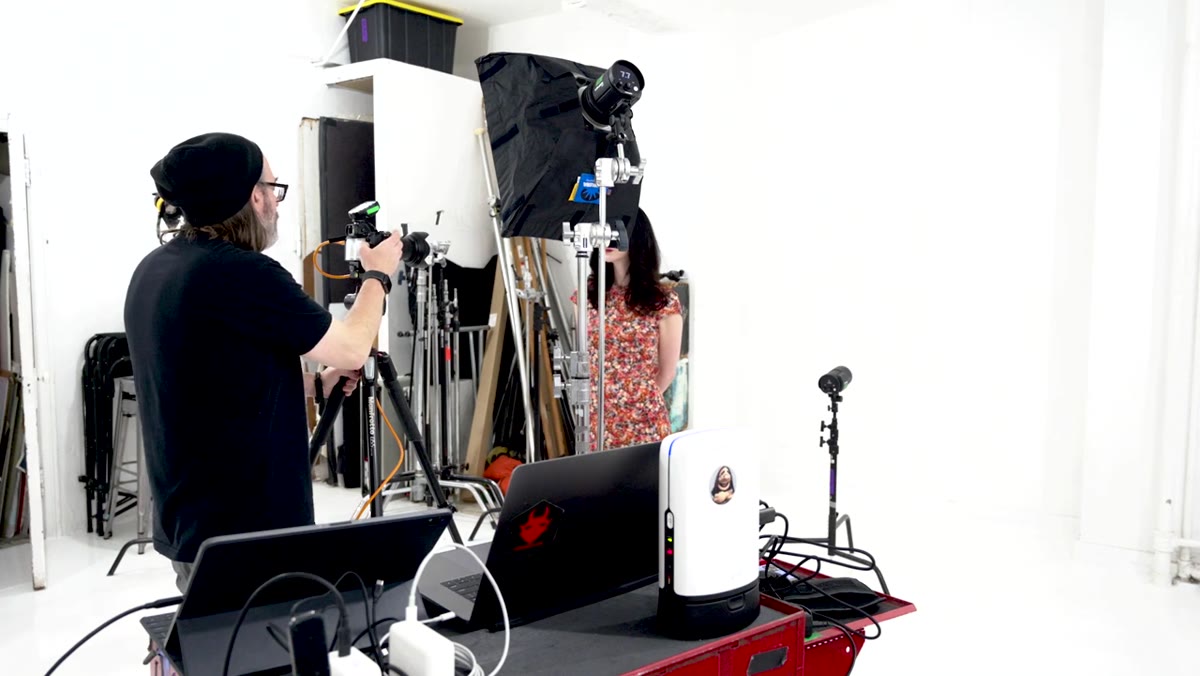 Camera and strobe settings being adjusted after gel is applied
Because the gel cuts your light output, you need to re-meter. Daniel switches back to TTL (through the lens metering) with the background light off so the camera reads only the subject light and compensates for the gel’s density. Take a test shot and look at your subject’s skin. You want rich, properly exposed tones, slightly on the darker side. Daniel points out that once you’re working with color, a slightly underexposed image holds saturation better than one that’s riding the edge of overexposure.
Camera and strobe settings being adjusted after gel is applied
Because the gel cuts your light output, you need to re-meter. Daniel switches back to TTL (through the lens metering) with the background light off so the camera reads only the subject light and compensates for the gel’s density. Take a test shot and look at your subject’s skin. You want rich, properly exposed tones, slightly on the darker side. Daniel points out that once you’re working with color, a slightly underexposed image holds saturation better than one that’s riding the edge of overexposure.
Once you’re happy with the subject exposure, turn the background light back on. You don’t need to re-meter. The background light is running on its own manual setting from your earlier setup.
Step 6: Shoot and Evaluate the Color Contrast
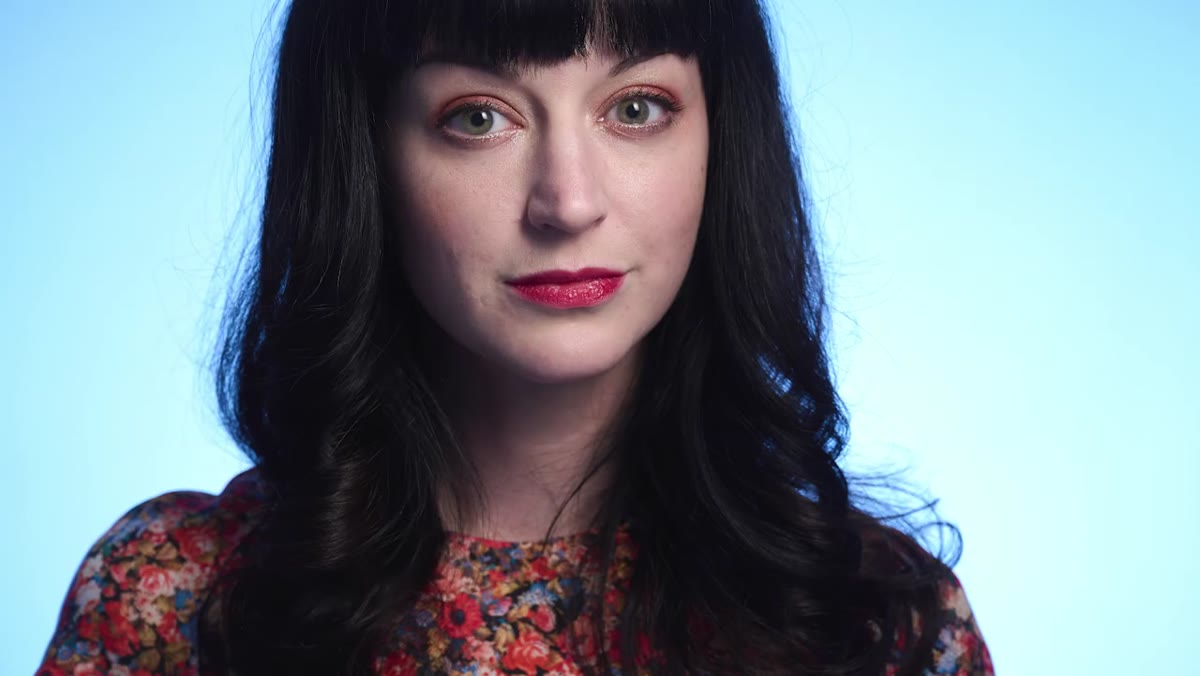 Final portrait showing warm subject against cool blue background
Take the shot with both lights running. Your subject should read warm and natural. Your background should have a visible cool, bluish cast. The distance between those two color temperatures, 3,200 versus 5,600 Kelvin, is doing all the visual work. No gels on the background. No complex post-processing to introduce the cool tone.
Final portrait showing warm subject against cool blue background
Take the shot with both lights running. Your subject should read warm and natural. Your background should have a visible cool, bluish cast. The distance between those two color temperatures, 3,200 versus 5,600 Kelvin, is doing all the visual work. No gels on the background. No complex post-processing to introduce the cool tone.
If the background color shift looks too subtle, check that your background isn’t overexposed. Pull it down a stop and shoot again. The effect needs some tonal density to show up clearly.
What I’d Add From My Own Experience
One thing Daniel mentions but doesn’t fully explore is the green-magenta axis. Your camera’s white balance has two dimensions: warm-to-cool and green-to-magenta. If you put a slight magenta gel on your main light and then dial in a small green correction in-camera, you can create a secondary color contrast on top of the warm-cool split. It’s subtle, and it requires testing, but it can give portraits a really specific cinematic quality that feels less like a lighting trick and more like a deliberate grade.
In Lightroom, once you’ve got a file with this technique baked in, the HSL sliders become incredibly precise tools. Because the warm and cool tones are already separated between subject and background, you can nudge the orange and blue channels independently without them fighting each other. The whole edit becomes more efficient.
The single most important thing to take away from this technique is that your camera’s white balance is not just a correction tool. It’s a creative control that can establish color contrast between light sources in the same frame. A gel on one light plus a white balance setting that matches that gel creates a situation where every other light in the shot shifts in the opposite direction automatically. That’s a huge amount of visual impact for almost zero extra gear.
Watch the full tutorial on YouTube to see Daniel demonstrate the setup in real time and catch the before-and-after comparisons that make the color shift click visually.
Comments
Leave a Comment