News
Why Your Bird Photos Look Flat (And How Masking Fixes It)
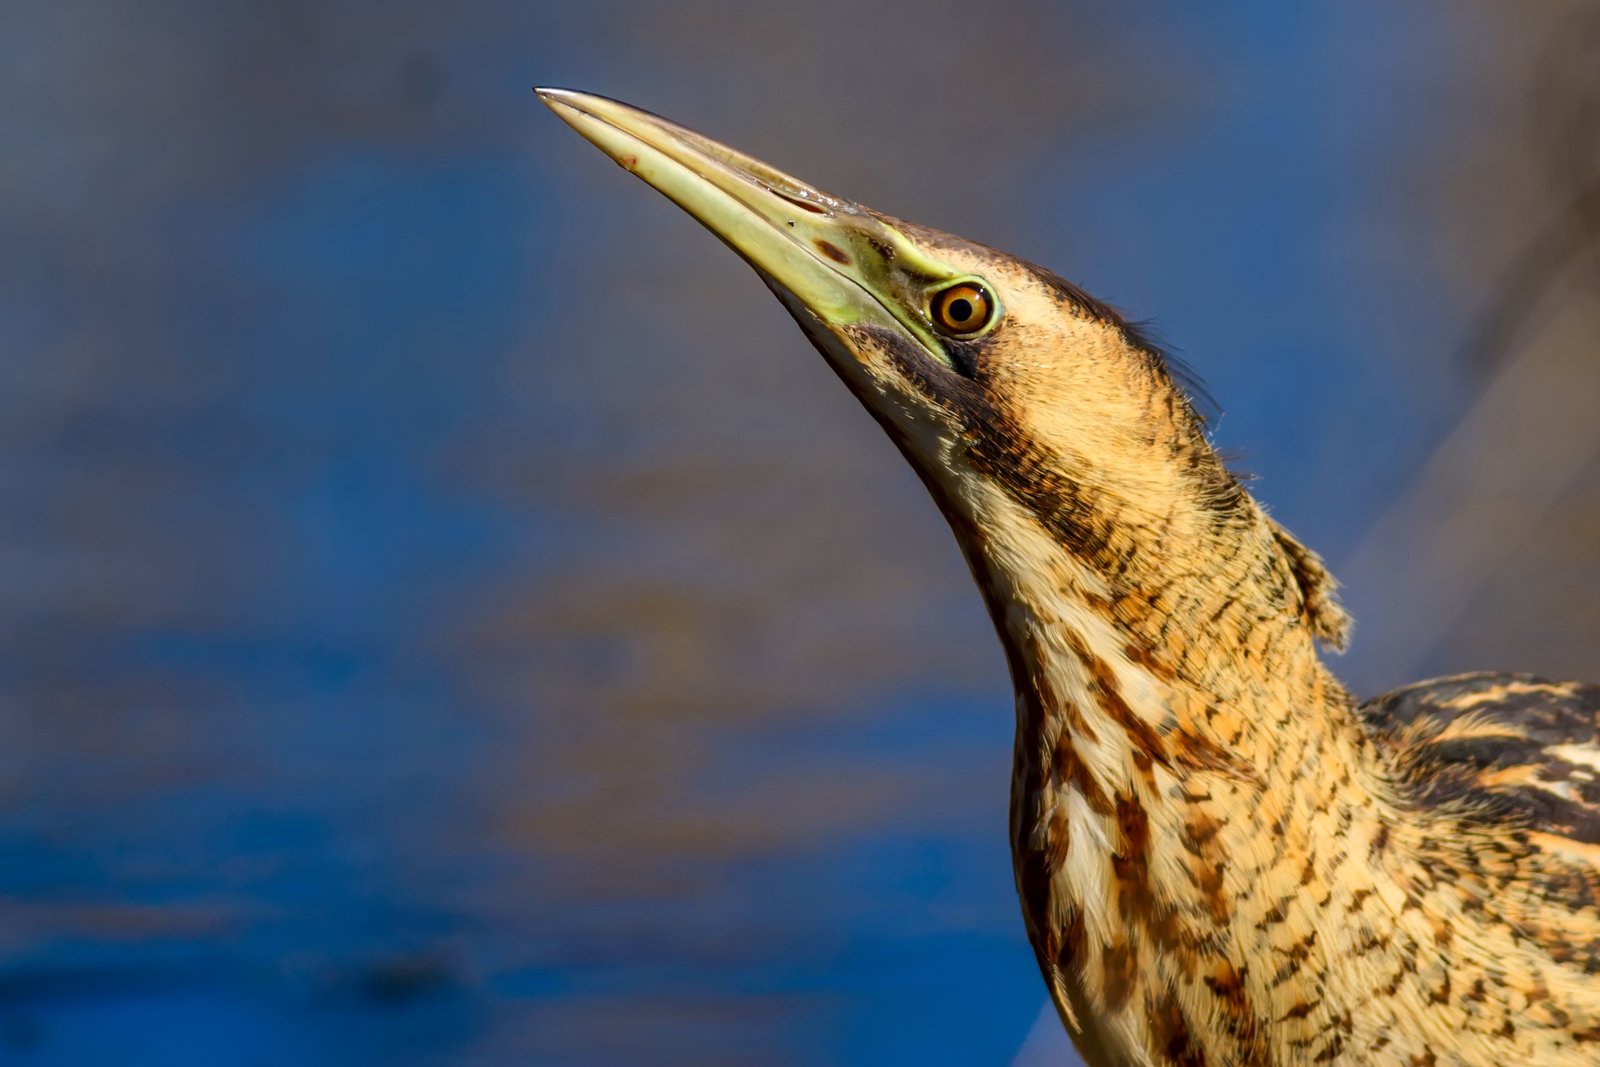
Why Your Bird Photos Look Flat (And How Masking Fixes It) I’ve spent countless hours editing wildlife photography, and I can tell you with absolute certainty: bird shots are the ultimate test of a photographer’s post-processing skills. You can nail the exposure, composition, and focus, but without the right editing approach, your image will land somewhere between “meh” and “did I really take this?” The problem isn’t your camera or your technique in the field.