There’s a certain kind of editing session where everything flows. You’re moving through a catalog, the music is good (I’m partial to Carole King’s Tapestry on vinyl for landscape edits, if you’re asking), and your hands just know where to go. Then there’s the other kind of session, where you’re hunting through menus for tools you use every single day, clicking around like you’ve never opened the software before. The difference between those two sessions usually comes down to shortcuts. Not the five-key combos that require a laminated reference card taped to your monitor. The single-key shortcuts that, once they’re in your fingers, never leave.
In this Mark Denney tutorial, Watch the full tutorial on YouTube, he walks through nine single-keystroke shortcuts he relies on daily inside Lightroom’s Develop module. Mark’s whole argument is simple and correct: a shortcut only saves time if you don’t have to think about it. Multi-key combos are fine for occasional tasks, but single keys are the ones that become automatic. I’ve been teaching Lightroom concepts long enough to know he’s right, and after going through his list, I picked up at least two I wasn’t using consistently. Here’s the full breakdown.
Step 1: Toggle the Before/After View with the Backslash Key
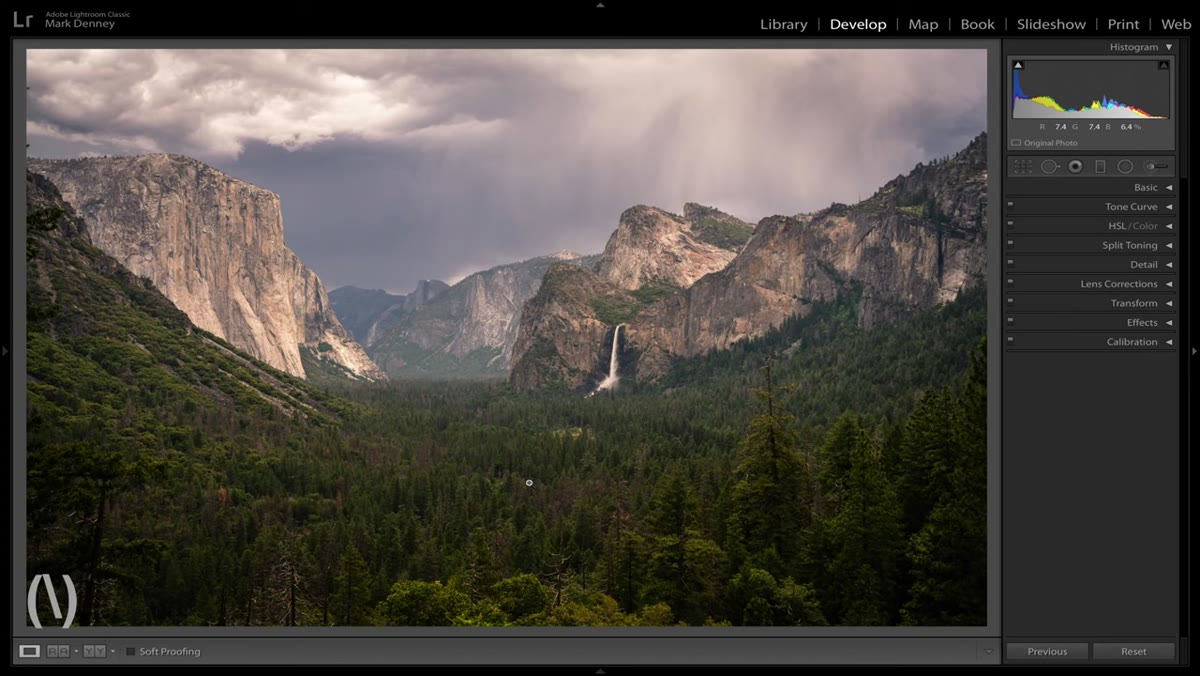 Lightroom Develop module showing before view of raw file
When you’re deep in an edit, it’s surprisingly easy to lose perspective on how far you’ve pushed the image. Hitting the backslash key ( \ ) while in the Develop module instantly snaps your view back to the unedited raw file. Hit it again and you’re back to your current edit. It’s a true toggle, and it works fast enough that you can flick back and forth repeatedly to check whether a specific adjustment is actually improving the image or just moving it sideways.
Lightroom Develop module showing before view of raw file
When you’re deep in an edit, it’s surprisingly easy to lose perspective on how far you’ve pushed the image. Hitting the backslash key ( \ ) while in the Develop module instantly snaps your view back to the unedited raw file. Hit it again and you’re back to your current edit. It’s a true toggle, and it works fast enough that you can flick back and forth repeatedly to check whether a specific adjustment is actually improving the image or just moving it sideways.
This one shortcut has saved me from over-processing more times than I can count. When you spend 40 minutes on a photo, your eyes adjust to the changes and you stop noticing that you’ve pushed the oranges into neon territory. A quick backslash key tap is a reality check that costs you nothing.
Step 2: Split the Screen for a Side-by-Side Before/After with Y
 Split view showing before and after images side by side
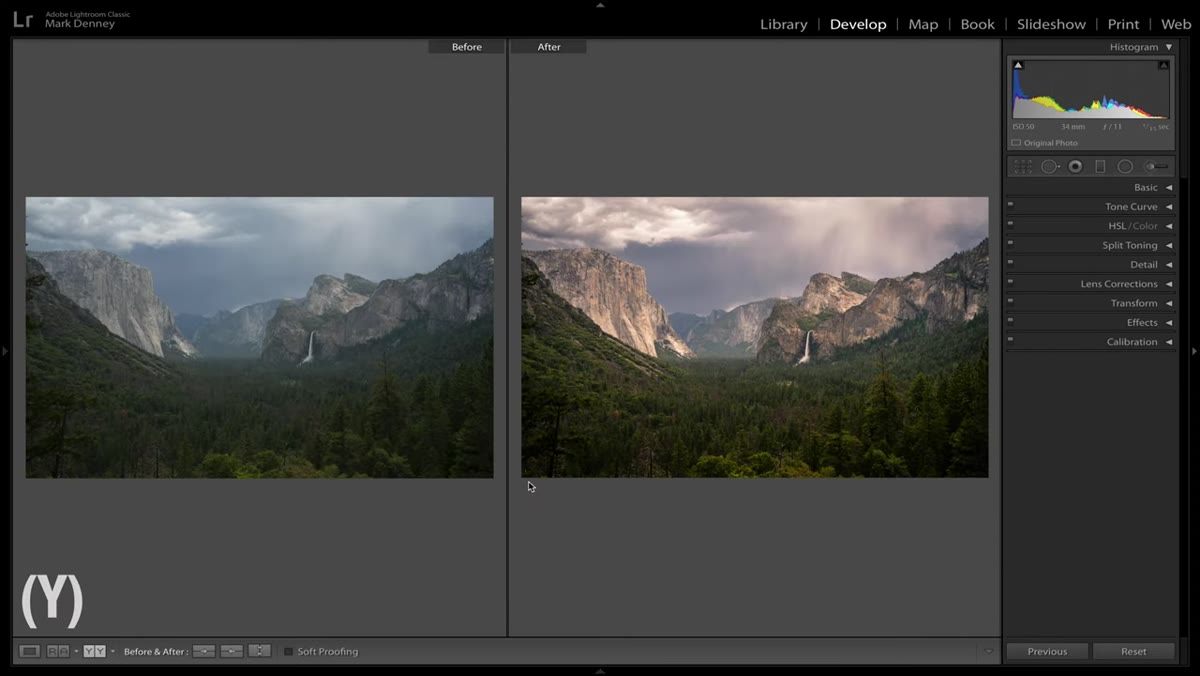
If the backslash toggle is good for a quick gut check, the Y key takes it further by splitting your canvas into a true side-by-side comparison. Left side shows the original, right side shows your current edit, simultaneously. What makes this genuinely useful, and not just a visual gimmick, is that you can zoom into a specific part of the frame and evaluate that area in both states at once.
Split view showing before and after images side by side
If the backslash toggle is good for a quick gut check, the Y key takes it further by splitting your canvas into a true side-by-side comparison. Left side shows the original, right side shows your current edit, simultaneously. What makes this genuinely useful, and not just a visual gimmick, is that you can zoom into a specific part of the frame and evaluate that area in both states at once.
This is where you catch things like localized over-sharpening in the foreground, or a color shift in the shadows that looks subtle at full view but is obvious when you’re zoomed to 1:1 and comparing directly. I use this most when I’ve applied a local adjustment and want to make sure the masking edge isn’t creating a weird halo effect.
Step 3: Cycle Through Crop Grid Overlays with O
 Crop tool active with rule of thirds grid overlay visible
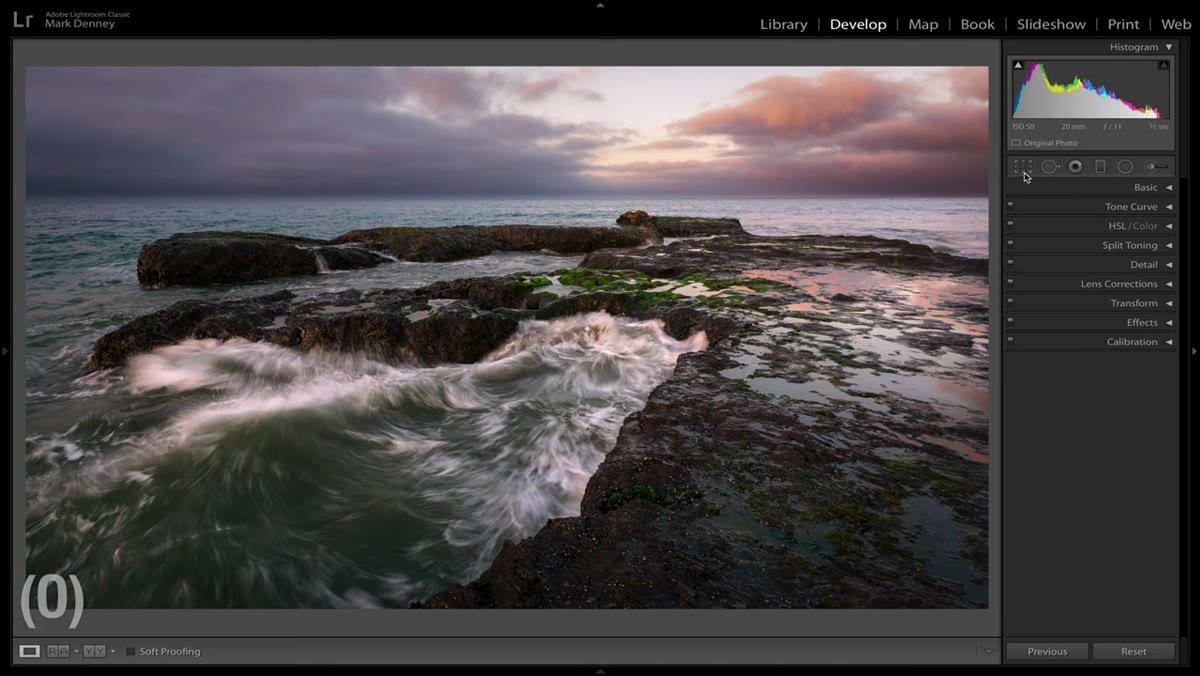
When you’re in the crop tool, the default overlay is the rule of thirds grid. That’s useful maybe 60% of the time. For the other 40%, Lightroom has several other compositional guides built in, and the O key cycles through all of them without making you dig through any menus.
Crop tool active with rule of thirds grid overlay visible
When you’re in the crop tool, the default overlay is the rule of thirds grid. That’s useful maybe 60% of the time. For the other 40%, Lightroom has several other compositional guides built in, and the O key cycles through all of them without making you dig through any menus.
Depending on your image, you might find the golden ratio spiral more useful, or the diagonal overlay, or the simple center crosshair. Mark points out that this is especially handy when the standard rule of thirds grid isn’t clicking with your framing and you need a different visual anchor to make the crop decision. One key, same tool, completely different compositional lens. I’d add that this is worth cycling through even on images you think are already well-framed. Sometimes a different overlay reveals an alignment problem you didn’t know was bothering you.
Step 4: Flip the Crop Overlay Orientation with Shift + O
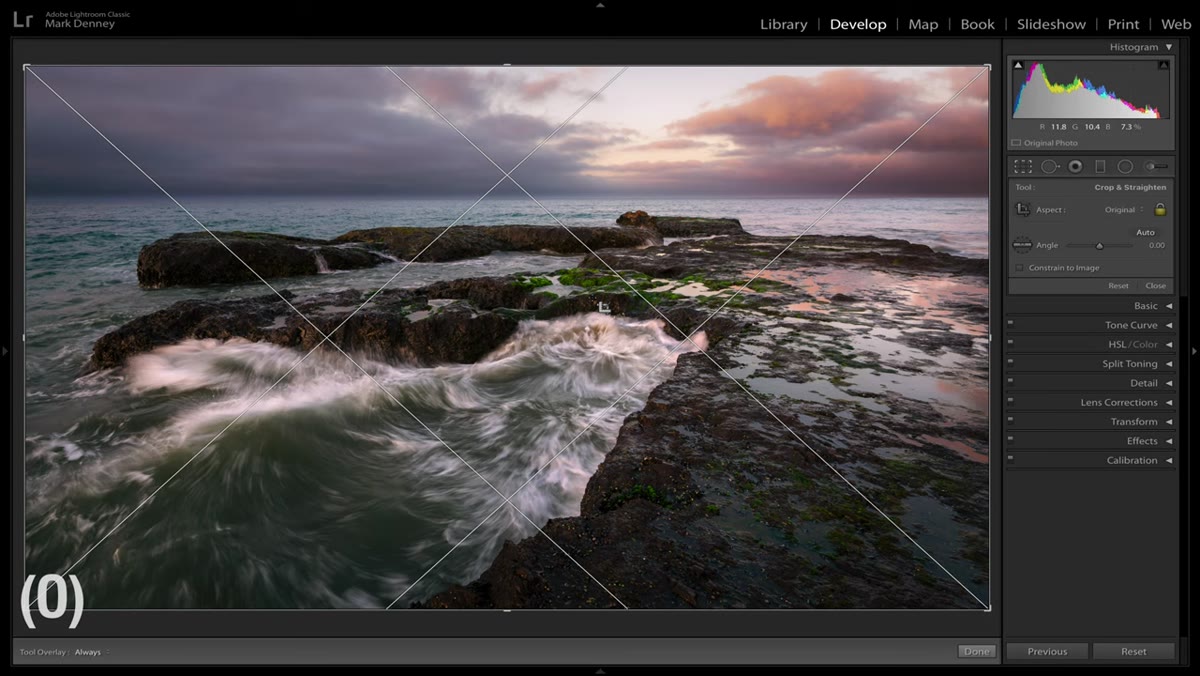 Diagonal crop overlay rotated to alternate orientation
Some of Lightroom’s crop overlays are directional, meaning the spiral opens from a specific corner, or the diagonals run one way rather than another. Pressing Shift + O flips the orientation of whatever overlay you’re currently using. Yes, this is technically a two-key shortcut, but it’s Shift plus a single key and it pairs directly with Step 3, so it belongs here.
Diagonal crop overlay rotated to alternate orientation
Some of Lightroom’s crop overlays are directional, meaning the spiral opens from a specific corner, or the diagonals run one way rather than another. Pressing Shift + O flips the orientation of whatever overlay you’re currently using. Yes, this is technically a two-key shortcut, but it’s Shift plus a single key and it pairs directly with Step 3, so it belongs here.
If your subject is in the bottom-right corner of the frame and the golden spiral is opening from the top-left, flipping it with Shift + O can completely reframe how you evaluate the composition. It’s a small thing that most people never discover because it’s not documented anywhere obvious inside the UI.
Step 5: Enter and Exit the Crop Tool Instantly with R
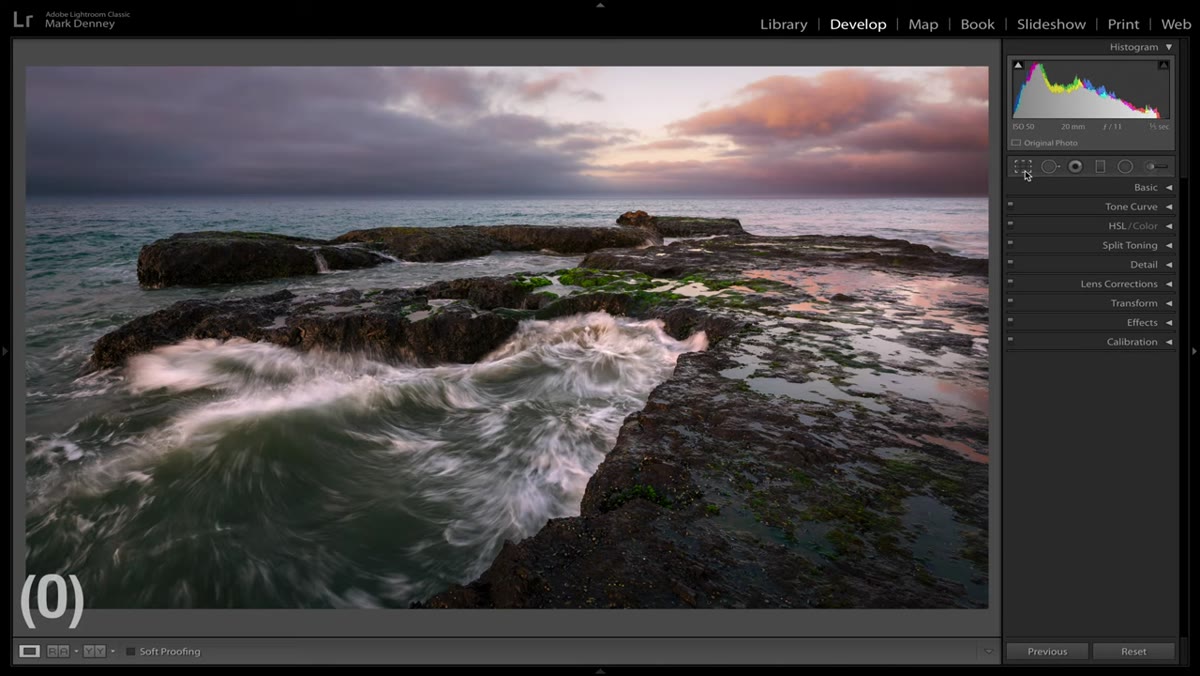 Crop tool activating from keyboard shortcut R
Speaking of the crop tool, you don’t have to click the toolbar icon to open it. Pressing R jumps you directly into the crop interface from anywhere in the Develop module. Pressing R again, or hitting Escape, takes you back out.
Crop tool activating from keyboard shortcut R
Speaking of the crop tool, you don’t have to click the toolbar icon to open it. Pressing R jumps you directly into the crop interface from anywhere in the Develop module. Pressing R again, or hitting Escape, takes you back out.
The reason this matters is speed across a large batch. If you’re culling and cropping a session of 200 images, clicking the crop icon for each one adds up. R gets you in, you make the crop, you hit Return to confirm, and you move to the next frame. That rhythm starts to feel natural within about 15 minutes of forcing yourself to use it.
A Note on Building These Into Your Actual Workflow
Here’s the thing nobody says enough about keyboard shortcuts: knowing them and using them are two completely different problems. I’ve had people tell me they “know” the Lightroom shortcuts but still click through menus out of habit. The only fix is a brief, slightly annoying commitment period where you refuse to use the mouse for those specific actions.
My approach is to pick two shortcuts per editing session and treat them as mandatory. If I forget and click the menu, I undo what I did, and use the key instead. It feels slow for a day or two, and then one morning you realize your left hand is already on the backslash key before your brain consciously decided to check the before view. That’s the goal. Mark’s list is a good starting pool because every shortcut on it is Develop-module specific, which means you’re reinforcing them every single time you edit.
The single most important takeaway from this tutorial is not any individual shortcut. It’s Mark’s underlying logic: if a shortcut requires you to think about it, it isn’t saving you time yet. Build the muscle memory first, and the efficiency follows automatically. Start with the backslash key and the R key, and layer in the rest from there.
Watch the full tutorial on YouTube to see Mark walk through all nine shortcuts with live examples inside his actual editing workflow.
Comments
Leave a Comment