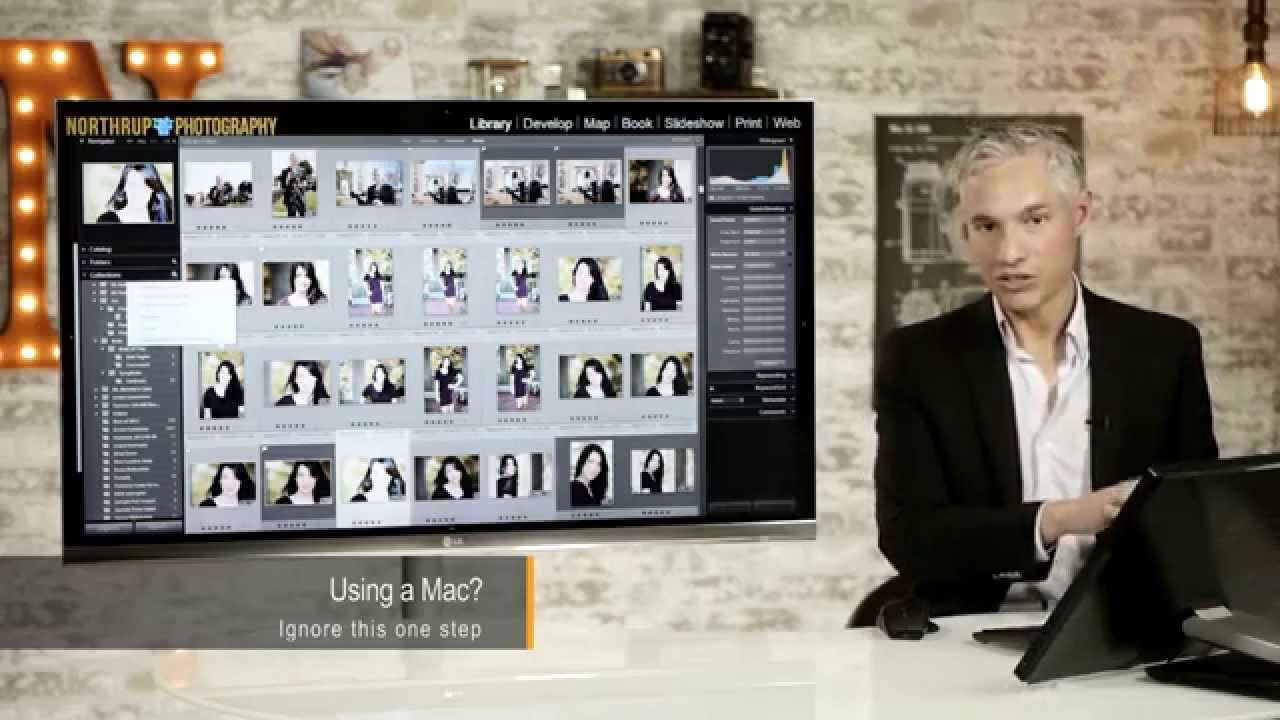
My hard drive fills up the same way a Nashville summer gets hot: gradually, then all at once. One week I have 80GB free, and the next I’m getting that low disk space warning right in the middle of a session. For years I treated this as a hardware problem. I’d buy another external drive, shuffle files around, feel briefly virtuous, and repeat the whole cycle six months later. It wasn’t until I started paying closer attention to file format choices that I realized I’d been leaving significant space on the table every single shoot.
Watch the full tutorial on YouTube
In this Tony and Chelsea Northrup tutorial, three Lightroom techniques get the spotlight, and while one of them is a quick quality-of-life tip, the second one is genuinely useful for anyone sitting on a library full of native RAW files. The DNG conversion workflow they walk through saved Tony around 150 gigabytes on a single machine, which translates to hundreds of extra shoots before you hit the wall again. Here’s how to do it yourself.
Step 1: Drag Numbers Directly in the Develop Module
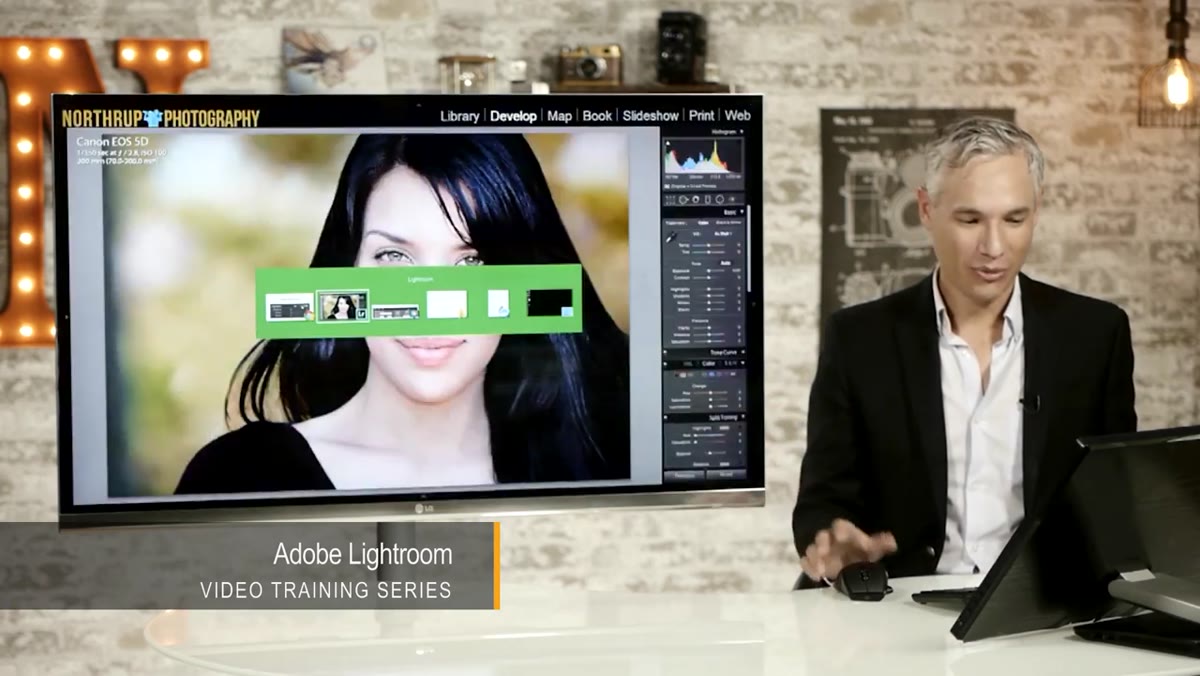 Dragging a numeric value in the Develop module panel
Most people know you can grab any slider in Lightroom’s Develop module and move it left or right. Fewer people know you can skip the slider entirely. Click directly on the number value next to any slider, hold your mouse button down, and drag up or down. The value adjusts just like a slider would. This works in Photoshop too, and once it’s part of your muscle memory you stop hunting for those narrow slider handles when you need a quick correction.
It sounds minor, but it speeds up fine adjustments noticeably. When I’m making small tonal corrections on a portrait, I’d rather grab the exposure number and nudge it than overshoot with the full slider range.
Step 2: Create or Open an Existing Collection
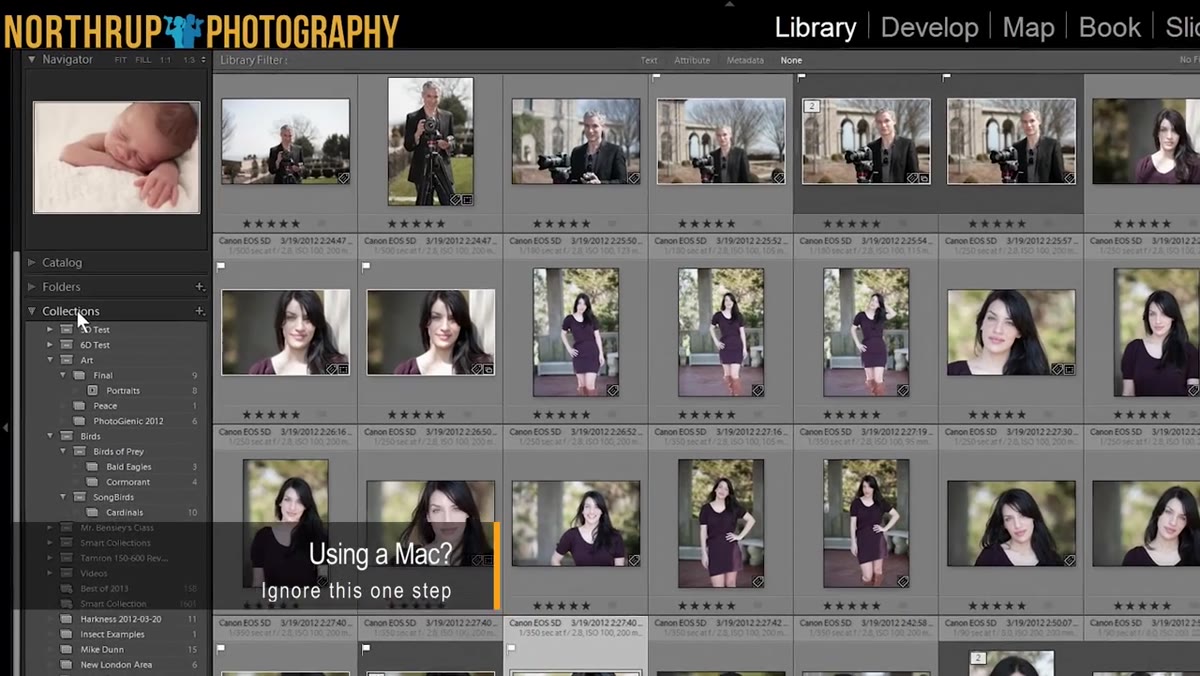 Right-clicking a collection in the Collections panel
Before you can batch-convert your RAW files to DNG, Lightroom needs a way to find all of them across your entire library, regardless of camera brand or file type. The setup requires a collection, so if you don’t have one already, create a placeholder. If you already have any collection in your panel, right-click it and look for the option to import smart collection settings.
The collection itself is just a temporary container for this workflow. Don’t worry about organizing it perfectly. You’re using it as a tool to run the conversion, not as a permanent folder structure.
Step 3: Import the Smart Collection via URL
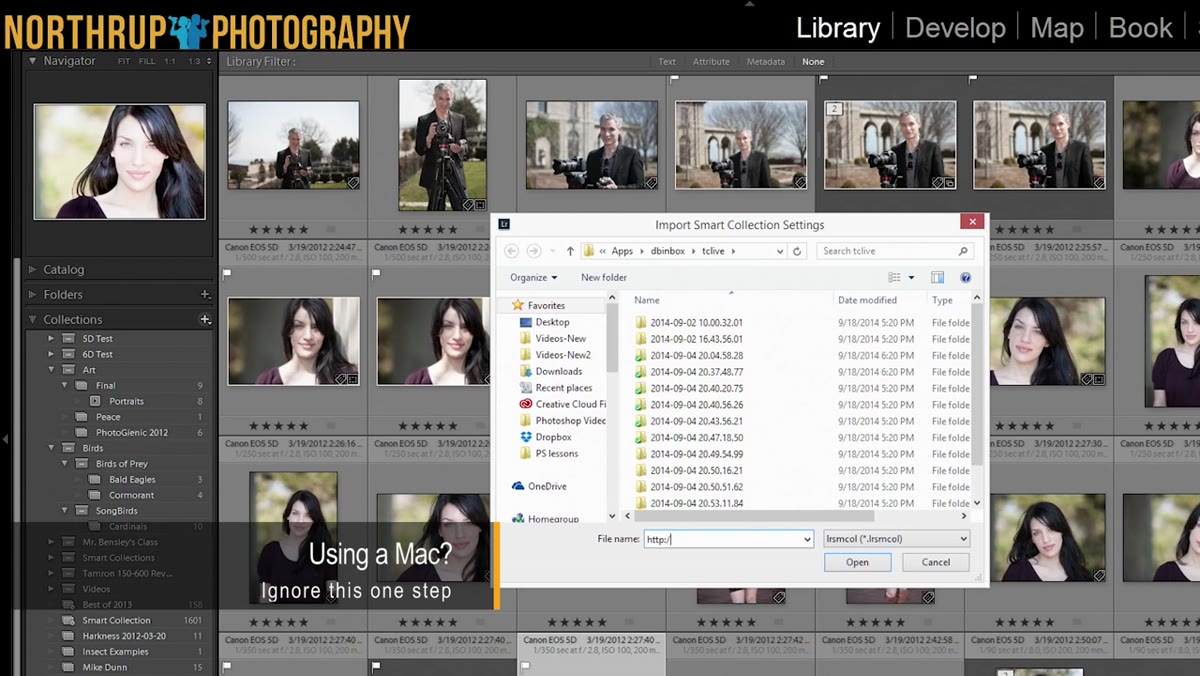 Import dialog box open with URL field visible
Here’s where the tutorial gets a little unusual. When the import dialog opens, instead of browsing to a file on your computer, you enter a web URL directly into the field. The URL points to a smart collection settings file that Tony Northrup put together and hosts online. The collection is configured to identify every RAW file in your Lightroom catalog, no matter which camera produced it.
Type the URL into the import field, click Open, and Lightroom will pull the collection settings down and apply them. Once it’s done, you’ll see a new collection appear in your panel. Tony’s computer showed it labeled as something a little self-deprecating, but the name doesn’t matter. What matters is that clicking it surfaces every RAW file in your library in one place.
Step 4: Select All Files in the Collection
 All RAW files selected in grid view
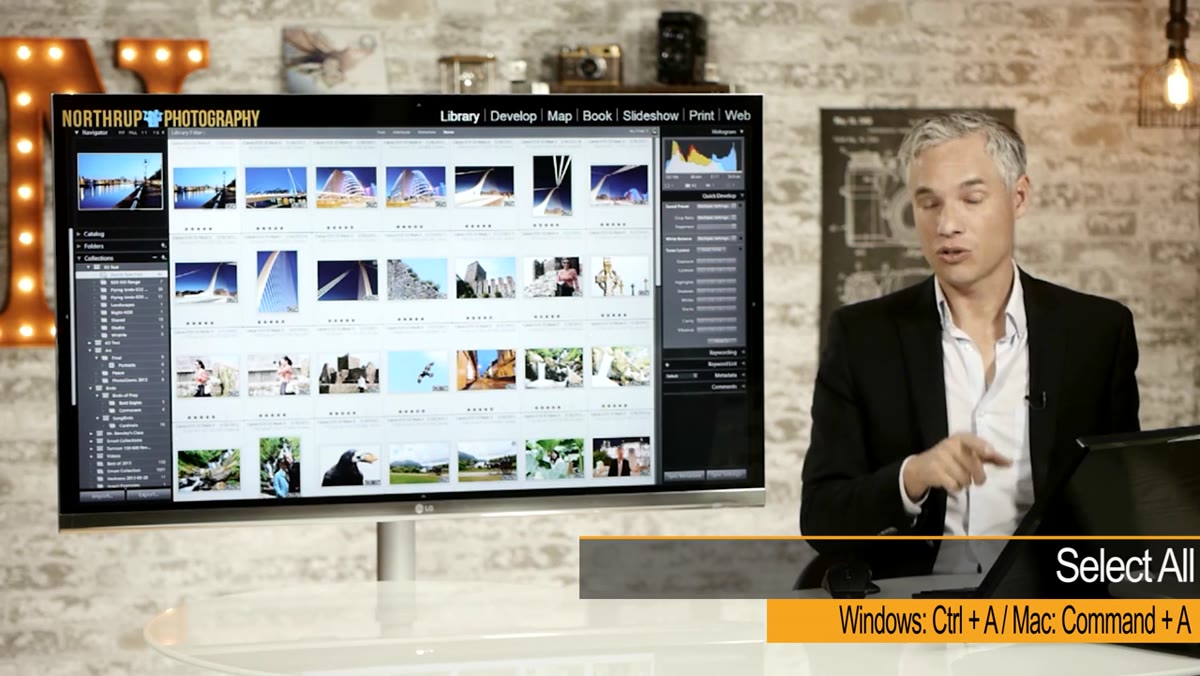
With the smart collection active and all your RAW files visible in the grid, hit Ctrl+A (Cmd+A on Mac) to select everything. You should see all the thumbnails highlighted. If your library is large this might be a few hundred files or it might be several thousand. Either way, the conversion process handles them in a queue, so you can let it run while you do something else.
Seeing your entire RAW library in one grid view is actually useful beyond this workflow. It’s a good moment to check whether you have file types from multiple cameras mixed together, which is common if you’ve shot with more than one body over the years.
Step 5: Run the DNG Conversion
 Library menu open showing Convert Photos to DNG option
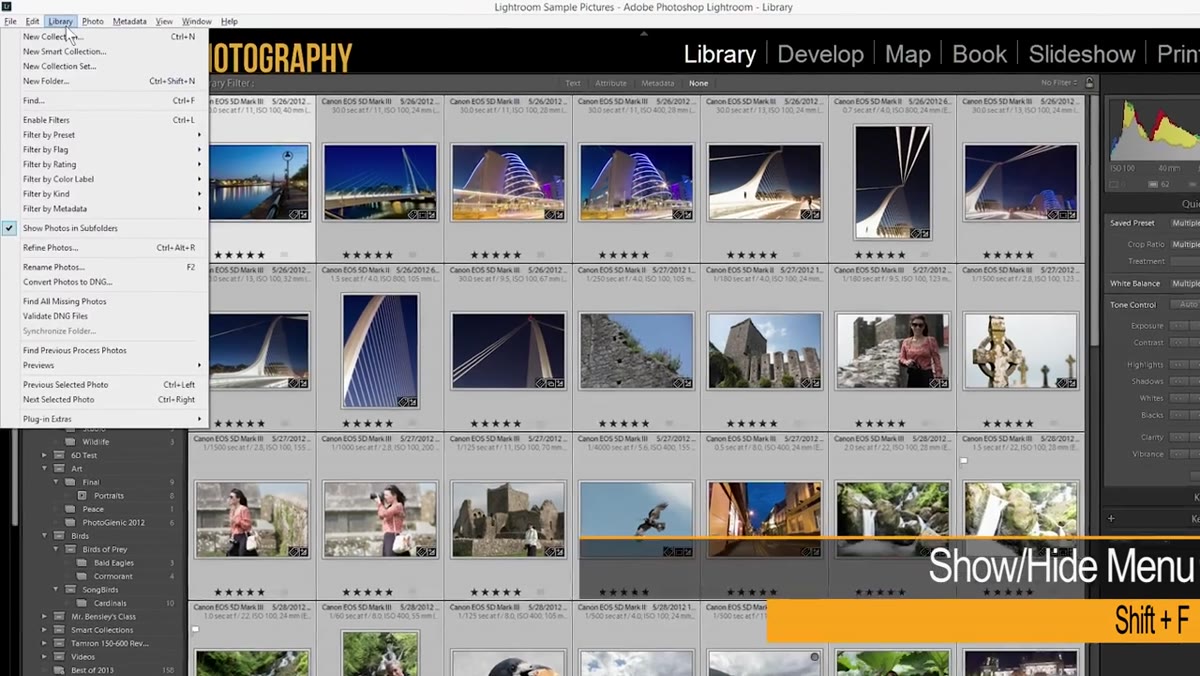
With everything selected, pull up the menu bar (Shift+F if it’s hidden), go to Library, and choose Convert Photos to DNG. A settings dialog will appear with a few checkboxes that matter quite a bit.
Check “Only convert RAW files” to make sure JPEGs and other formats stay untouched. Check “Delete originals after successful conversion” - this is the step that actually reclaims your disk space, and yes, it feels a little nerve-wracking the first time. Make sure your backup is current before you run this. Leave “Use lossy compression” unchecked, that option degrades quality and defeats the entire purpose. Also leave “Embed original RAW file” unchecked, since embedding the original negates the space savings. Do check “Embed fast load data,” which helps Lightroom render previews more quickly. Set the compatibility dropdown to the latest version of Camera Raw and click OK.
Lightroom will work through your files one by one, converting each native RAW (CR2, NEF, ARW, whatever you have) into a DNG, then deleting the original once the conversion confirms successfully. The DNG format uses lossless compression, so your pixel data is completely intact. The savings come from more efficient file encoding, and they typically land around 15 to 20 percent of your total RAW storage.
Step 6: Use Direct Adjustments on the Tone Curve
 Tone curve panel with direct adjustment tool active
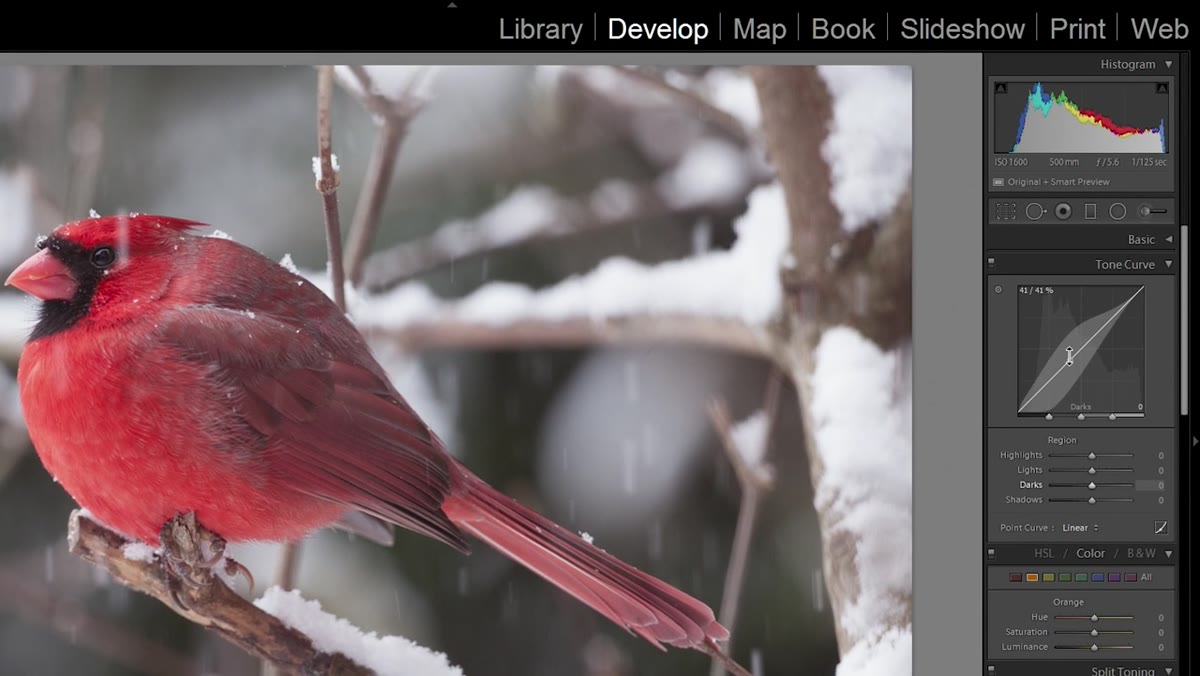
The third tip in the tutorial is one I wish someone had shown me earlier. Inside the Tone Curve panel in the Develop module, there’s a small circular icon in the top left corner of the panel. Click it to activate the direct adjustment tool. Now click anywhere on your actual photo and drag up or down. Lightroom reads the tonal value at that exact pixel and adjusts the corresponding part of the curve.
This matters most when you’re not sure whether a certain area of a photo is technically a highlight, a midtone, or an upper shadow. Instead of guessing and dragging the wrong slider, you just click the area that looks wrong and drag it toward right. It’s one of those tools that makes editing feel more intuitive and less like operating a control panel you half-understand.
A Note From My Own Workflow
I’d add one caveat to the DNG conversion tip: run a full backup before you do this the first time. Not because Lightroom is unreliable, but because the “delete originals” step is permanent, and your peace of mind is worth the fifteen minutes it takes to verify your backup is current. I use a two-drive system for anything I haven’t converted yet - one local, one offsite - and I’ve never had a problem with the DNG process itself.
Also worth noting: some camera manufacturers (Sony in particular, historically) have had occasional quirks with how their RAW metadata translates into DNG. It’s worth spot-checking a handful of converted files from each camera body before you commit to converting thousands.
The single most important thing to take away here is that DNG conversion is not a lossy compromise. It’s a lossless repack that most photographers skip simply because they don’t know it exists. If you’re running low on storage, this is a better first move than buying a new drive.
Watch the full tutorial on YouTube
Comments (3)
Just used this on a wedding shoot edit. Client was thrilled.
Simple but effective. Sometimes that's all you need.
Love this. I referenced a similar technique in one of my recent posts. Always good to see other perspectives.
Leave a Comment