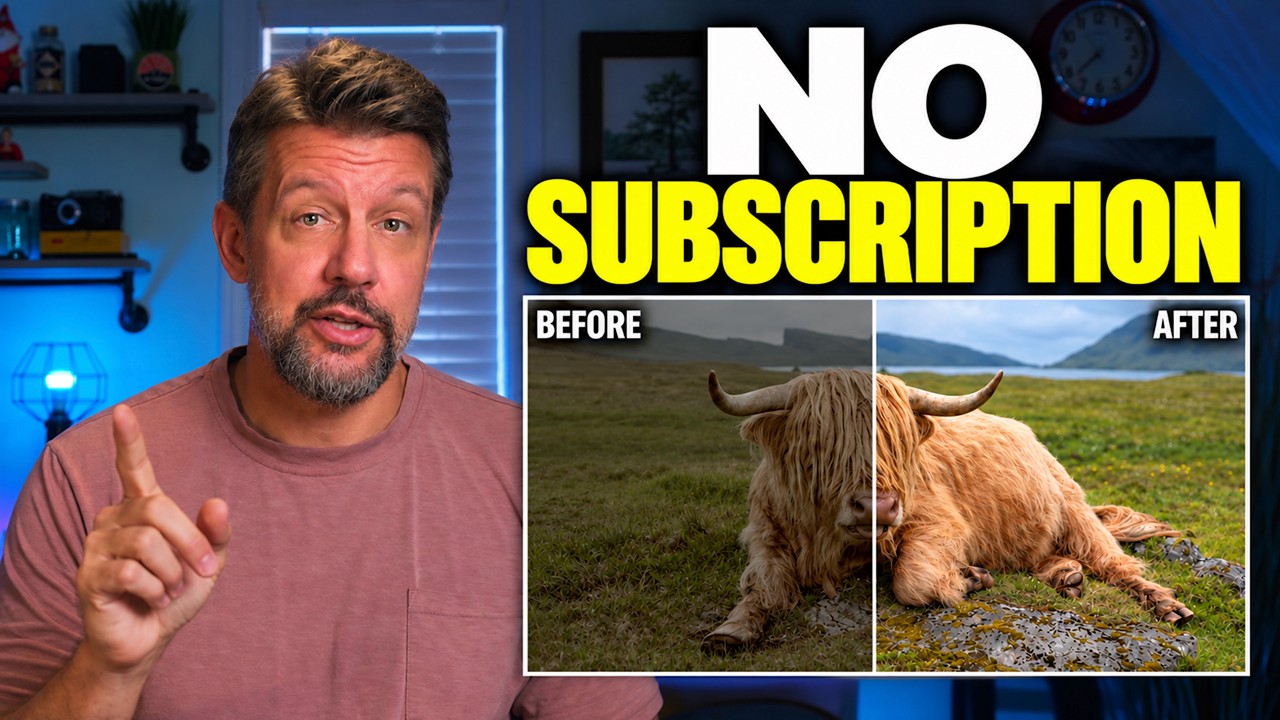
Every few months I revisit the subscription question. Not because I’m unhappy with Lightroom, but because the math keeps changing for photographers who don’t bill by the hour. I’ve been editing in Lightroom since before Adobe made it a rental, and I’ll be honest, the muscle memory alone has kept me paying. But when a tool does something I genuinely haven’t seen before, I pay attention.
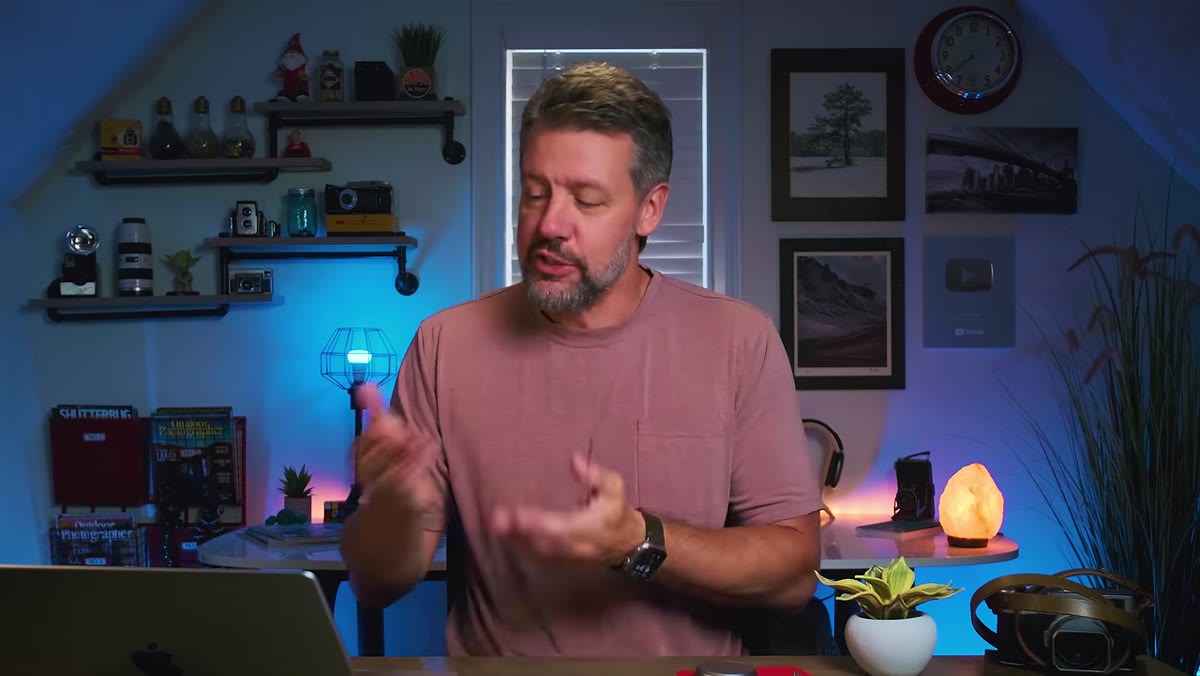
That’s what happened when I watched landscape photographer Mark Denney work through two edits in DxO PhotoLab 10. Watch the full tutorial on YouTube before or after reading this, because seeing the before-and-after on the Highland cow image is worth your time on its own. Mark has been shooting Lightroom for 11 years and already uses DxO PureRAW for noise reduction, so this isn’t a sponsored puff piece from someone who opened the software for the first time that morning. He’s coming in with real context, and it shows in how he explores the tools.
The two things that stopped me mid-scroll were the Depth Mask and the fact that PhotoLab 10 runs as a Lightroom plugin. If you love Lightroom’s cataloging but want to route specific edits through a different engine, that workflow is fully supported. You send the file over, do your work, and come back. No catalog migration required. That alone removed the biggest objection I had.
Step 1: Send Your File to PhotoLab 10 from Lightroom
 Lightroom plugin menu showing “Export to DxO PhotoLab 10”
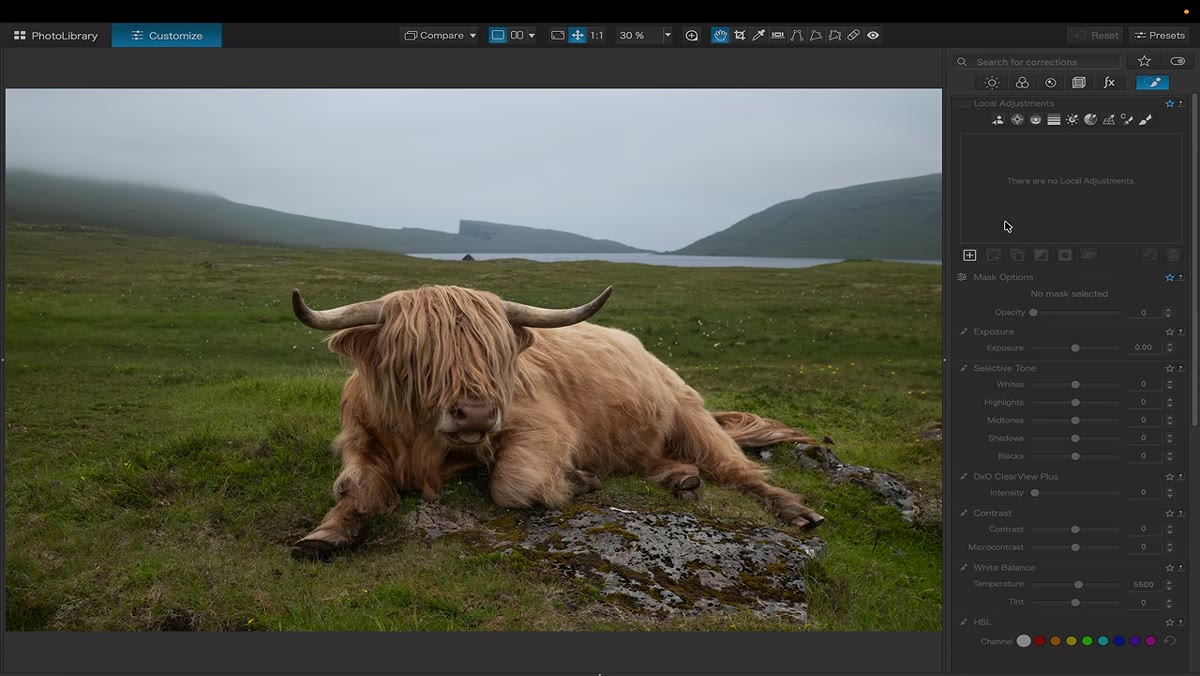
Inside Lightroom, select the image you want to edit and navigate to the plugin export option. Mark selects his Highland cow RAW file and routes it directly to PhotoLab 10 through the plugin menu. The file opens in PhotoLab with its full RAW data intact. If you’ve been hesitant to try a new editor because switching catalogs sounds like a weekend project, this plugin integration is the reason to reconsider. You keep Lightroom as your home base and use PhotoLab as a dedicated editing room for the images that need more surgical work.
Step 2: Open the Masking Panel and Select the Depth Mask Tool
 Masking panel open with Depth Mask icon highlighted
In the masking section, click the plus button to create a new mask, then look for the Depth Mask icon. This is the tool Mark specifically came to explore, and it’s genuinely unlike anything currently in Lightroom or Capture One. When you select it, the cursor becomes an eyedropper. The idea is simple but the execution is impressive: PhotoLab 10 uses the depth data embedded in or inferred from your RAW file to understand which parts of the scene are physically closer to the camera and which are farther away.
Step 3: Set Your Depth Mask Anchor Point
 Eyedropper clicking on background to set depth mask endpoint
Click somewhere in the image to tell the tool where you want the depth effect to begin or end. For the Highland cow shot, Mark clicks on the background, essentially telling the mask to treat everything beyond the cow as the region to affect. A small visual slider appears showing two mountain icons, one larger (foreground) and one smaller (background). Drag the slider toward the background end so the effect applies primarily to the distant parts of the frame and transitions gradually toward the subject. The gradual falloff is the key to making this look like it was done in-camera rather than in post.
Step 4: Dial In the Blur to Simulate Depth of Field
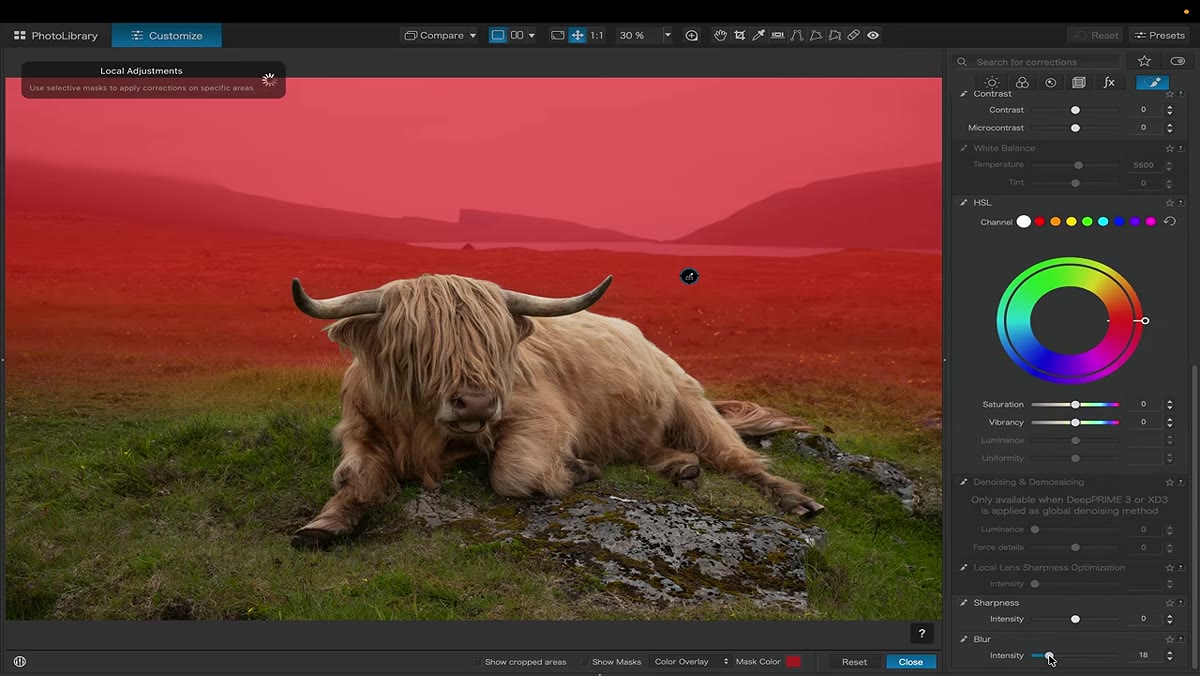 Blur slider being raised to around 32 in the depth mask settings
With the depth mask set, scroll down to the Blur slider within the mask options and bring it up. Mark pushes it to around 32 for demonstration purposes, noting he’d pull it back a touch in a real edit. Toggle the mask on and off using the D key to compare. The result on the Highland cow is a convincing shallow depth-of-field effect where the background softens naturally along the actual depth plane of the scene, not just a flat gradient across the frame. If you’ve ever tried to fake this with a radial filter and gotten that telltale halo around your subject, you understand why this matters.
Step 5: Extend the Depth Mask with Additional Adjustments
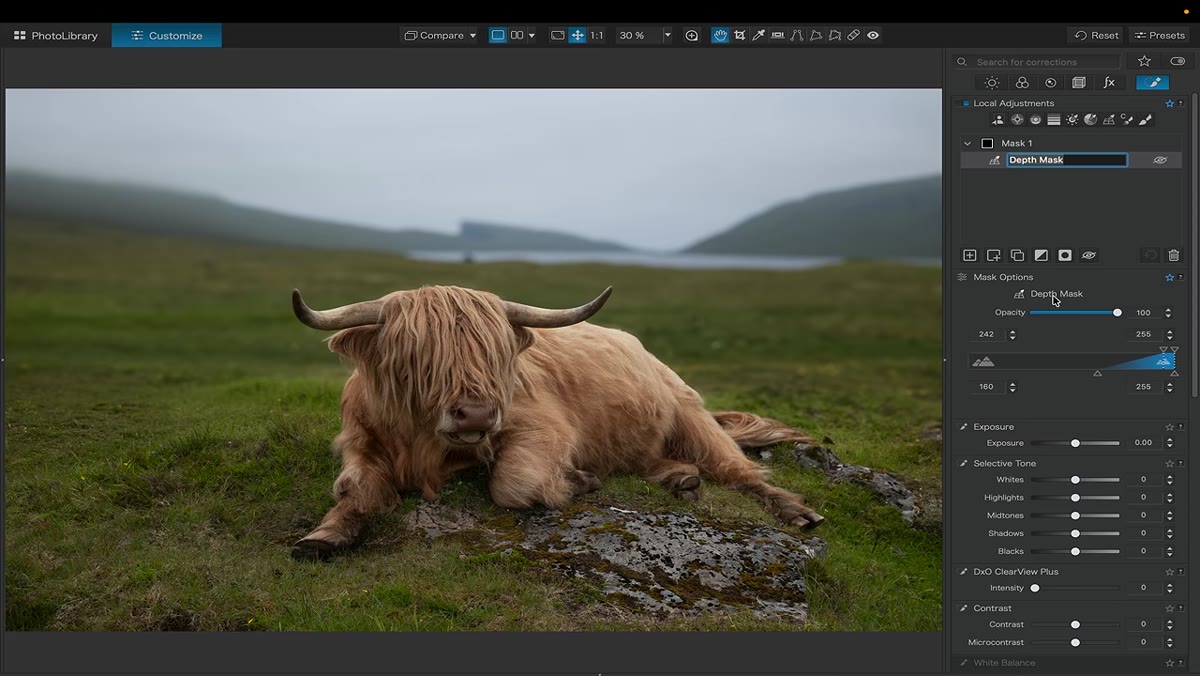 HSL panel open inside the depth mask with blue channel selected
The depth mask isn’t limited to blur. Once the mask is defined, you can apply any supported adjustment within it. Mark opens the HSL section and targets the blue channel to shift the color of the background independently from the cow. This is where the tool goes from impressive to genuinely useful for landscape work. You can desaturate the background, cool it down, reduce its contrast, all while leaving the foreground subject completely untouched because the mask is built on spatial data, not painted selections or luminosity ranges. The cow stays warm. The hills recede.
Step 6: Use AI Masking to Isolate the Subject for Targeted Corrections
 AI masking options panel showing subject selection tools
Alongside the depth tools, PhotoLab 10 includes AI-based masking for subject and sky selection that works similarly to Lightroom’s AI masking. Mark uses this on the woodland image to separate the mist and trees so he can work on each zone independently. The selections are clean enough for landscape work where hard edges aren’t usually the problem. What matters is that you can stack these AI masks with the depth mask approach to build edits that account for both what something is and where it sits in three-dimensional space.
One Thing I’d Add From My Own Workflow
The depth mask behavior Mark demonstrates makes the most obvious sense on images with clear foreground-background separation, your Highland cow with open hills, a portrait in a meadow, a wide-angle landscape with a defined subject. Where I’d want to test this further is on compressed telephoto shots where depth planes overlap. The AI has less to work with when everything is roughly the same distance from the lens. For those images, I’d still lean on luminosity-based masking or manual brush work. But for anything shot at f/2.8 to f/5.6 with genuine spatial depth in the frame, this tool would save a significant amount of time compared to what I currently do in Lightroom with stacked radial filters and graduated masks. The one-time purchase model also makes it easier to justify as a specialty tool you reach for on specific images rather than something you have to use constantly to feel like you’re getting your money’s worth.
The single biggest takeaway from Mark’s walkthrough is this: location-aware masking is a genuinely different category of tool, not just a faster way to do something you could already do. If your editing bottleneck is making backgrounds feel appropriately distant without looking retouched, PhotoLab 10’s depth mask addresses that in a way nothing else currently does at this price point.
Watch the full tutorial on YouTube to see the before-and-after on both the Highland cow and the misty woodland edit. DxO also offers a 30-day free trial with no credit card required, which is enough time to run your own tests on images where you’ve always felt like the background separation wasn’t quite convincing.
Comments (3)
Never thought of approaching it this way. Really creative.
Clear and practical. No fluff. Appreciate that.
This is fantastic. I've been recommending this approach to my readers too.
Leave a Comment