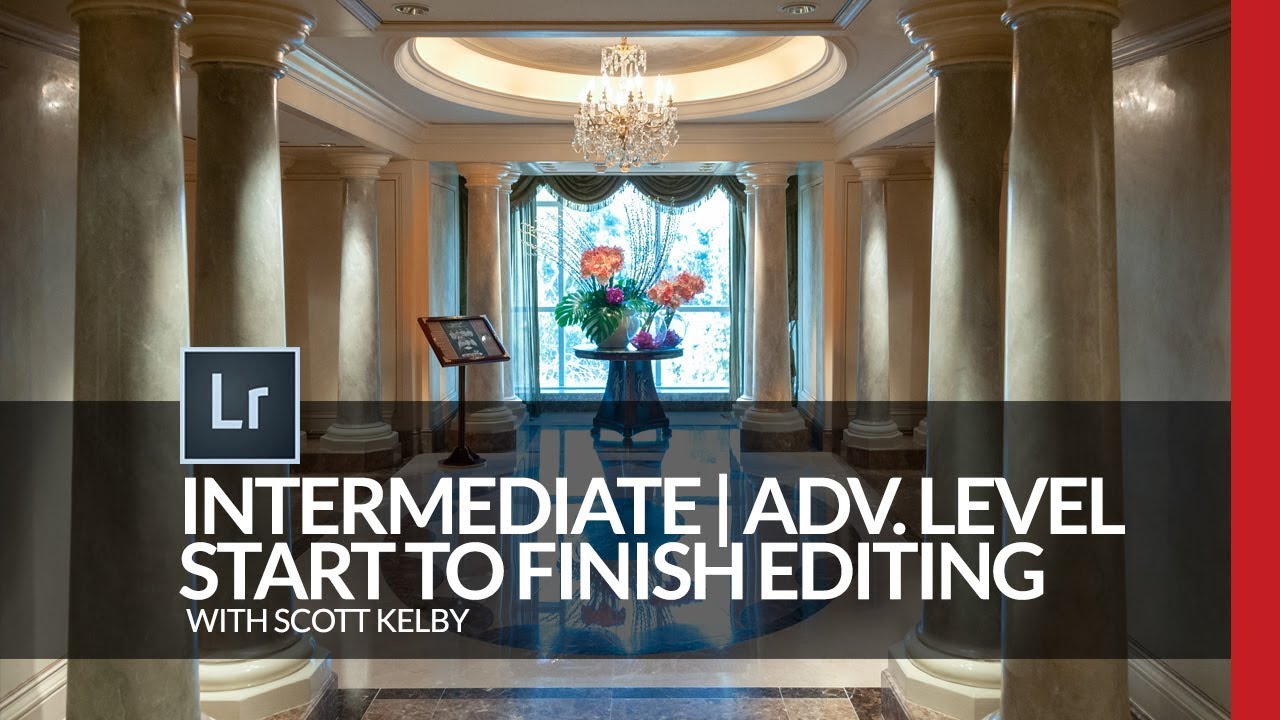
There’s a specific kind of photo that lives in everyone’s archive: technically salvageable, visually promising, but currently a disaster. Bad white balance, geometry that looks like a funhouse mirror, and some mystery fringing along the edges for good measure. I keep a folder full of them. They’re the images I shot years ago before I knew what I was doing, and every time I open them I have to decide whether they’re worth the fight.
That’s why I kept coming back to this tutorial. In this Scott Kelby tutorial, he opens with a photo that’s a genuine mess: a hotel lobby in Egypt with blown highlights, a severe color cast, and columns bent like linguine. It’s the kind of file most people would archive and forget. What makes the walkthrough valuable isn’t the specific image, it’s the diagnostic order. Kelby works through the problems in a sequence that makes sense, and by watching that sequence you start to internalize how to triage your own difficult files.
This is intermediate territory, meaning Kelby moves fast and assumes you know where the panels are. I’ve broken each stage down below so you can follow along without pausing every thirty seconds.
Step 1: Fix White Balance with the Eyedropper
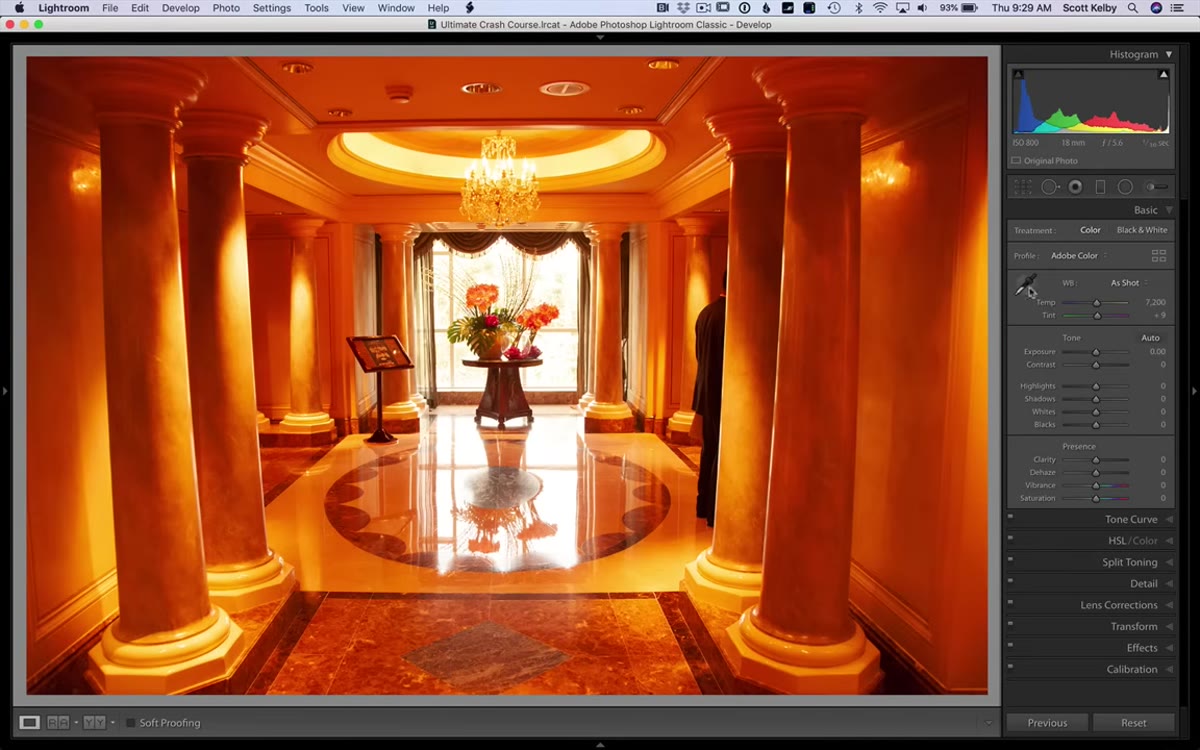 Eyedropper tool selected in Lightroom’s Develop module
The fastest route to a corrected white balance on a heavily color-cast image is the White Balance Selector (the eyedropper in the Basic panel). The goal is to click on something in the frame that should be a neutral gray. Walls, concrete, stone, matte painted surfaces all work well. Avoid anything that’s naturally colorful or reflective.
Eyedropper tool selected in Lightroom’s Develop module
The fastest route to a corrected white balance on a heavily color-cast image is the White Balance Selector (the eyedropper in the Basic panel). The goal is to click on something in the frame that should be a neutral gray. Walls, concrete, stone, matte painted surfaces all work well. Avoid anything that’s naturally colorful or reflective.
Kelby clicks on the hotel wall and gets a result that’s close but not perfect. That’s normal. You can click multiple spots until the overall cast feels neutral. Don’t chase perfection here because you’ll refine things later. Getting the image into a reasonable color neighborhood first makes every adjustment that follows more accurate.
Step 2: Paint Out Remaining Color Casts with the Adjustment Brush
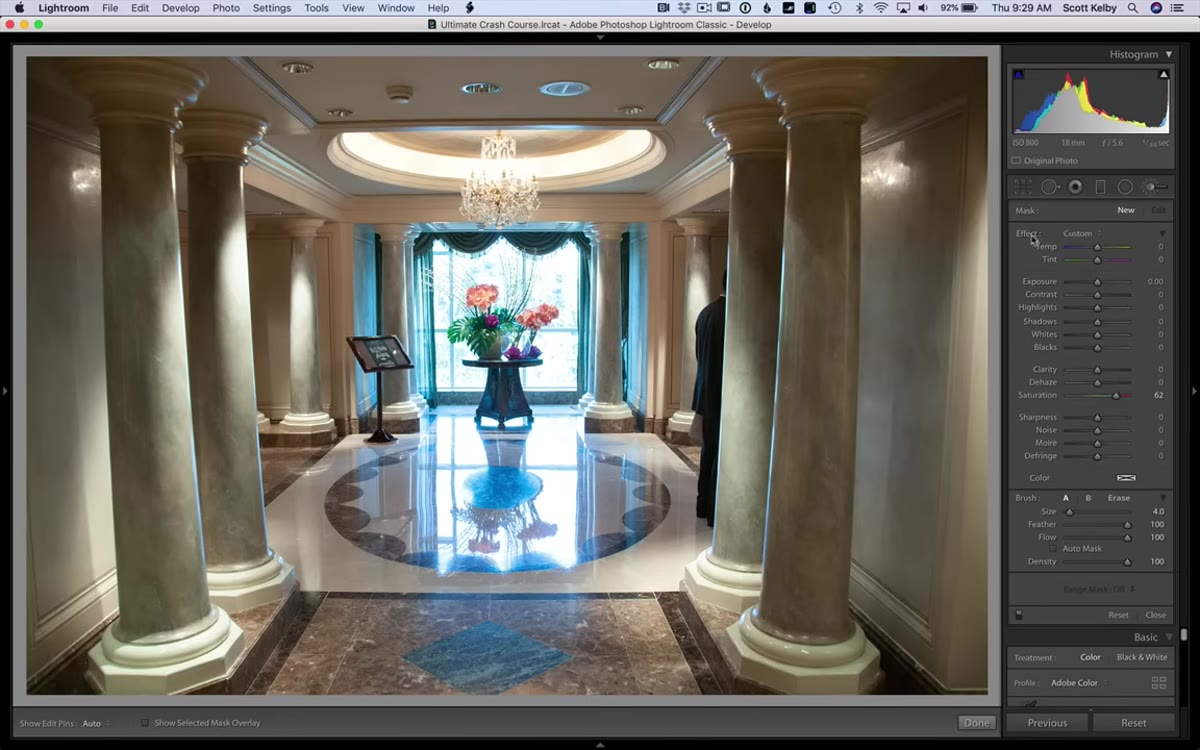 Adjustment Brush active, Temp slider pulled toward yellow
Even after the eyedropper correction, localized color casts can persist. In Kelby’s image, the lower portion of the frame holds a noticeable blue tone that the global white balance fix doesn’t fully resolve. The Adjustment Brush handles this precisely.
Adjustment Brush active, Temp slider pulled toward yellow
Even after the eyedropper correction, localized color casts can persist. In Kelby’s image, the lower portion of the frame holds a noticeable blue tone that the global white balance fix doesn’t fully resolve. The Adjustment Brush handles this precisely.
Open the Adjustment Brush, then double-click the word “Effect” to zero out all sliders and start fresh. From there, pull the Temperature slider toward yellow (away from blue). Paint over the areas where the blue cast is sitting. You’re essentially doing a targeted white balance correction, warming up only the problem zone while leaving the rest of the image untouched. Increase the brush amount or add additional strokes if the shift isn’t strong enough on the first pass.
Step 3: Pull Back the Highlights
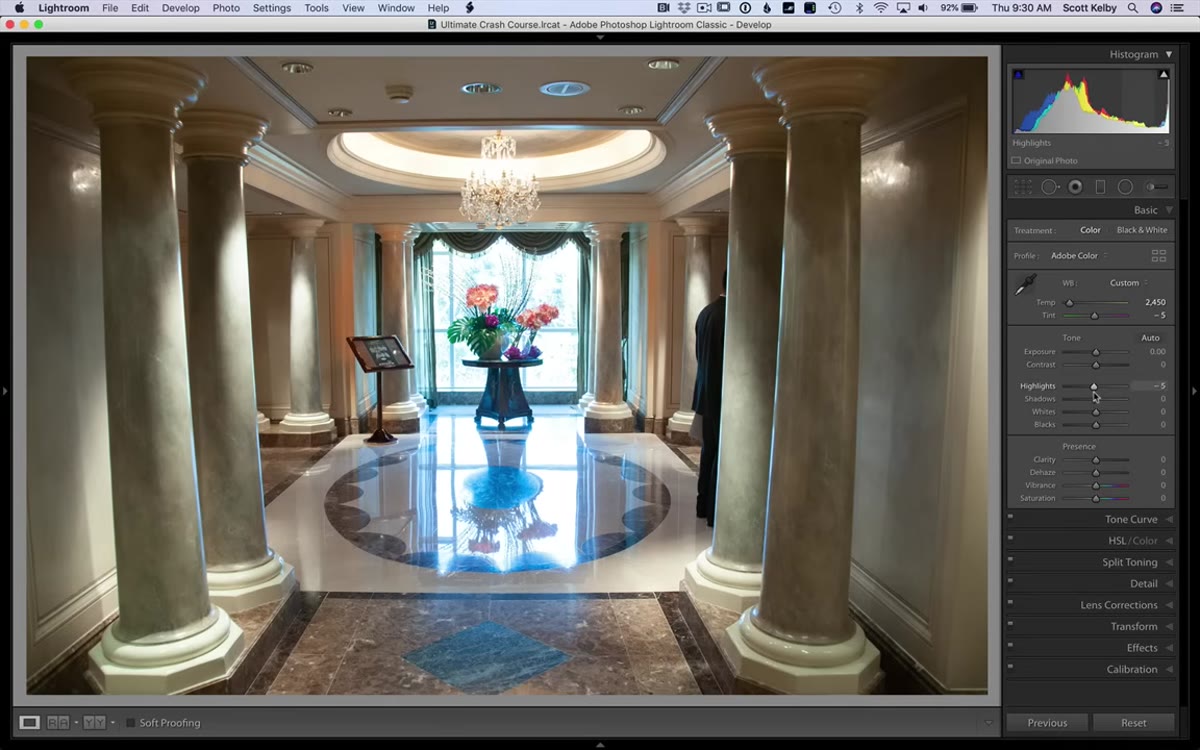 Highlights slider being dragged left in the Basic panel
Overexposed highlights are a separate problem from white balance, and they need to be addressed before you move into geometry corrections. Kelby’s chandelier is clipped, and the windows are completely blown out. Dragging the Highlights slider to the left recovers detail in those bright areas.
Highlights slider being dragged left in the Basic panel
Overexposed highlights are a separate problem from white balance, and they need to be addressed before you move into geometry corrections. Kelby’s chandelier is clipped, and the windows are completely blown out. Dragging the Highlights slider to the left recovers detail in those bright areas.
How far you drag depends on the file. RAW files hold a surprising amount of recoverable highlight data, sometimes two or more stops. Watch the histogram as you drag, and stop when the blown areas show texture again rather than pure white. On compressed files like JPEGs, recovery is more limited, but even a modest pull often softens the harshness of an overexposed area.
Step 4: Apply Lens Profile Corrections
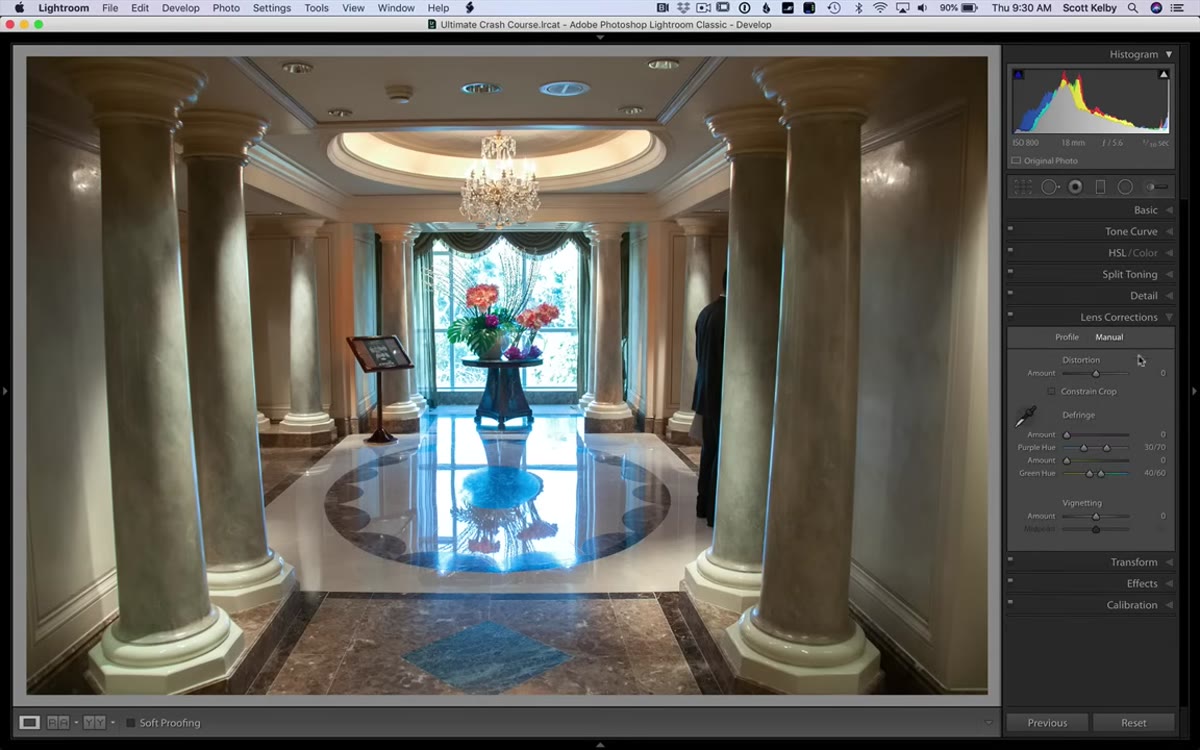 Lens Corrections panel open, Enable Profile Corrections checkbox being checked
Lens distortion is the kind of flaw that makes architectural photos look amateurish even when the exposure is perfect. Lightroom’s Lens Corrections panel can apply automatic corrections based on the lens that was used, pulling this information directly from the file’s EXIF metadata.
Lens Corrections panel open, Enable Profile Corrections checkbox being checked
Lens distortion is the kind of flaw that makes architectural photos look amateurish even when the exposure is perfect. Lightroom’s Lens Corrections panel can apply automatic corrections based on the lens that was used, pulling this information directly from the file’s EXIF metadata.
Open the Lens Corrections panel and check “Enable Profile Corrections.” Lightroom searches its database for a matching lens profile and applies geometric and vignetting corrections automatically. In Kelby’s case, it identified an 18-200mm zoom from a Nikon crop sensor camera and applied the appropriate fix. The barrel distortion that was warping the columns visibly tightens up. This step takes three seconds and makes a meaningful difference, so there’s no reason to skip it on any architectural or interior shot.
Step 5: Use Transform Auto to Straighten the Geometry
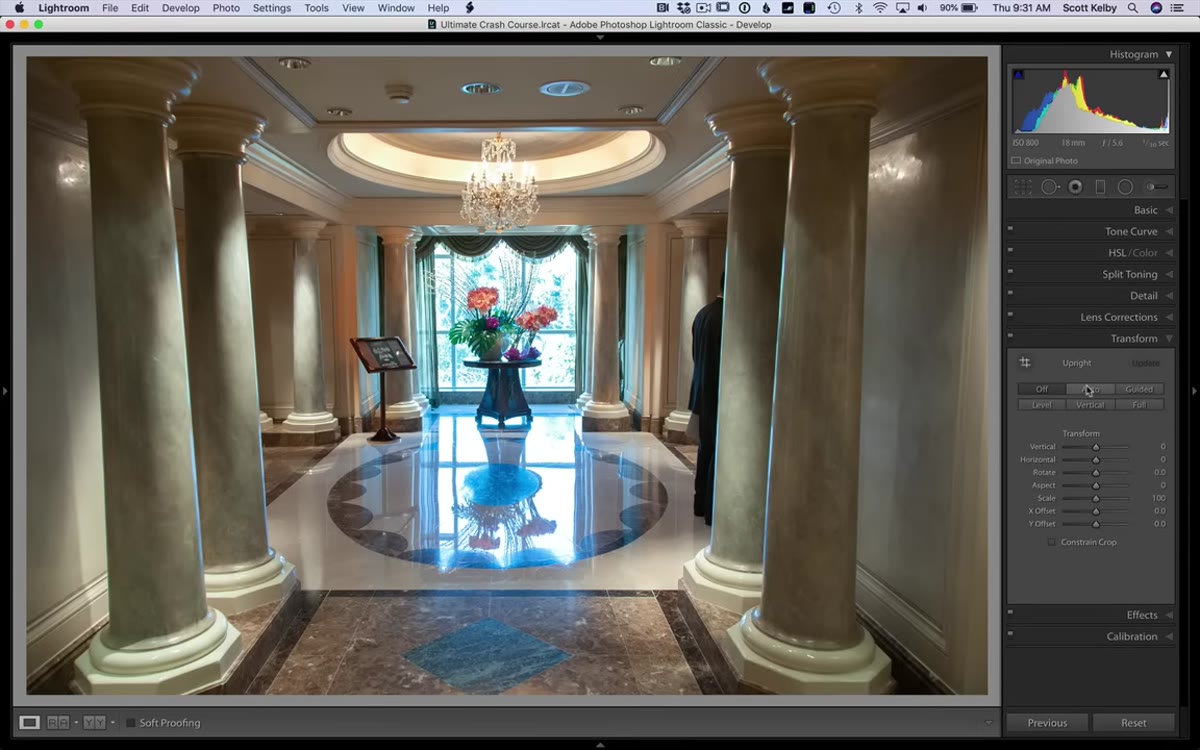 Transform panel open, Auto button selected, columns straightening on screen
Profile corrections handle lens distortion, but they don’t fully correct for perspective shift caused by camera angle. The Transform panel’s Auto function analyzes the image and applies a combination of vertical and horizontal corrections to make lines that should be straight actually look straight.
Transform panel open, Auto button selected, columns straightening on screen
Profile corrections handle lens distortion, but they don’t fully correct for perspective shift caused by camera angle. The Transform panel’s Auto function analyzes the image and applies a combination of vertical and horizontal corrections to make lines that should be straight actually look straight.
Click Auto and evaluate the result. Kelby notes that the Auto correction sometimes compresses the image slightly, making it look squatty. If that happens, the Aspect slider (just above Scale in the same panel) lets you stretch the image vertically or horizontally to compensate. A small nudge is usually all it takes. Use the before/after toggle (backslash key) to compare against your starting point and make sure you haven’t overcorrected.
Step 6: Remove Chromatic Aberration
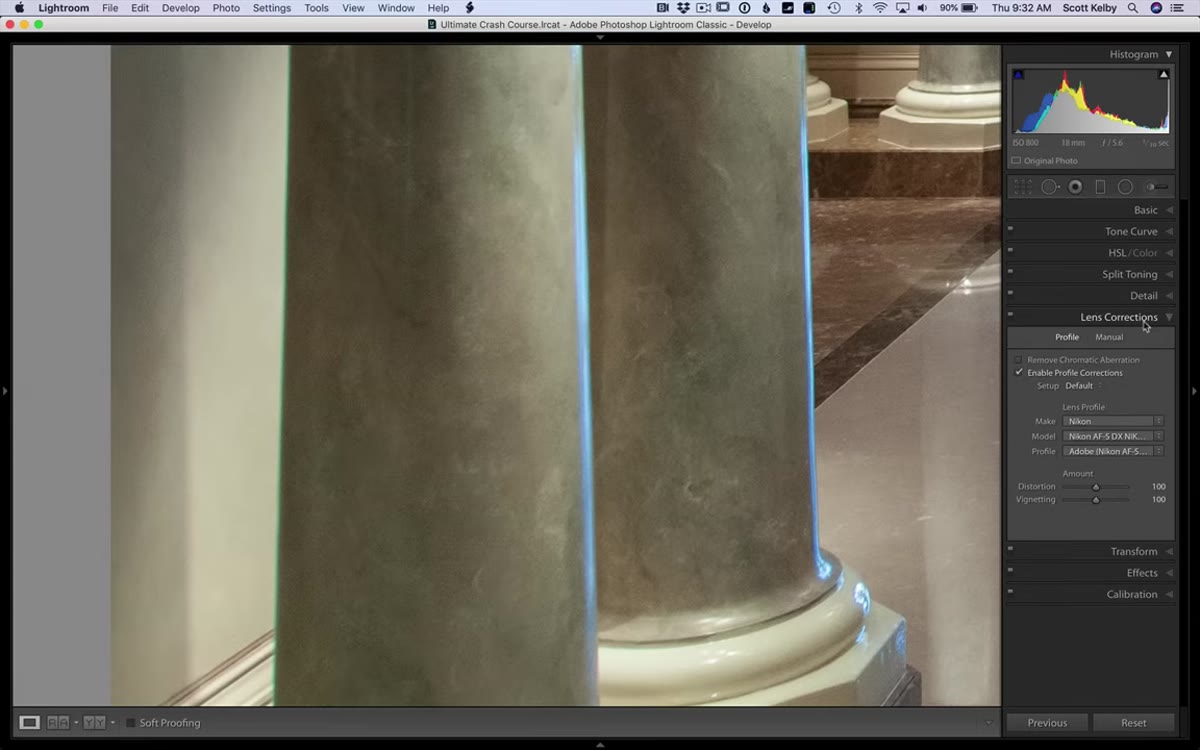 Lens Corrections panel showing green fringe on column edge before correction
Chromatic aberration shows up as colored fringing along high-contrast edges, most often green or purple. It’s a byproduct of how lens elements handle different wavelengths of light and it’s especially common on older or wide-range zoom lenses.
Lens Corrections panel showing green fringe on column edge before correction
Chromatic aberration shows up as colored fringing along high-contrast edges, most often green or purple. It’s a byproduct of how lens elements handle different wavelengths of light and it’s especially common on older or wide-range zoom lenses.
Back in the Lens Corrections panel, check “Remove Chromatic Aberration.” In most cases, especially with RAW files, this single checkbox eliminates the fringing completely. If it persists after checking the box, go to the Manual tab and raise the green or purple amount slider until the color fringe disappears. Kelby’s image had a noticeable green line along one of the columns, and the checkbox alone handled it cleanly.
Step 7: Fine-Tune Horizontal Alignment
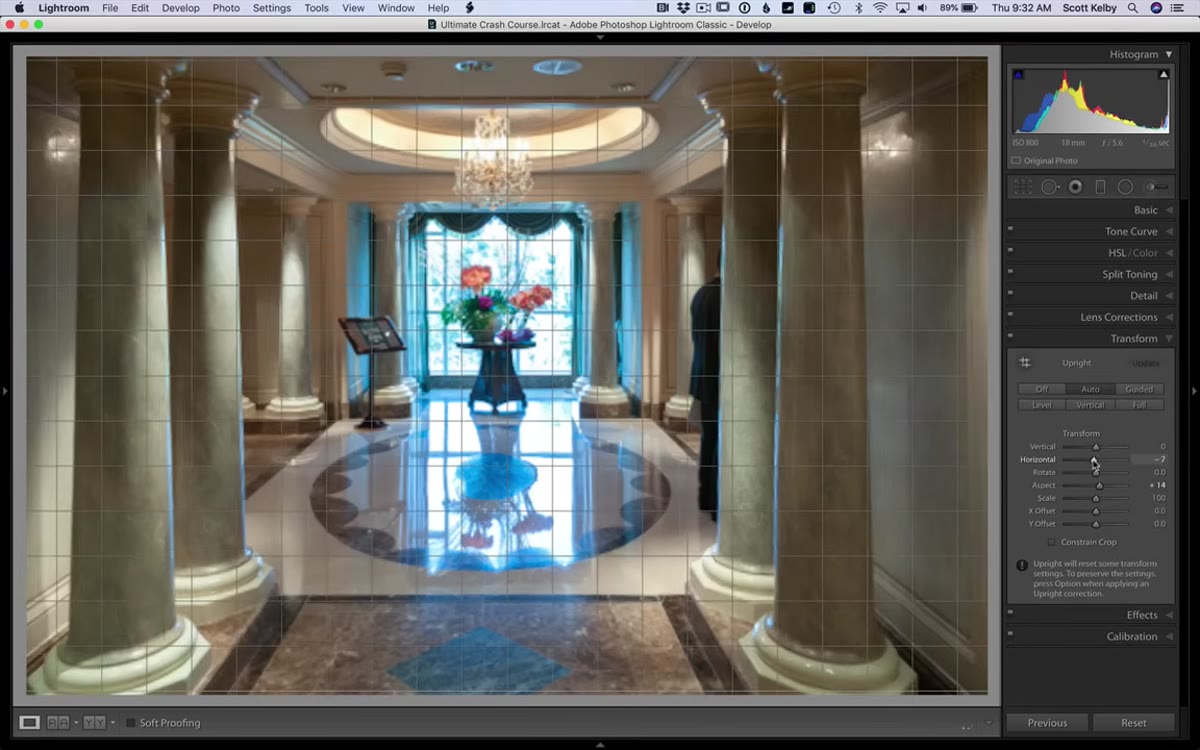 Transform panel, Horizontal slider being adjusted for final column alignment
After Auto transform runs, minor horizontal misalignment can remain if you weren’t standing perfectly centered when you shot. The Horizontal slider in the Transform panel corrects for this without rerunning the full Auto analysis.
Transform panel, Horizontal slider being adjusted for final column alignment
After Auto transform runs, minor horizontal misalignment can remain if you weren’t standing perfectly centered when you shot. The Horizontal slider in the Transform panel corrects for this without rerunning the full Auto analysis.
Nudge it left or right while watching the vertical lines in your frame. For architectural shots, columns, door frames, and wall edges give you clear reference points. Small adjustments here, usually just a few points in either direction, can make the composition feel properly balanced in a way that’s hard to articulate but immediately obvious when you see it.
What I’d Add: Combine This With a HSL Check
After working through geometry and white balance corrections on a file like this, I always make one more stop before heading to Photoshop: the HSL panel. Even with a good eyedropper correction, individual hue channels can sit in odd places. A quick check of the orange and yellow sliders (which affect skin tones and warm architectural surfaces) and the blue and aqua sliders often reveals a small remaining imbalance that a global white balance fix misses. Five seconds in HSL after these steps can tighten up a corrected file considerably.
The real lesson in Kelby’s walkthrough is that fixing a difficult image is a sequence, not a single fix. White balance first, then tonal adjustments, then geometry, then fringing. Working out of order means you’re correcting against a moving target. Get the color and light close, then straighten the world.
Watch the full tutorial on YouTube to see Kelby demonstrate each of these steps live, including the Photoshop work he picks up after the Lightroom corrections are done.
Comments
Leave a Comment