There’s a specific kind of frustration that comes from applying a preset and watching it fight your image the entire way through the edit. The preset wants to go orange and teal. Your photo wants to stay true to the golden hour light you actually shot in. Something always loses. For a long time, my workaround was building elaborate preset stacks, layering adjustments until I got close to the starting point I wanted. It worked, but it wasn’t elegant. Then I watched this breakdown from Tony and Chelsea Northrup on custom profiles in Lightroom Classic, and I realized I’d been solving the wrong problem. Watch the full tutorial on YouTube
The difference between a preset and a profile is subtle but it matters enormously in practice. Presets sit on top of your edit and move sliders around. Profiles operate underneath everything, shaping how Lightroom interprets the raw data before you touch a single control. Think of it like choosing your film stock before you load the camera, versus slapping a filter on a print after the fact. Custom profiles let you define that baseline interpretation yourself, and as Tony and Chelsea show, you can even bake LUTs directly into them. For anyone who does video work and wants their photo aesthetic to match their film look, this is a genuinely exciting capability.
What follows is my own walkthrough of the technique they demonstrate, written so you can actually execute it without pausing and rewinding every 30 seconds.
Step 1: Find the Profile Browser in Lightroom’s Develop Module
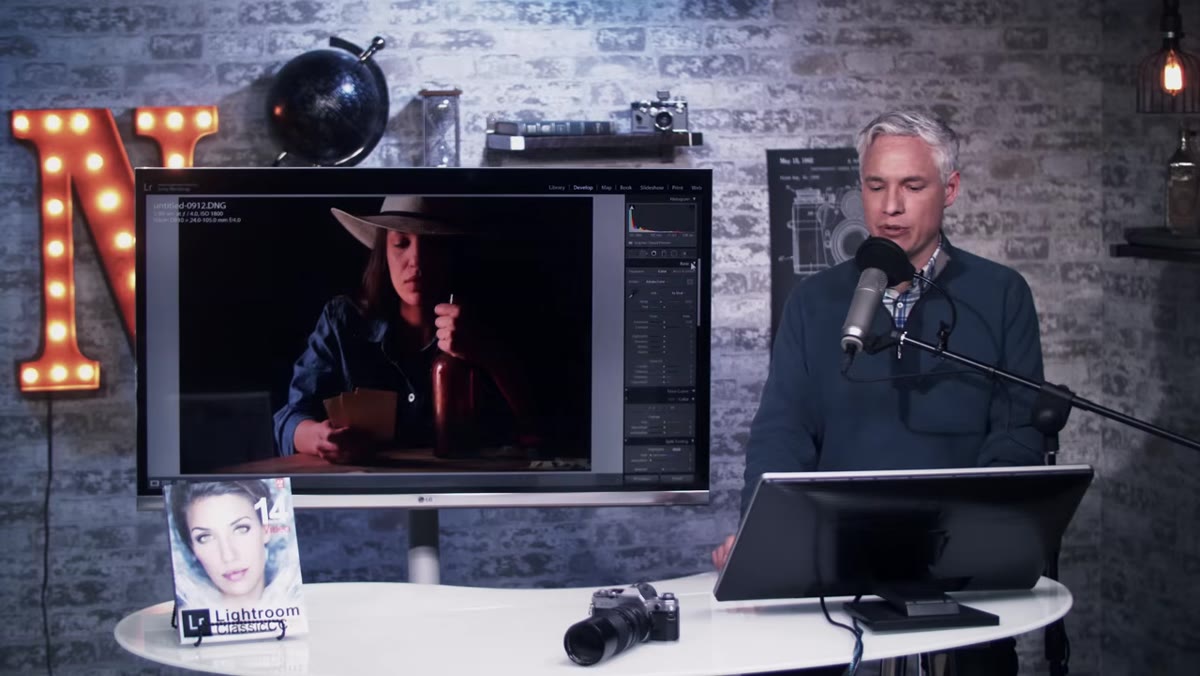 Lightroom Develop module with Profiles panel visible at top
Open Lightroom Classic and head into the Develop module. At the very top of the Basic panel, you’ll now see a Profiles section with a dropdown. Skip the dropdown for now and click the small grid icon next to it instead. This opens the full Profile Browser, where you can hover over any profile and see a live preview of how it changes your image. Adobe ships Lightroom with several categories out of the box, including Adobe Raw profiles and a set of artistic options covering modern and vintage looks. Spend a few minutes here just hovering. It gives you a real sense of what a profile does versus what a preset does.
Lightroom Develop module with Profiles panel visible at top
Open Lightroom Classic and head into the Develop module. At the very top of the Basic panel, you’ll now see a Profiles section with a dropdown. Skip the dropdown for now and click the small grid icon next to it instead. This opens the full Profile Browser, where you can hover over any profile and see a live preview of how it changes your image. Adobe ships Lightroom with several categories out of the box, including Adobe Raw profiles and a set of artistic options covering modern and vintage looks. Spend a few minutes here just hovering. It gives you a real sense of what a profile does versus what a preset does.
Step 2: Open Photoshop and Load Your Raw File into Adobe Camera Raw
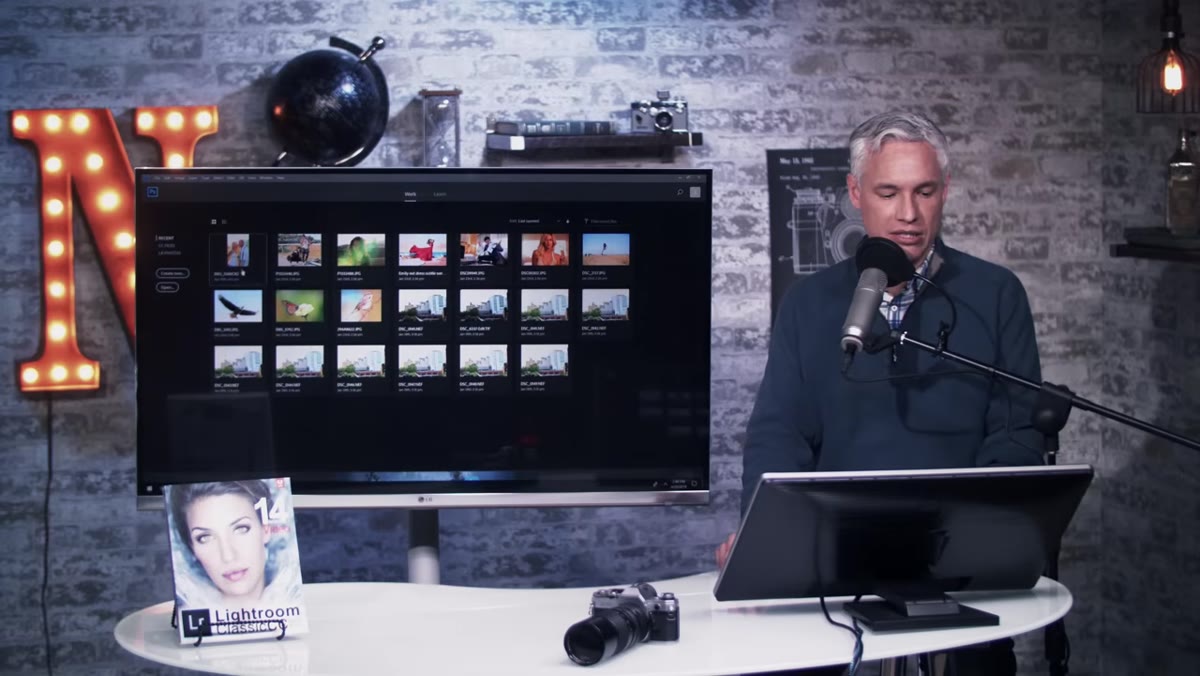 Adobe Camera Raw open with raw image loaded in Photoshop
Here’s the part that surprises people: you don’t build custom profiles inside Lightroom at all. You build them in Adobe Camera Raw, which is the raw processing engine that lives inside Photoshop. Open Photoshop, then open any raw file. Photoshop will automatically route it through Adobe Camera Raw before bringing it into the main workspace. If you have Lightroom, you almost certainly have Photoshop through the same Creative Cloud plan, so this step shouldn’t require anything extra.
Adobe Camera Raw open with raw image loaded in Photoshop
Here’s the part that surprises people: you don’t build custom profiles inside Lightroom at all. You build them in Adobe Camera Raw, which is the raw processing engine that lives inside Photoshop. Open Photoshop, then open any raw file. Photoshop will automatically route it through Adobe Camera Raw before bringing it into the main workspace. If you have Lightroom, you almost certainly have Photoshop through the same Creative Cloud plan, so this step shouldn’t require anything extra.
Step 3: Dial In the Look You Want Using Camera Raw Controls
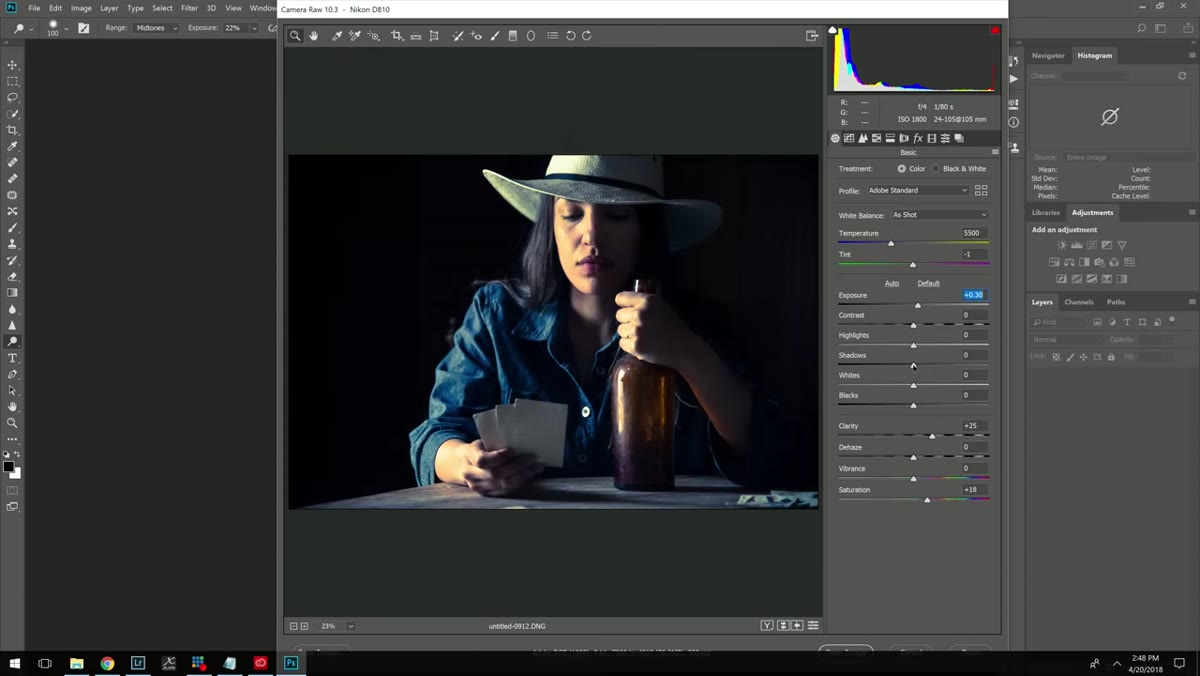 Adobe Camera Raw sliders adjusted for washed-out cinematic look
Adobe Camera Raw will look immediately familiar if you use Lightroom. The same panels are here: Basic, Tone Curve, HSL, Split Toning, all of it. This is where you build the visual foundation of your profile. If you want a lifted shadow, washed-out look, raise the Shadows slider and pull the Highlights down. If you want a cooler base tone, shift the White Balance. You can also navigate through the smaller tabs along the top of the panel to access things like Calibration and Effects. Any adjustments you make here will be baked into the profile. One important note: if you’re planning to load a LUT in the next step, keep your slider adjustments minimal. The LUT will do the heavy lifting on color, and stacking aggressive manual adjustments on top of it creates results that are hard to predict.
Adobe Camera Raw sliders adjusted for washed-out cinematic look
Adobe Camera Raw will look immediately familiar if you use Lightroom. The same panels are here: Basic, Tone Curve, HSL, Split Toning, all of it. This is where you build the visual foundation of your profile. If you want a lifted shadow, washed-out look, raise the Shadows slider and pull the Highlights down. If you want a cooler base tone, shift the White Balance. You can also navigate through the smaller tabs along the top of the panel to access things like Calibration and Effects. Any adjustments you make here will be baked into the profile. One important note: if you’re planning to load a LUT in the next step, keep your slider adjustments minimal. The LUT will do the heavy lifting on color, and stacking aggressive manual adjustments on top of it creates results that are hard to predict.
Step 4: Hold Alt (or Option on Mac) to Access the New Profile Dialog
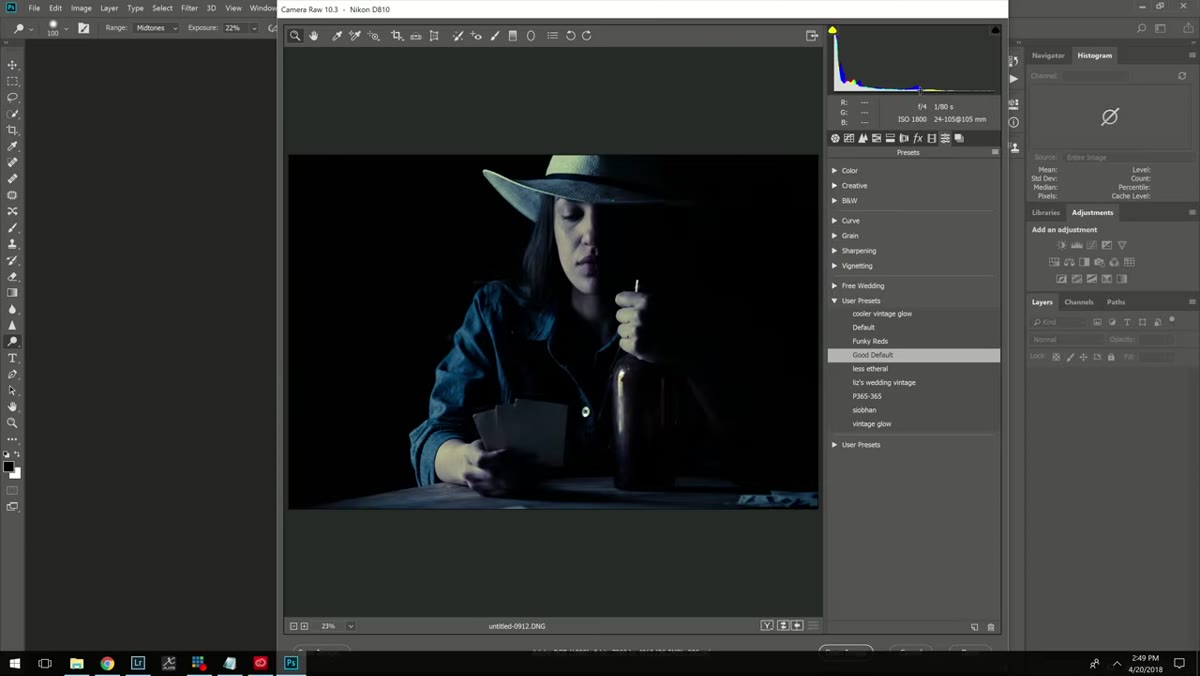 New Profile dialog box open in Adobe Camera Raw
This is the trick at the heart of the whole tutorial, and it’s the kind of thing you’d never find by clicking around on your own. Navigate to the Presets tab inside Camera Raw, the one with the slider icon. Normally, clicking the “new preset” button creates a preset. But if you hold Alt on Windows or Option on Mac while clicking that same button, the dialog that opens is completely different. Instead of “New Preset,” you get “New Profile.” Give it a name that means something to you. I name mine after songs, so I always know what mood I was going for when I built it.
New Profile dialog box open in Adobe Camera Raw
This is the trick at the heart of the whole tutorial, and it’s the kind of thing you’d never find by clicking around on your own. Navigate to the Presets tab inside Camera Raw, the one with the slider icon. Normally, clicking the “new preset” button creates a preset. But if you hold Alt on Windows or Option on Mac while clicking that same button, the dialog that opens is completely different. Instead of “New Preset,” you get “New Profile.” Give it a name that means something to you. I name mine after songs, so I always know what mood I was going for when I built it.
Step 5: Choose Which Settings to Include in the Profile
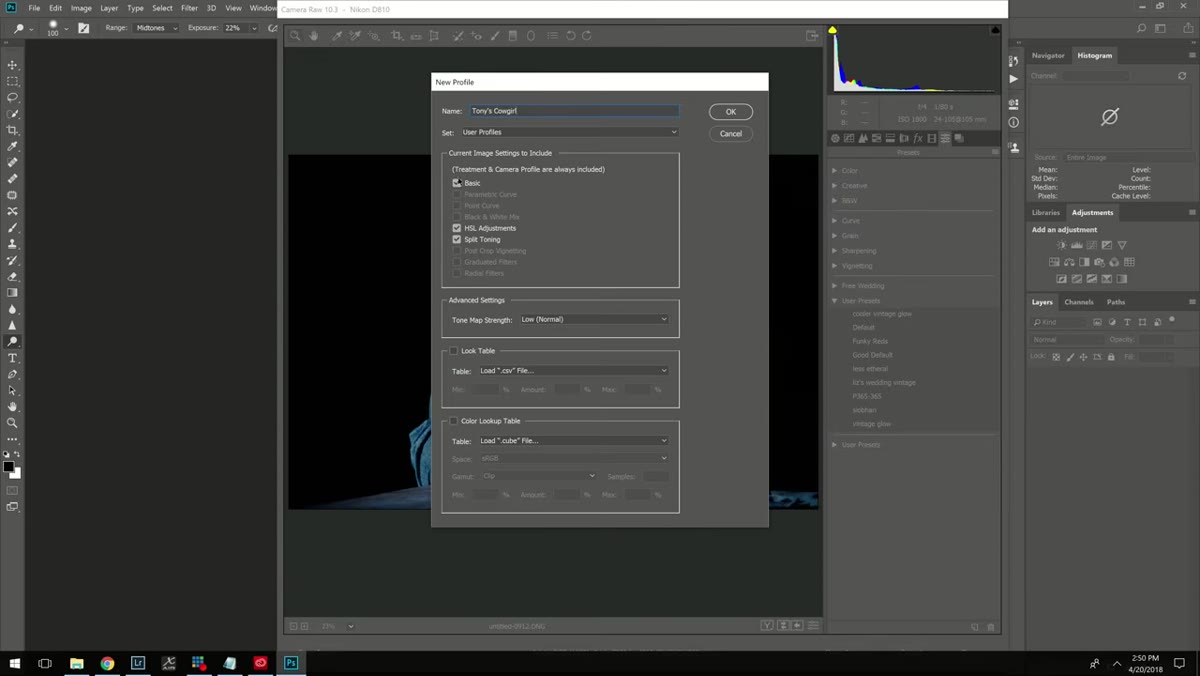 New Profile dialog showing checkboxes for settings groups
The New Profile dialog shows a list of setting categories with checkboxes. Camera Raw is smart enough to automatically check any category where you made adjustments, so you usually don’t need to touch this. But you do have control. If you made Split Toning adjustments and then decided you’d rather leave that flexible for each image, you can uncheck it and it won’t be baked into the profile. The profile will only apply the settings in the checked categories.
New Profile dialog showing checkboxes for settings groups
The New Profile dialog shows a list of setting categories with checkboxes. Camera Raw is smart enough to automatically check any category where you made adjustments, so you usually don’t need to touch this. But you do have control. If you made Split Toning adjustments and then decided you’d rather leave that flexible for each image, you can uncheck it and it won’t be baked into the profile. The profile will only apply the settings in the checked categories.
Step 6: Load a LUT File Directly Into the Profile
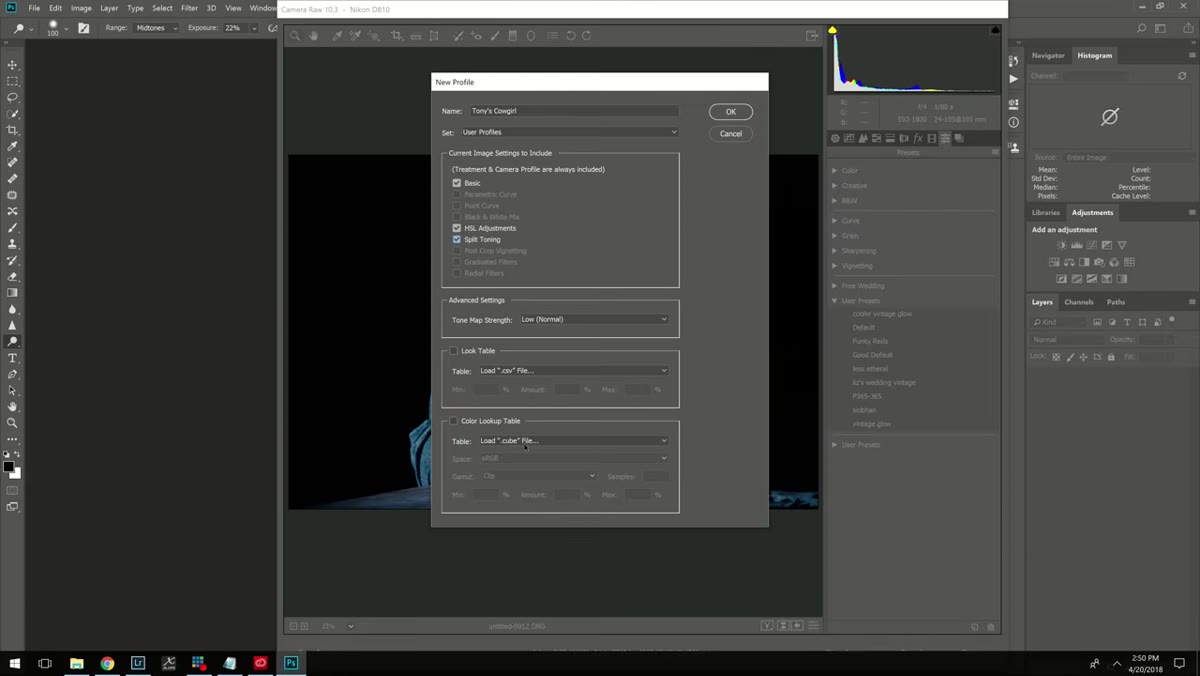 Color Lookup Table section with .cube file browser open
Near the bottom of the New Profile dialog, there’s a Color Lookup Table section with a file browser button. Click it and navigate to any .cube file on your computer. Video editors will likely have a folder of these already. If you’ve been working with .lut or other formats, you’ll need to convert them to .cube first, since Camera Raw only accepts that format. Free .cube files are easy to find online, and plenty of commercial LUT packs include .cube versions. Once you select your file, it gets embedded in the profile. The important caveat Tony and Chelsea flag here: Camera Raw will not preview the LUT effect in this dialog. If you’re building a profile around a LUT, trust the LUT to do the color work and keep your manual slider adjustments conservative so they don’t introduce unexpected interactions.
Color Lookup Table section with .cube file browser open
Near the bottom of the New Profile dialog, there’s a Color Lookup Table section with a file browser button. Click it and navigate to any .cube file on your computer. Video editors will likely have a folder of these already. If you’ve been working with .lut or other formats, you’ll need to convert them to .cube first, since Camera Raw only accepts that format. Free .cube files are easy to find online, and plenty of commercial LUT packs include .cube versions. Once you select your file, it gets embedded in the profile. The important caveat Tony and Chelsea flag here: Camera Raw will not preview the LUT effect in this dialog. If you’re building a profile around a LUT, trust the LUT to do the color work and keep your manual slider adjustments conservative so they don’t introduce unexpected interactions.
Step 7: Save and Apply the Profile Back in Lightroom
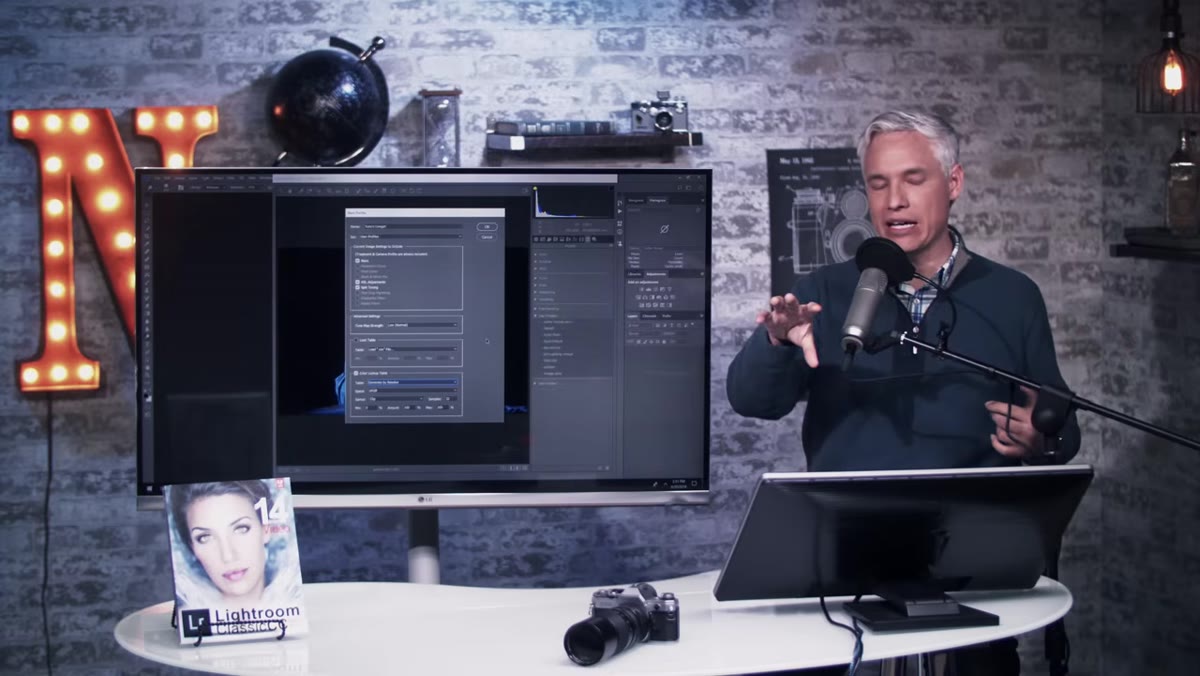 Custom profile appearing in Lightroom’s Profile Browser
Click OK and your profile saves. Switch back to Lightroom, open the Profile Browser again, and scroll down past Adobe’s built-in options. Your custom profile will be waiting there. Apply it to an image by clicking it, just like any other profile. Because it sits underneath your edit, every slider adjustment you make afterward works relative to the profile’s baseline interpretation. This is the real workflow payoff: you’re not fighting the preset anymore. You’re building on a foundation you designed.
Custom profile appearing in Lightroom’s Profile Browser
Click OK and your profile saves. Switch back to Lightroom, open the Profile Browser again, and scroll down past Adobe’s built-in options. Your custom profile will be waiting there. Apply it to an image by clicking it, just like any other profile. Because it sits underneath your edit, every slider adjustment you make afterward works relative to the profile’s baseline interpretation. This is the real workflow payoff: you’re not fighting the preset anymore. You’re building on a foundation you designed.
One Thing I’d Add: Test Your LUTs on Multiple Images Before Committing
The one thing I’ve learned from actually using this in my own work is that a LUT can look completely different across varied lighting conditions. A LUT I built for warm outdoor portraits looked genuinely strange on the next session, which was a dimly lit indoor shoot. Before I lock a LUT-based profile into my regular rotation, I now test it on at least five or six images from different environments. If it holds up across all of them, it earns a permanent spot in the browser. If it only works in specific scenarios, I name it accordingly so I always know when to reach for it.
The single biggest takeaway from this tutorial is that profiles give you a smarter starting point than presets ever can, and building them yourself means your starting point is actually yours. That’s worth the extra steps in Photoshop every time.
Watch the full tutorial on YouTube to see Tony and Chelsea walk through the whole process with live examples.
Comments
Leave a Comment