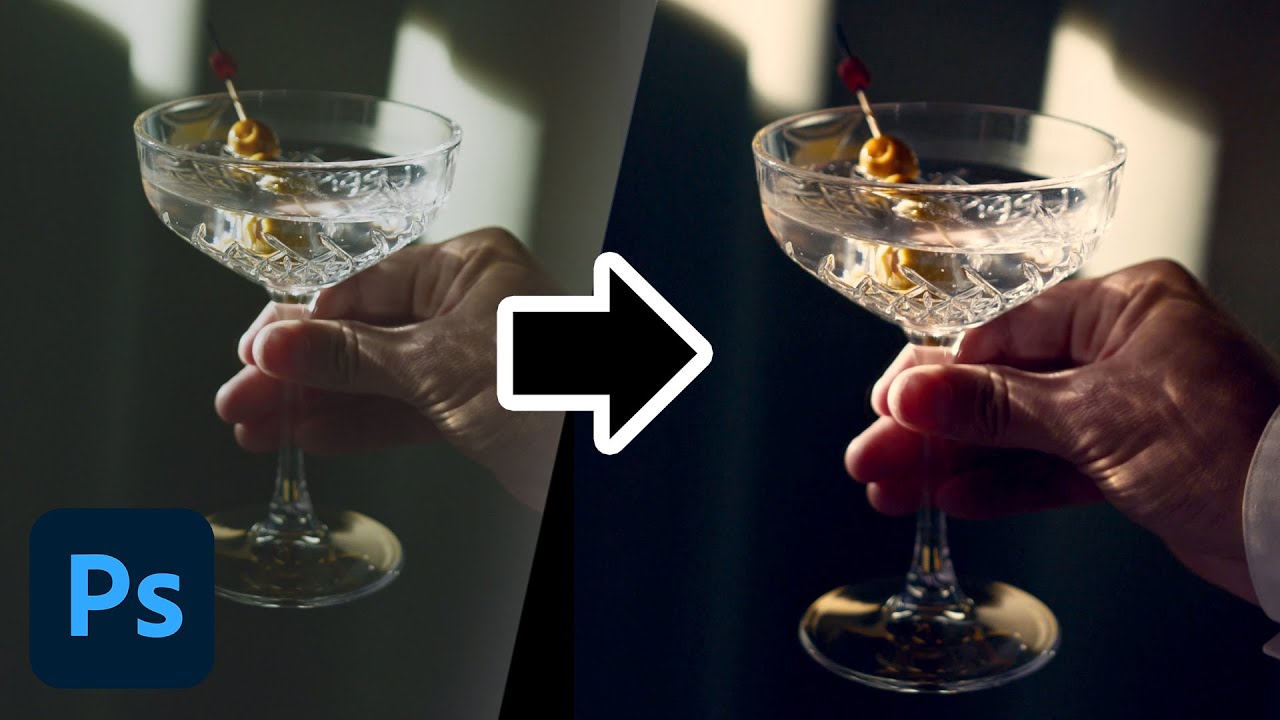
Most of my work lives in Lightroom. Presets, tone curves, HSL panels — that’s my natural habitat. But clients don’t always hand me JPEGs anymore. More and more, they’re showing up with phone footage, drone clips, or short brand videos that need to match the look of the stills I’ve already edited for them. For a long time, I treated that as a separate problem requiring a separate tool. Turns out I was making it harder than it needed to be.
In this Aaron Nace (PHLEARN) tutorial, Watch the full tutorial on YouTube, Aaron walks through color grading video directly inside Photoshop using the same adjustment layers you already use on photos. No Premiere, no DaVinci Resolve, no new software to learn. If you know what Color Balance does to a flat RAW file, you already understand about 80% of what’s happening here. The other 20% is just learning where Photoshop keeps its video-specific buttons.
He also includes a free sample LUT pack with the download, which is genuinely useful and not just a signup bribe. LUTs are the bridge between photo editing and video color work, and having a solid starting pack matters. Here’s the full walkthrough so you can follow along without pausing every 30 seconds.
Step 1: Open Your Video File in Photoshop
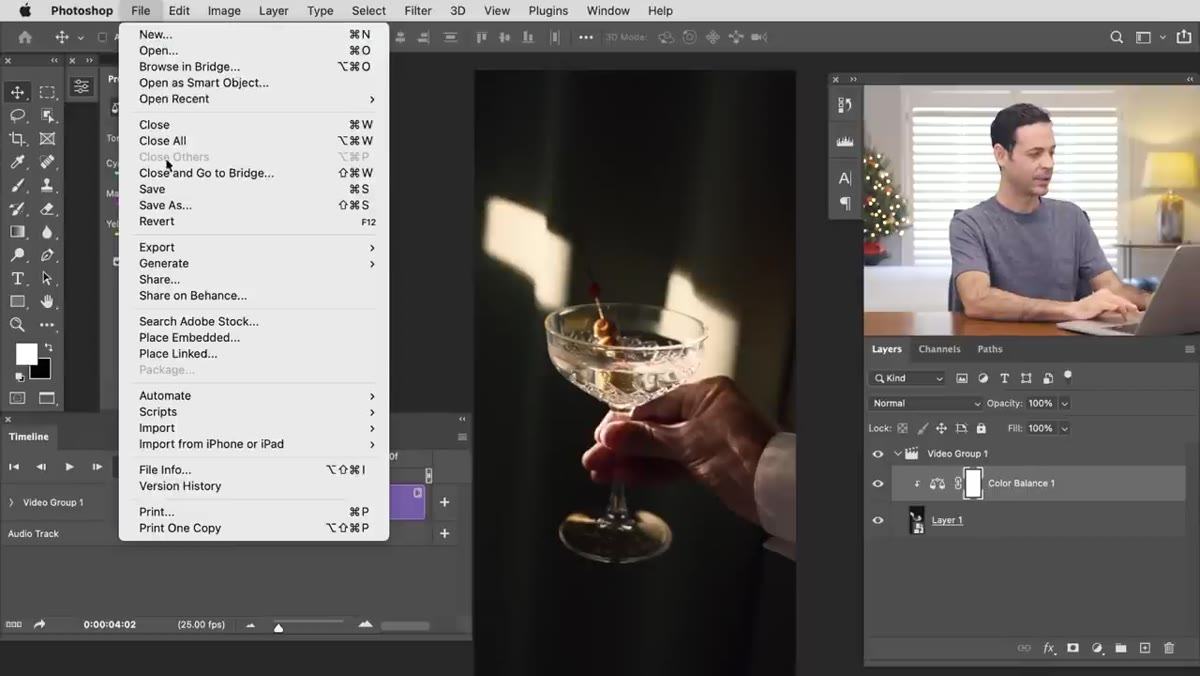
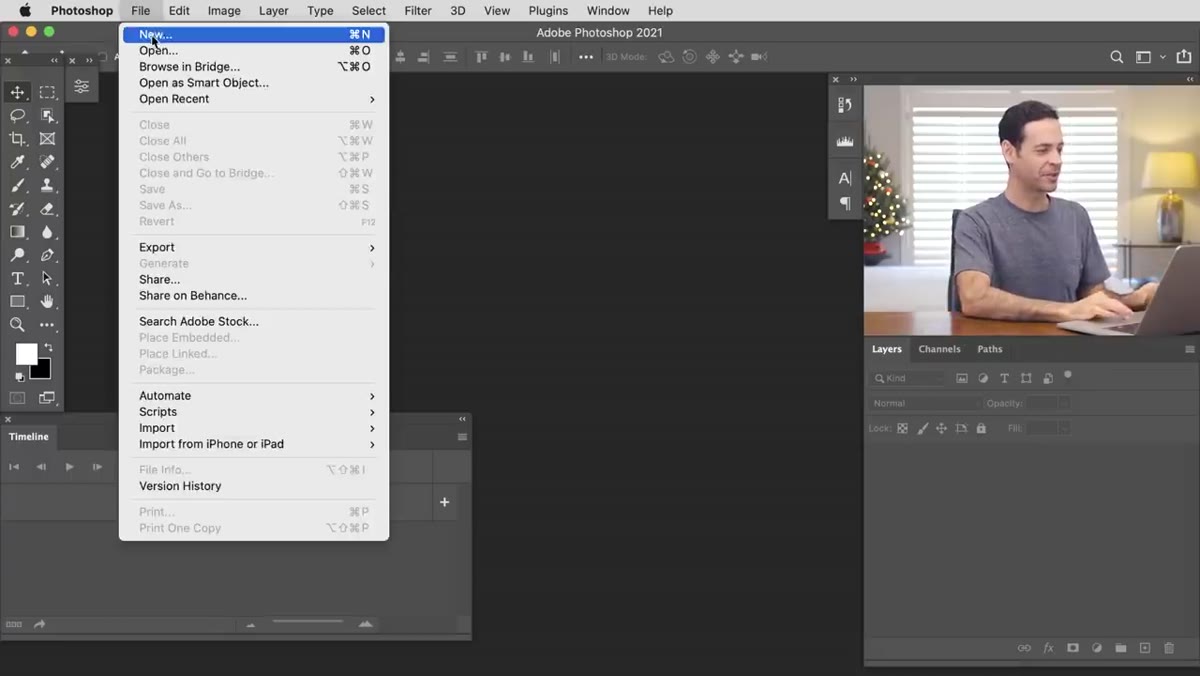 Navigating to File > Open to load an MP4 video
Go to File, then Open, and select your video file. Photoshop handles MP4 natively, which still surprises people every time. Once the file loads, you’ll see it appear as a layer in the Layers panel, but it won’t behave like a normal layer until you also have your Timeline panel visible.
Navigating to File > Open to load an MP4 video
Go to File, then Open, and select your video file. Photoshop handles MP4 natively, which still surprises people every time. Once the file loads, you’ll see it appear as a layer in the Layers panel, but it won’t behave like a normal layer until you also have your Timeline panel visible.
If you don’t see the Timeline panel at the bottom of your screen, go to Window and check Timeline. That panel is what turns Photoshop from a photo editor into something that actually understands the concept of time. Hit play and confirm the video runs. If it does, you’re in the right place.
Step 2: Understand the Video Group in the Layers Panel
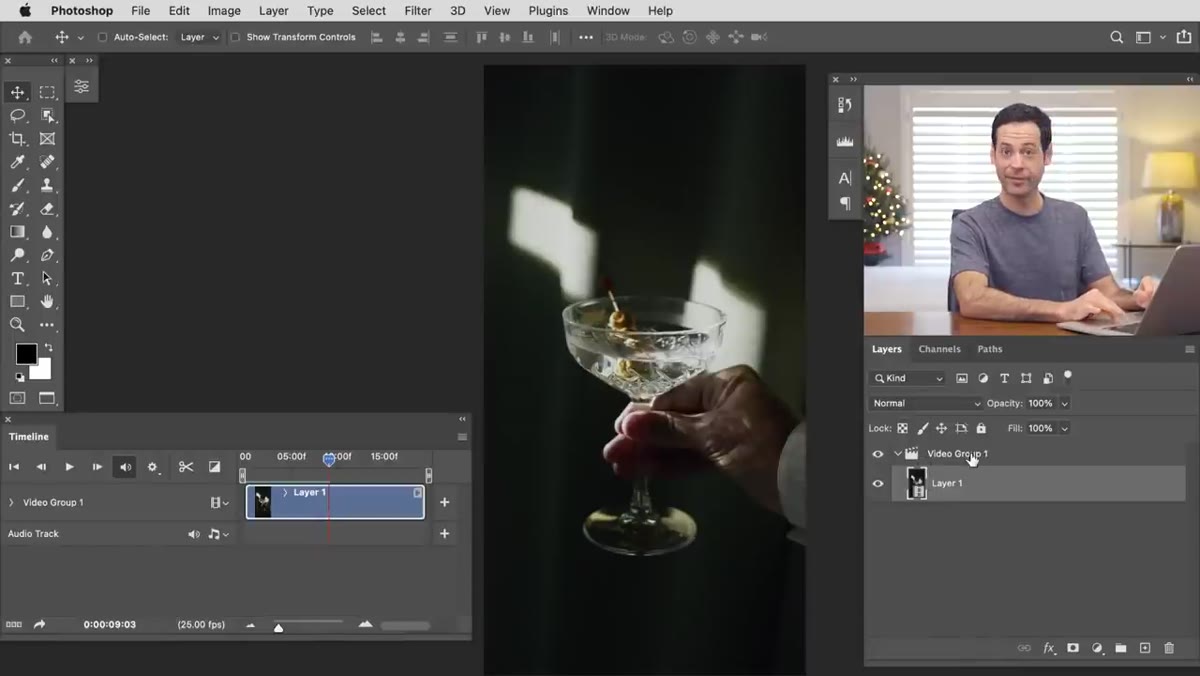 Layers panel showing the video group structure
When Photoshop imports your video, it wraps the footage inside a Video Group in the Layers panel. This matters because anything you put inside or directly above that group will apply to the footage. The Timeline at the bottom mirrors this structure and lets you stack multiple clips, add transitions, and do basic editorial cuts if you need them.
Layers panel showing the video group structure
When Photoshop imports your video, it wraps the footage inside a Video Group in the Layers panel. This matters because anything you put inside or directly above that group will apply to the footage. The Timeline at the bottom mirrors this structure and lets you stack multiple clips, add transitions, and do basic editorial cuts if you need them.
Aaron is clear that Photoshop isn’t trying to replace Premiere for complex multi-camera edits. But for taking a single clip or a simple sequence and applying a unified color grade, it works cleanly. Think of it the way you’d think of Lightroom’s module structure: the right tool for the right job, and this job fits.
Step 3: Add a Color Balance Adjustment Layer
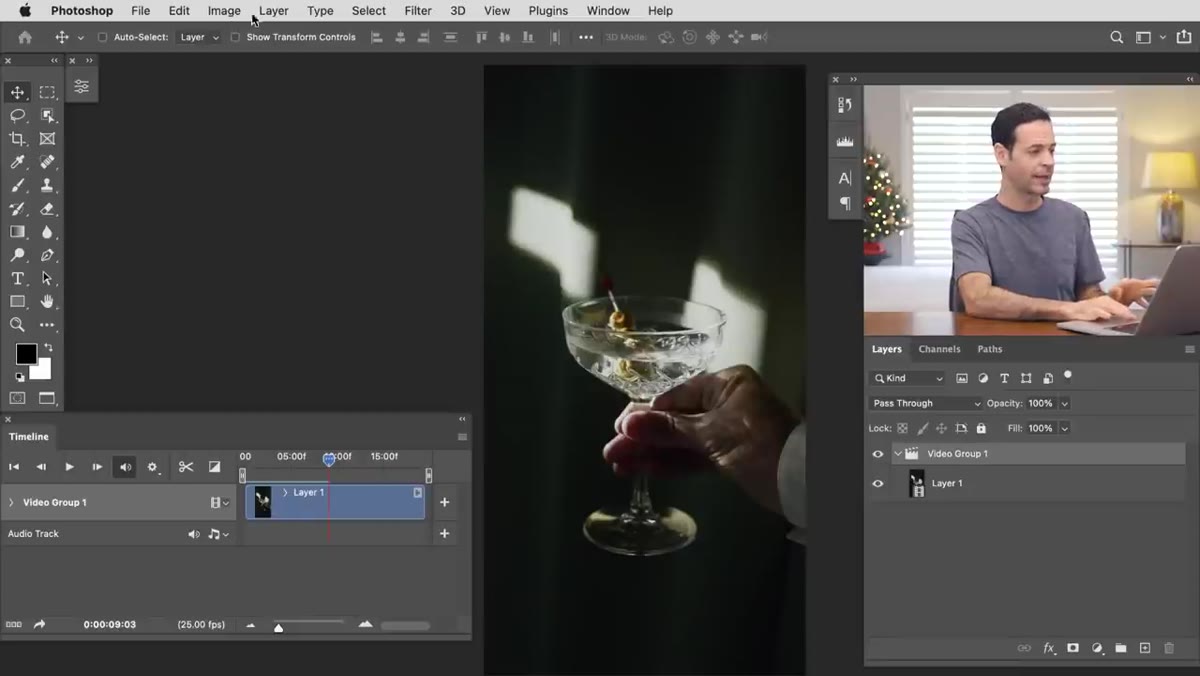 Adding a Color Balance adjustment layer above the video group
Go to Layer, then New Adjustment Layer, then Color Balance. This is the core of Aaron’s approach, and it’s a good choice for beginners specifically because Color Balance is organized in a way that matches how colorists actually think: shadows, midtones, highlights, each with their own set of color relationships to push or pull.
Adding a Color Balance adjustment layer above the video group
Go to Layer, then New Adjustment Layer, then Color Balance. This is the core of Aaron’s approach, and it’s a good choice for beginners specifically because Color Balance is organized in a way that matches how colorists actually think: shadows, midtones, highlights, each with their own set of color relationships to push or pull.
Place the adjustment layer directly above the Video Group in the Layers panel. Photoshop will automatically apply it to the footage below. If you’ve ever used a Color Balance layer on a portrait to warm up skin tones, this is the exact same interaction, just playing out over 30 frames per second instead of a single frame.
Step 4: Color Grade Using Shadows, Midtones, and Highlights
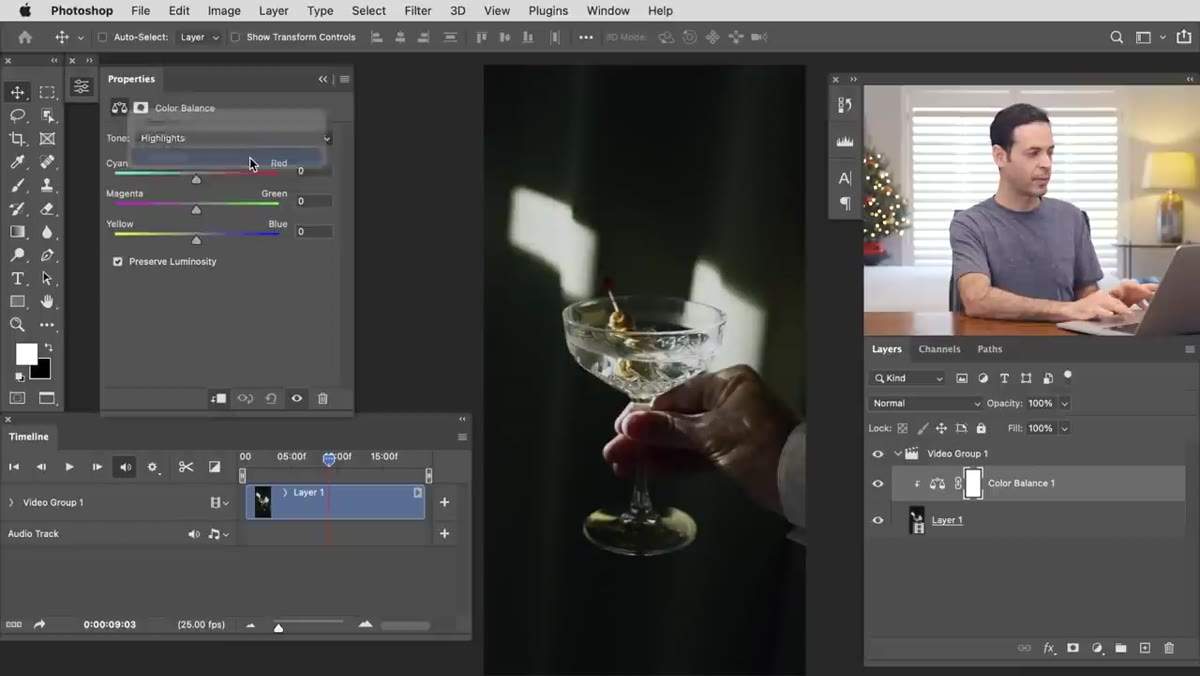 Color Balance panel open with Highlights controls visible
In the Color Balance properties panel, start with your Highlights. Aaron pulls the Yellow-Blue slider toward yellow to add warmth to the bright areas of the frame. Small moves here go a long way. A value of around 10-15 points toward yellow will shift the highlight tone noticeably without blowing out the look.
Color Balance panel open with Highlights controls visible
In the Color Balance properties panel, start with your Highlights. Aaron pulls the Yellow-Blue slider toward yellow to add warmth to the bright areas of the frame. Small moves here go a long way. A value of around 10-15 points toward yellow will shift the highlight tone noticeably without blowing out the look.
Then switch to Midtones and address any color cast that the highlights adjustment introduced. In the tutorial, the initial grade added a slight green push, so Aaron brings the Magenta-Green slider slightly toward magenta to compensate. This push-and-pull between tonal ranges is the same balancing act you’d do in a Lightroom tone curve split, just with sliders that are labeled more literally. Toggles the adjustment layer on and off as you work so you’re always comparing against the original.
Step 5: Preview the Grade in Real Time
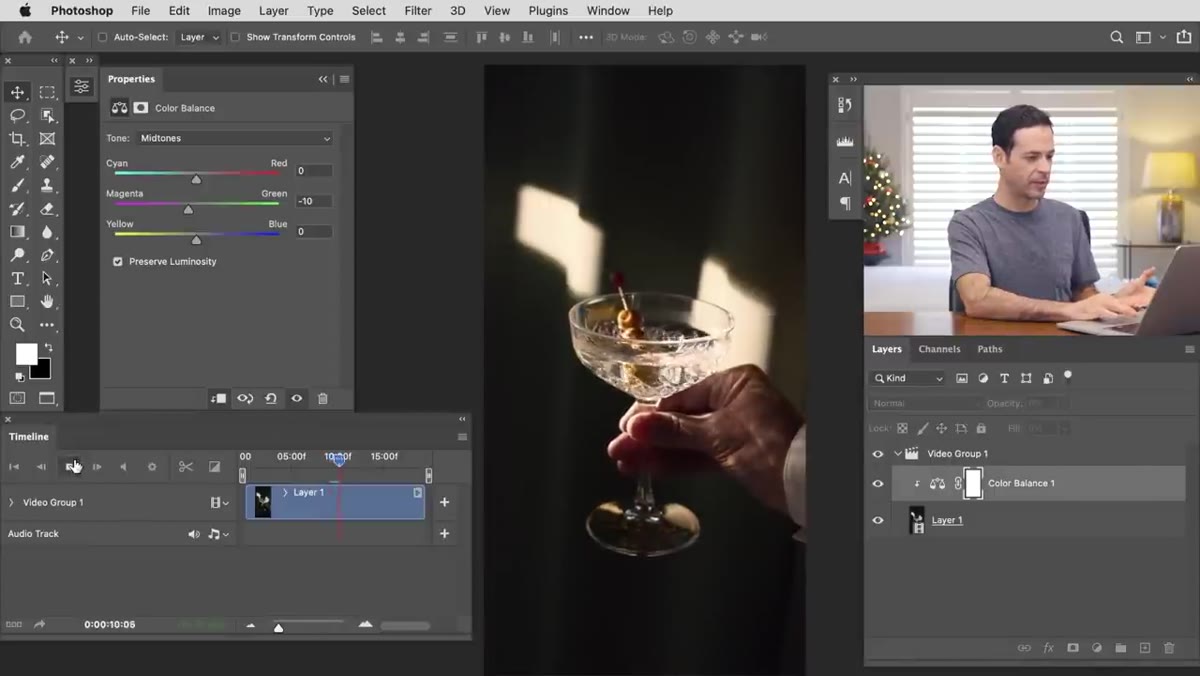 Timeline playback with the Color Balance layer active
Hit the spacebar to play the video with the adjustment layer active. Photoshop renders a live preview in real time, which genuinely impressed me the first time I saw it. You can toggle the adjustment layer’s visibility eye on and off while the video is paused to do a quick before/after, then hit play again to see the grade in motion.
Timeline playback with the Color Balance layer active
Hit the spacebar to play the video with the adjustment layer active. Photoshop renders a live preview in real time, which genuinely impressed me the first time I saw it. You can toggle the adjustment layer’s visibility eye on and off while the video is paused to do a quick before/after, then hit play again to see the grade in motion.
This step matters more than it sounds. A color grade that looks beautiful on a still frame can feel wrong once the footage starts moving, especially if there’s camera motion, changing light, or subjects moving in and out of shadow. Always preview in motion before you export.
Step 6: Export the Finished Video
 Render Video dialog box with H.264 format selected
Go to File, then Export, then Render Video. In the dialog box, choose your destination folder first, then set the format to H.264. That codec is the standard for web delivery and works across every major platform without requiring the viewer to install anything special.
Render Video dialog box with H.264 format selected
Go to File, then Export, then Render Video. In the dialog box, choose your destination folder first, then set the format to H.264. That codec is the standard for web delivery and works across every major platform without requiring the viewer to install anything special.
Under the Size settings, match the resolution to your original footage. If you shot 1080p, export 1080p. Aaron covers these settings quickly in the tutorial but the defaults are reasonable starting points. Click Render and let Photoshop do the work. The exported file will include your color grade baked in, ready to upload or hand off to a client.
My Extension: This Workflow Pairs Well With Your Existing Preset Logic
Here’s something Aaron doesn’t specifically address but that I’ve found useful in practice: if you already have a signature look in Lightroom, you can reverse-engineer it into a Photoshop action or LUT that matches it. The free LUT pack included with Aaron’s tutorial is a solid starting reference for what different color temperatures and stylistic grades actually look like as LUT files.
I’ve started building a small library of Photoshop actions that mirror the intent of my most-used presets. The names follow my usual convention (song titles, don’t ask), but the logic is the same: push the shadows slightly cool, keep the midtones neutral, warm the highlights. Once you have that pattern working in Color Balance, it applies to every clip in the project just as consistently as a Lightroom preset applies across a gallery of stills.
The single most important thing I took from this tutorial: the gap between photo editing and video color grading is mostly psychological. The tools overlap more than most people realize, and Photoshop is already sitting on your machine waiting to prove it. Watch the full tutorial on YouTube and grab the free LUT pack while you’re there. It’s a genuinely useful starting point, not a demo.
Comments (1)
The before and after really sells it. Incredible difference.
Leave a Comment