Most of my work lives inside Lightroom. Presets, curves, HSL panels — that’s where I spend the majority of my editing hours. But every so often a client asks for a short video clip with the same color treatment as their photos, and for years my answer was an awkward detour into software I barely knew. Premiere felt like overkill for a 30-second reel. DaVinci Resolve has a learning curve that could fill a semester.
Then I came across this Aaron Nace (PHLEARN) tutorial on color toning video directly inside Photoshop, and something clicked. Watch the full tutorial on YouTube — it’s worth the full run. The core idea is disarmingly simple: every adjustment layer trick you’ve already learned for photo editing works on video too. Curves, Blend If, color fills — all of it transfers. If you’ve been sleeping on Photoshop as a lightweight color grading tool, this tutorial is the wake-up call.
Aaron is upfront that Photoshop isn’t the right tool for a 20-minute feature cut. He’s not wrong. But for color work on short clips, it’s genuinely excellent, and the fact that you’re already fluent in its tools makes it faster than learning a dedicated NLE just to push some shadows teal.
Step 1: Import Your Video File
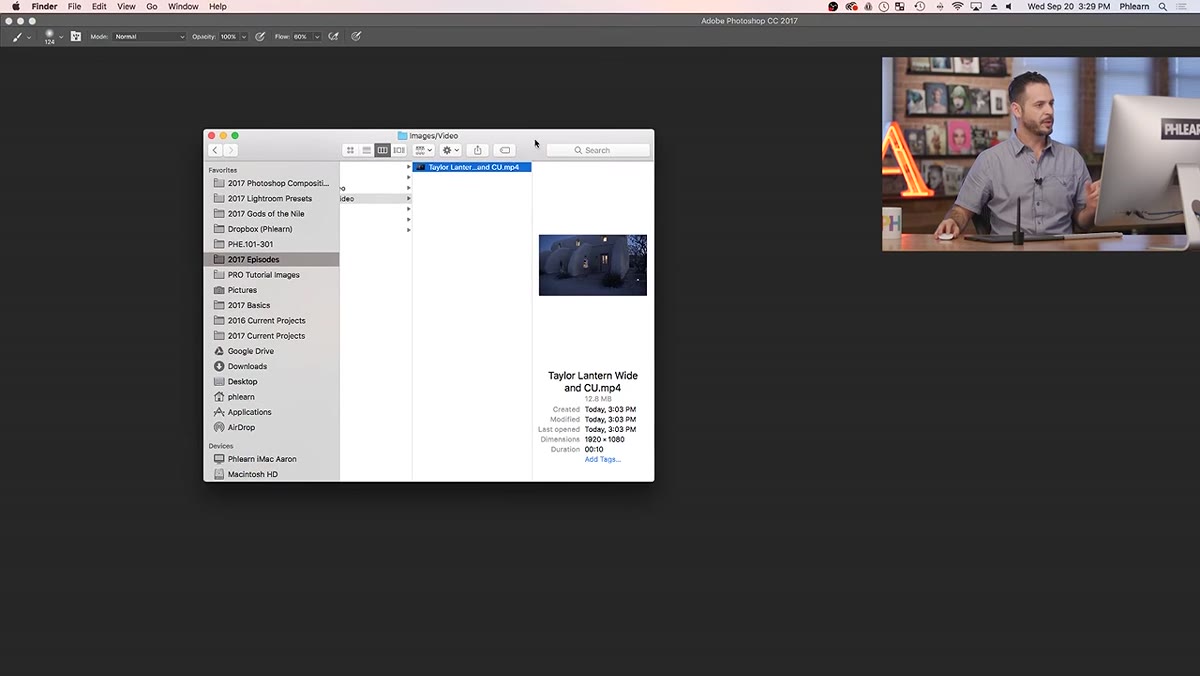 Dragging an MP4 file directly into Photoshop
Drag your MP4 file directly into Photoshop. It opens as a new document automatically, and Photoshop drops the footage into a Video Group in the Layers panel. That Video Group is just a container – don’t overthink it. You’ll also see the Timeline panel appear at the bottom of your workspace. If it doesn’t show up, go to Window and select Timeline. You can scrub through the footage by clicking and dragging the playhead left and right inside the timeline.
One thing worth knowing: Photoshop handles short clips well but can get sluggish with longer files. If your clip is more than a couple of minutes, consider trimming it in QuickTime first. For color grading purposes, you usually don’t need the full length anyway.
Step 2: Add a Curves Adjustment Layer
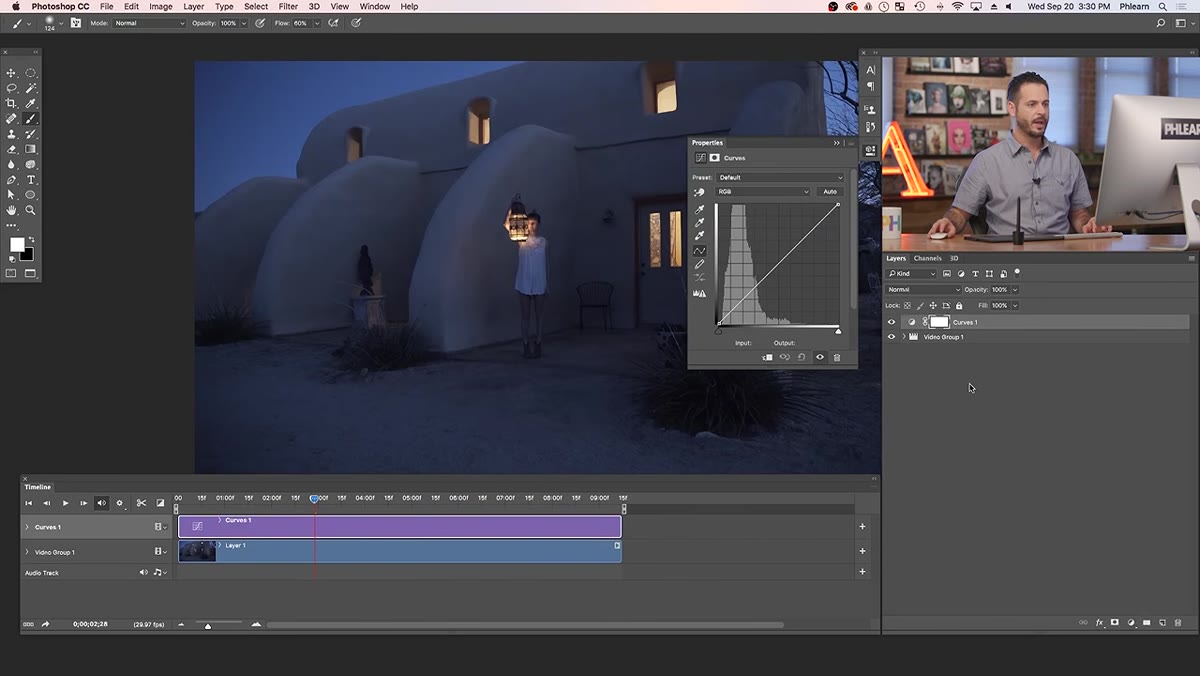 Curves adjustment layer added above the video group
Close the Video Group in the Layers panel to keep things tidy, then create a new Curves adjustment layer from the adjustment layer menu at the bottom of the panel. Here’s where the magic starts: Photoshop treats this curves layer exactly like it would over a still photo, but it applies across every frame of the video automatically. No keyframing required for a global grade.
Aaron’s first move is a gentle brightness lift – he pulls the center of the curve upward to open up the midtones. You’re not chasing a dramatic look yet, just giving the footage some room to breathe. Think of it the same way you’d lift exposure on a flat RAW file before you start any creative work.
Step 3: Use Blend If to Protect the Highlights
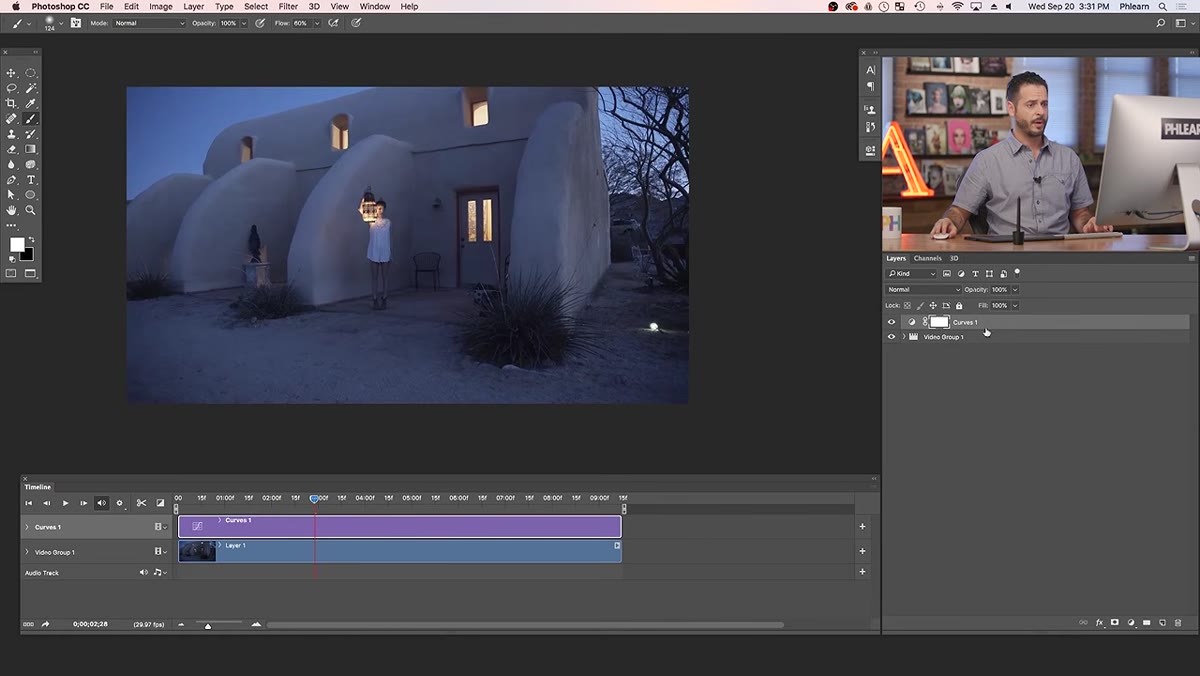 Blend If sliders in Layer Style dialog, underlying layer adjusted
This is the step that separates a flat brightness boost from something that actually looks intentional. Double-click on the gray area of the Curves adjustment layer (not the icon, the empty space beside the name) to open the Layer Style dialog. Scroll down to the Blend If section at the bottom.
You’ll see two gradient bars: “This Layer” and “Underlying Layer.” You want the Underlying Layer bar. The right-side white handle controls where your adjustment becomes invisible in the brighter parts of the image. Hold Alt (Option on Mac) and click that white handle to split it into two halves, then drag the left half toward the center. What you’re telling Photoshop is: apply this brightness boost only where the underlying footage is dark. The bright areas stay untouched. It’s a non-destructive luminosity mask built in three clicks, and it works identically on video frames as it does on a still.
Step 4: Scrub the Timeline to Check the Grade Across Clips
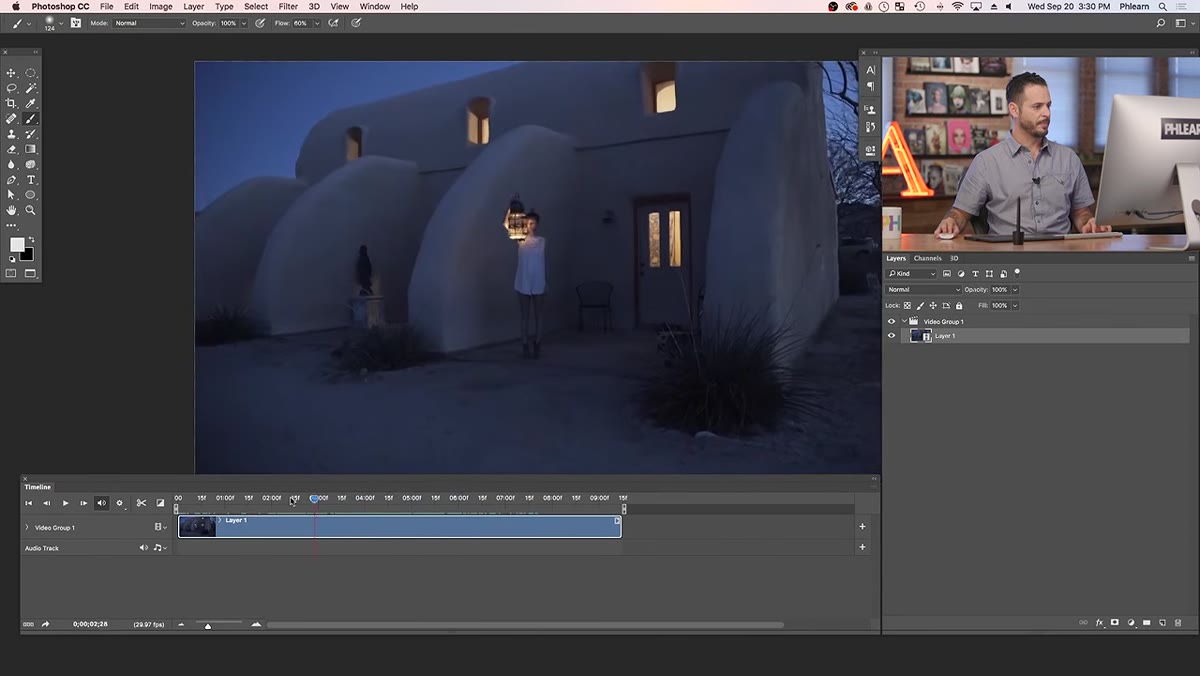 Timeline scrubber moving across two separate video clips
Aaron’s sample footage contains two camera angles edited together, which is a great stress test for any global adjustment. Before you go deeper into the grade, scrub your playhead through the full clip to make sure your curves layer is reading well across different exposures and angles. What looks right on one shot can blow out or flatten another.
If you have clips with significantly different exposures, consider using separate adjustment layers clipped to each video clip inside the group rather than one global layer. For a matched-look grade, though, a single global layer with Blend If protecting the extremes usually holds up surprisingly well.
Step 5: Build the Color Tone with Additional Adjustment Layers
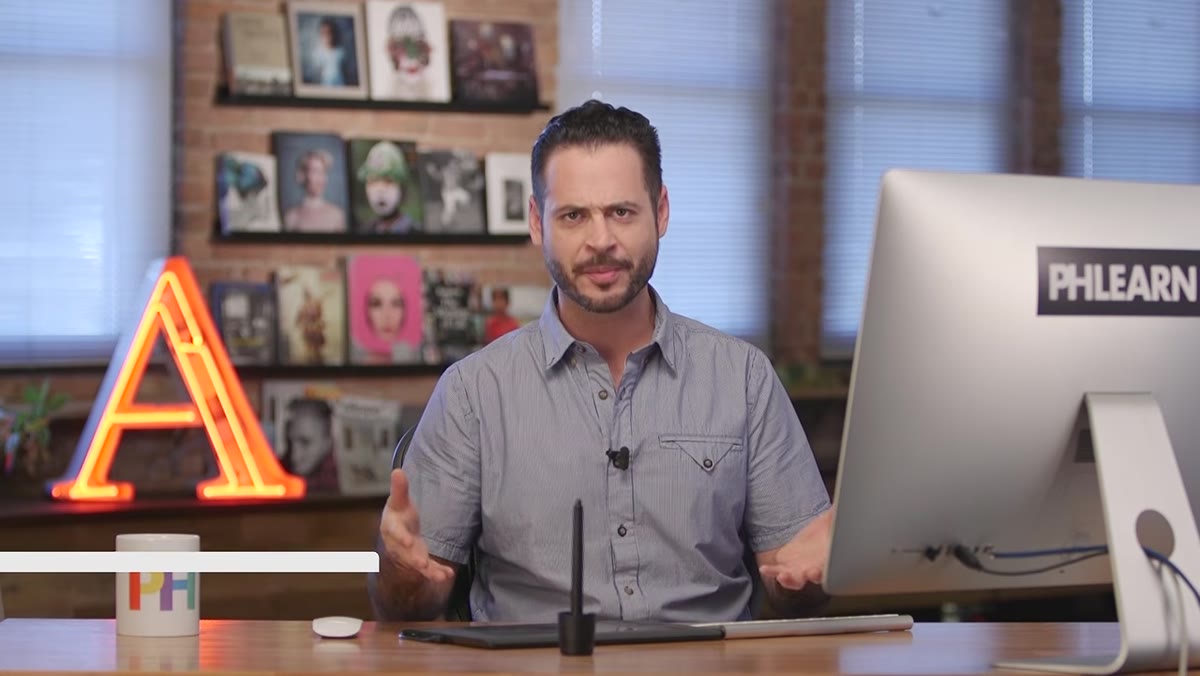 Color toning applied to video footage in Photoshop workspace
Once your exposure foundation is set, the actual color toning process is the same workflow you’d use on any portrait or landscape edit. Add a Color Balance, Selective Color, or Photo Filter adjustment layer above your curves layer. Aaron uses the same techniques he’d apply to a photo – tinting shadows toward blue or teal, warming the highlights, pulling greens out of skin tones.
Because these are all standard Photoshop adjustment layers, you can stack them, reorder them, mask them, and toggle them on and off. The timeline treats them all as global effects that apply to every frame. For a consistent cinematic look across a short reel, this is genuinely one of the fastest workflows available. No LUT import required, no node tree to build from scratch.
A Note from Someone Who Lives in Lightroom
The honest limitation here is roundtripping. If your photo color work lives in Lightroom – mine does – there’s no clean bridge that carries a Lightroom grade directly into this Photoshop video workflow. You’ll be eyeballing your video grade against your reference photo rather than exporting settings. That’s not a dealbreaker, but it means your first few attempts will involve some back-and-forth.
My workaround is to export a still frame from the video, do my photo grade on it in Lightroom, then use that as a visual reference while I build the matching grade in Photoshop with adjustment layers. It adds a step, but the result is a video that actually matches the photo set – which is usually what clients are asking for when they want “consistent branding” across their content.
The single biggest takeaway from Aaron’s tutorial is this: you do not need new software to do competent video color grading. If you can work a Curves layer and you know what Blend If does, you already have the skills. Photoshop is a real option for short-form color work, and the adjustment layer approach is more flexible than most people assume.
Watch the full tutorial on YouTube to see Aaron walk through the exact moves in real time – seeing the Blend If sliders split and move is worth more than any written description of it.
Comments (2)
Just used this on a wedding shoot edit. Client was thrilled.
Really solid breakdown. This pairs perfectly with the compositing work I've been writing about.
Leave a Comment