I shot a sunrise last spring at Percy Priest Lake that should have been a knockout. Golden hour, mist on the water, the whole thing. But when I pulled the RAW files into Lightroom, they looked like someone had smeared petroleum jelly over the lens of my expectations. The highlights were blown, the shadows were murky, and the color felt like it couldn’t decide what it wanted to be. I knew the light had been beautiful. The file just wasn’t showing it yet.
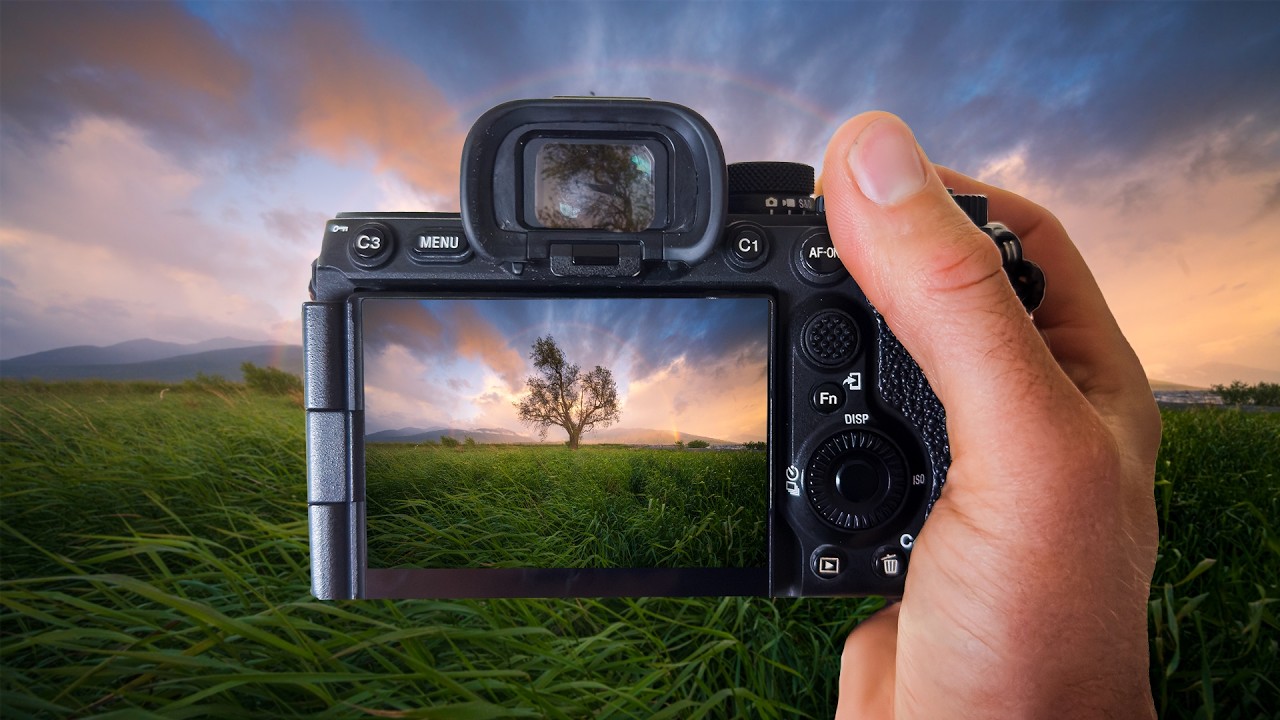
That’s the problem with high-contrast, high-color scenes: the camera captures the data, but it takes deliberate editing to surface it. This William Patino tutorial walks through exactly that kind of recovery and grading using a sunrise image that also happens to have a rainbow arching over a lone tree. It’s a dream composition, and it’s also a nightmare to edit if you don’t have a clear sequence.
The RAW File Is Not the Starting Line, It’s Raw Material
The first thing Patino does is reframe how you should look at a fresh RAW import. The flat, dull preview you see on import isn’t a bad photo. It’s a neutral container. The camera has already captured a wide dynamic range. Your job is to decide what story to tell with it.
His first moves are in the Basic panel, and they follow a logic I’ve started using consistently: push exposure up until the midtones feel right, then pull highlights back hard to recover the sky. Not a gentle nudge. A real pull, often past -70 or -80. This feels counterintuitive if you’re used to thinking about exposure as a single global decision, but it’s actually two separate conversations: one with the sky, one with the ground.
Shadows come up to bring detail back into the foreground without making the image look HDR-flat. The key is keeping the contrast reading on the scene feeling natural even while you’re making extreme individual adjustments. Whites and blacks get refined last in the Basic panel, using the alt/option-click technique to see exactly where clipping starts.
Working the Color with HSL Before You Touch Color Grading
Before Patino touches the Color Grading panel (the three-wheel HSL-by-tone-range tool), he goes into the HSL/Color panel and adjusts individual hues. This is where the rainbow becomes the focal challenge. A rainbow contains every color. If you shift your oranges to punch up the sunrise, you’re also shifting the orange band of the rainbow. Everything is connected.
His approach is surgical. He targets the yellows and oranges to warm the light in the sky, then checks the effect on the rainbow by toggling the panel on and off. He uses the luminance sliders on the blues to deepen the sky without losing the transition into the warmer tones near the horizon. The saturation adjustments stay conservative here. He’s not trying to make the colors loud. He’s trying to make them correct first, then he’ll make them intentional.
One thing worth noting: he keeps his saturation increases small in HSL and does the heavier lifting in the Color Grading panel instead. That distinction matters because HSL saturation affects all tones that contain that hue, while Color Grading lets you target shadows, midtones, and highlights independently. More control, less collateral damage.
Color Grading: Warm Highlights, Cool Shadows, and Why the Midtone Wheel Does the Real Work
The Color Grading section is where the image gets its final personality. Patino pushes the highlights wheel toward a warm amber-gold, which is a natural extension of the sunrise light already in the scene. The shadows wheel gets a slight cool push, a soft blue-teal, which creates separation between the lit areas and the darker foreground.
Most people stop there. Warm highlights, cool shadows, done. But Patino spends real time on the midtone wheel, which covers the widest tonal range in a typical landscape. He nudges it slightly warm to keep the overall image from feeling split-toned in a way that reads as artificial. The midtone adjustment acts as a bridge between the two extremes. Without it, warm-and-cool grading can look like a filter. With a considered midtone setting, it looks like light.
He also uses the Luminance sliders below each wheel, not just the hue/saturation position in the circle. Lifting the highlight luminance slightly keeps the sky from feeling heavy after the saturation adjustments. Small number, real difference.
Where I’d Push Back (Slightly)
I’d do one thing differently, and it’s specific to scenes with a subject as delicate as a rainbow. Patino applies his edits globally and the image handles it well because his restraint in each panel is good. But on a shot where the rainbow is the hero, I’d add a radial gradient centered on the arc and reduce clarity by about -15 to -20 inside it. Rainbows have a slightly soft, atmospheric quality that gets flattened when overall clarity comes up during the texture and dehaze adjustments. That local clarity pull keeps the bow feeling like light refraction rather than a graphic element.
It’s a minor note. The core workflow he’s showing works. It’s just one place where a targeted mask earns its keep.
The Sequence Is the Skill
The real lesson here isn’t any individual slider. It’s the order: expose for the midtones, recover the extremes, correct the individual hues before you grade the tones, and use Color Grading to set mood only after the colors are already accurate. Skip that sequence and you’re chasing problems in circles.
If your landscape files consistently disappoint you on import, the fix is usually not a better preset. It’s a better sequence.
Watch the full tutorial to see Patino work through each stage visually, especially the before/after toggles that show how much the image transforms at each step.
Comments (2)
I've been looking for exactly this kind of tutorial. Perfect timing.
Great breakdown. The step-by-step approach really helps.
Leave a Comment