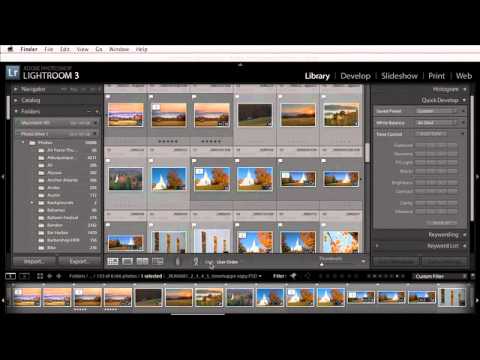
Every photographer I know has hit this wall at some point. The external drive is full, a shiny new one is sitting on the desk, and the question hits: how do I move everything over without Lightroom treating my entire catalog like a missing persons case? It’s one of those problems that sounds simple until you actually try it and suddenly every folder has a little question mark icon mocking you.
This is exactly the scenario that Matt Kloskowski at KelbyOne addresses in a tutorial that’s short, direct, and genuinely useful. Watch the full tutorial on YouTube before you touch a single file on that drive. I’d recommend it to anyone running tight on storage, which at this point in 2024 is basically everyone shooting RAW.
The core issue Matt explains is that Lightroom links photos by drive name and folder path, not by file content. So even if you clone every single photo perfectly onto a new drive, Lightroom doesn’t recognize it as the same location. It’s like showing up to your apartment building and finding the door number changed. The building is identical, but the address is wrong and nobody’s letting you in. Here’s how to fix it the right way.
Step 1: Copy Your Photos to the New Drive First
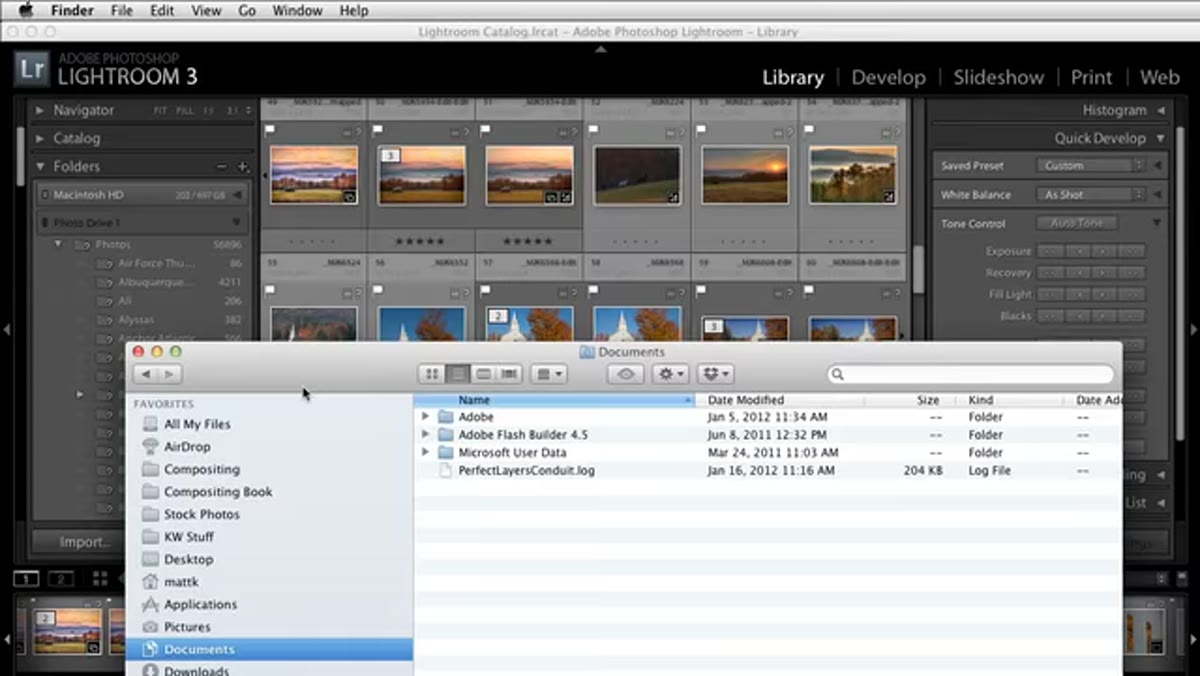
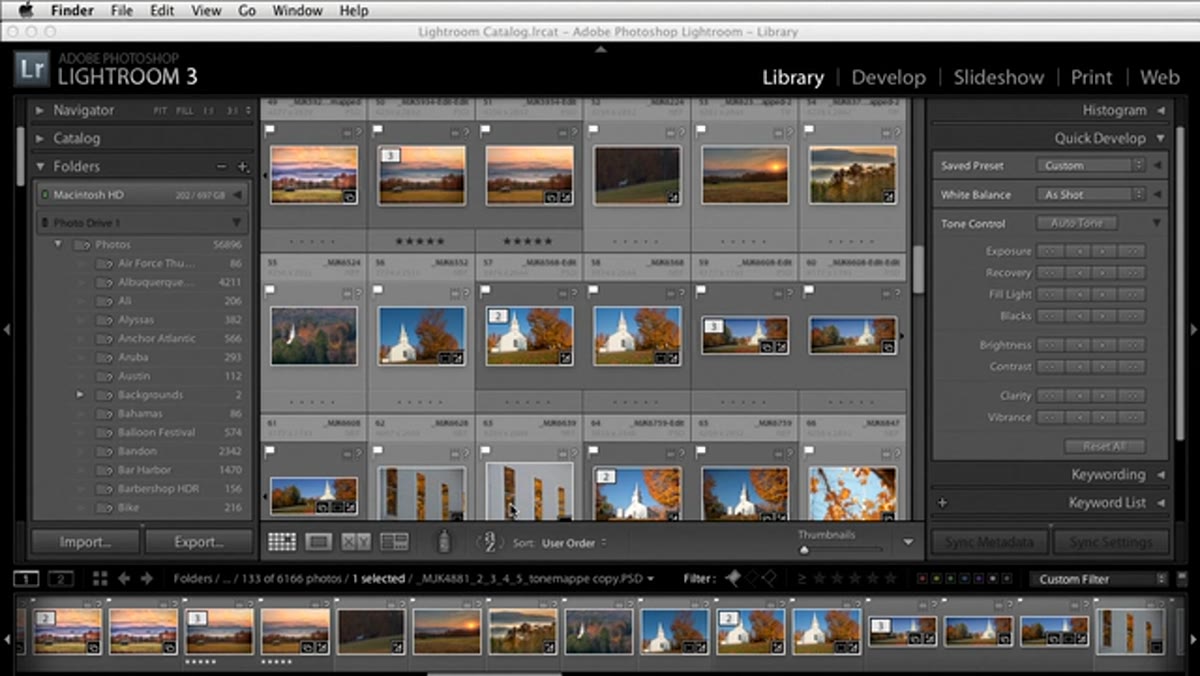 Dragging photo folder from one drive to another in Finder
Before you open Lightroom, do the physical move at the operating system level. Open Finder (Mac) or File Explorer (Windows), locate your existing photo drive, and drag your main photos folder onto the new drive. This is a straight copy operation, nothing fancy. Let it run completely before doing anything else.
Dragging photo folder from one drive to another in Finder
Before you open Lightroom, do the physical move at the operating system level. Open Finder (Mac) or File Explorer (Windows), locate your existing photo drive, and drag your main photos folder onto the new drive. This is a straight copy operation, nothing fancy. Let it run completely before doing anything else.
One important detail here: keep your folder structure exactly the same on the new drive. If your photos lived in a folder called “Photos” on the old drive, put them in a folder called “Photos” on the new one. Don’t reorganize while you’re migrating. That’s a separate project for a separate day.
Step 2: Organize Everything Under One Top-Level Folder
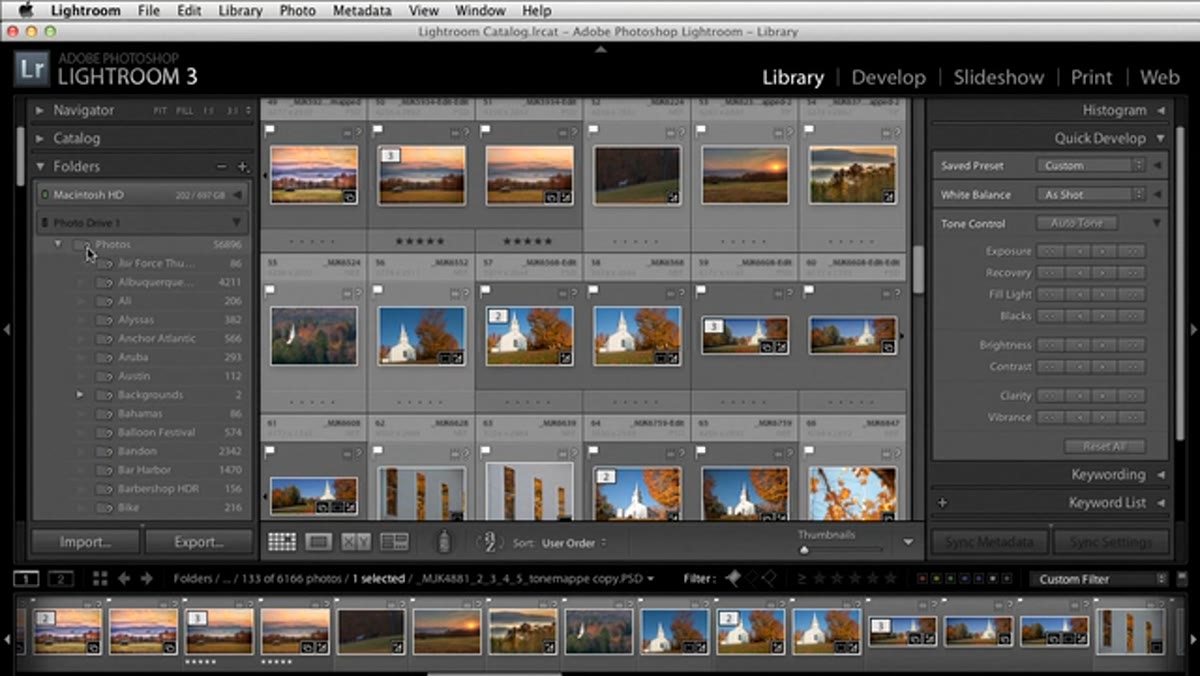
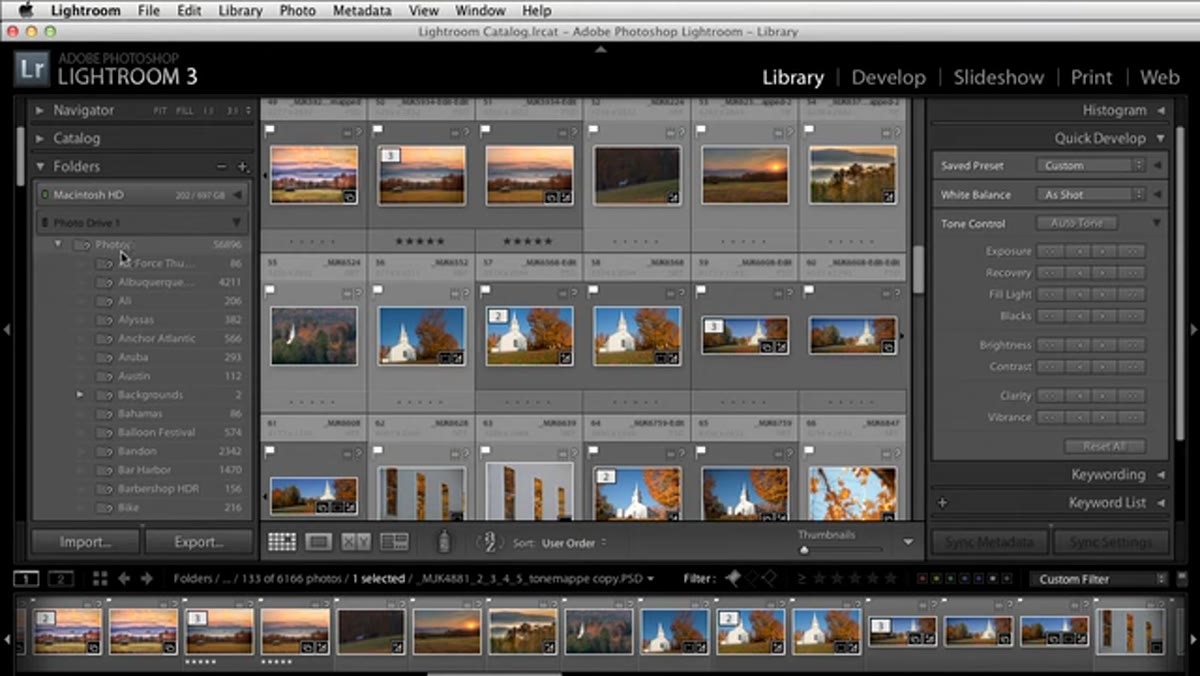 Single top-level Photos folder visible in Lightroom panel
This step is less about the migration and more about saving yourself from future pain. Matt is pretty clear on this one, and I’ve learned it the hard way myself: always store your photos under a single top-level folder on the drive rather than scattering them across multiple root-level folders.
Single top-level Photos folder visible in Lightroom panel
This step is less about the migration and more about saving yourself from future pain. Matt is pretty clear on this one, and I’ve learned it the hard way myself: always store your photos under a single top-level folder on the drive rather than scattering them across multiple root-level folders.
So instead of having “Weddings,” “Portraits,” and “Travel” all sitting at the top level of your drive, they should all live inside one parent folder, something like “Photos” or “My Lightroom Library.” The reason this matters is that Lightroom only needs to find one folder when reconnecting. If your photos are spread across ten top-level folders, you’re doing this reconnection process ten times instead of once.
Step 3: Plug In the New Drive and Open Lightroom
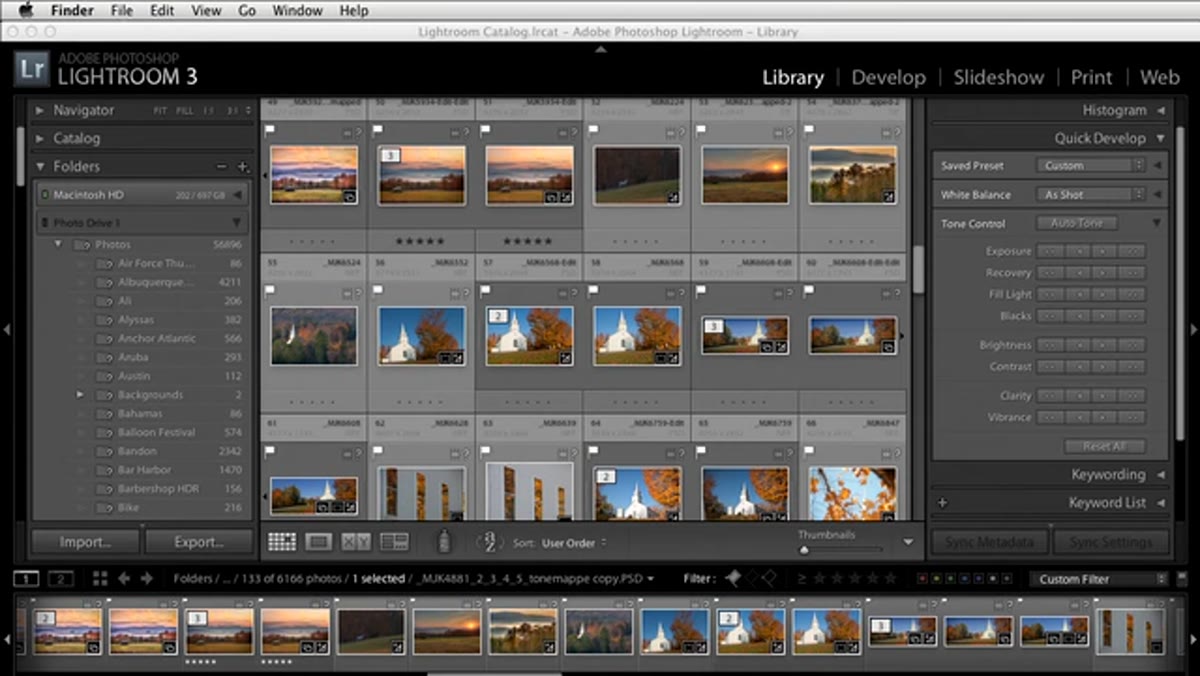 Lightroom catalog showing offline drive with missing folder icons
Once the copy is complete, plug in the new drive and launch Lightroom. You’ll notice immediately that Lightroom is not happy. The folders panel will show your old drive’s folders with a small question mark icon, indicating it can’t find them. This is expected. Don’t panic, and definitely don’t start deleting anything.
Lightroom catalog showing offline drive with missing folder icons
Once the copy is complete, plug in the new drive and launch Lightroom. You’ll notice immediately that Lightroom is not happy. The folders panel will show your old drive’s folders with a small question mark icon, indicating it can’t find them. This is expected. Don’t panic, and definitely don’t start deleting anything.
What’s happening under the hood is that Lightroom is looking for the drive name it originally cataloged. The new drive has a different name, so Lightroom draws a blank. The photos are all there, perfectly intact. Lightroom just doesn’t know where to look.
Step 4: Right-Click the Missing Folder and Select “Find Missing Folder”
 Right-click context menu open showing Find Missing Folder option
Here’s where the actual fix happens, and it’s satisfyingly simple. In the Folders panel on the left side of Lightroom, right-click on the top-level folder that’s showing as missing. A context menu will appear, and you want to select “Find Missing Folder.” Lightroom will open a file browser dialog.
Right-click context menu open showing Find Missing Folder option
Here’s where the actual fix happens, and it’s satisfyingly simple. In the Folders panel on the left side of Lightroom, right-click on the top-level folder that’s showing as missing. A context menu will appear, and you want to select “Find Missing Folder.” Lightroom will open a file browser dialog.
Navigate to your new drive, find that top-level photos folder you copied over, and select it. Click Choose (or OK on Windows). Lightroom will remap the entire folder structure in one shot. Because everything lived under that single top-level folder, every sub-folder, every collection of RAW files, every edit you ever made, it all snaps back into place. This is why the top-level folder habit from Step 2 is so valuable. One click reconnects everything.
Step 5: Rename the New Drive to Match the Old One (Optional but Useful)
 Renaming external drive in Finder to match original drive name
Matt mentions an alternative approach worth knowing about: you can rename your new drive to exactly match the old drive’s name at the operating system level, before opening Lightroom. If your old drive was called “Photo Drive 1,” name the new one “Photo Drive 1” as well. Lightroom will often recognize it automatically without any manual reconnection needed.
Renaming external drive in Finder to match original drive name
Matt mentions an alternative approach worth knowing about: you can rename your new drive to exactly match the old drive’s name at the operating system level, before opening Lightroom. If your old drive was called “Photo Drive 1,” name the new one “Photo Drive 1” as well. Lightroom will often recognize it automatically without any manual reconnection needed.
This is a clean shortcut, especially useful if you’re doing a straight upgrade from a smaller drive to a larger one and the folder structure is identical. The downside is that if you ever have both drives connected at the same time, two drives with the same name can cause confusion depending on your OS. Use this approach when you’re fully retiring the old drive, not when you plan to keep both around.
A Note on Using This for Backups
I want to add something from my own workflow that Matt gestures toward at the end of the tutorial but doesn’t fully expand on. This exact same reconnection process works for backup drives, and it’s something I now build into my backup routine deliberately.
I keep a backup external drive that’s a clone of my primary photo drive. When I swap out a full primary drive for a larger one, I update the backup drive the same way. If my primary ever fails and I need to point Lightroom to the backup, I use the “Find Missing Folder” method to reconnect in under a minute. The first time I had a drive failure in Nashville during a humid summer that decided to destroy hardware, having that process locked in was the only thing standing between me and a very bad week. Catalog management isn’t glamorous, but it’s the kind of thing that saves your whole library when something goes wrong.
The single most important thing to take away from this tutorial is that Lightroom tracks file locations by drive name and path, not by file content. Move things without telling Lightroom, and it loses the thread. Use “Find Missing Folder” to hand it the new address, and everything reconnects cleanly. It takes about 30 seconds once you know where to click.
Watch the full tutorial on YouTube to see Matt walk through the process in real time. Watching someone navigate the Lightroom panels while explaining it makes the folder panel behavior much easier to visualize before you try it on your own library.
Comments (4)
My workflow just got 10x faster. Not even kidding.
Wow, I had no idea you could do this. Mind blown.
Wow, I had no idea you could do this. Mind blown.
Really solid breakdown. This pairs perfectly with the lighting work I've been writing about.
Leave a Comment