
There’s a specific kind of dread that hits when you get home from a shoot and realize your images are scattered across two machines with no clean way to reunite them. I’ve been there. Before I locked down a real system, I was doing the digital equivalent of stuffing receipts in my jacket pocket and hoping for the best. Duplicate folders, orphaned edits, catalogs that referenced drives I couldn’t find anymore. It was chaos wearing a file structure.
The fix, it turns out, is simpler than I made it. In this Marc Muench tutorial on building a Watch the full tutorial on YouTube “Master Catalog” workflow for Lightroom, Marc lays out a portable hard drive strategy that keeps your home catalog clean and authoritative while giving you a fully functional travel catalog on the road. When you’re back at your desk, the two merge together like they were never apart. The whole thing hinges on one piece of hardware you probably already own and a folder structure that takes about three minutes to set up.
What I appreciate about Marc’s approach is that it doesn’t require cloud subscriptions, syncing wizardry, or trusting your RAW files to anyone else’s server. It’s local, physical, and completely under your control. Here’s how the whole system works.
Step 1: Set Up Your Portable Hard Drive Folder Structure
 Two new folders created on external hard drive root
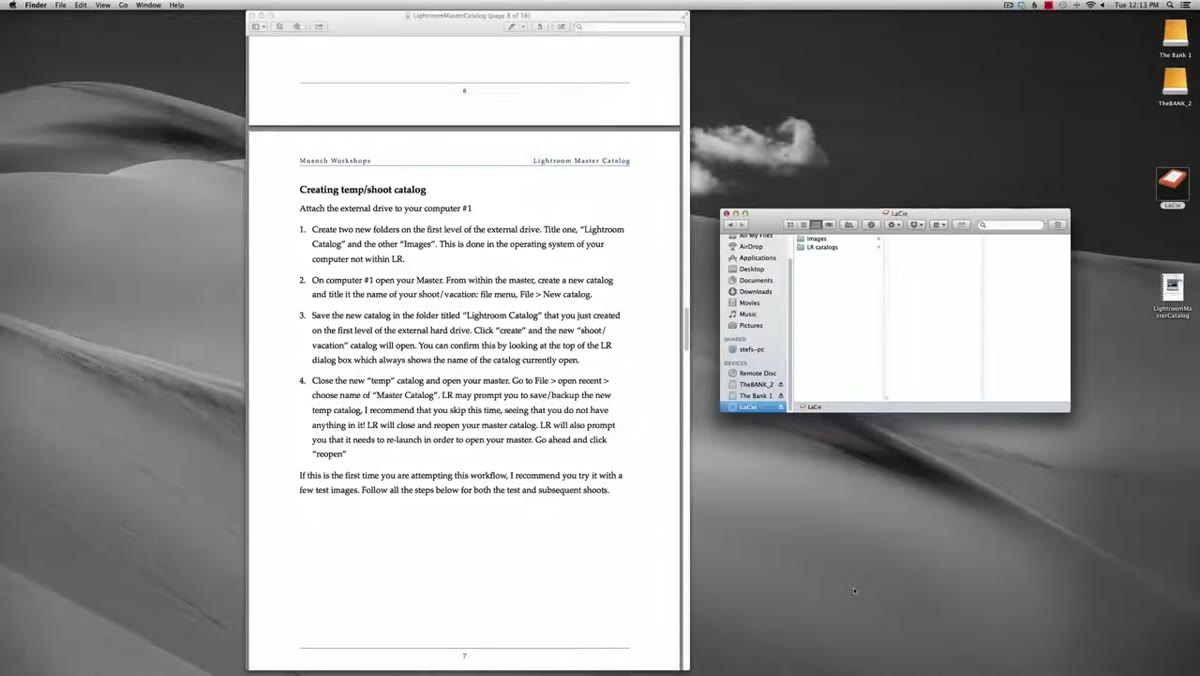
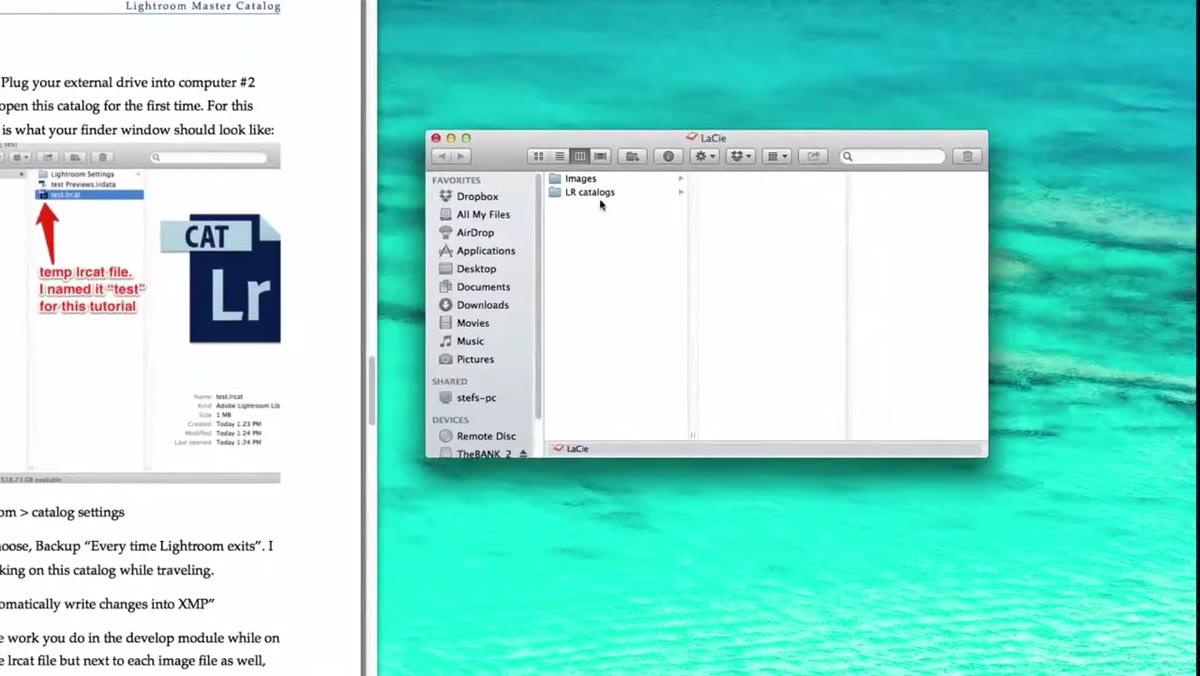
Before you create any catalog, plug your portable hard drive into your desktop machine and build the folder structure that the entire workflow depends on. At the root level of the drive, create two folders: one named something like “Images” and one named something like “LR Catalogs.” Keep these at the very top level of the drive, not nested inside other folders. This matters later because Lightroom needs to find these paths consistently, whether the drive is plugged into your desktop or your laptop. Simple, clean, and predictable directory structure is the foundation of everything that follows.
Two new folders created on external hard drive root
Before you create any catalog, plug your portable hard drive into your desktop machine and build the folder structure that the entire workflow depends on. At the root level of the drive, create two folders: one named something like “Images” and one named something like “LR Catalogs.” Keep these at the very top level of the drive, not nested inside other folders. This matters later because Lightroom needs to find these paths consistently, whether the drive is plugged into your desktop or your laptop. Simple, clean, and predictable directory structure is the foundation of everything that follows.
Step 2: Create the Temporary Travel Catalog on the External Drive
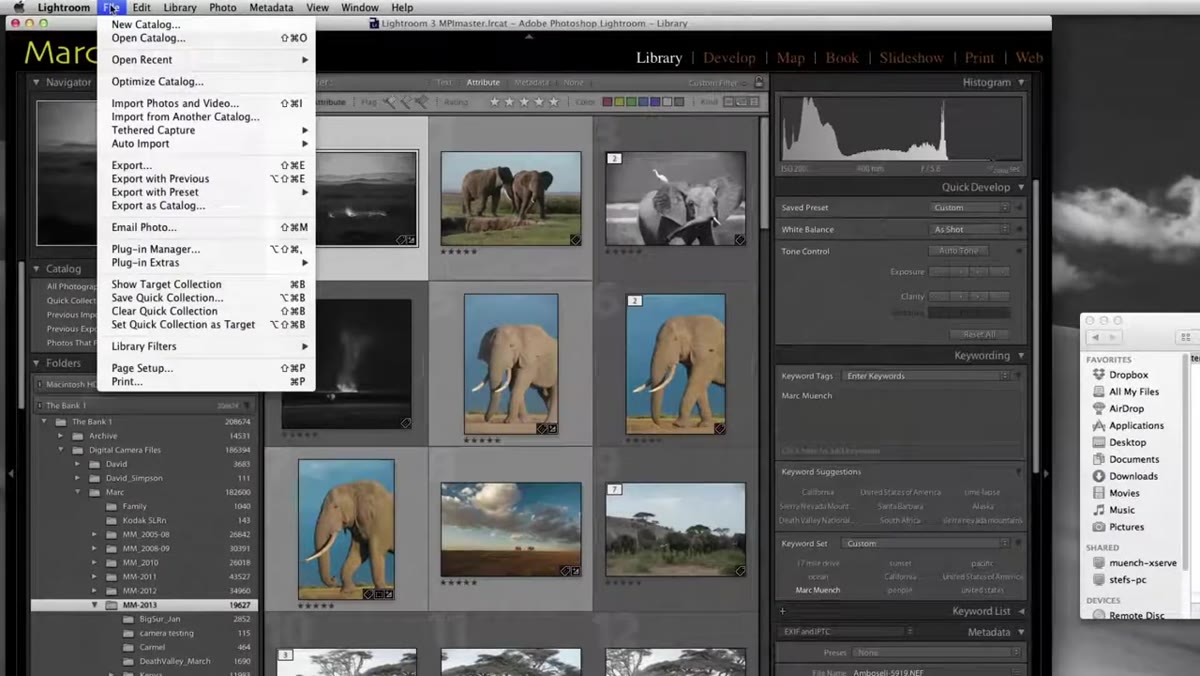
 Lightroom File menu open, New Catalog option highlighted
With your desktop running Lightroom and your master catalog open, go to File and select New Catalog. Give it a name like “Temp” or name it after the trip if you want something more descriptive. When Lightroom asks you where to save it, navigate away from your internal drive entirely and point it to the external hard drive, specifically into that “LR Catalogs” folder you just created. Hit Create. Lightroom will close your master catalog, relaunch itself, and open the new blank travel catalog. This is intentional and not something going wrong. Once you confirm the new catalog is sitting on the external drive where it belongs, go back to File, then Open Recent, and reopen your master catalog on the desktop so you’re back in your normal environment.
Lightroom File menu open, New Catalog option highlighted
With your desktop running Lightroom and your master catalog open, go to File and select New Catalog. Give it a name like “Temp” or name it after the trip if you want something more descriptive. When Lightroom asks you where to save it, navigate away from your internal drive entirely and point it to the external hard drive, specifically into that “LR Catalogs” folder you just created. Hit Create. Lightroom will close your master catalog, relaunch itself, and open the new blank travel catalog. This is intentional and not something going wrong. Once you confirm the new catalog is sitting on the external drive where it belongs, go back to File, then Open Recent, and reopen your master catalog on the desktop so you’re back in your normal environment.
Step 3: Open the Travel Catalog from Your Laptop
 Double-clicking the .lrcat file on the external drive
Now unplug the hard drive from your desktop and plug it into your laptop. If Lightroom is running on the laptop, close it first. Open the external drive in your file browser, navigate into the LR Catalogs folder, find the temp catalog folder, and look for the file with the .lrcat extension. Double-clicking that file is all it takes. Lightroom will launch and open that catalog automatically. You are now running a fully independent Lightroom catalog that lives entirely on the portable drive, completely separate from anything on your laptop’s internal storage.
Double-clicking the .lrcat file on the external drive
Now unplug the hard drive from your desktop and plug it into your laptop. If Lightroom is running on the laptop, close it first. Open the external drive in your file browser, navigate into the LR Catalogs folder, find the temp catalog folder, and look for the file with the .lrcat extension. Double-clicking that file is all it takes. Lightroom will launch and open that catalog automatically. You are now running a fully independent Lightroom catalog that lives entirely on the portable drive, completely separate from anything on your laptop’s internal storage.
Step 4: Import Your Photos Correctly During the Trip
 Import dialog showing destination set to external drive Images folder
This is the step where most people quietly wreck the whole workflow without knowing it. When you import photos into the travel catalog on location, you need to pay close attention to the destination settings in the Import dialog. Up in the upper right of the Import screen, find the destination panel and choose the “Images” folder on the external hard drive, not any folder on your laptop. Two specific settings matter here: first, make sure “Into Subfolder” is unchecked, because adding subfolders inside the Images directory creates organizational clutter that complicates the merge later. Second, set the folder organization to “Into One Folder” rather than “By Date.” Keeping all your trip photos in a single flat folder on the drive means Lightroom always knows exactly where they are relative to the catalog, regardless of which computer the drive is connected to.
Import dialog showing destination set to external drive Images folder
This is the step where most people quietly wreck the whole workflow without knowing it. When you import photos into the travel catalog on location, you need to pay close attention to the destination settings in the Import dialog. Up in the upper right of the Import screen, find the destination panel and choose the “Images” folder on the external hard drive, not any folder on your laptop. Two specific settings matter here: first, make sure “Into Subfolder” is unchecked, because adding subfolders inside the Images directory creates organizational clutter that complicates the merge later. Second, set the folder organization to “Into One Folder” rather than “By Date.” Keeping all your trip photos in a single flat folder on the drive means Lightroom always knows exactly where they are relative to the catalog, regardless of which computer the drive is connected to.
Step 5: Merge the Travel Catalog Back Into Your Master
 File menu showing Import from Another Catalog option
You’re home. The hard drive is back on your desk. Plug it into your desktop and open your master catalog. This is the payoff step. Go to File and select “Import from Another Catalog.” A dialog will appear asking you to locate a catalog file. Navigate to the external drive, open the LR Catalogs folder, find the temp catalog folder, and select the .lrcat file. Lightroom will read the travel catalog and give you options for how to handle any conflicts or duplicate images. Work through those options based on your needs, confirm the import, and watch your master catalog absorb everything you shot on the road, edits and metadata included. The images themselves stay on the portable drive until you choose to move or copy them, so nothing is overwritten without your input.
File menu showing Import from Another Catalog option
You’re home. The hard drive is back on your desk. Plug it into your desktop and open your master catalog. This is the payoff step. Go to File and select “Import from Another Catalog.” A dialog will appear asking you to locate a catalog file. Navigate to the external drive, open the LR Catalogs folder, find the temp catalog folder, and select the .lrcat file. Lightroom will read the travel catalog and give you options for how to handle any conflicts or duplicate images. Work through those options based on your needs, confirm the import, and watch your master catalog absorb everything you shot on the road, edits and metadata included. The images themselves stay on the portable drive until you choose to move or copy them, so nothing is overwritten without your input.
One Thing I’d Add: Label the Drive Before You Leave
Marc’s system is tight as designed, but I’d add one small habit that’s saved me twice: before any trip, I put a piece of colored tape on the portable drive and name it something unambiguous in the file system, like “TRAVEL-DRIVE-2024.” Drive letters and mount names can shift when you plug into different machines, and if Lightroom suddenly can’t find the catalog because the drive mounted with a different letter, you will waste twenty minutes in a hotel room troubleshooting instead of editing. Naming your drive clearly in the OS, not just trusting its default label, keeps everything findable across both computers without hesitation.
I also keep a simple text file in the root of the drive listing the trip dates and what’s stored on it. Old habit from when I was organizing photo shoots for a band on a budget and couldn’t afford to lose anything. It takes thirty seconds and has prevented more than a few “wait, which drive was that on?” moments.
The single most important thing this workflow does is enforce the rule that your master catalog stays clean. You never import directly into it while traveling, you never work off two machines simultaneously, and you never end up with edits living in two places with no way to reconcile them. The portable drive is the bridge, and the merge step is the handshake that brings it all home.
Watch the full tutorial on YouTube to follow along with Marc’s screen recording and download the companion PDF he mentions, which covers additional edge cases not in the video. It’s worth having open while you build this out the first time.
Comments
Leave a Comment