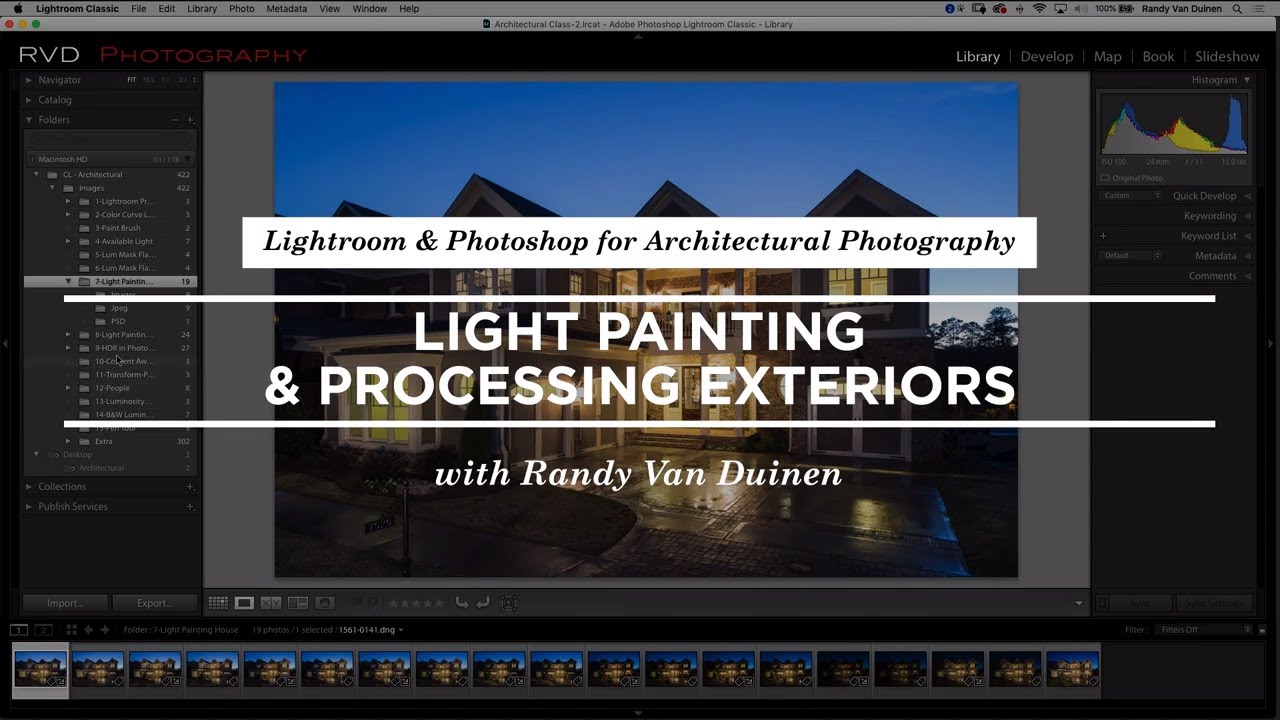
There’s a specific kind of frustration that comes with shooting architecture at dusk. You’ve got a beautiful building, you’ve nailed the composition, and the ambient light is almost perfect — except the facade is muddy, one side is underexposed, and no single frame has everything you want. I’ve been there more times than I’d like to admit. The usual answer is to drag in a strobe kit or rent a speed light setup, which is fine if you have the budget and an assistant. Most of us don’t, at least not every shoot.
That’s exactly why this CreativeLive tutorial stopped me mid-scroll. Watch the full tutorial on YouTube — it’s one of the more practical walkthroughs I’ve seen on blending light-painted exposures for exterior architectural work. The instructor doesn’t oversell the technique. He just shows you what a $35 flashlight from Walmart can do when you combine it with smart layer blending in Photoshop. Spoiler: the before and after is significant.
The workflow centers on shooting multiple exposures while manually painting light onto the building with a flashlight during long exposures, then blending the best light from each frame using masks and the Lighten blending mode. It sounds fiddly. It’s actually fast once you understand the logic. Here’s how it works, step by step.
Step 1: Select and Open All Exposures as Layers in Photoshop
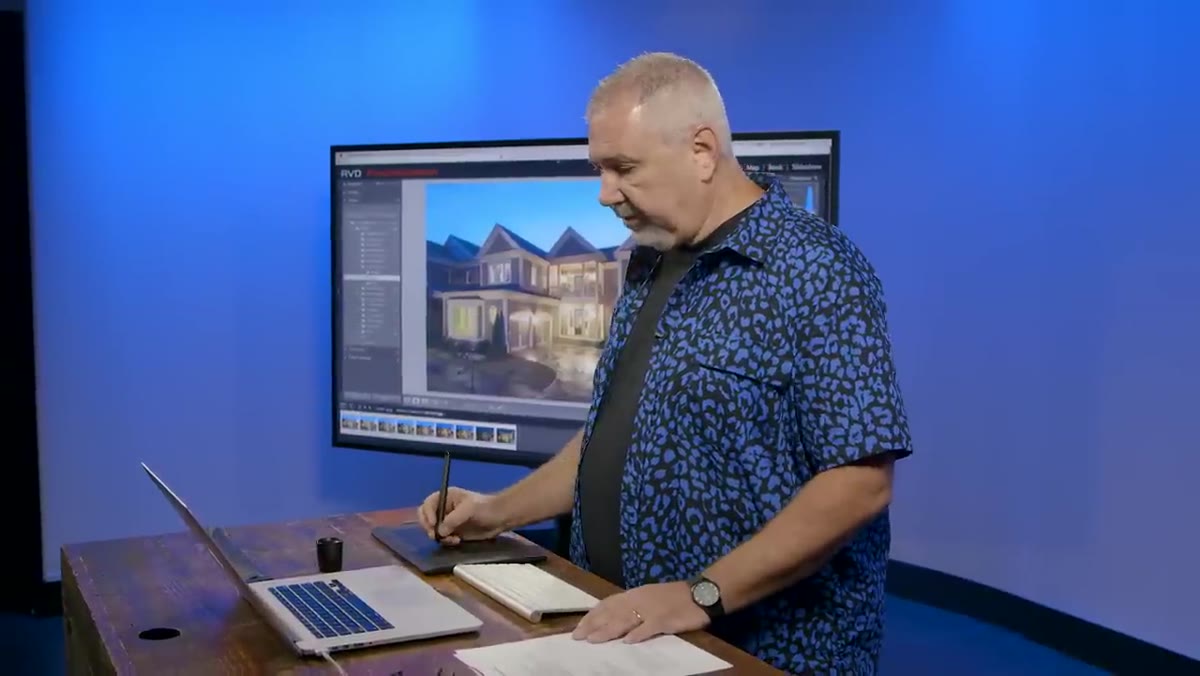 Opening multiple Lightroom exposures as layers in Photoshop
Start in Lightroom (or Bridge) with all your light-painted exposures selected. From there, go to Photo, then Edit In, then choose “Open as Layers in Photoshop.” This drops every frame into a single Photoshop document as individual layers, stacked on top of each other. You’re not merging anything yet. Think of this as laying out all your ingredients before you start cooking.
Opening multiple Lightroom exposures as layers in Photoshop
Start in Lightroom (or Bridge) with all your light-painted exposures selected. From there, go to Photo, then Edit In, then choose “Open as Layers in Photoshop.” This drops every frame into a single Photoshop document as individual layers, stacked on top of each other. You’re not merging anything yet. Think of this as laying out all your ingredients before you start cooking.
Once they’re open, take a moment to scan through them. Each layer represents a different moment during your shoot where the flashlight was pointed at a different part of the building. Some will be obvious keepers. Some will be garbage. That’s normal.
Step 2: Identify and Set Your Base Layer
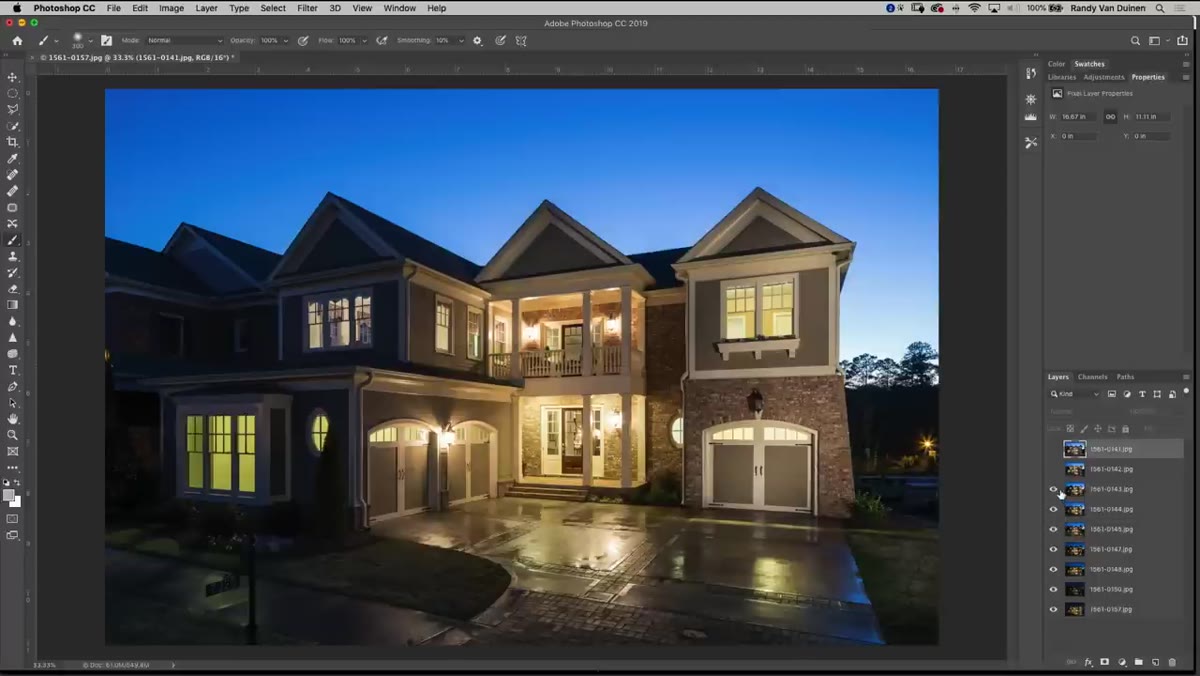 Dragging the chosen base layer to the bottom of the stack
Your base layer is the frame you want to use as the foundation — typically the one with the best sky or the most balanced ambient exposure. The instructor scrolls through his layers and evaluates each one specifically by looking at the sky. Once he finds the right one, he drags it to the bottom of the stack.
Dragging the chosen base layer to the bottom of the stack
Your base layer is the frame you want to use as the foundation — typically the one with the best sky or the most balanced ambient exposure. The instructor scrolls through his layers and evaluates each one specifically by looking at the sky. Once he finds the right one, he drags it to the bottom of the stack.
This matters because everything you build on top of it will interact with this layer. A good base layer gives your composite a consistent color temperature and a sky you don’t have to fight later. If your sky is blown in the base layer, you’ll be patching it forever.
Step 3: Hide All Other Layers, Then Select the Sky
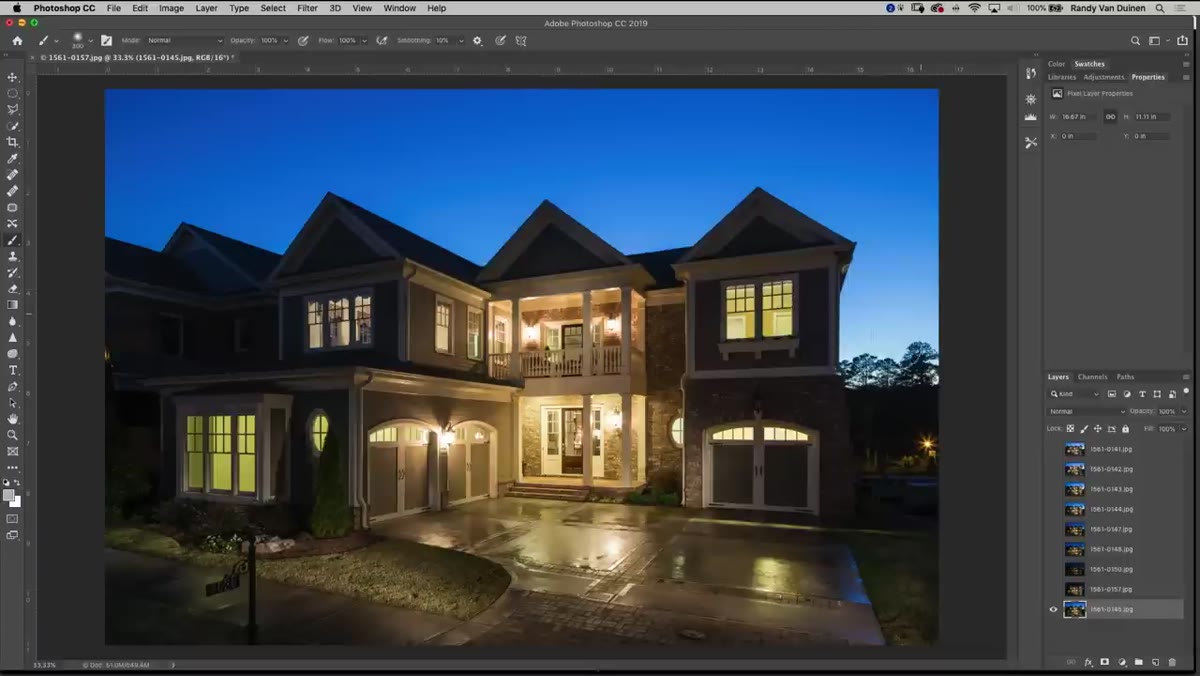 Using Quick Select tool to isolate the sky on the base layer
With the base layer selected, turn off visibility on every other layer so you’re working clean. Then grab the Quick Select tool and draw a rough selection around the sky. You don’t need to be surgical here. The goal is to get a workable selection that separates sky from structure. Zoom in to check edges near rooflines, then expand the selection to catch any sky peeking through around the building.
Using Quick Select tool to isolate the sky on the base layer
With the base layer selected, turn off visibility on every other layer so you’re working clean. Then grab the Quick Select tool and draw a rough selection around the sky. You don’t need to be surgical here. The goal is to get a workable selection that separates sky from structure. Zoom in to check edges near rooflines, then expand the selection to catch any sky peeking through around the building.
This selection is going to become your mask, and it’s going to be applied to every light-painting layer above it. Getting it right here saves you from fixing it six times later.
Step 4: Add a Mask to the First Layer and Invert It
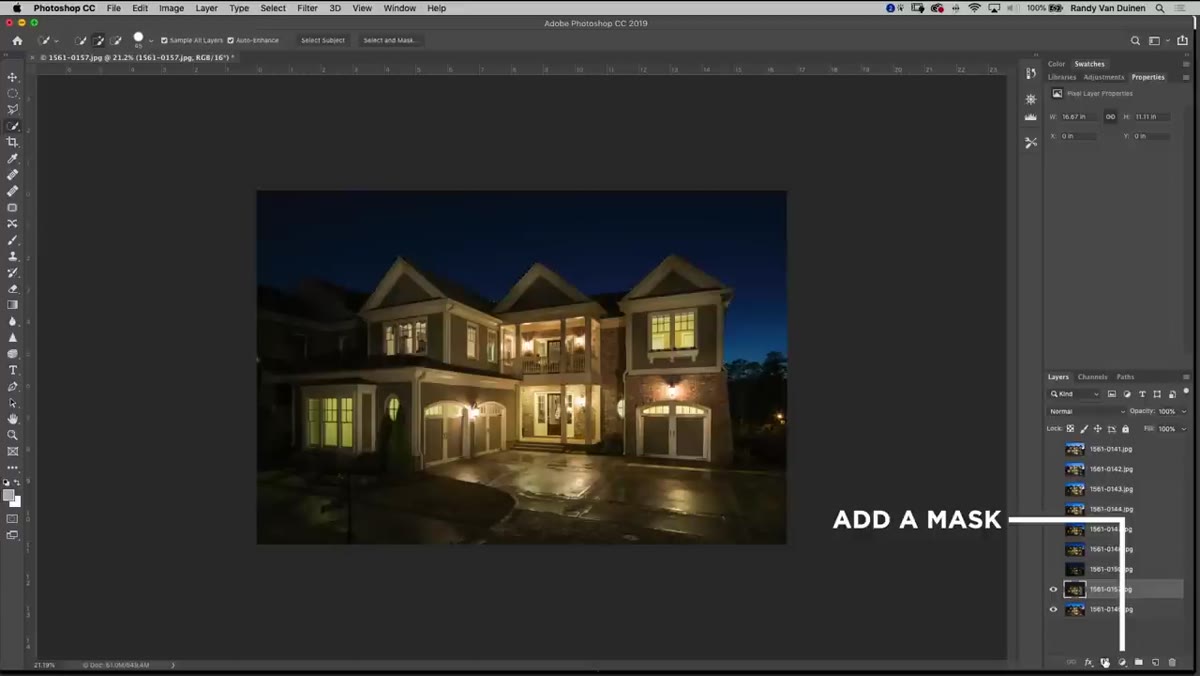 Inverting the layer mask to reveal only the building area
Turn on the layer directly above your base, then with your sky selection still active, click the “Add Layer Mask” button at the bottom of the Layers panel. The mask will appear, but it’ll be masking the building and showing the sky – the opposite of what you want. Hit Command+I (or Ctrl+I on Windows) to invert the mask. Now the sky is hidden and only the light-painted building areas come through.
Inverting the layer mask to reveal only the building area
Turn on the layer directly above your base, then with your sky selection still active, click the “Add Layer Mask” button at the bottom of the Layers panel. The mask will appear, but it’ll be masking the building and showing the sky – the opposite of what you want. Hit Command+I (or Ctrl+I on Windows) to invert the mask. Now the sky is hidden and only the light-painted building areas come through.
Inverting the mask is the key move here. You’re telling Photoshop: “Show me everything except the sky from this layer.” That keeps your base layer sky clean and undisturbed while letting the artificial light from each painted exposure fill in the building.
Step 5: Copy That Mask to Every Layer
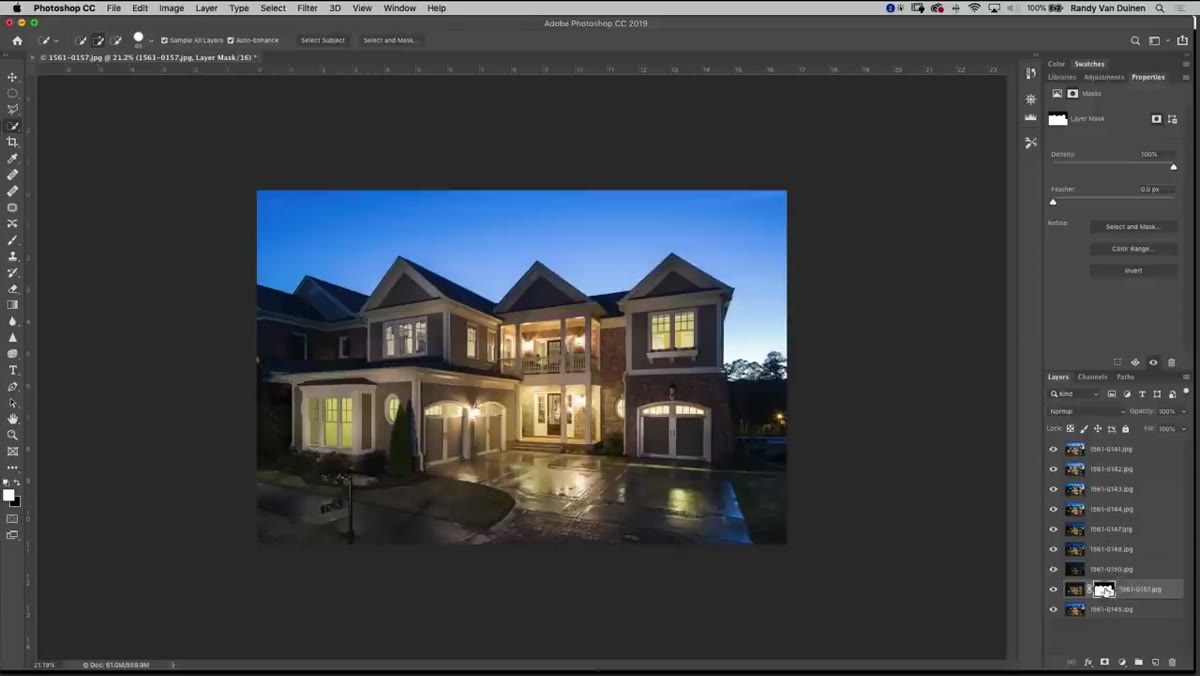 Alt-dragging the mask thumbnail up to duplicate it across layers
Here’s the time-saving trick that makes this whole workflow practical. Hold Option (Alt on Windows), click the mask thumbnail on your first layer, and drag it up to each additional layer one at a time. Photoshop will copy the exact same mask to each layer. Every light-painting exposure now has an identical sky cutout, which means they’ll all composite cleanly without any sky contamination bleeding through.
Alt-dragging the mask thumbnail up to duplicate it across layers
Here’s the time-saving trick that makes this whole workflow practical. Hold Option (Alt on Windows), click the mask thumbnail on your first layer, and drag it up to each additional layer one at a time. Photoshop will copy the exact same mask to each layer. Every light-painting exposure now has an identical sky cutout, which means they’ll all composite cleanly without any sky contamination bleeding through.
If you skip this step and try to mask each layer individually, you’ll spend the rest of your afternoon. The Option-drag method takes about 20 seconds total.
Step 6: Set All Layers to Lighten Blending Mode
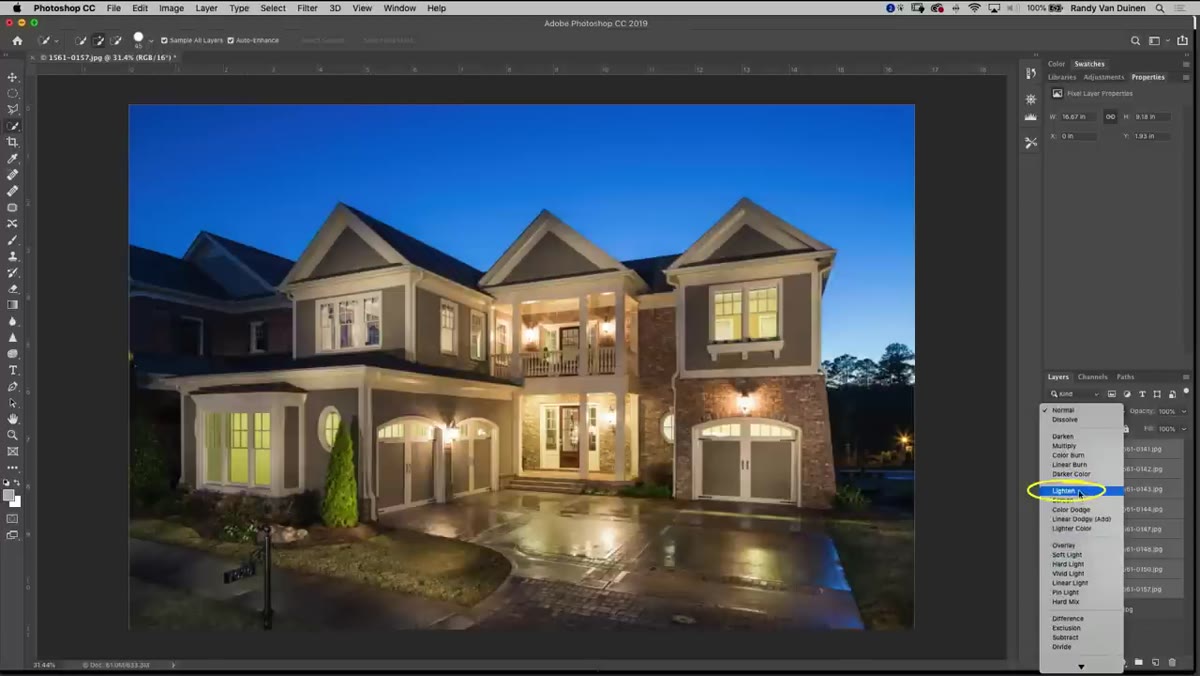 Changing blending mode to Lighten across all painting layers
Select all your light-painting layers (not the base), then change the blending mode to Lighten. You can do this for multiple layers at once by selecting them all and changing the mode in the dropdown at the top of the Layers panel.
Changing blending mode to Lighten across all painting layers
Select all your light-painting layers (not the base), then change the blending mode to Lighten. You can do this for multiple layers at once by selecting them all and changing the mode in the dropdown at the top of the Layers panel.
The Lighten mode only lets through pixels that are brighter than what’s beneath them. Because the flashlight-painted areas are significantly brighter than the ambient exposure, those highlights come through naturally while the dark portions of each frame stay invisible. This is what makes the composite look like one coherent, well-lit photograph rather than a patchwork of exposures.
Step 7: Audit Each Layer and Paint Out Problem Areas
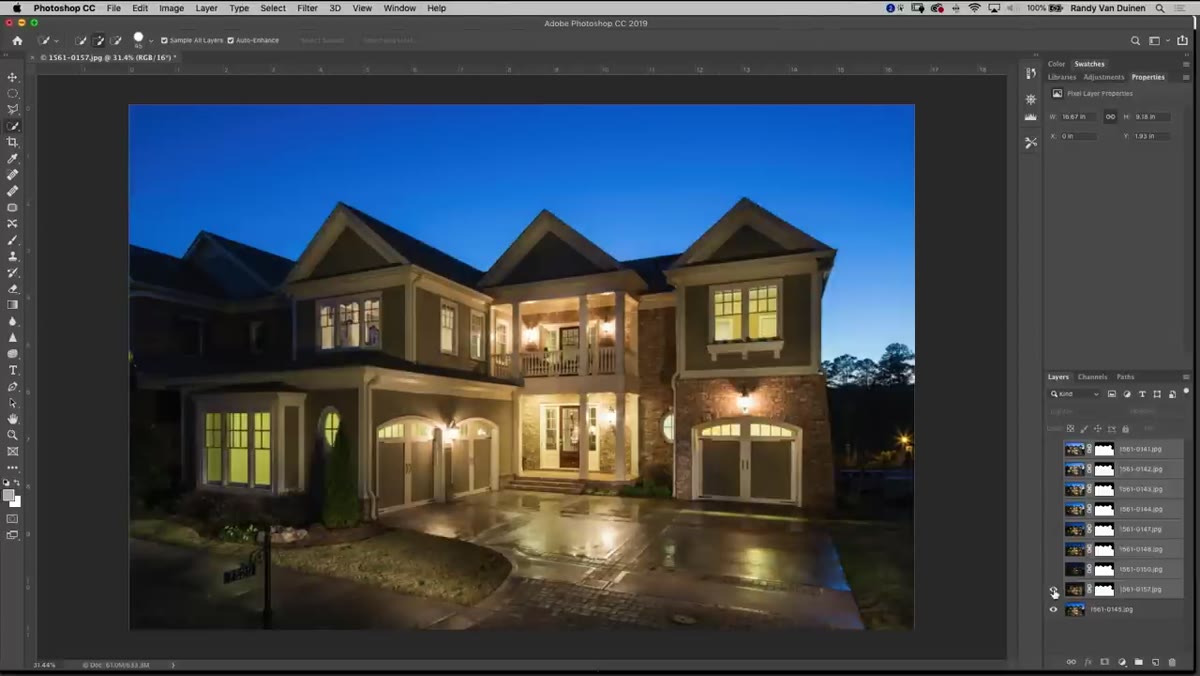 Reviewing individual layers and brushing out unwanted light spill
Now go through each layer individually. Turn layers on and off to see what each one is contributing. Some will be lighting exactly what you want. Others will be introducing weird hot spots, uneven grass, or light spill that reads as fake.
Reviewing individual layers and brushing out unwanted light spill
Now go through each layer individually. Turn layers on and off to see what each one is contributing. Some will be lighting exactly what you want. Others will be introducing weird hot spots, uneven grass, or light spill that reads as fake.
For the problem layers, don’t delete them outright. Instead, select the mask on that layer, pick a soft brush set to black, drop the opacity to somewhere between 20% and 40%, and paint over the areas you want to reduce. Lower opacity means you’re feathering the effect gradually rather than cutting it hard. The instructor does this several times in the tutorial, specifically targeting areas where the light gets hot on the facade or bleeds awkwardly across the lawn.
What I’d Add: Check Your Color Temperature Per Layer
Before you flatten or export, I always do one extra pass specifically for color temperature. Flashlights vary wildly in their color output depending on the bulb type, charge level, and age. A layer that looks fine at first glance can be pushing a warm or cool cast onto your building that clashes with the ambient light. I use a Hue/Saturation adjustment clipped to each light-painting layer to nudge things back to neutral where needed. It’s a small step that makes the final image look like light, not like “flashlight.”
The biggest thing this tutorial reinforced for me is that expensive gear is rarely the actual bottleneck. The technique matters more. A $35 flashlight, some patience during the shoot, and a solid understanding of blending modes will take you further than a strobe kit you don’t know how to use.
Watch the full tutorial on YouTube and follow along with your own set of exposures. The visual context from the actual composite makes the mask-duplication step and the Lighten mode logic click in a way that’s hard to get from text alone.
Comments (1)
This saved me so much time on my last edit. Wish I'd found this sooner.
Leave a Comment