
My phone used to be where photos went to die. I’d shoot something decent on my mirrorless, import it to my computer, and if I hadn’t edited it within 48 hours, it entered a kind of limbo. Meanwhile, whatever I shot on my phone sat in a camera roll that I’d scroll past guiltily for months. The gap between “captured” and “edited” was just too wide.
Lightroom Mobile closes that gap almost entirely, and I didn’t fully appreciate how capable it was until I went through this overview tutorial from Aaron Nace over at PHLEARN. This is Day 26 of his 30 Days of Lightroom series, and it’s essentially a full orientation of the mobile app, from the bottom navigation tabs all the way to importing raw files directly from a camera connected to your phone. If you want to watch it alongside this breakdown, here it is: Watch the full tutorial on YouTube
What surprised me most is how deliberately Adobe designed this app around actual workflows rather than just shrinking the desktop experience down. Once you understand the structure, it clicks fast.
Step 1: Understand the Three-Tab Foundation
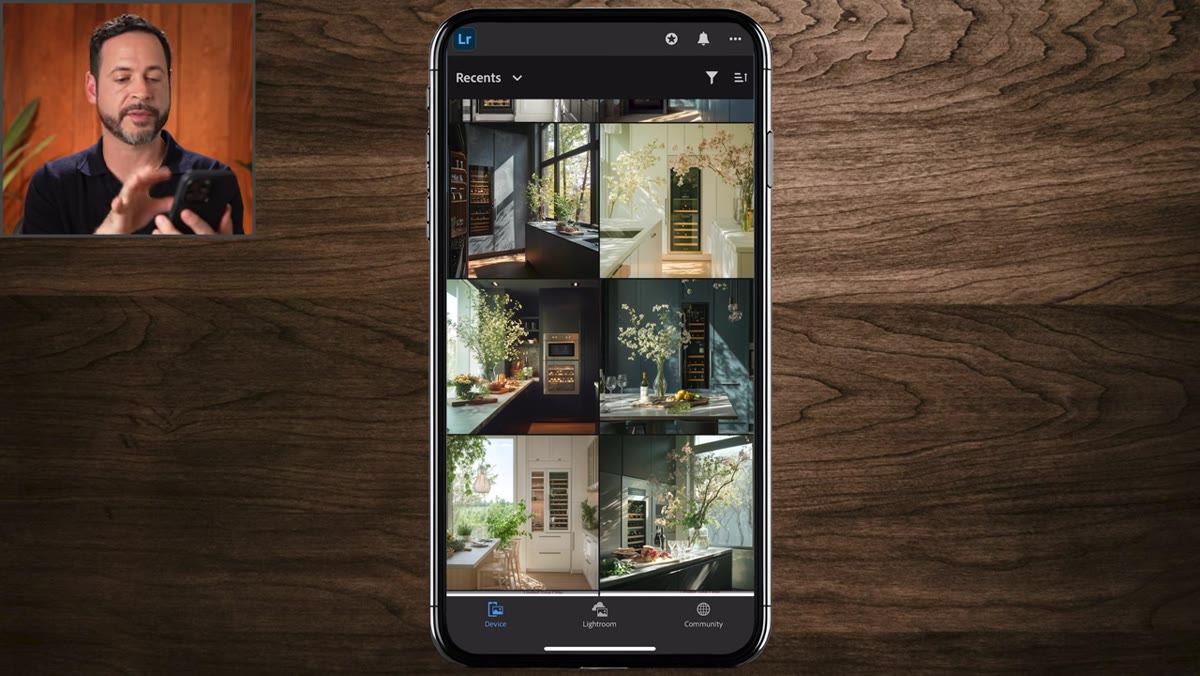
 Bottom navigation showing Device, Lightroom, and Community tabs
The entire app is organized around three tabs at the bottom of the screen: Device, Lightroom, and Community. This sounds simple, but getting these straight early saves a lot of confusion later. The Device tab shows every photo currently stored on your phone or tablet, basically your native camera roll. The Lightroom tab shows photos that have been brought into the Lightroom ecosystem specifically, meaning they sync to the cloud and across all your devices. Community is a discovery feed where you can browse work from other Lightroom users.
Bottom navigation showing Device, Lightroom, and Community tabs
The entire app is organized around three tabs at the bottom of the screen: Device, Lightroom, and Community. This sounds simple, but getting these straight early saves a lot of confusion later. The Device tab shows every photo currently stored on your phone or tablet, basically your native camera roll. The Lightroom tab shows photos that have been brought into the Lightroom ecosystem specifically, meaning they sync to the cloud and across all your devices. Community is a discovery feed where you can browse work from other Lightroom users.
Think of Device as a window into your phone’s storage, and Lightroom as your actual editing library. They’re connected but distinct, and understanding that distinction matters for how you work.
Step 2: Know the Difference Between Browsing and Editing
 Device tab displaying photos stored on the phone
You can browse your Device photos inside Lightroom Mobile, but browsing isn’t the same as editing. Photos sitting in the Device tab aren’t part of your Lightroom library yet. You can see them, but to apply edits, sync them to the cloud, or access them on another device, they need to be imported into Lightroom proper.
Device tab displaying photos stored on the phone
You can browse your Device photos inside Lightroom Mobile, but browsing isn’t the same as editing. Photos sitting in the Device tab aren’t part of your Lightroom library yet. You can see them, but to apply edits, sync them to the cloud, or access them on another device, they need to be imported into Lightroom proper.
This is the part that trips people up. If you open a photo from your camera roll inside the app and start adjusting sliders, it may not behave the way you expect, because that photo isn’t in your Lightroom catalog yet. The fix is simple, but you have to know the step exists.
Step 3: Import Photos Using the Plus Button
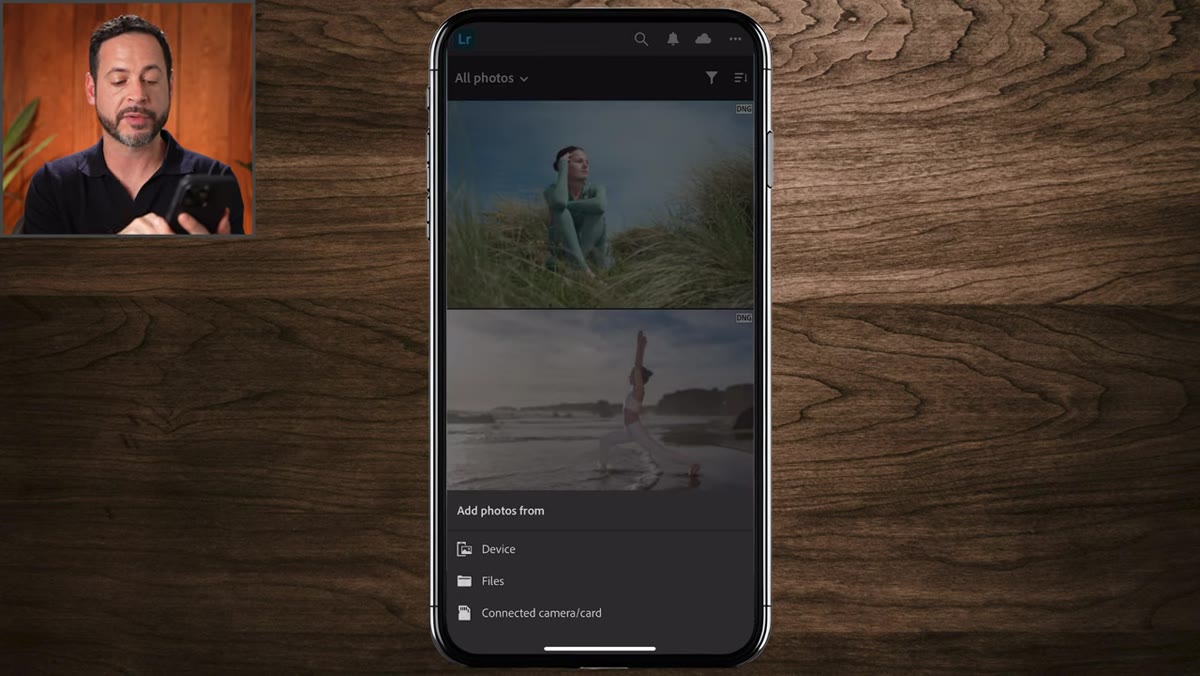 Plus icon and camera icon in the bottom right of the Lightroom tab
Inside the Lightroom tab, you’ll see two icons in the bottom right corner: a camera icon and an add icon. The add icon (the plus) is your import gateway. Tap it to pull in photos from your device’s storage, and you’ll be able to select individual files whether they’re JPEGs or raw formats.
Plus icon and camera icon in the bottom right of the Lightroom tab
Inside the Lightroom tab, you’ll see two icons in the bottom right corner: a camera icon and an add icon. The add icon (the plus) is your import gateway. Tap it to pull in photos from your device’s storage, and you’ll be able to select individual files whether they’re JPEGs or raw formats.
Here’s where it gets interesting for anyone shooting on a newer iPhone or a modern Android device with USB-C. Aaron points out that with a USB-C connection, like on an iPhone 15 or newer, you can connect a camera or a memory card directly to your phone and import raw files straight from the card. That’s a genuine game-changer for anyone who shoots on a dedicated camera but wants to edit or share on the go. No laptop needed in the field.
Step 4: Shoot Raw Directly in the App
 Camera interface showing DNG format selected at the top
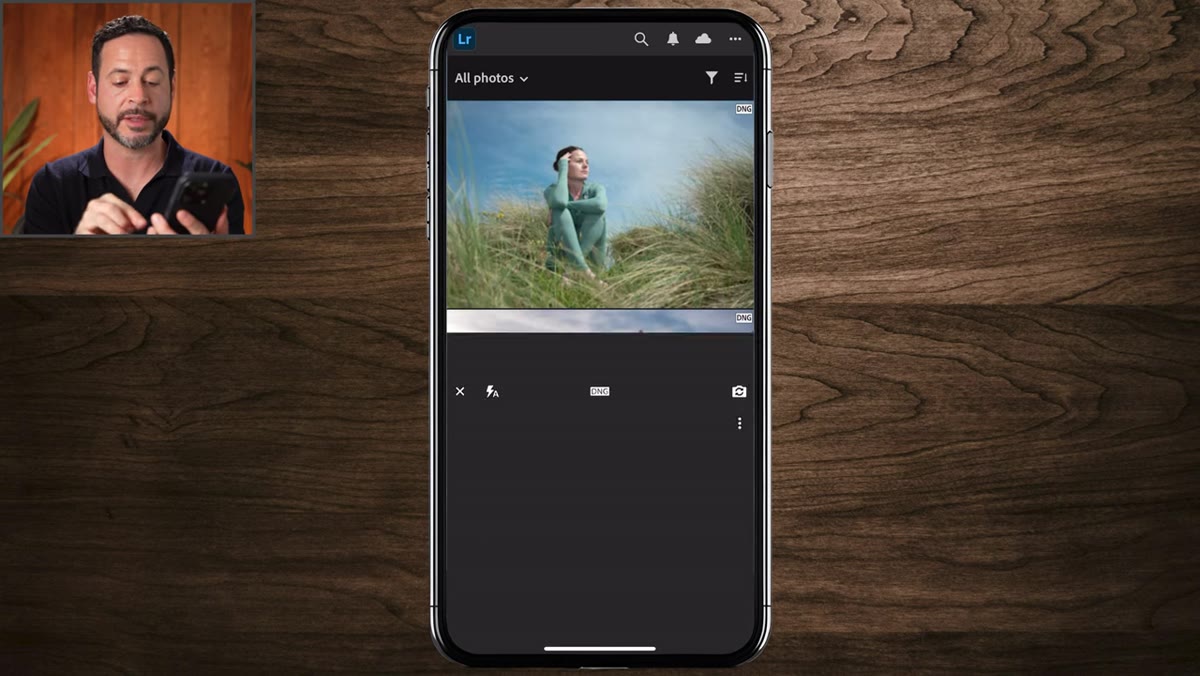
The camera icon in the Lightroom tab opens the in-app camera, and the default file format at the top of the screen is DNG, which is Adobe’s raw format. That means every photo you take through Lightroom Mobile is a raw file, not a compressed JPEG from your native camera app.
Camera interface showing DNG format selected at the top
The camera icon in the Lightroom tab opens the in-app camera, and the default file format at the top of the screen is DNG, which is Adobe’s raw format. That means every photo you take through Lightroom Mobile is a raw file, not a compressed JPEG from your native camera app.
Raw files retain far more tonal and color information than JPEGs, which means you have significantly more room to work with during editing, especially when recovering highlights or lifting shadows. For anyone who’s ever taken a phone photo and been frustrated by how quickly it falls apart when you push the edits, shooting DNG through Lightroom Mobile is the answer. The photo Aaron takes in the tutorial is a shot of his computer screen, admittedly not a beauty shot, but it demonstrates how instantly the captured image lands in your Lightroom library, ready to edit.
Step 5: Use Cloud Sync as Your Portfolio On-Demand
 Lightroom tab showing synced images available across devices
If you’ve already imported photos into Lightroom on your desktop, whether in Lightroom Classic or the cloud-based Lightroom desktop app, those images are automatically available on your phone through Lightroom Mobile. No manual transfer, no AirDrop, no emailing yourself files at 11pm.
Lightroom tab showing synced images available across devices
If you’ve already imported photos into Lightroom on your desktop, whether in Lightroom Classic or the cloud-based Lightroom desktop app, those images are automatically available on your phone through Lightroom Mobile. No manual transfer, no AirDrop, no emailing yourself files at 11pm.
Aaron frames this well: imagine you’ve imported a full shoot from your mirrorless camera onto your laptop, high-resolution raw files, the real thing. Those images sync to the cloud and appear on your phone. If you’re meeting someone and want to show them your portfolio, you open Lightroom Mobile and your best work is right there. You can even export and send directly from the phone. For client work, this alone justifies learning the mobile app.
Step 6: Explore the Community Tab for Inspiration
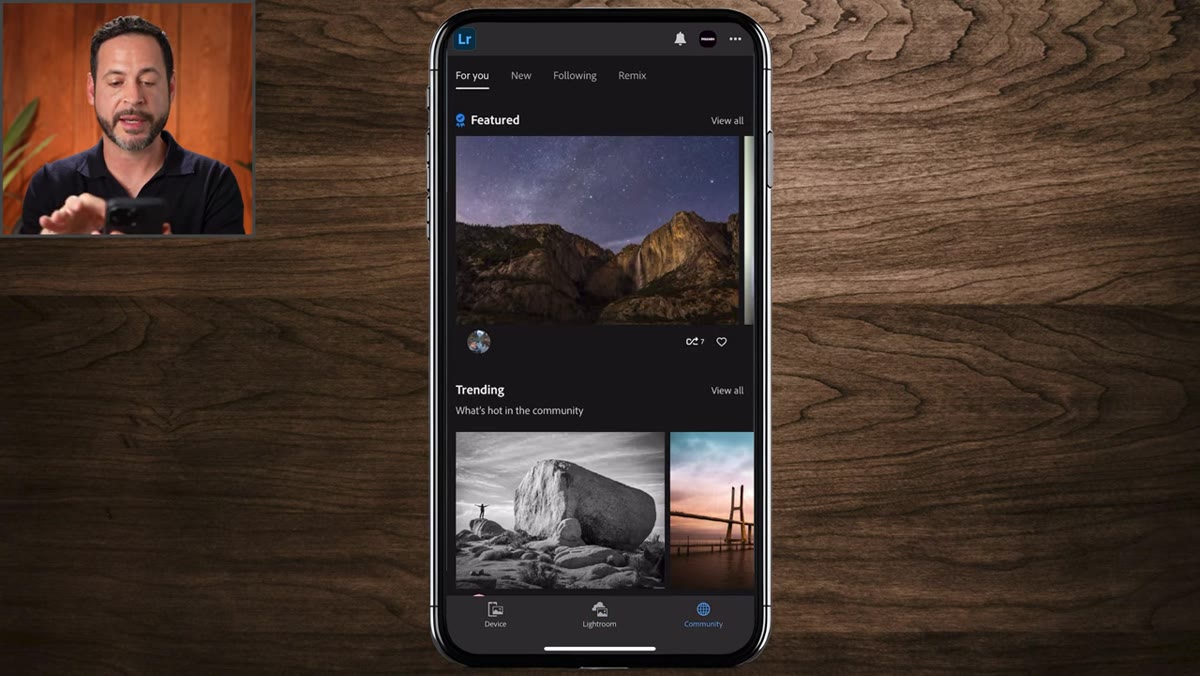 Community tab showing a feed of images from other Lightroom users
The Community tab is easy to overlook because it feels more like a social feature than a technical one, but I’d argue it’s genuinely useful. It’s a curated feed of work from other Lightroom users, and because it’s inside the editing app, it keeps inspiration close to the tools you’d use to act on it.
Community tab showing a feed of images from other Lightroom users
The Community tab is easy to overlook because it feels more like a social feature than a technical one, but I’d argue it’s genuinely useful. It’s a curated feed of work from other Lightroom users, and because it’s inside the editing app, it keeps inspiration close to the tools you’d use to act on it.
When I’m stuck on how to approach a specific look or tone, scrolling through real edits from real photographers is more useful than Pinterest boards or mood boards disconnected from any editing context. It’s ambient learning baked into the app.
My Take: Start With One Real Photo
Aaron’s tutorial is a clean orientation, and it covers the structure well. My addition is this: don’t just follow along with placeholder images. Before you finish reading this, open Lightroom Mobile, go to the Lightroom tab, hit the plus icon, and import one photo you actually care about. A shot from last weekend, a portrait, anything.
The interface makes more sense when something personal is at stake. I learned this the hard way. I spent too long following tutorials with sample files before I realized my own photos were sitting in that camera roll limbo I mentioned at the top. When I finally imported a set of band photos I’d been putting off editing for weeks, the workflow suddenly felt real. That’s when Lightroom Mobile went from “impressive demo” to “daily tool” for me.
The single most important thing this tutorial reinforces is the import distinction. Get your photos into the Lightroom tab, not just the Device tab, and the rest of the app opens up: cloud sync, cross-device access, raw editing power. That one step is the unlock.
Watch the full tutorial on YouTube and follow along with the free practice images Aaron links in his description.
Comments (2)
Been doing this wrong for years apparently. Thanks for the wake-up call.
The before and after really sells it. Incredible difference.
Leave a Comment