Every few months I revisit a photo I thought was finished and want to try something completely different with it. Maybe the color version I exported was fine, but I keep picturing it in black and white. Maybe my original edit was too conservative and I want to push the contrast harder. The problem is, I don’t want to lose the work I already put in. Duplicate the file? Now I’m managing two raw files and the catalog gets messy fast. Just keep tweaking over the original? That’s a one-way door.
This is exactly the situation that Lightroom’s virtual copy feature was built for, and it’s one of those tools I genuinely use on almost every serious shoot. In this First Man Photography tutorial, Adam walks through the feature in just a few minutes, but the concept is worth expanding on because the applications go well beyond the basic example he shows. Watch the full tutorial on YouTube and then come back to this walkthrough if you want the step-by-step breakdown.
The core idea is this: a virtual copy isn’t a second raw file. It’s a second set of instructions that Lightroom stores in its catalog, pointing at the same original. You can edit the copy as aggressively as you want, and the original stays exactly as you left it. Zero extra disk space, zero risk to your previous work.
Step 1: Find Your Image in the Grid View
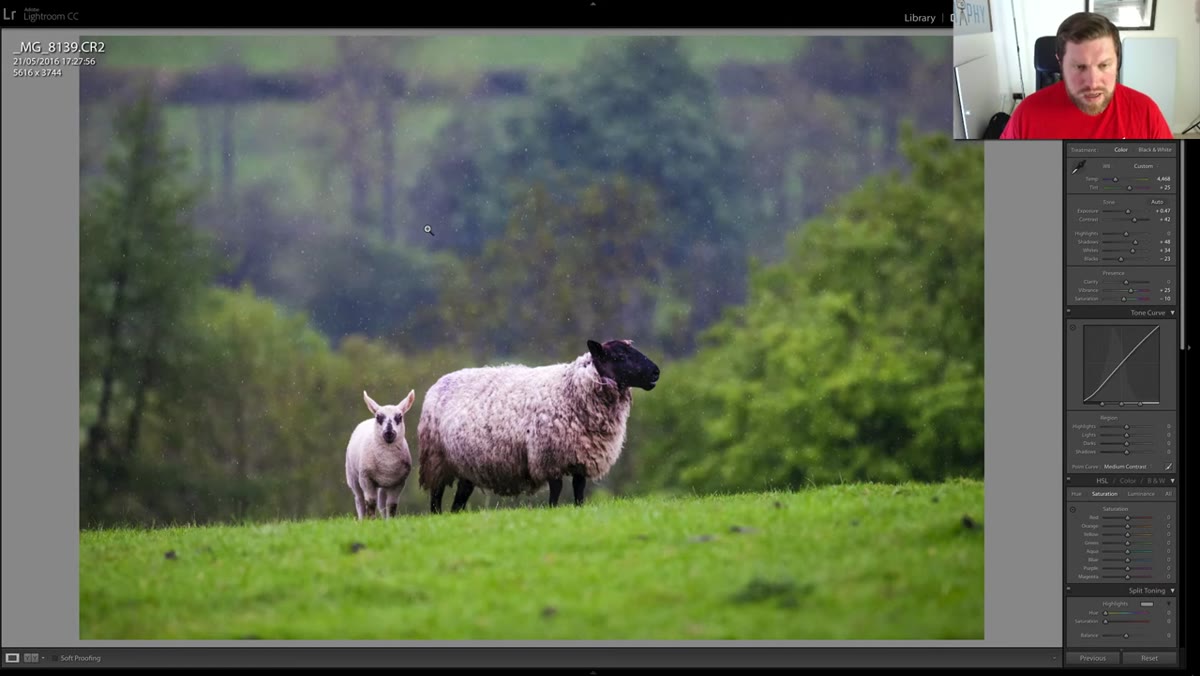
 Lightroom Grid view showing a single sheep photo selected
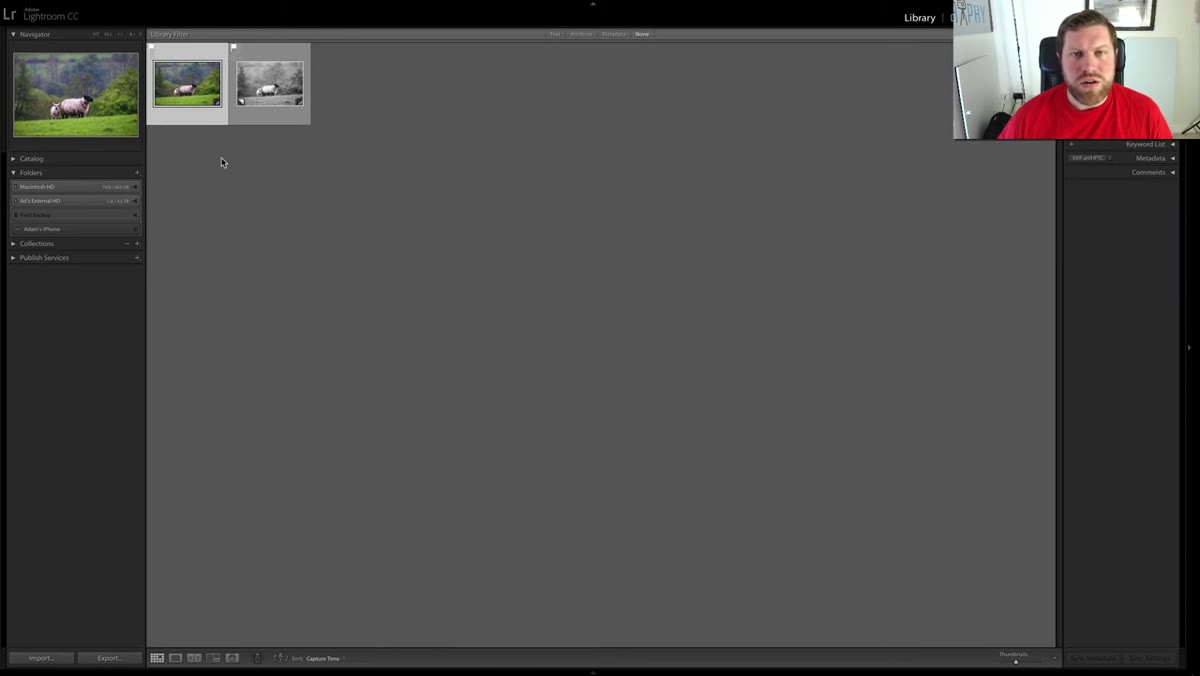
Start in the Library module with the image you want to duplicate. Adam is working from Grid view here, which is the thumbnail layout you get when you press G on your keyboard. You need to be in Grid view, or at least have the image selected in the filmstrip, before the virtual copy option becomes available in the right-click menu. If you’re in the Develop module with no image selected in the filmstrip, you won’t see the option in the same place.
Lightroom Grid view showing a single sheep photo selected
Start in the Library module with the image you want to duplicate. Adam is working from Grid view here, which is the thumbnail layout you get when you press G on your keyboard. You need to be in Grid view, or at least have the image selected in the filmstrip, before the virtual copy option becomes available in the right-click menu. If you’re in the Develop module with no image selected in the filmstrip, you won’t see the option in the same place.
Step 2: Right-Click and Create a Virtual Copy
 Right-click context menu open with “Create Virtual Copy” highlighted
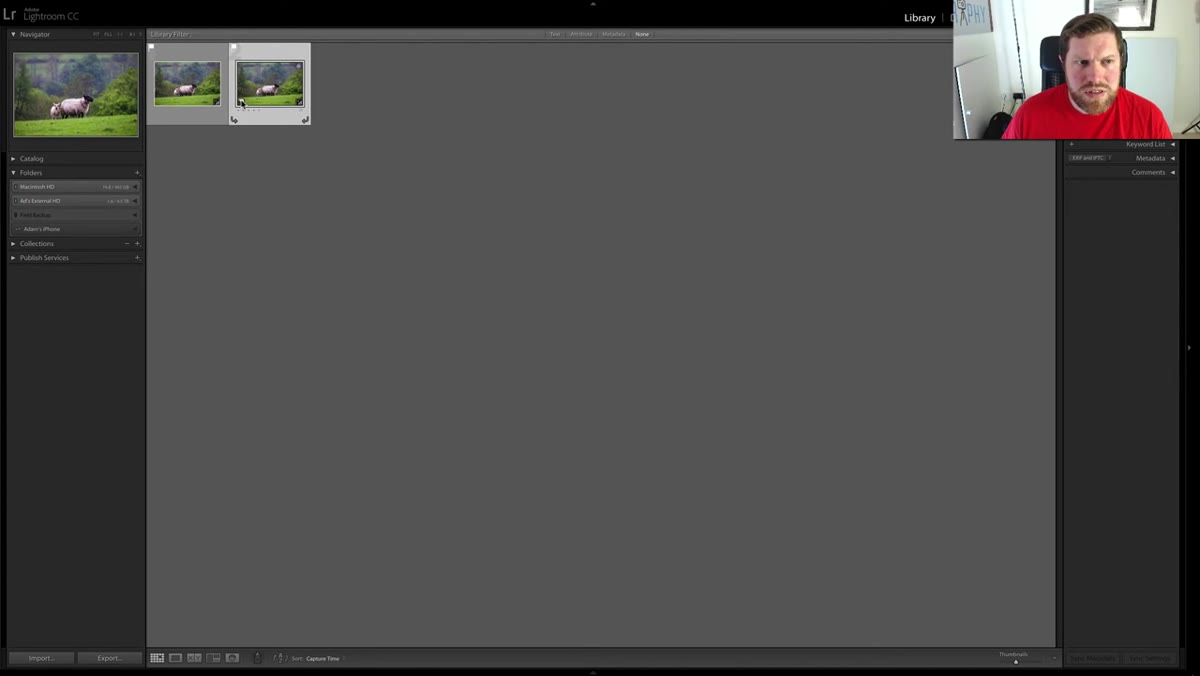
Right-click directly on the image thumbnail in the Grid view. About halfway down the context menu you’ll see “Create Virtual Copy.” Click it. Lightroom will instantly generate a second thumbnail right next to your original in the grid. You can also trigger this from the Photo menu at the top of the screen, or use the keyboard shortcut Cmd+’ on Mac (Ctrl+’ on Windows). That shortcut is worth memorizing if you plan to use this regularly.
Right-click context menu open with “Create Virtual Copy” highlighted
Right-click directly on the image thumbnail in the Grid view. About halfway down the context menu you’ll see “Create Virtual Copy.” Click it. Lightroom will instantly generate a second thumbnail right next to your original in the grid. You can also trigger this from the Photo menu at the top of the screen, or use the keyboard shortcut Cmd+’ on Mac (Ctrl+’ on Windows). That shortcut is worth memorizing if you plan to use this regularly.
The new thumbnail will have a small page-curl icon in the bottom-left corner, which is Lightroom’s visual signal that this is a copy, not an original master file. That little indicator is easy to overlook at first, but it becomes second nature once you know to look for it.
Step 3: Open the Virtual Copy in the Develop Module
 Virtual copy thumbnail selected, being opened in Develop module
Click on the virtual copy thumbnail to select it, then press D to jump into the Develop module. Everything you see here is independent from the original. Any slider you move, any panel you adjust, any preset you apply, none of it touches your master edit. This is where you start experimenting freely.
Virtual copy thumbnail selected, being opened in Develop module
Click on the virtual copy thumbnail to select it, then press D to jump into the Develop module. Everything you see here is independent from the original. Any slider you move, any panel you adjust, any preset you apply, none of it touches your master edit. This is where you start experimenting freely.
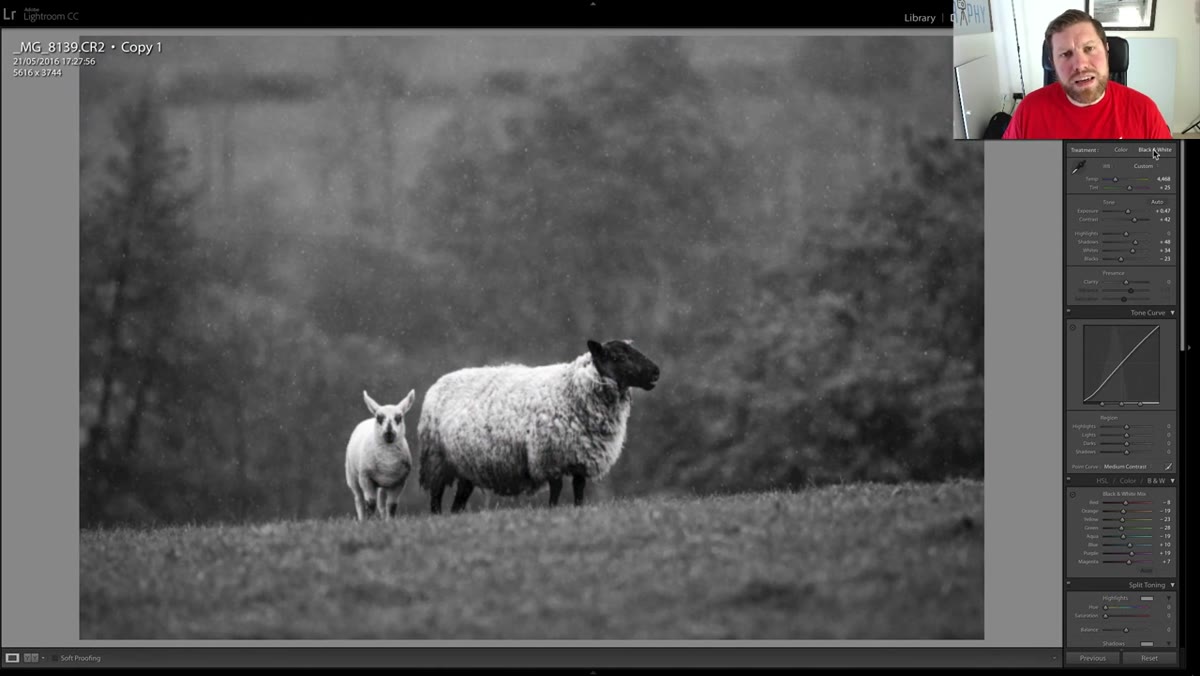
Adam’s example is converting the image to black and white, which he does by clicking the “Black and White” option at the top of the HSL/Color panel, or by pressing V as a shortcut. It’s a clean demonstration because the before/after is immediately obvious. Color on one thumbnail, monochrome on the other, both accessible from the same catalog entry.
Step 4: Edit the Copy Freely
 Develop module showing contrast and exposure adjustments on the B&W virtual copy
Once you’re in the Develop module with the virtual copy selected, treat it exactly like any other image. Adam bumps the contrast and lifts the exposure slightly after converting to black and white, which is a move I make almost every time I convert a color photo to monochrome. Color images rely on hue variation to create visual separation between tones. When you strip that out, you often need to compensate with stronger luminance contrast to keep the image from looking flat.
Develop module showing contrast and exposure adjustments on the B&W virtual copy
Once you’re in the Develop module with the virtual copy selected, treat it exactly like any other image. Adam bumps the contrast and lifts the exposure slightly after converting to black and white, which is a move I make almost every time I convert a color photo to monochrome. Color images rely on hue variation to create visual separation between tones. When you strip that out, you often need to compensate with stronger luminance contrast to keep the image from looking flat.
Don’t hold back here. The whole point of a virtual copy is that you can take a swing at a completely different look without any downside. Push the shadows. Crush the blacks. Try a preset you’d normally consider too heavy-handed.
Step 5: Create Additional Copies and Reset to Start Fresh
 Second virtual copy being created, then reset via Develop Settings menu
You’re not limited to one virtual copy. Adam shows creating a second copy from the original, then immediately resetting it back to the unedited raw state using Develop > Reset. This gives you a completely clean version to build a brand new edit from scratch, while your original edited version and your black and white version both remain intact and separate.
Second virtual copy being created, then reset via Develop Settings menu
You’re not limited to one virtual copy. Adam shows creating a second copy from the original, then immediately resetting it back to the unedited raw state using Develop > Reset. This gives you a completely clean version to build a brand new edit from scratch, while your original edited version and your black and white version both remain intact and separate.
This is useful when you want to approach the same image from a different creative direction entirely. Maybe your first edit is a warm, lifted look with rolled highlights. Your second pass might be a cooler, high-contrast treatment. Virtual copies let both versions coexist without any file management overhead.
How I Actually Use This in My Workflow
The tutorial covers the fundamentals cleanly, but the way I lean on virtual copies most heavily is for preset testing before committing. When I’m trying to decide which of two presets is right for a shot, I’ll create a virtual copy, apply one preset to each version, then compare them side by side in the Grid view. It’s faster than toggling history states and gives you a true split comparison.
I also use virtual copies any time I’m delivering images for multiple platforms. A client might need a warm-toned color version for Instagram and a neutral black and white for print. Virtual copies keep both versions in one catalog entry with no duplicate files on the drive. That matters when you’re shooting raw and managing large libraries. I have presets named after songs, and some of them only work in black and white. Virtual copies let me audition those without ever committing.
One note: virtual copies do travel with your catalog. If you export the catalog or move it to another machine, the copies come along. They are not stored in any sidecar file or in the raw itself. They live in the catalog database, so back up your catalog consistently.
The single most important thing to take away from this technique is that experimentation should cost nothing in Lightroom. Virtual copies remove the last reason to be cautious about trying a bold edit, because you can always walk it back by switching to the original. That creative freedom compounds over time. The more freely you experiment, the faster you develop your eye.
Watch the full tutorial on YouTube to see Adam’s quick walkthrough in real time. It’s under three minutes and absolutely worth watching alongside this breakdown.
Comments
Leave a Comment