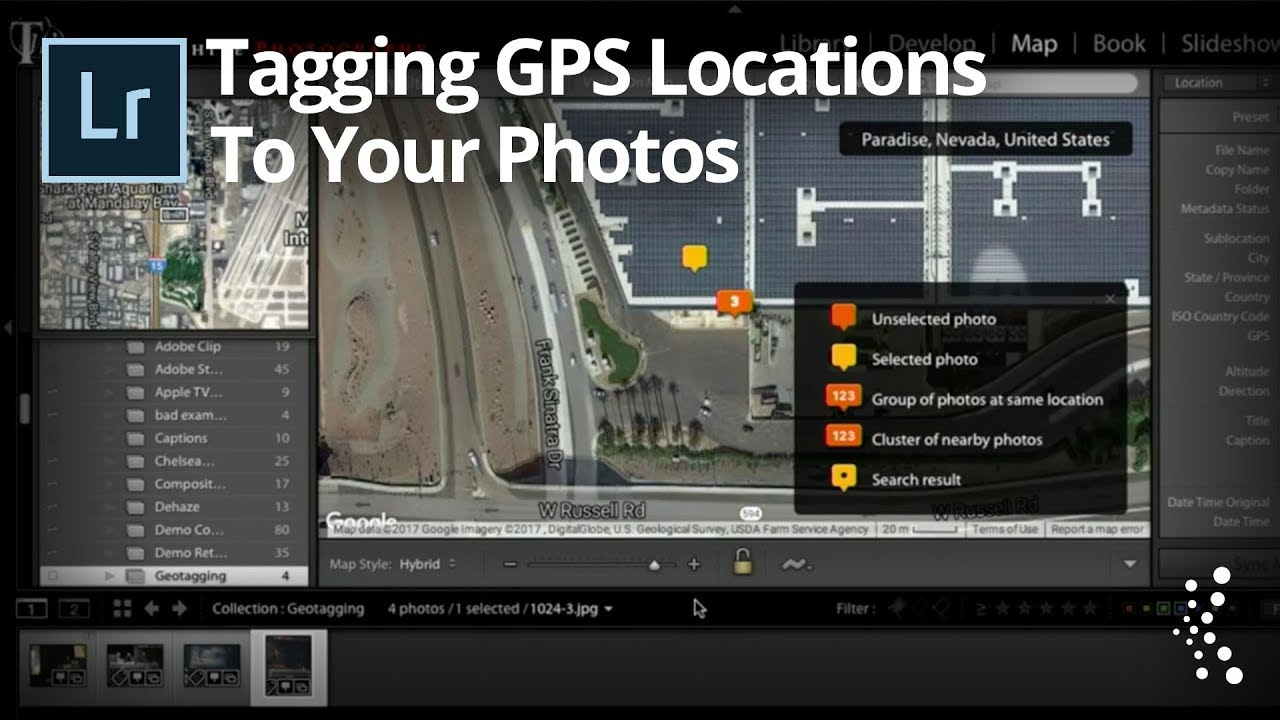
There’s a specific kind of frustration that only photographers know. You’re flipping through a catalog from a trip three years ago, you find a shot you love, and you have absolutely no idea where you were standing when you took it. Not the city. Not the neighborhood. Nothing. I’ve had clients ask me to send them back to a location for follow-up shoots, and I’ve had to piece together the answer from Instagram posts and foggy memory like some kind of geographic detective. It’s not a great look.
The fix for this is Lightroom’s Map module, but there’s always been an obvious catch: the Map module runs on GPS data embedded in your photo files, and most DSLRs and mirrorless cameras simply don’t have built-in GPS. Mine certainly doesn’t. In this KelbyOne tutorial featuring Terry White from Adobe, presented by Scott Kelby, there’s a workaround so clean and obvious that it genuinely annoyed me I hadn’t thought of it myself. Watch the full tutorial on YouTube before or after reading through these steps.
The core idea is this: you already own a device with excellent built-in GPS. It’s in your pocket right now. You just need to teach Lightroom how to connect a single phone shot to an entire shoot’s worth of DSLR images.
Step 1: Enable Location Services on Your Phone Camera
 Phone camera with location/GPS permission described as enabled
Before anything else, make sure your phone is actually capturing location data when you shoot. On both iOS and Android, the camera app treats location access as an opt-in permission for privacy reasons. Go into your phone’s settings, find the camera app permissions, and confirm that location access is turned on. If you use Lightroom Mobile for this reference shot, same rule applies. Check the app permissions and make sure location is allowed. This is a one-time setup step, but skipping it means none of the rest of this works.
Step 2: Arrive at Your Location and Take One Phone Shot
 Taking a single reference photo on mobile device at shooting location
When you get to your shooting location with your DSLR, pull out your phone and take one photo. That’s the entire physical effort required. It doesn’t need to be a good photo. It doesn’t need to be composed, exposed correctly, or even in focus. Its only job is to exist at that GPS coordinate with a timestamp. Take the shot, drop the phone back in your bag, and go back to shooting with your real camera. If you’re already using Lightroom Mobile as your phone camera, the image will sync back to your Lightroom desktop catalog automatically, which saves you one import step later.
Step 3: Import Everything Into Lightroom
 Lightroom desktop catalog showing mixed DSLR and phone photos in grid
Back at your desk, import your DSLR shots as you normally would. Import your phone shot as well, either through Lightroom Mobile sync or by downloading it manually and dragging it into the catalog. They don’t need to live in the same folder, but having them in the same collection makes the next steps faster. Once everything is imported, you’ll be able to see the difference immediately. Photos with embedded GPS data display a small map pin icon in the Grid view. Your phone shot will have one. Your DSLR shots will not.
Step 4: Click the Map Pin to Open the Map Module
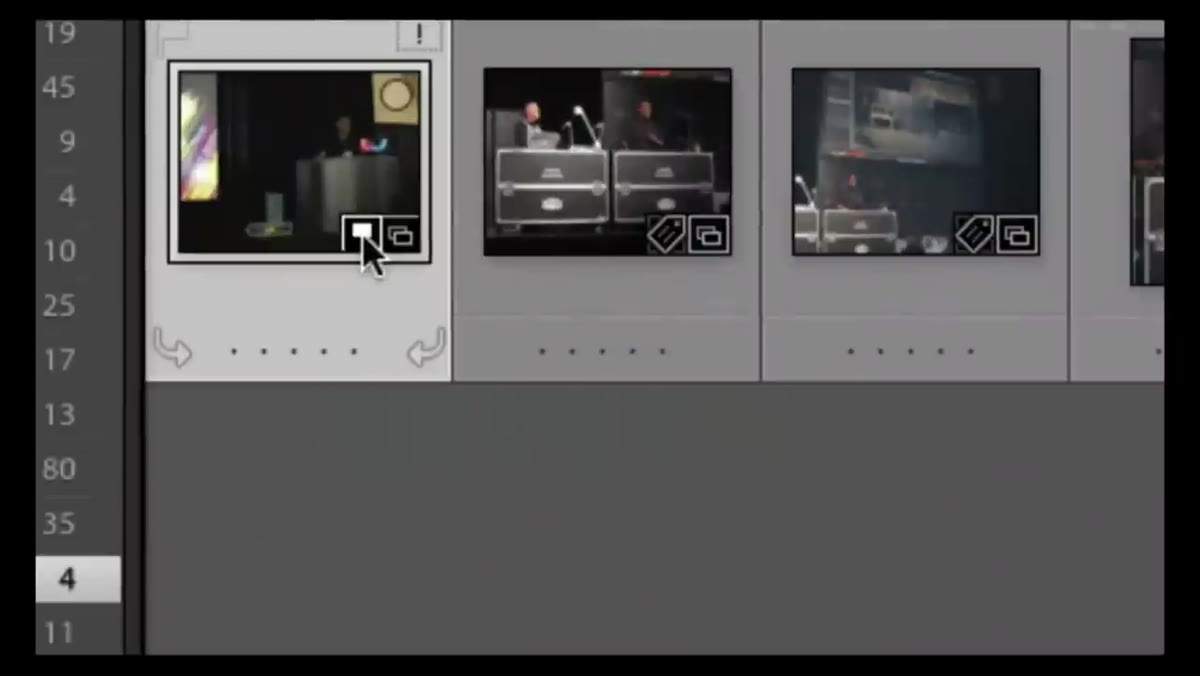 Small GPS flag icon visible on geotagged phone photo in grid view
Click the map pin icon on your geotagged phone shot. Lightroom will jump directly to the Map module and center the view on the exact coordinates where that photo was taken. Terry shows this with a shot from a Photoshop World event in Las Vegas, and the map drops a pin right on the Mandalay Bay Convention Center. The accuracy isn’t perfect at a room-by-room level since GPS has government-imposed limitations on civilian precision, but it’s close enough to be genuinely useful for returning to a spot or sharing a location with someone else.
Step 5: Drag Your DSLR Photos onto the Map
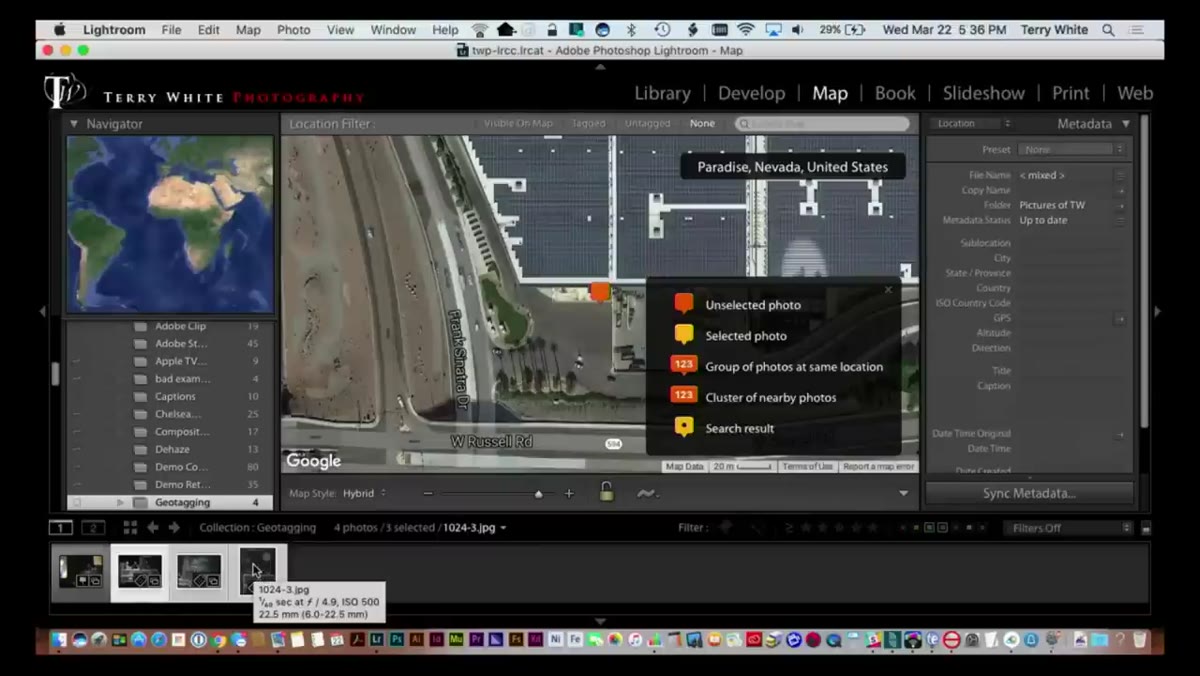 Dragging non-geotagged DSLR photos onto map pin in Lightroom Map module
This is where it gets satisfying. In the Map module, your Filmstrip still shows all your photos at the bottom of the screen. Find the DSLR shots from the same shoot, the ones without location data, and simply drag them from the Filmstrip directly onto the map pin. Lightroom will write the coordinates from that position into the metadata of every photo you drop there. You can select multiple shots at once and drag them all in a single move. When you drop them, Lightroom updates those files with geotag information, even though the camera that took them never had a GPS receiver.
Step 6: Confirm the Geotag Was Written
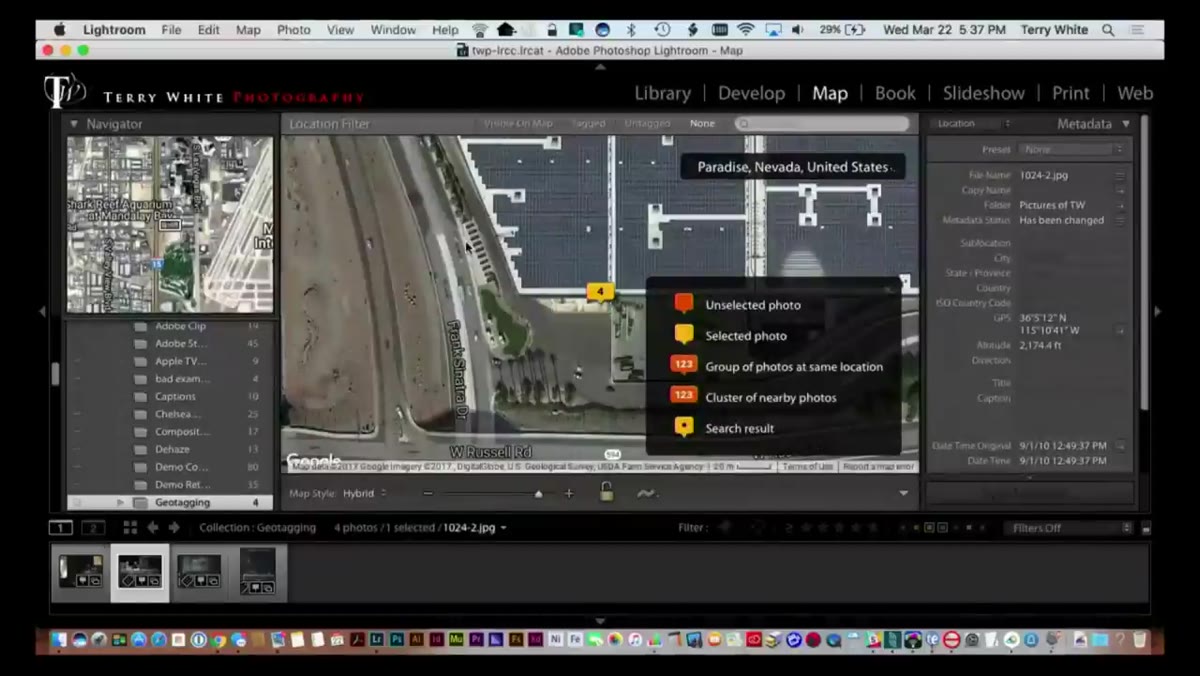 Previously untagged DSLR photo now showing GPS map pin icon in grid
Navigate back to the Grid view and check your DSLR shots. They should now show the map pin icon, the same one that was only on your phone shot before. Click any one of them and jump back to the Map module. Lightroom will center on those coordinates, confirming the data was written correctly. At this point, the location is baked into the metadata. It will travel with the file, show up in other applications that read EXIF data, and be searchable inside Lightroom whenever you use the Map module in the future.
One Thing I’d Add: Use This to Backfill Old Shoots
Terry’s demo uses a photo he took years before he was even thinking about geotagging. That detail is worth sitting with for a second. This technique isn’t only for future shoots. If you have any reference image with location data taken near the same spot, an iPhone snapshot from that trip, an old Google Photos image, anything, you can import it, find the pin, and use it to tag the DSLR shots retroactively. I’ve started going back through older travel catalogs and doing exactly this. It takes a few minutes per trip, and it turns a disorganized archive into something you can actually navigate by place. The Map module suddenly becomes a visual travel journal instead of an empty feature you’ve been ignoring for years.
The single most important thing this tutorial teaches is that GPS in your camera was never a hard requirement for geolocation in Lightroom. Your phone is always in your pocket. One throwaway shot is all it takes to anchor an entire day of shooting to a real place on a map. That’s a low-cost habit with disproportionate long-term value for anyone who cares about organizing their catalog or helping future clients find their way back to a location.
Watch the full tutorial on YouTube to see Terry walk through the drag-and-drop step in real time. It’s a short watch and the visual confirmation of that map pin appearing on previously untagged images is genuinely satisfying.
Comments (1)
Printing this out and pinning it next to my monitor. That good.
Leave a Comment