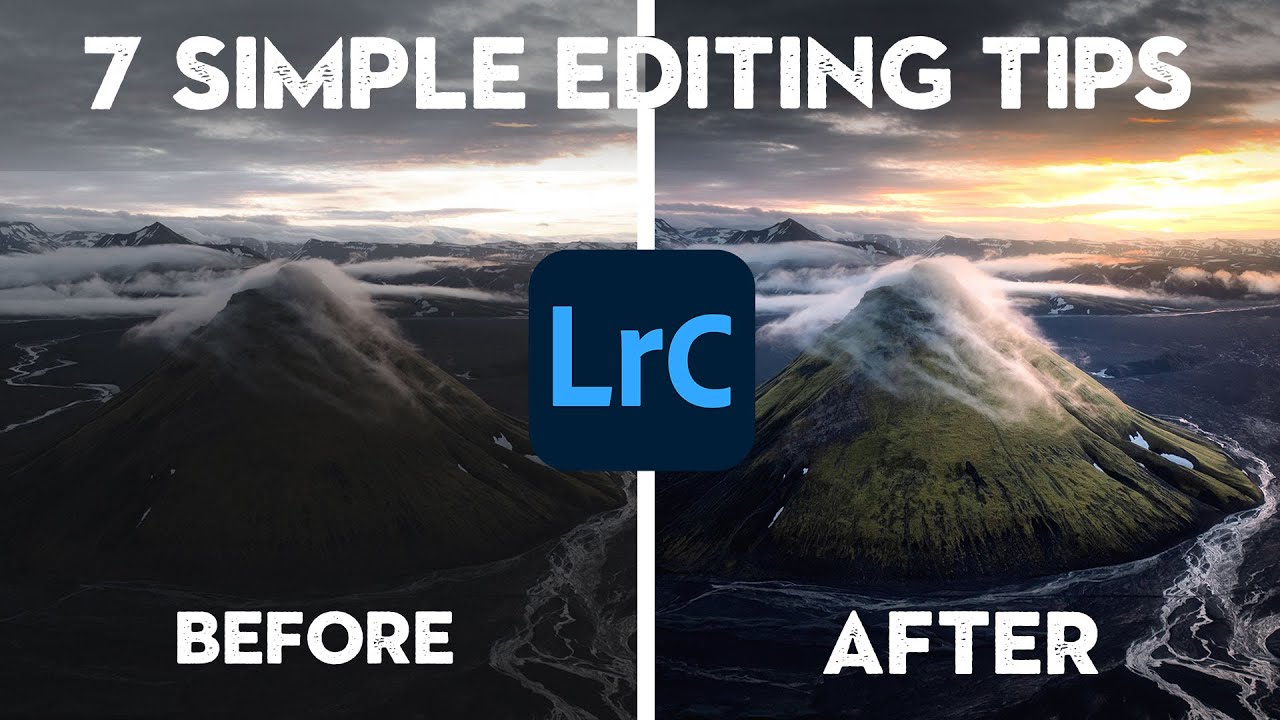
There’s a moment early in most photographers’ Lightroom journeys where they open a raw file, squint at the histogram, decide it “looks okay,” and start dragging sliders around hoping something good happens. I did that for longer than I’d like to admit. The result was a lot of technically mediocre edits that I thought were finished until I looked at them a week later and cringed. What I was missing wasn’t a better preset or a more sophisticated technique. I was missing a diagnostic step that should happen before any real editing begins.
In this Nigel Danson tutorial, Watch the full tutorial on YouTube, Nigel walks through seven beginner-friendly Lightroom tips that carry real weight even if you’ve been editing for a while. The one that hit closest to home for me was his first tip: using the exposure slider not to edit, but to interrogate your file before you commit to any direction. It sounds almost too simple to matter. It matters a lot.
I picked this technique up properly about two years into editing, and it immediately changed how I work. Before that, I was essentially flying blind. Now I treat it like tuning a record before I drop the needle. You don’t just hit play and hope it sounds right. You check the levels first.
Step 1: Open Your Raw File and Resist the Urge to Edit Immediately
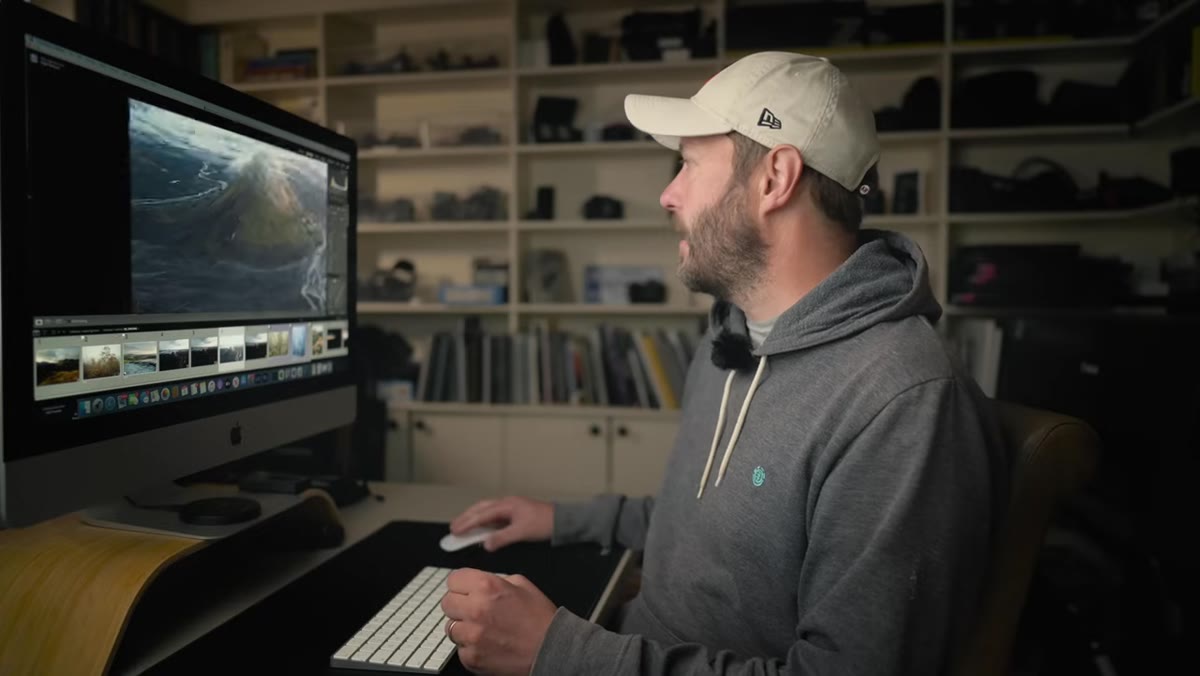
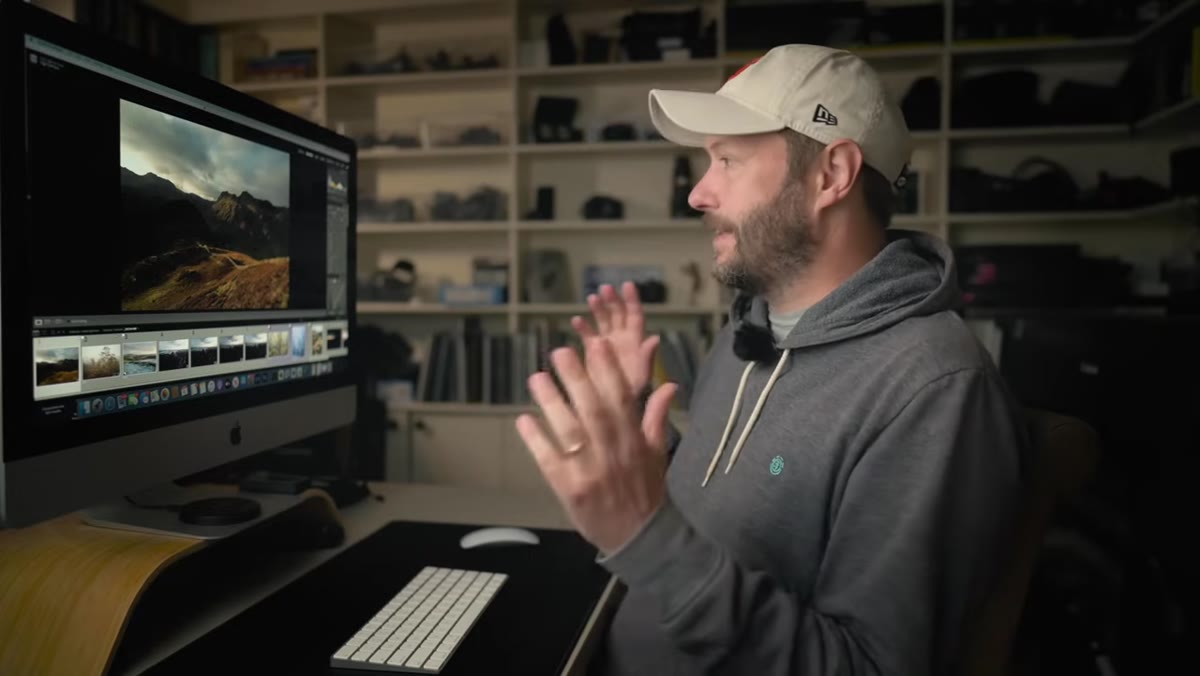 Lightroom histogram panel shown alongside an unedited landscape photo
Pull your raw file into Lightroom’s Develop module and stop. Don’t touch the white balance, the tone curve, or the clarity slider. Just look at the histogram. It tells you a general story about where your exposure sits, but it doesn’t tell you what’s actually hiding in the shadows or whether your highlights have recoverable detail. That’s what the next steps are for. This pause is the whole point of the exercise.
Lightroom histogram panel shown alongside an unedited landscape photo
Pull your raw file into Lightroom’s Develop module and stop. Don’t touch the white balance, the tone curve, or the clarity slider. Just look at the histogram. It tells you a general story about where your exposure sits, but it doesn’t tell you what’s actually hiding in the shadows or whether your highlights have recoverable detail. That’s what the next steps are for. This pause is the whole point of the exercise.
Step 2: Drag the Exposure Slider All the Way to the Left
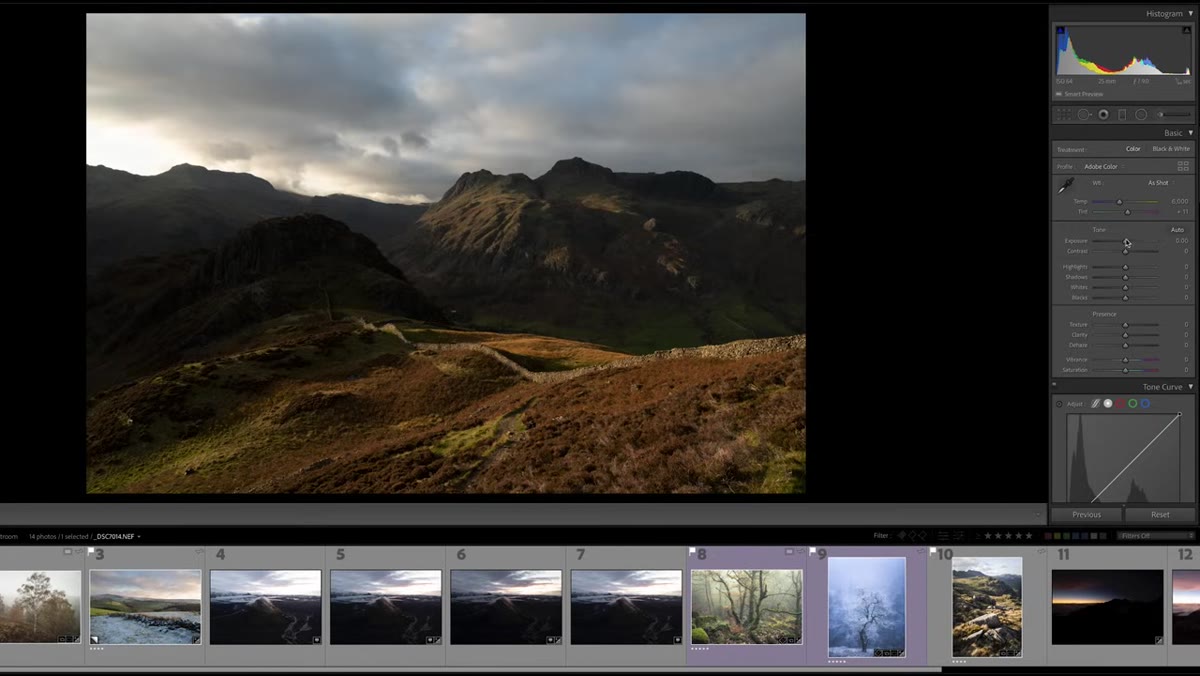 Exposure slider pulled far left, image appearing very dark
Grab the exposure slider in the Basic panel and pull it hard to the left, well into negative territory. You’re not doing this to create a usable image. You’re doing it to force all the highlights into view. When the image goes dark, the cloud detail, the sky gradients, the bright architectural surfaces that were blowing out at normal exposure all become visible. You’re essentially asking the file: what are you actually holding onto up here? If you can see clean, detailed information in those bright areas at this extreme setting, you know you have room to recover them in your final edit.
Exposure slider pulled far left, image appearing very dark
Grab the exposure slider in the Basic panel and pull it hard to the left, well into negative territory. You’re not doing this to create a usable image. You’re doing it to force all the highlights into view. When the image goes dark, the cloud detail, the sky gradients, the bright architectural surfaces that were blowing out at normal exposure all become visible. You’re essentially asking the file: what are you actually holding onto up here? If you can see clean, detailed information in those bright areas at this extreme setting, you know you have room to recover them in your final edit.
Step 3: Drag the Exposure Slider All the Way to the Right
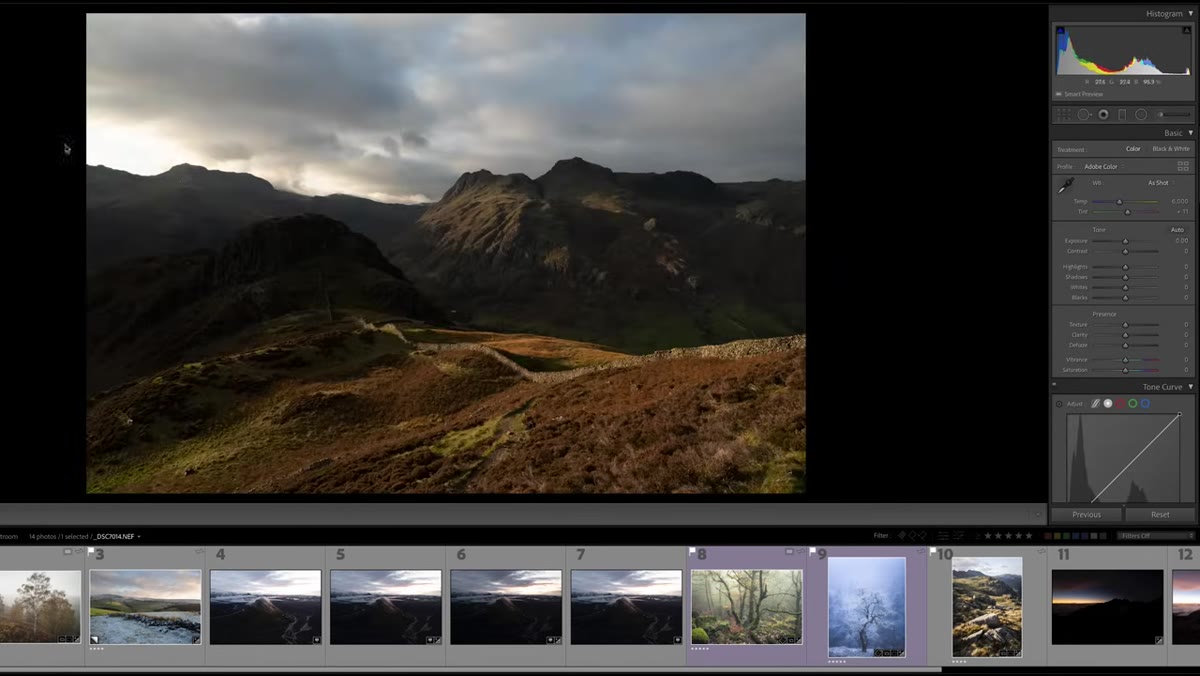 Exposure slider pulled far right, shadow areas now visible and noisy
Now swing the slider in the opposite direction, pushing exposure way up into positive values. The image will look blown out and garish, but that’s not the point. You’re looking at what lives in the shadows. On a well-exposed file shot on a full-frame sensor, you’ll typically see clean, usable shadow information emerge. But on a drone shot or a high-contrast scene where you exposed for the highlights, this is where you might discover a problem: noise. Heavy, chunky luminance noise that tells you the shadow regions of your file are underexposed enough that recovering them will cost you image quality. Knowing that before you start editing means you can plan around it, maybe adding noise reduction early, or deciding not to push the shadows as hard as you normally would.
Exposure slider pulled far right, shadow areas now visible and noisy
Now swing the slider in the opposite direction, pushing exposure way up into positive values. The image will look blown out and garish, but that’s not the point. You’re looking at what lives in the shadows. On a well-exposed file shot on a full-frame sensor, you’ll typically see clean, usable shadow information emerge. But on a drone shot or a high-contrast scene where you exposed for the highlights, this is where you might discover a problem: noise. Heavy, chunky luminance noise that tells you the shadow regions of your file are underexposed enough that recovering them will cost you image quality. Knowing that before you start editing means you can plan around it, maybe adding noise reduction early, or deciding not to push the shadows as hard as you normally would.
Step 4: Note What You Found and Reset Before Editing
 Exposure slider returned to neutral, editing session beginning with informed intent
After you’ve done your left-and-right inspection, return the exposure slider to its original position or to zero. Then make mental notes, or literal ones if you prefer, about what the file contains. Does it have strong highlight detail worth preserving? Do the shadows hold up, or are they noisy? Is there contrast hiding in a particular region that you’ll want to emphasize? This information shapes every decision you make from here. You’re not guessing anymore. You’re editing with a map.
Exposure slider returned to neutral, editing session beginning with informed intent
After you’ve done your left-and-right inspection, return the exposure slider to its original position or to zero. Then make mental notes, or literal ones if you prefer, about what the file contains. Does it have strong highlight detail worth preserving? Do the shadows hold up, or are they noisy? Is there contrast hiding in a particular region that you’ll want to emphasize? This information shapes every decision you make from here. You’re not guessing anymore. You’re editing with a map.
Step 5: Use Your Shadow and Highlight Knowledge to Guide Targeted Adjustments
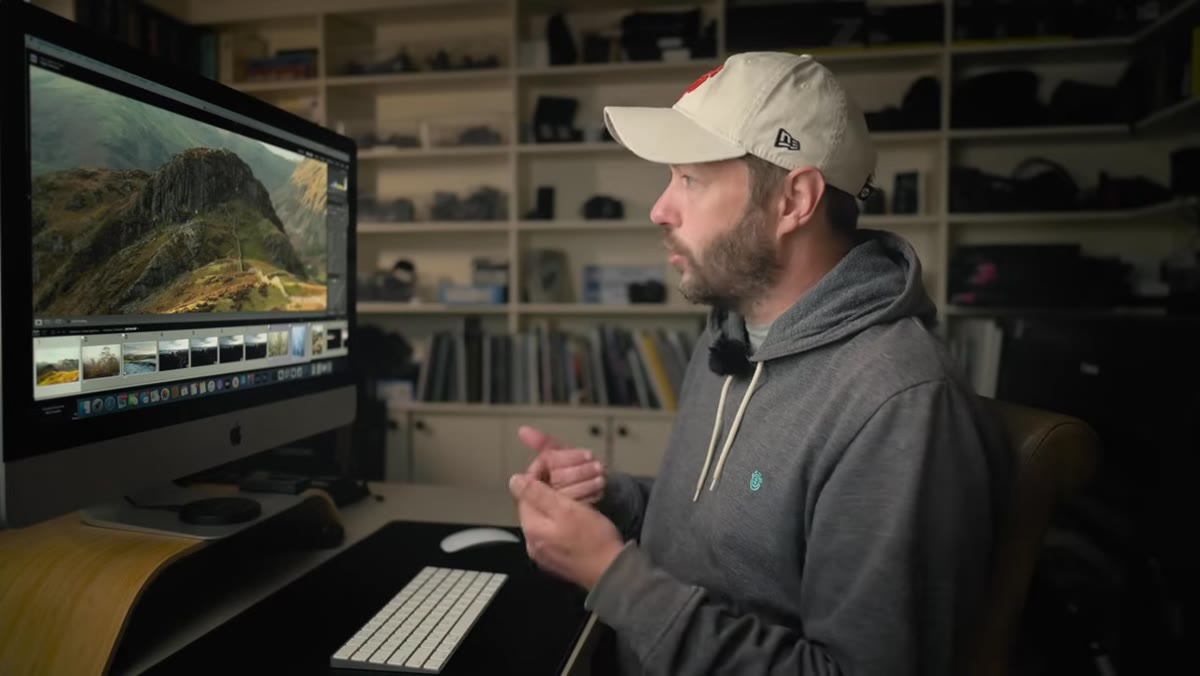 Shadow and highlight sliders being adjusted based on prior file inspection
Now that you know what the file contains, the shadow and highlight sliders in the Basic panel become much more precise tools. If you discovered clean shadow detail in step 3, you can lift the shadows confidently without worrying about introducing noise. If you saw great cloud detail in step 2, you can pull the highlights down to recover it without worrying that you’re chasing something that isn’t there. The exposure inspection removes the guesswork from these decisions. You’re not hoping the detail is there. You already know.
Shadow and highlight sliders being adjusted based on prior file inspection
Now that you know what the file contains, the shadow and highlight sliders in the Basic panel become much more precise tools. If you discovered clean shadow detail in step 3, you can lift the shadows confidently without worrying about introducing noise. If you saw great cloud detail in step 2, you can pull the highlights down to recover it without worrying that you’re chasing something that isn’t there. The exposure inspection removes the guesswork from these decisions. You’re not hoping the detail is there. You already know.
What I’d Add From My Own Workflow
Nigel’s technique is primarily about exposure range, but I’ve extended it slightly by doing the same left-right sweep after I’ve applied noise reduction on noisy files. Running the diagnostic on a raw file with significant noise can make the shadow regions look worse than they’ll actually be in the final edit, once Lightroom’s denoise tool has done its work. So on high-ISO shots or drone footage where noise is expected, I’ll run a quick denoise pass first, then do the exposure sweep to get a more accurate read on what I’m actually working with.
I also use this technique as a quick gut-check before I apply any preset. A lot of photographers, including me at one point, would slap a preset on an image and then try to make it work. But if the preset pushes shadows up and your file has noisy shadows, you’ve just made your own life harder. Do the sweep first. Then decide whether the preset is even appropriate for that specific file.
One more thing worth noting: drone files and smaller-sensor cameras will almost always show more noise in the extreme-right position than full-frame DSLR or mirrorless files. That’s not a problem with your technique. That’s just physics. The diagnostic doesn’t lie to you. It just shows you the truth about the tool you used to capture the image.
The single most important idea here is that editing should begin with observation, not action. The exposure slider sweep takes about fifteen seconds, and it tells you more about a raw file than staring at the histogram for five minutes. It’s the kind of habit that feels unnecessary until the day it saves an edit you would have otherwise pushed in the wrong direction.
If you want to see all seven tips Nigel covers, including some that apply beyond basic exposure work, go watch the whole thing: Watch the full tutorial on YouTube. Nigel has a way of teaching that doesn’t waste your time, and this video is a good example of that.
Comments (1)
Just subscribed. If the rest of your content is this good, I'm in.
Leave a Comment