Lightroom Mobile Is More Powerful Than You Think — Here's the Proof

Lightroom Mobile Is More Powerful Than You Think — Here's the Proof

I resisted Lightroom’s cloud-based desktop and mobile app for an embarrassingly long time. I had my Classic catalog, my folder structure, my backup drives humming under my desk like old friends. The idea of handing my raw files over to the cloud felt like trading a filing cabinet for a promise. Then I actually started using it, and I owe a small apology to the app I ignored for two years.

Stop Fighting Flat RAWs: How Camera Profiles and Color Targets Fix Your White Balance at the Source

Stop Fighting Flat RAWs: How Camera Profiles and Color Targets Fix Your White Balance at the Source

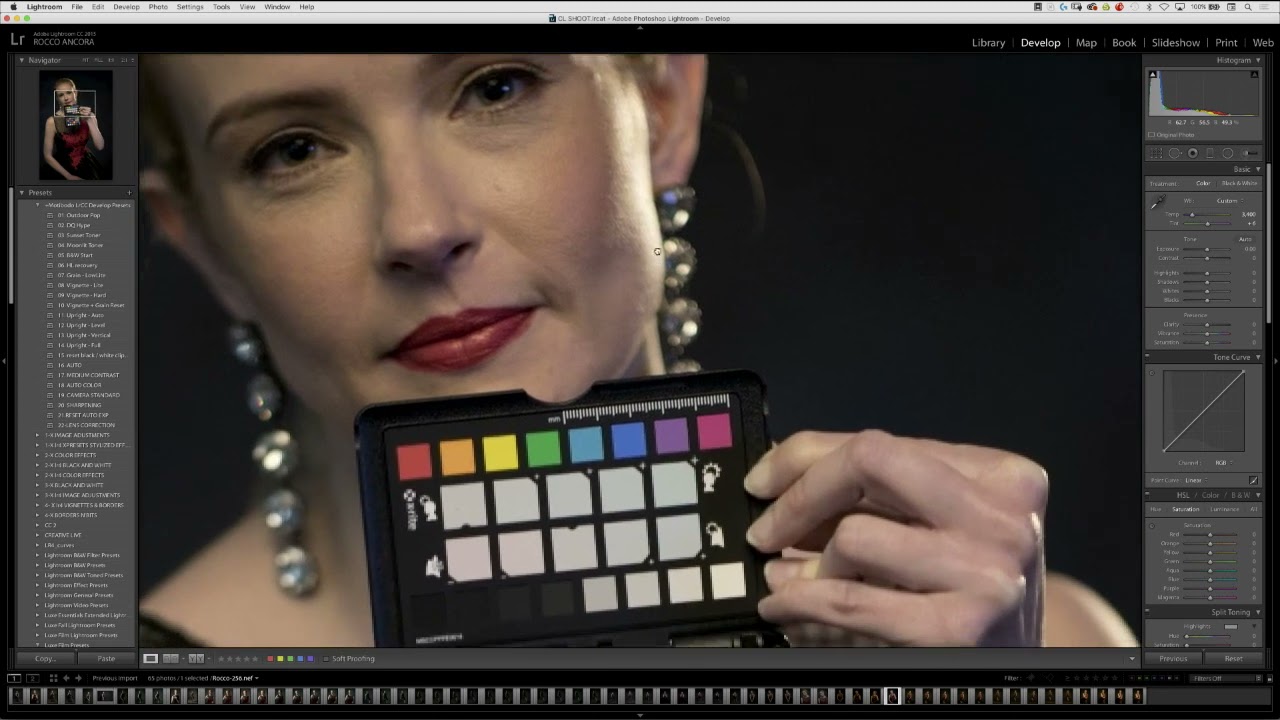
Every photographer I know has spent too much time dragging the Contrast slider back and forth trying to resurrect a flat, muddy RAW file. I did it for years. Back when I was editing press shots for my band on a borrowed laptop, I thought contrast was something you added manually, like salt to a recipe. Turns out I was starting from the wrong ingredient entirely. That’s the core lesson in this CreativeLive tutorial on color management policies in Lightroom.

Stop Touching Everything: Mark Denney's RAW Editing Framework That Finally Made Sense to Me

Stop Touching Everything: Mark Denney's RAW Editing Framework That Finally Made Sense to Me

There’s a specific kind of paralysis that hits when you open a RAW file with too much ambition. You see the image, you know what you want it to look like, and then you open Lightroom and suddenly you’re adjusting the dehaze slider on a photo that hasn’t even had its white balance corrected yet. I’ve been there more times than I want to count, and honestly, it’s not a knowledge problem.

How Lightroom's Enhance Feature Rescues an Aggressive Crop (And Why You're Probably Not Using It)

How Lightroom's Enhance Feature Rescues an Aggressive Crop (And Why You're Probably Not Using It)

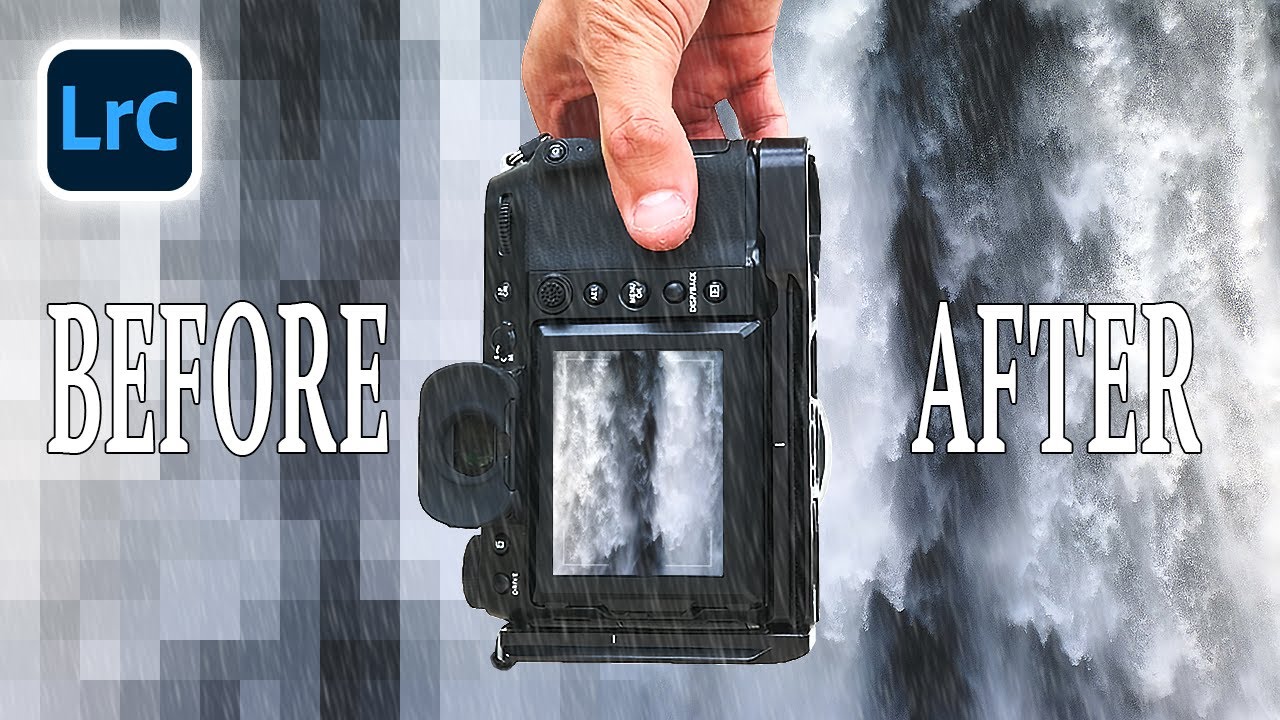
There’s a specific kind of frustration that hits when you get home from a shoot, pull up your images, and realize the composition needs a serious crop. Maybe there was a distracting element along the edge, or your subject was just a little too far away. Either way, you drag those crop handles inward, and suddenly your 26-megapixel file is looking like something off a 2009 phone camera. Pixelated, soft, unusable.

Your Highlights Are Blown Out — Here's How to Fix It in Lightroom's Basic Panel

Your Highlights Are Blown Out — Here's How to Fix It in Lightroom's Basic Panel

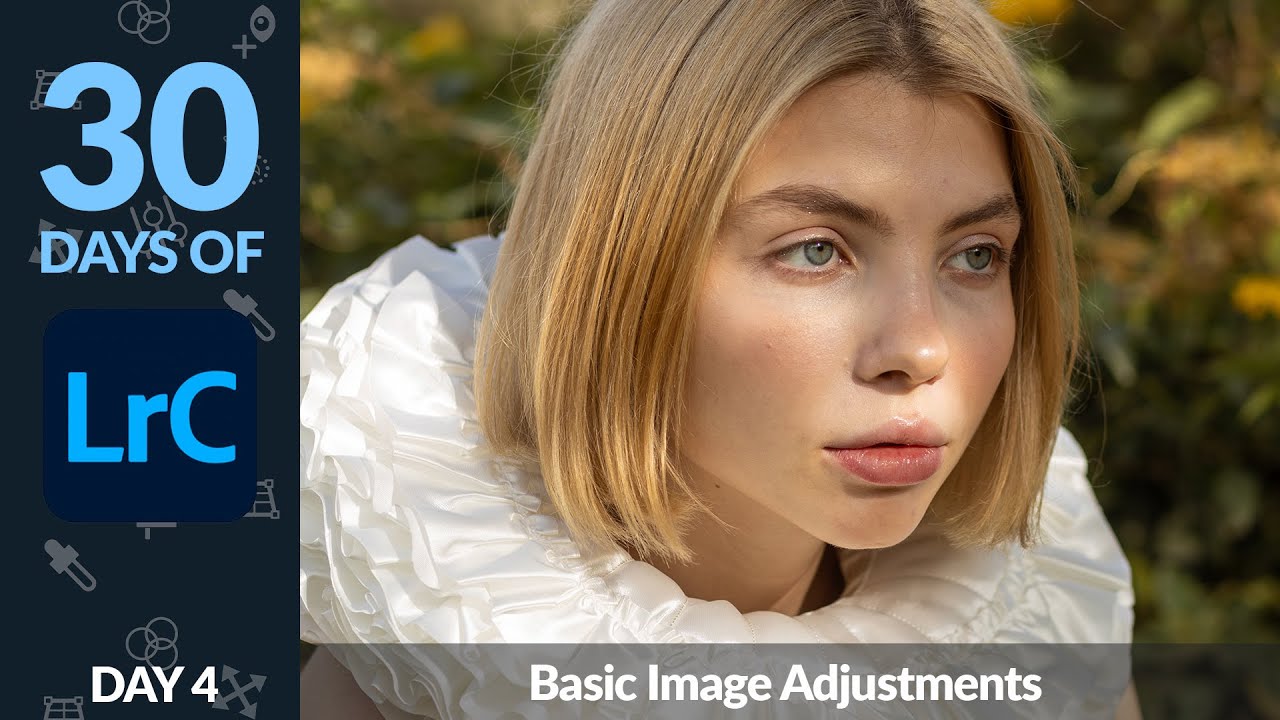
Every time I hand off a gallery to a client, somebody’s arm is too bright. It doesn’t matter how careful I am on location — the highlights blow out, the frilly dress turns into a white rectangle, and suddenly I’m the photographer who didn’t know how to expose properly. I’ve been editing long enough to know this isn’t really an exposure problem. It’s a recovery problem, and Lightroom’s Basic panel is where you fix it.

From Flat to Finished: Terry White's Lightroom Workflow for Photowalk Images (And Why It Actually Works)

From Flat to Finished: Terry White's Lightroom Workflow for Photowalk Images (And Why It Actually Works)

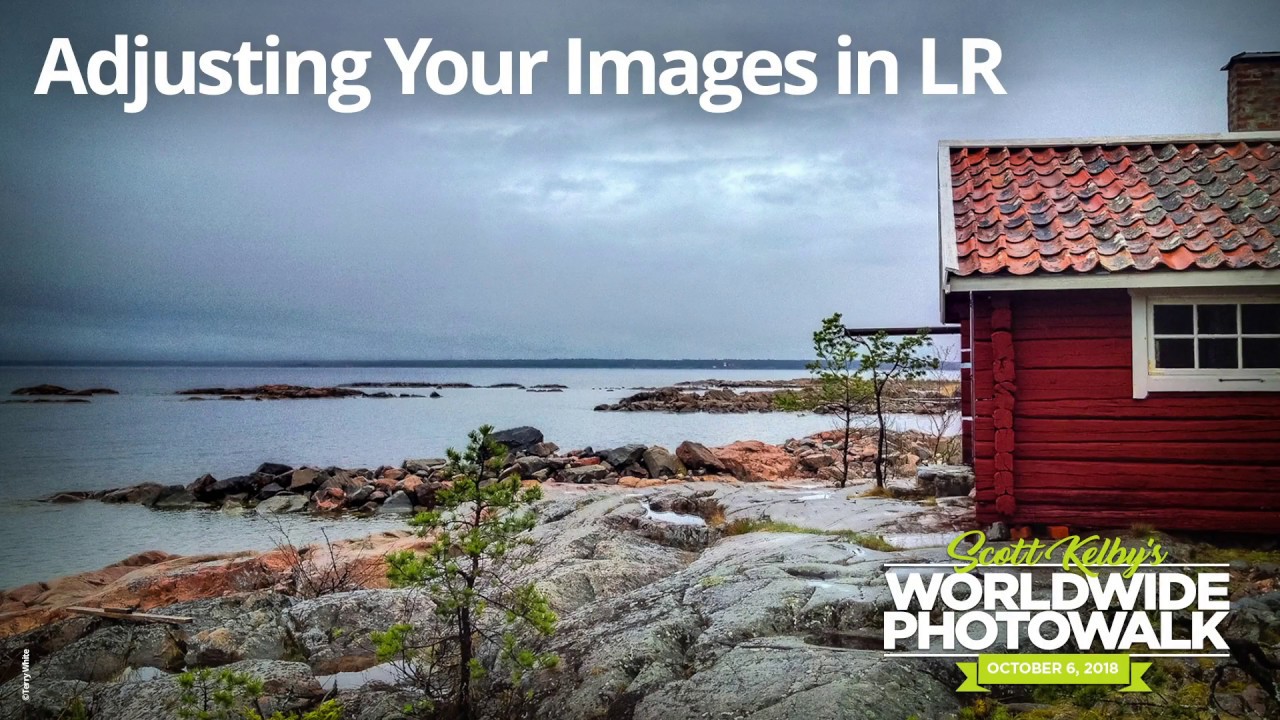
Most of the photos sitting in my Lightroom catalog right now are not bad shots. They’re just unfinished ones. Images I took on a good day, with decent light, that came out of camera looking flat and got buried in a folder I keep telling myself I’ll get to. If you shoot on photo walks or street sessions, you know the feeling. You come home with 300 frames, cull them down to 40 worth keeping, and then stall out because the editing feels like starting from scratch on each one.

Stop Clicking Auto: Why Adaptive Color Is the Smarter Starting Point in Lightroom

Stop Clicking Auto: Why Adaptive Color Is the Smarter Starting Point in Lightroom

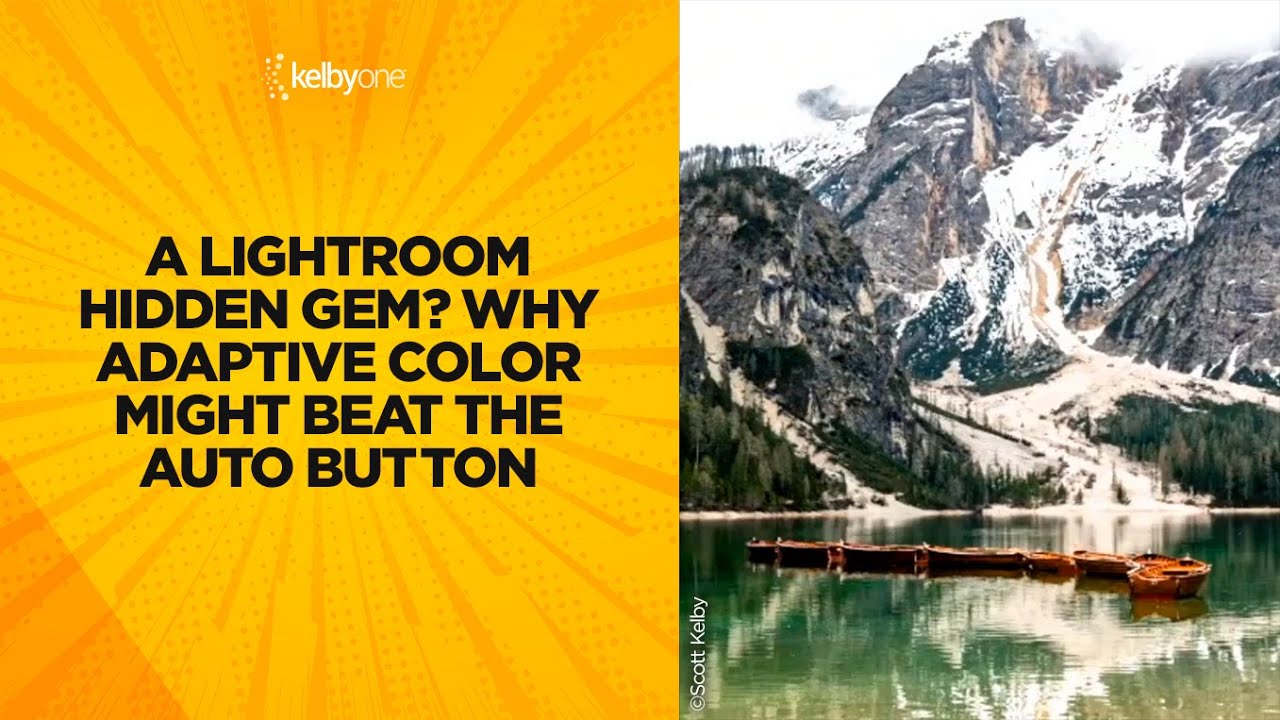
Every RAW file I open starts the same way: flat, a little lifeless, waiting. For years my first instinct was to hit the Auto button and let Lightroom’s AI take a swing at exposure before I started making real decisions. It works fine. But “fine” is not exactly the bar I’m trying to clear. Scott Kelby recently dropped a short tip over on KelbyOne that made me rethink that reflex entirely.

How to Fix Blown Skies and Flat Light in Landscape Photos Using Lightroom Masks

How to Fix Blown Skies and Flat Light in Landscape Photos Using Lightroom Masks

Landscape editing has a way of humbling you fast. You come home with a shot that looked incredible in the field, load it into Lightroom, and suddenly the sky is a blown-out white smear and the water looks like concrete. I’ve been there more times than I want to count. The problem isn’t usually the photo. It’s that landscapes have an extreme dynamic range that a single global edit almost never handles gracefully.

What Lightroom Presets Actually Do to Your Raw Files (And Why Most People Use Them Wrong)

What Lightroom Presets Actually Do to Your Raw Files (And Why Most People Use Them Wrong)

A few years ago I released a preset pack on a Tuesday afternoon, mostly as an experiment. By Friday it had 50,000 downloads. I hadn’t charged a cent for it. The emails I got back were mostly some version of the same sentence: “I applied the preset and it looks nothing like your example photo.” That told me everything I needed to know about how people misunderstand what presets actually are.

ON1 Photo RAW 2027 Raises the Bar for Image Quality and Nondestructive Editing

ON1 Photo RAW 2027 Raises the Bar for Image Quality and Nondestructive Editing

ON1 Photo RAW 2027 Raises the Bar for Image Quality and Nondestructive Editing The RAW editing landscape just got more competitive. ON1 has dropped Photo RAW 2027, and they’re making some bold claims about what their refreshed nondestructive editor can do for your photographs. What’s Changed? The big selling point here is image quality. According to ON1, they’ve made substantial improvements under the hood that should translate to cleaner, more refined results when you’re pushing your edits.

Stop Using Finder to Review Photos. Use Adobe Bridge Instead.

Stop Using Finder to Review Photos. Use Adobe Bridge Instead.

I’ve been editing photos long enough to have strong opinions about almost every step of the process. Ask me about Lightroom versus Capture One sometime and bring a snack, because that conversation runs long. But here’s something I don’t argue about anymore: the moment between pulling your memory card and opening Lightroom is where most photographers quietly waste an embarrassing amount of time. Scrolling through tiny thumbnails in Finder or File Explorer, importing thousands of RAW files before you’ve even decided which ones are worth keeping, waiting on Lightroom’s import dialog to do its slow, grinding thing.

Adobe Camera Raw Gets a Glow-Up: Three Analog Effects That Change Everything

Adobe Camera Raw Gets a Glow-Up: Three Analog Effects That Change Everything

Adobe Camera Raw Gets a Glow-Up: Three Analog Effects That Change Everything I’ve been watching Adobe’s raw processing tools evolve, and I have to say—the latest update to Camera Raw 18.6 feels like the company finally listened to what we’ve been asking for. They’ve dropped a native Glow tool directly into the Effects panel, and it’s bringing some seriously nostalgic analog vibes to digital editing. The Glow Effect Trifecta What makes this update particularly interesting is that Adobe didn’t just slap a generic “glow” slider into the software.