
I’ve been editing photos long enough to have strong opinions about almost every step of the process. Ask me about Lightroom versus Capture One sometime and bring a snack, because that conversation runs long. But here’s something I don’t argue about anymore: the moment between pulling your memory card and opening Lightroom is where most photographers quietly waste an embarrassing amount of time. Scrolling through tiny thumbnails in Finder or File Explorer, importing thousands of RAW files before you’ve even decided which ones are worth keeping, waiting on Lightroom’s import dialog to do its slow, grinding thing. It adds up fast.
In this Pierre T. Lambert tutorial, Pierre makes a case for Adobe Bridge as the missing piece between your camera and your editing software. Watch the full tutorial on YouTube before or after reading this breakdown. The core argument is simple: Bridge loads RAW files without importing them, lets you rate and cull directly on the card, batch renames with real date information, and hands off to Camera Raw for full editing without ever touching Lightroom’s interface. I started using Bridge more seriously after watching this video and it genuinely cleaned up the front end of my workflow in ways I didn’t expect.
Here’s the full walkthrough, step by step.
Step 1: Open Adobe Bridge and Navigate to Your Memory Card
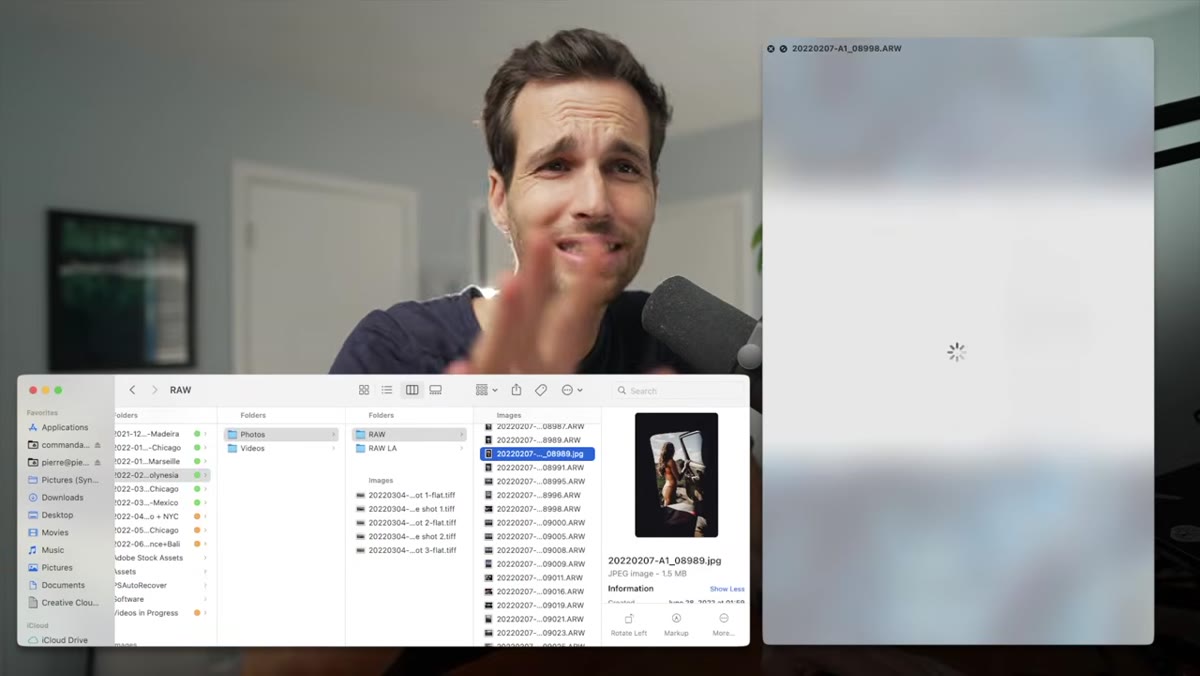 Bridge folder panel loading a memory card directory
Bridge ships with Adobe Creative Cloud and most people ignore it completely. Open it from the Creative Cloud launcher or directly from Photoshop under File > Browse in Bridge. Once it’s open, use the folder panel on the left to navigate directly to your memory card, just like you would in any file explorer. No import dialog. No catalog indexing. Bridge reads the files where they live.
Bridge folder panel loading a memory card directory
Bridge ships with Adobe Creative Cloud and most people ignore it completely. Open it from the Creative Cloud launcher or directly from Photoshop under File > Browse in Bridge. Once it’s open, use the folder panel on the left to navigate directly to your memory card, just like you would in any file explorer. No import dialog. No catalog indexing. Bridge reads the files where they live.
The speed difference here is real. Pierre loads a folder of several thousand RAW files in the video and thumbnails populate almost immediately. Lightroom requires you to import first, which copies or links files and builds previews before you can do anything. Bridge skips all of that. If you’re on a deadline or just impatient (same thing), this alone is worth the switch.
Step 2: Review and Cull Images Directly on the Card
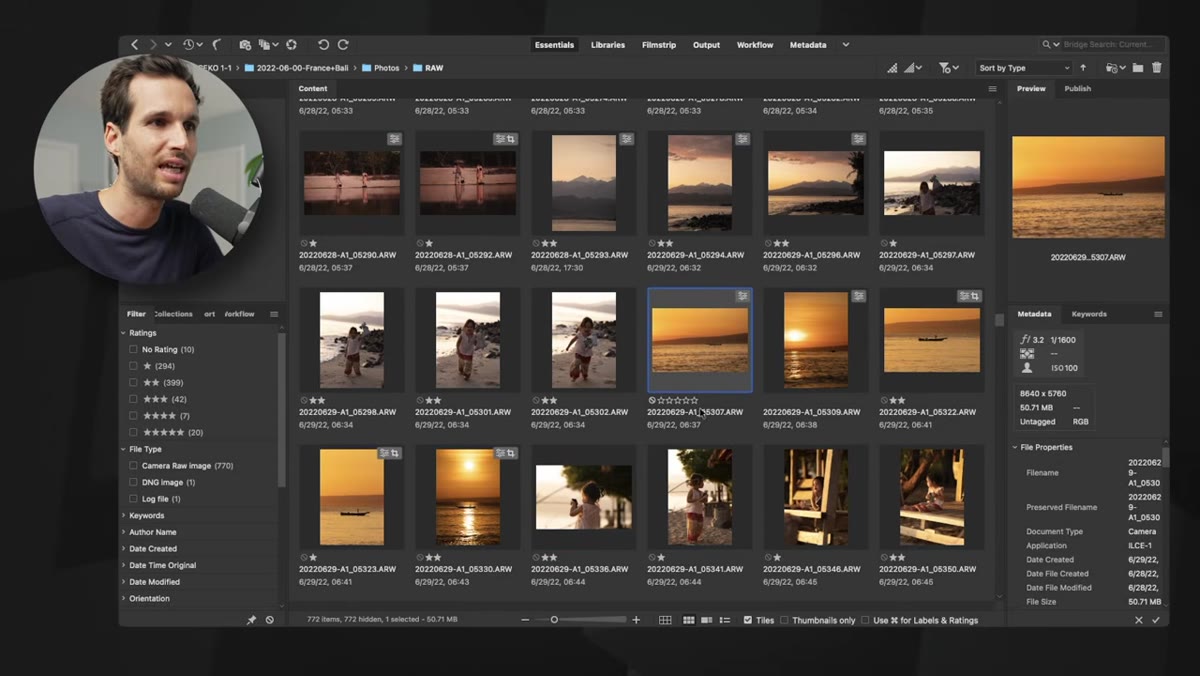
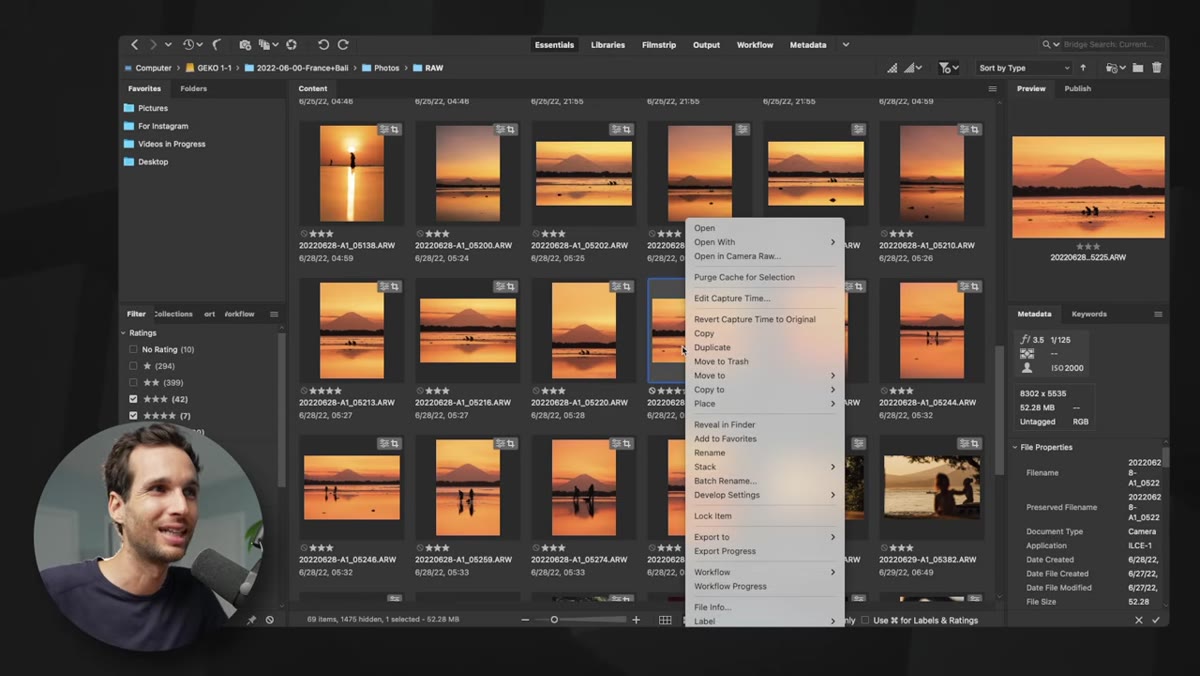
 Bridge grid view showing RAW thumbnails with star ratings applied
Once your card is visible in Bridge, you can click any thumbnail to preview it in the Preview panel, or press the spacebar to go full screen. From there, rating is fast. Press 1 through 5 to assign star ratings, or use the dot (.) and comma (,) keys to move between images without lifting your hands from the keyboard.
Bridge grid view showing RAW thumbnails with star ratings applied
Once your card is visible in Bridge, you can click any thumbnail to preview it in the Preview panel, or press the spacebar to go full screen. From there, rating is fast. Press 1 through 5 to assign star ratings, or use the dot (.) and comma (,) keys to move between images without lifting your hands from the keyboard.
The workflow Pierre recommends is simple: go through everything once, assign one star to maybes and three stars to keepers, skip anything obviously unusable. You’re not editing yet, you’re just separating the signal from the noise. Doing this before you ever touch Lightroom means you import a curated set instead of your entire card, which keeps your catalog cleaner and your import time shorter.
Step 3: Batch Rename Files with Date Information
 Batch Rename dialog showing date and sequence number fields
This is a step I wish someone had shown me years ago. Select all the images you want to rename, then go to Tools > Batch Rename. Bridge gives you a flexible naming builder where you can combine fields in sequence.
Batch Rename dialog showing date and sequence number fields
This is a step I wish someone had shown me years ago. Select all the images you want to rename, then go to Tools > Batch Rename. Bridge gives you a flexible naming builder where you can combine fields in sequence.
Pierre’s naming convention pulls the date the file was created and places it at the front, followed by the original file name and a sequence number. The result looks something like 20220629-A10001.jpg. That might look dense, but it means you can tell exactly when a photo was taken just by looking at the filename, without opening metadata. That matters when you’re exporting for Instagram or a client and the metadata might get stripped in the process. Set this convention once and apply it every time you shoot.
Step 4: Filter by Rating Before Importing to Lightroom
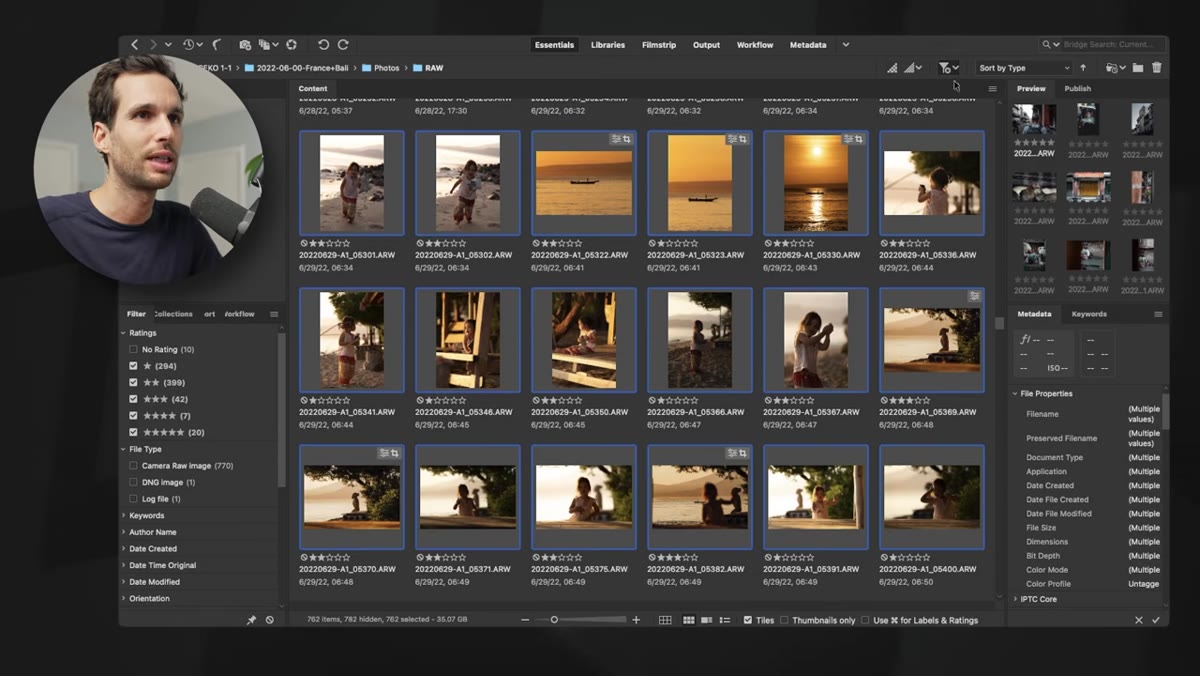 Bridge filter panel showing images sorted by star rating
After culling, use the Filter panel on the left side of Bridge to show only your three-star or higher images. This narrows the grid to your actual selects. From there, you can select all filtered images with Command+A (Mac) or Control+A (Windows).
Bridge filter panel showing images sorted by star rating
After culling, use the Filter panel on the left side of Bridge to show only your three-star or higher images. This narrows the grid to your actual selects. From there, you can select all filtered images with Command+A (Mac) or Control+A (Windows).
Now drag those selected files directly into the Lightroom import dialog, or let Bridge hand them off another way. The key point is that you’ve already done the hard work of deciding what’s worth importing. Lightroom receives a tight, intentional selection instead of a raw data dump. Your catalog stays manageable and you never have to hunt through 600 nearly identical shots of the same moment again.
Step 5: Edit RAW Files in Camera Raw Without Opening Lightroom
 Camera Raw interface open from Bridge with full adjustment panels visible
This is the part that surprised me most about Pierre’s workflow. Bridge connects directly to Adobe Camera Raw, which is the same processing engine that powers Lightroom’s Develop module. Right-click any RAW file in Bridge and select Open in Camera Raw. Every slider you know from Lightroom is there: exposure, highlights, shadows, white balance, tone curve, HSL, all of it.
Camera Raw interface open from Bridge with full adjustment panels visible
This is the part that surprised me most about Pierre’s workflow. Bridge connects directly to Adobe Camera Raw, which is the same processing engine that powers Lightroom’s Develop module. Right-click any RAW file in Bridge and select Open in Camera Raw. Every slider you know from Lightroom is there: exposure, highlights, shadows, white balance, tone curve, HSL, all of it.
You can apply presets here too, the same .XMP preset files that work in Lightroom. If you have a preset pack you rely on, it works in Camera Raw without any additional setup. Pierre points out that you can do a complete edit without ever opening Lightroom, which is useful when you want to process a quick batch for a client without disturbing your main catalog.
A Note on When Bridge Makes More Sense Than Lightroom
I want to be honest about where Bridge fits and where it doesn’t. Lightroom’s catalog system is still the right tool for long-term organization, collections, and maintaining a searchable archive of years of work. I’m not replacing Lightroom entirely, and I don’t think Pierre is suggesting that either.
Where Bridge earns its place is at the front of the workflow, before anything gets imported. I used to listen to a whole record side while waiting for Lightroom to finish building previews after an import. Now I cull in Bridge first, import maybe a third of what I shot, and the preview build is done before the needle hits the label. The other place Bridge shines is quick one-off edits, a single RAW file a client needs fast, or pulling a frame from an old folder without spinning up the whole Lightroom catalog. Lightweight, fast, and already installed on your machine.
The single biggest takeaway from Pierre’s video is this: your memory card is not just storage, it’s a workspace. Treating it that way, culling and renaming before you import a single file, compresses what used to be an hour of organizational overhead into fifteen minutes. Bridge makes that possible without asking you to learn a new piece of software from scratch.
Watch the full tutorial on YouTube to see Pierre demonstrate the full speed of the Bridge preview loading and his exact Camera Raw editing steps. It’s one of those workflows you’ll wonder how you worked without.
Comments
Leave a Comment