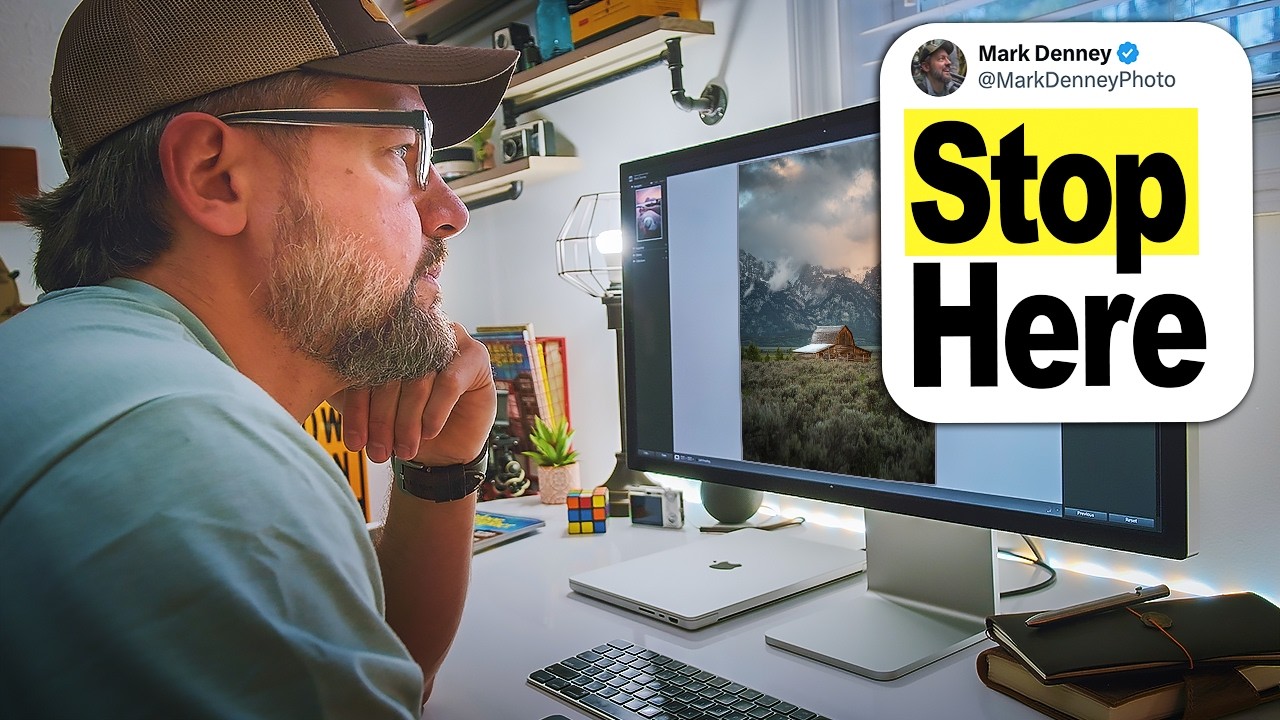
There’s a specific kind of paralysis that hits when you open a RAW file with too much ambition. You see the image, you know what you want it to look like, and then you open Lightroom and suddenly you’re adjusting the dehaze slider on a photo that hasn’t even had its white balance corrected yet. I’ve been there more times than I want to count, and honestly, it’s not a knowledge problem. It’s a sequencing problem.
That’s why this tutorial from Mark Denney landed so hard for me. Watch the full tutorial on YouTube - it’s called “You’re Overthinking RAW Editing,” and the title is doing a lot of honest work. Mark makes the case that most editing frustration doesn’t come from not knowing enough tools. It comes from using too many of them at once, without a clear priority. The fix isn’t more knowledge. It’s a cleaner order of operations.
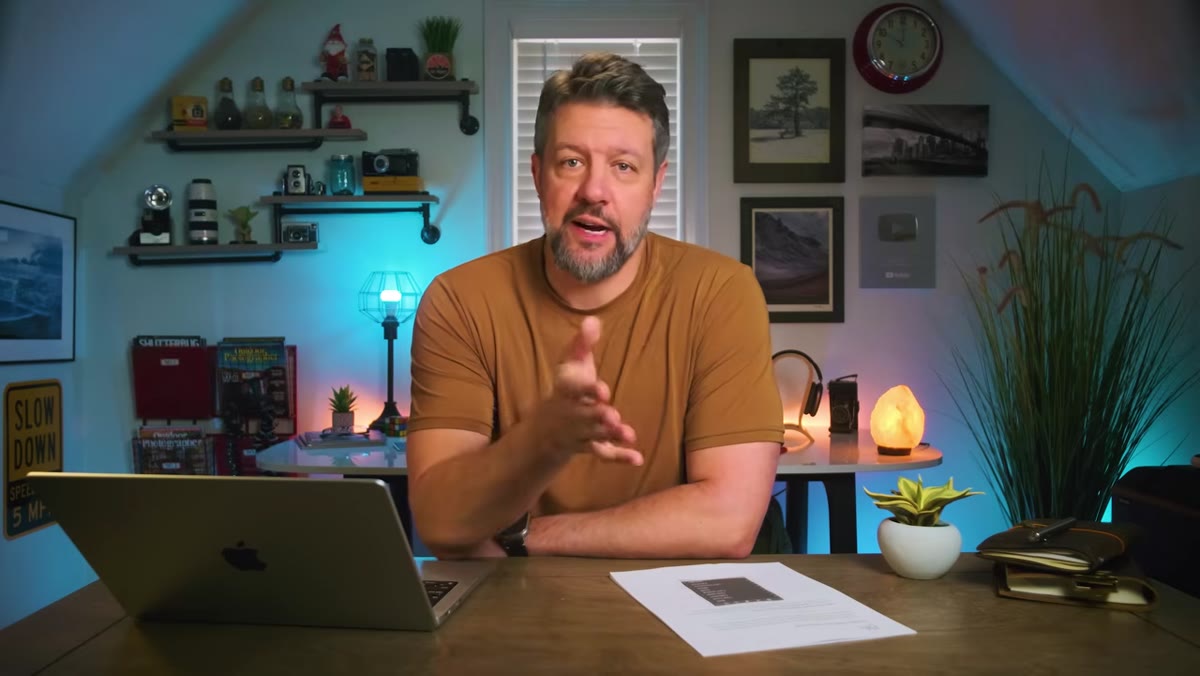
What I appreciate about Mark’s approach is that it maps directly onto the way I think about editing when I’m actually in a flow state, listening to a record and not second-guessing every slider. It’s not a rigid formula. It’s a decision framework. Here’s how he breaks it down using a Grand Tetons RAW file, and how I’d apply it to any shoot.
Step 1: Customize Your Develop Panel Before You Do Anything Else
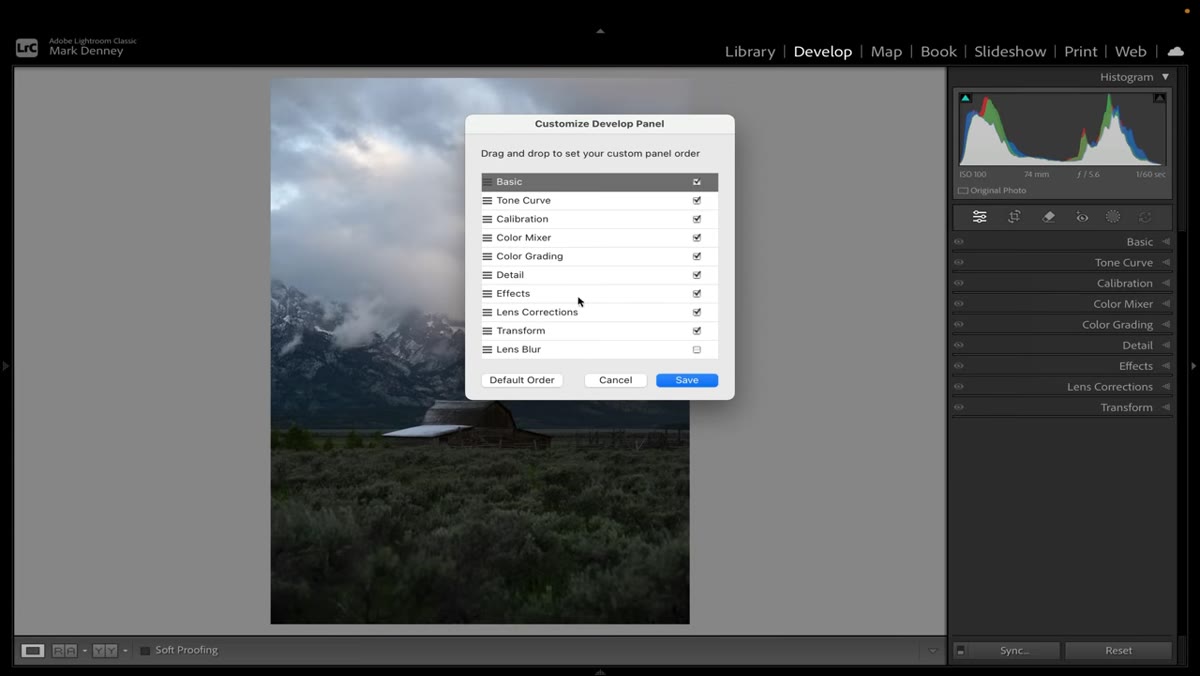
 Lightroom develop panel with right-click customize menu open
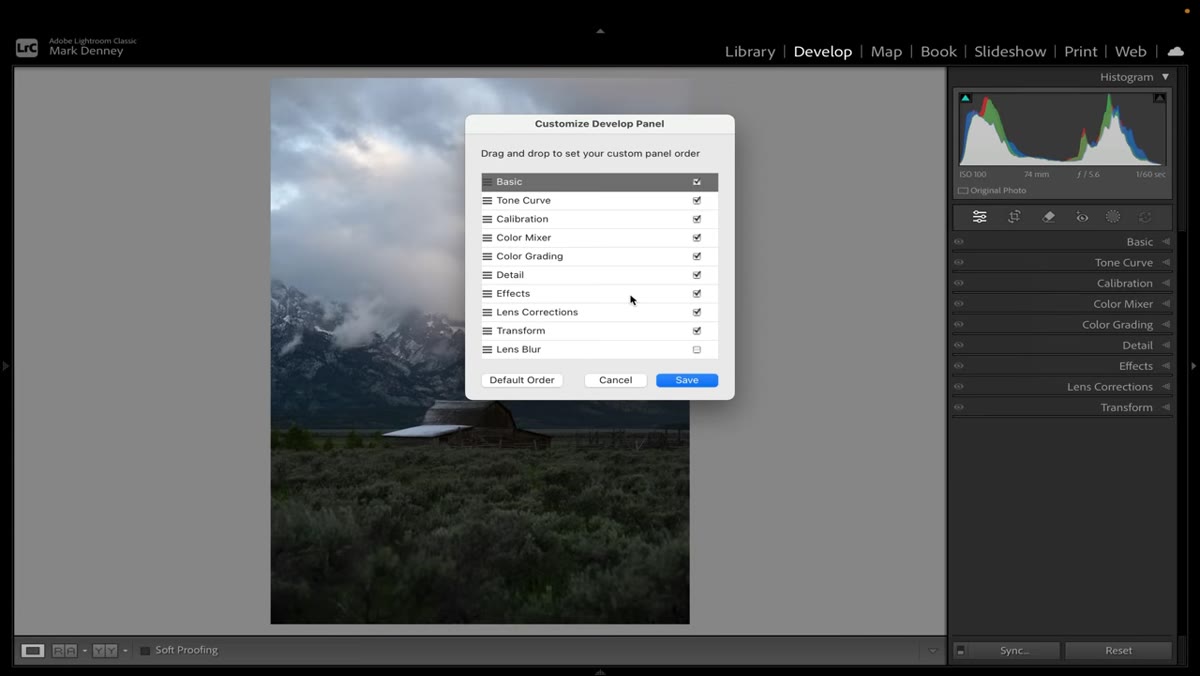
Before touching a single image, Mark recommends spending a few minutes setting up the Lightroom Develop panel to match how you actually work, not how Adobe decided to arrange things by default. Right-click anywhere in the panel headers and you’ll see a “Customize Develop Panel” option most people never notice. From there, you can reorder sections, and more importantly, hide the ones you never use. If you’ve never once touched the Lens Blur panel, why is it sitting there quietly crowding your workspace?
Lightroom develop panel with right-click customize menu open
Before touching a single image, Mark recommends spending a few minutes setting up the Lightroom Develop panel to match how you actually work, not how Adobe decided to arrange things by default. Right-click anywhere in the panel headers and you’ll see a “Customize Develop Panel” option most people never notice. From there, you can reorder sections, and more importantly, hide the ones you never use. If you’ve never once touched the Lens Blur panel, why is it sitting there quietly crowding your workspace?
The goal here is to build an interface that reflects your workflow sequence rather than Adobe’s best guess. Mark arranges his panels so that he moves top to bottom in the order he actually edits, which turns the panel itself into a built-in checklist. Do this once and you genuinely don’t have to do it again.
Step 2: Enable Solo Mode to Reduce Visual Noise
 Solo mode toggled on, single panel open in develop module
Also tucked inside that right-click menu is Solo Mode, and if you’re not using it, you’re fighting your own interface. With Solo Mode on, opening one panel section automatically closes whichever section was open before. Only one panel is visible at a time.
Solo mode toggled on, single panel open in develop module
Also tucked inside that right-click menu is Solo Mode, and if you’re not using it, you’re fighting your own interface. With Solo Mode on, opening one panel section automatically closes whichever section was open before. Only one panel is visible at a time.
This sounds minor until you’ve spent three minutes scrolling through a fully expanded Develop panel trying to find the HSL sliders while your motivation slowly evaporates. Solo Mode keeps the focus on the decision in front of you, not the fifteen decisions you could theoretically be making. It’s a small UX change that has a surprisingly large effect on how deliberate your editing feels.
Step 3: Start at the Top of the Basic Panel and Work Down
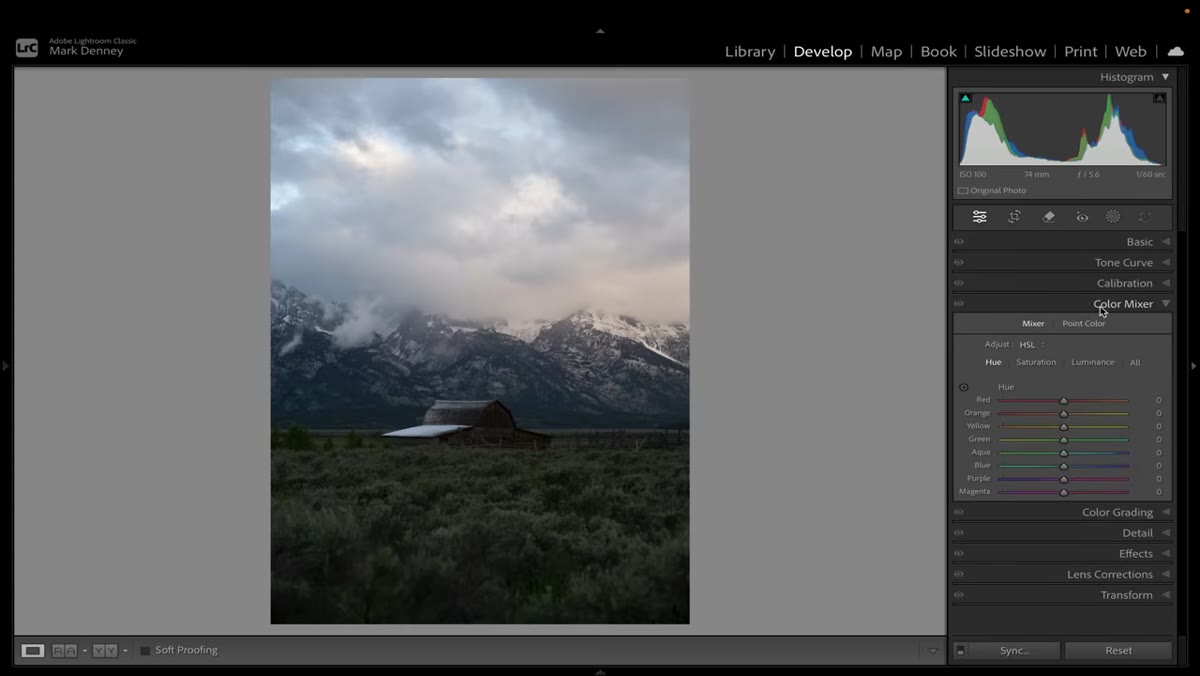
 Basic panel open on a Grand Tetons RAW file, all sliders at zero
Mark’s core workflow philosophy becomes clearest here: start with the Basic panel, and move through it in order rather than jumping around based on whatever looks most broken. The sequence matters because these adjustments interact. Exposure affects how your highlights and shadows read. White balance affects how your colors will respond to saturation changes later. If you’re pushing the Vibrance slider before you’ve sorted out your tone, you’re building on a shaky foundation.
Basic panel open on a Grand Tetons RAW file, all sliders at zero
Mark’s core workflow philosophy becomes clearest here: start with the Basic panel, and move through it in order rather than jumping around based on whatever looks most broken. The sequence matters because these adjustments interact. Exposure affects how your highlights and shadows read. White balance affects how your colors will respond to saturation changes later. If you’re pushing the Vibrance slider before you’ve sorted out your tone, you’re building on a shaky foundation.
Working top to bottom through the Basic panel, from white balance through exposure, contrast, highlights, shadows, whites, blacks, and then texture and clarity, gives every subsequent adjustment a stable context. It’s the editing equivalent of sketching the composition before you start rendering details.
Step 4: Only Adjust What Actually Needs Attention
 Before/after comparison of Grand Tetons image in Lightroom
This is the conceptual center of the whole tutorial, and it’s the part that’s hardest to internalize: not every slider needs to move. Mark’s point is that photographers often adjust things preemptively, touching highlights because highlights are there rather than because they’re actually a problem in this specific image. Every unnecessary adjustment is a chance to push the image in a direction you didn’t intend.
Before/after comparison of Grand Tetons image in Lightroom
This is the conceptual center of the whole tutorial, and it’s the part that’s hardest to internalize: not every slider needs to move. Mark’s point is that photographers often adjust things preemptively, touching highlights because highlights are there rather than because they’re actually a problem in this specific image. Every unnecessary adjustment is a chance to push the image in a direction you didn’t intend.
The discipline is learning to look at the image first and identify the two or three things that genuinely need fixing, then editing only those things. Restraint isn’t laziness. In this context, it’s skill. A good edit often involves fewer total adjustments than a mediocre one.
Step 5: Treat Your Panel Order as a Creative Priority List
 Reordered develop panel sections showing Mark’s custom workflow sequence
Once your panels are arranged in your preferred workflow order and Solo Mode is keeping things clean, the panel itself starts functioning as a guide rather than a menu. Moving from one section to the next becomes a deliberate choice: “I’m done with global tone, now I’m moving into color.” You’re not wandering. You’re progressing.
Reordered develop panel sections showing Mark’s custom workflow sequence
Once your panels are arranged in your preferred workflow order and Solo Mode is keeping things clean, the panel itself starts functioning as a guide rather than a menu. Moving from one section to the next becomes a deliberate choice: “I’m done with global tone, now I’m moving into color.” You’re not wandering. You’re progressing.
This also makes it much easier to catch when you’re getting ahead of yourself. If you’re in the Color Grading panel but you haven’t finalized your exposure, the panel order is a visual reminder to step back. The structure does some of the thinking for you, which frees up mental space for the creative decisions that actually matter.
A Note from My Own Workflow
One thing I’d add from my own experience: this framework becomes even more powerful when you pair it with a consistent starting point for similar image types. I keep a baseline preset for landscape work and a separate one for low-light portraits, both named after songs because that’s just how my brain works. They’re not full edits. They’re just starting positions that handle the predictable stuff, so the panel-by-panel review Mark describes becomes about refinement rather than repair.
The temptation is to keep that starting preset minimal out of some purity instinct, but I’ve found that a slightly more opinionated baseline actually makes it easier to see what the specific image needs, because the obvious problems are already cleared away. Try it on a set of images that are all shot in similar conditions and see if your editing time drops without your quality dropping with it.
The single biggest thing I took from Mark’s tutorial is this: editing difficulty is usually a sequencing problem, not a skill gap. Before you go looking for another technique to learn, try tightening the order of the techniques you already have.
Watch the full tutorial on YouTube - Mark walks through an actual Grand Tetons RAW file and shows the before and after in real time, which is worth seeing even if the panel setup steps already feel familiar.
Comments
Leave a Comment