I resisted Lightroom’s cloud-based desktop and mobile app for an embarrassingly long time. I had my Classic catalog, my folder structure, my backup drives humming under my desk like old friends. The idea of handing my raw files over to the cloud felt like trading a filing cabinet for a promise. Then I actually started using it, and I owe a small apology to the app I ignored for two years.
In this Aaron Nace (PHLEARN) tutorial, Watch the full tutorial on YouTube, Aaron walks through his top five reasons for embracing the new Lightroom ecosystem across desktop and mobile. He’s a Lightroom Classic loyalist turned convert, which is exactly the kind of endorsement I trust. When someone who built a workflow from scratch says “actually, this is better,” I pay attention. What he demonstrates here isn’t a watered-down mobile app for quick fixes. It’s a full editing pipeline that follows you from your studio to your couch to your phone.
What clicked for me watching this was recognizing a problem I’d been quietly ignoring: I was losing editing momentum every time I left my desk. A great shot would sit untouched on my hard drive because I wasn’t near my computer. This tutorial shows why that doesn’t have to be the case anymore.
Step 1: Import Photos Into a Lightroom Album on Desktop
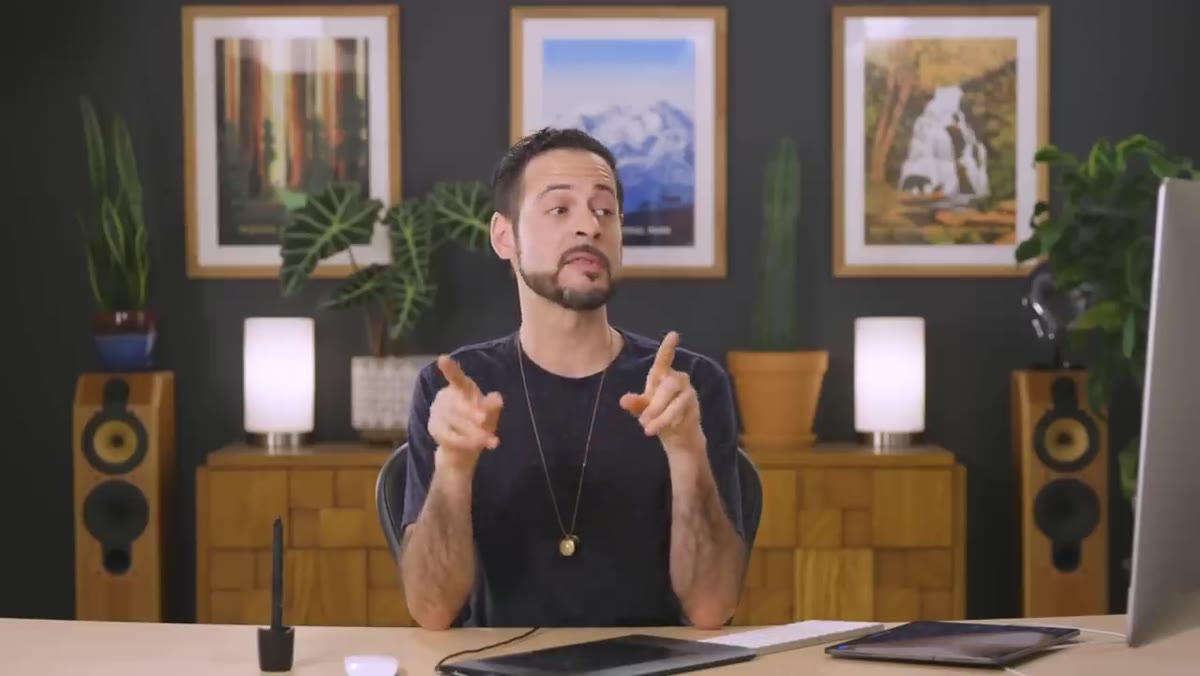 Importing RAW DNG files into a new Lightroom album
Start by creating an album in Lightroom’s desktop app. Aaron names his “Alaska from the Plane,” but the naming is less important than the habit: always import into an album rather than just a general library dump. From the menu, go to File and select Add Photos. Navigate to your folder of raw files, whether DNGs or other formats, review them in the import screen, and confirm. The photos drop directly into whichever album you had selected when you initiated the import.
Importing RAW DNG files into a new Lightroom album
Start by creating an album in Lightroom’s desktop app. Aaron names his “Alaska from the Plane,” but the naming is less important than the habit: always import into an album rather than just a general library dump. From the menu, go to File and select Add Photos. Navigate to your folder of raw files, whether DNGs or other formats, review them in the import screen, and confirm. The photos drop directly into whichever album you had selected when you initiated the import.
This is basic, but it’s the foundation of everything that follows. The album structure is what allows the cloud sync to organize your work across devices predictably. Without it, your mobile workflow becomes a mess of orphaned images.
Step 2: Watch the Cloud Sync Do Its Job
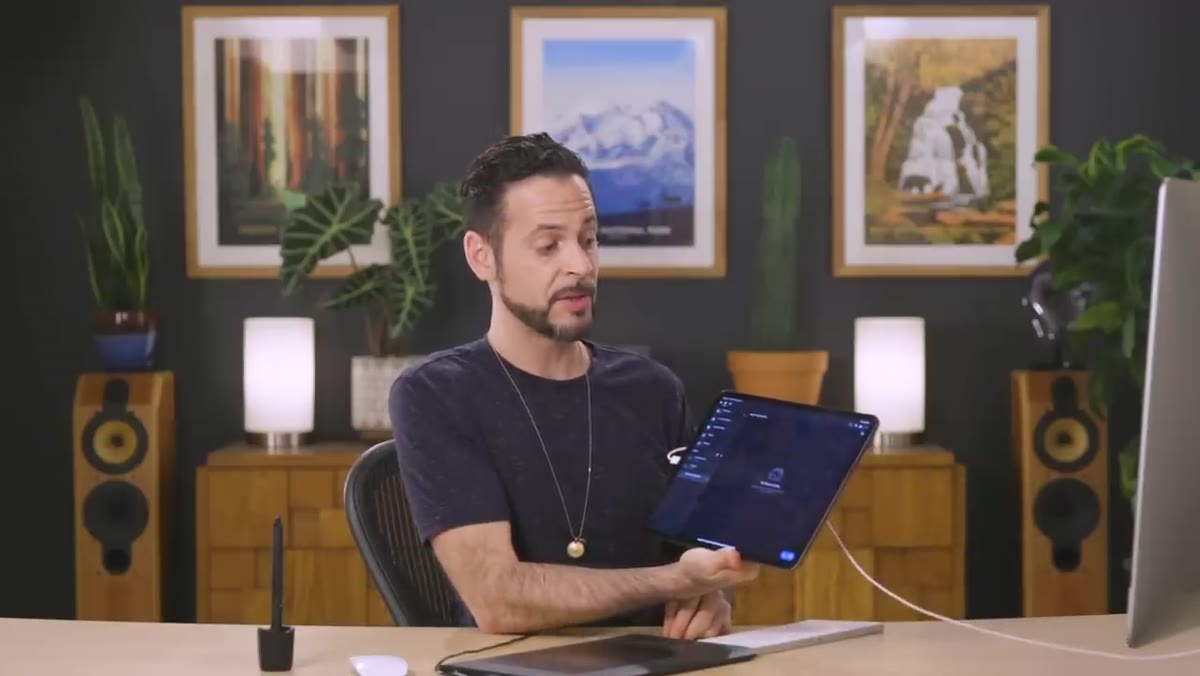 Same album appearing automatically on an iPad
Here’s where Aaron makes the first real case for this ecosystem. After importing on desktop, he switches to his iPad and shows the same album populating in real time, without touching a single setting on the tablet. No cable, no AirDrop, no manual export. The files just appear.
Same album appearing automatically on an iPad
Here’s where Aaron makes the first real case for this ecosystem. After importing on desktop, he switches to his iPad and shows the same album populating in real time, without touching a single setting on the tablet. No cable, no AirDrop, no manual export. The files just appear.
The detail worth noting: the full resolution raw files aren’t actually stored on your mobile device. They live in the cloud, and your phone or iPad accesses them from there. For a Sony A7R III shooting 40-megapixel raws, that distinction matters enormously. You’re not burning through your phone’s storage to get access to those files. You’re streaming the editing experience to your device while the heavy data stays remote.
Step 3: Open a Raw File and Start Editing in the Light Panel
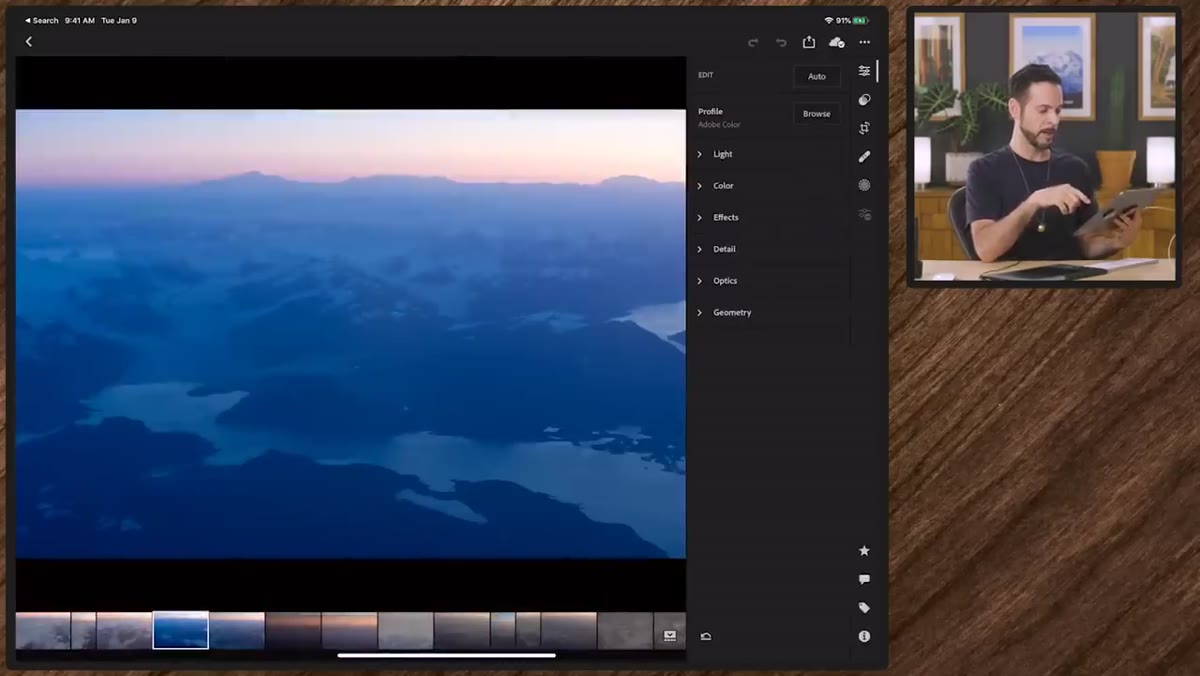 Lightroom mobile Light panel open on a landscape photo
On the iPad, tap any image to open it and navigate to the Light tab. This is your core tonal control panel: Exposure, Highlights, Shadows, Whites, and Blacks are all here, fully functional, pulling from the actual raw data. Aaron works an Alaska aerial landscape by nudging exposure up slightly, pulling highlights down to recover sky detail, and then dropping the shadows to keep the depth in the image.
Lightroom mobile Light panel open on a landscape photo
On the iPad, tap any image to open it and navigate to the Light tab. This is your core tonal control panel: Exposure, Highlights, Shadows, Whites, and Blacks are all here, fully functional, pulling from the actual raw data. Aaron works an Alaska aerial landscape by nudging exposure up slightly, pulling highlights down to recover sky detail, and then dropping the shadows to keep the depth in the image.
The important distinction Aaron makes is that this isn’t a simplified mobile version of raw editing. The adjustments you make on your tablet are small instruction sets that get applied to the raw file in the cloud. You’re not editing a compressed preview. The quality ceiling is the same as what you’d get on your desktop.
Step 4: Add Contrast and Clarity Through Effects and the Contrast Slider
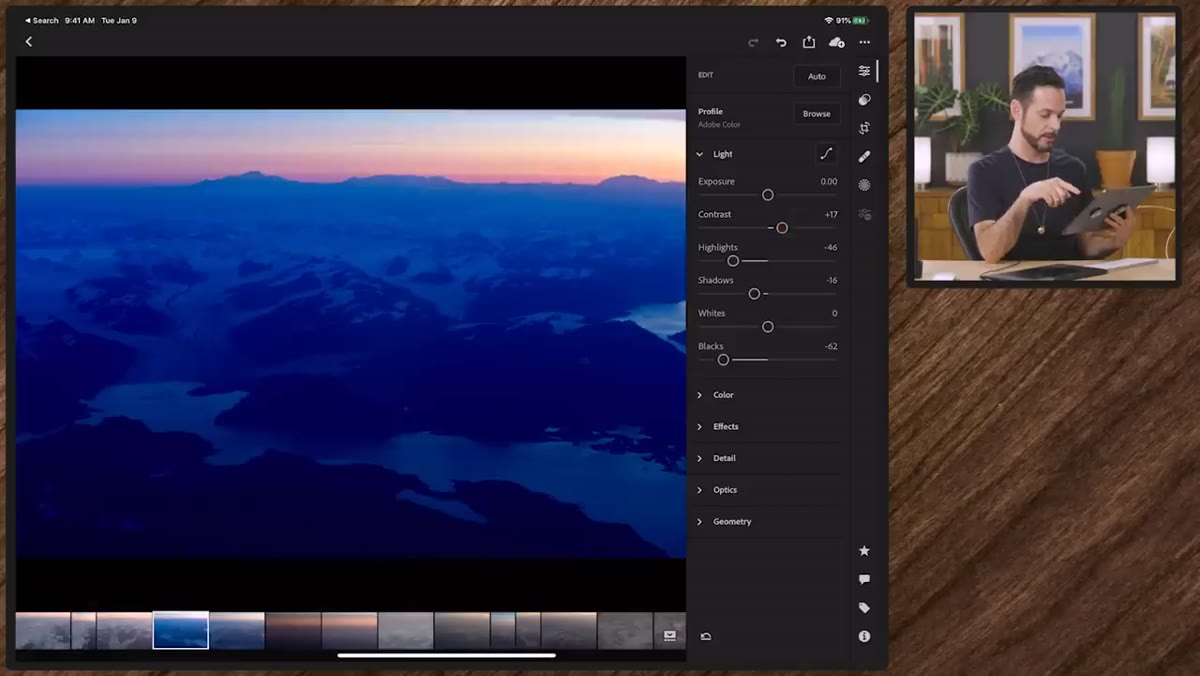 Contrast slider adjustment on a landscape image
After the Light panel, Aaron moves into the Effects tab and applies D-Haze to cut through atmospheric haze in the aerial shot. D-Haze is one of those sliders that feels almost too powerful at first, so bring it in conservatively and stop before the image starts looking crunchy.
Contrast slider adjustment on a landscape image
After the Light panel, Aaron moves into the Effects tab and applies D-Haze to cut through atmospheric haze in the aerial shot. D-Haze is one of those sliders that feels almost too powerful at first, so bring it in conservatively and stop before the image starts looking crunchy.
He also uses the Contrast slider directly, which he calls out specifically as something that “works wonders” on this type of image. Following that, he goes back into Effects for Clarity and Texture. Clarity adds global midtone contrast and makes images feel punchier. Texture is more targeted, enhancing fine surface detail without affecting the broader tonal relationships. For landscape and nature photography especially, the combination of those two sliders in moderate amounts can transform a flat raw file into something that looks finished.
Step 5: Adjust Color Temperature to Set the Mood
 Color temperature slider being adjusted warmer
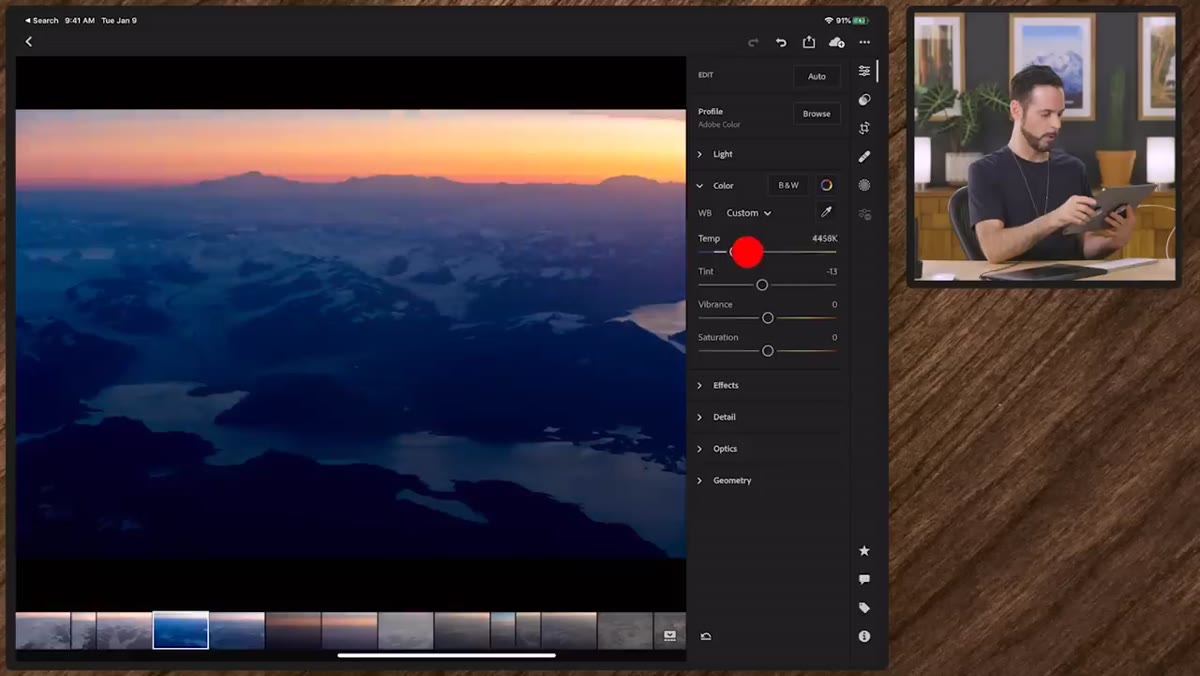
Still on the iPad, Aaron dips into the color temperature controls to warm the image slightly. He’s honest about his instinct here: the cool tones of the Alaskan landscape felt right, but a small push toward warmth gave the image a little more life without losing that crisp, cold-morning atmosphere.
Color temperature slider being adjusted warmer
Still on the iPad, Aaron dips into the color temperature controls to warm the image slightly. He’s honest about his instinct here: the cool tones of the Alaskan landscape felt right, but a small push toward warmth gave the image a little more life without losing that crisp, cold-morning atmosphere.
This is the move that separates technically correct edits from edits with a point of view. Color temperature adjustments in raw are non-destructive and fully reversible, so there’s no risk in experimenting. Warm the shot up, look at it for ten seconds, pull it back if it doesn’t feel right. On a mobile screen, make sure your brightness is calibrated reasonably so you’re not chasing colors that look different on every other display.
Step 6: Apply Sharpening as a Final Polish Step
 Sharpening controls visible in Lightroom mobile detail panel
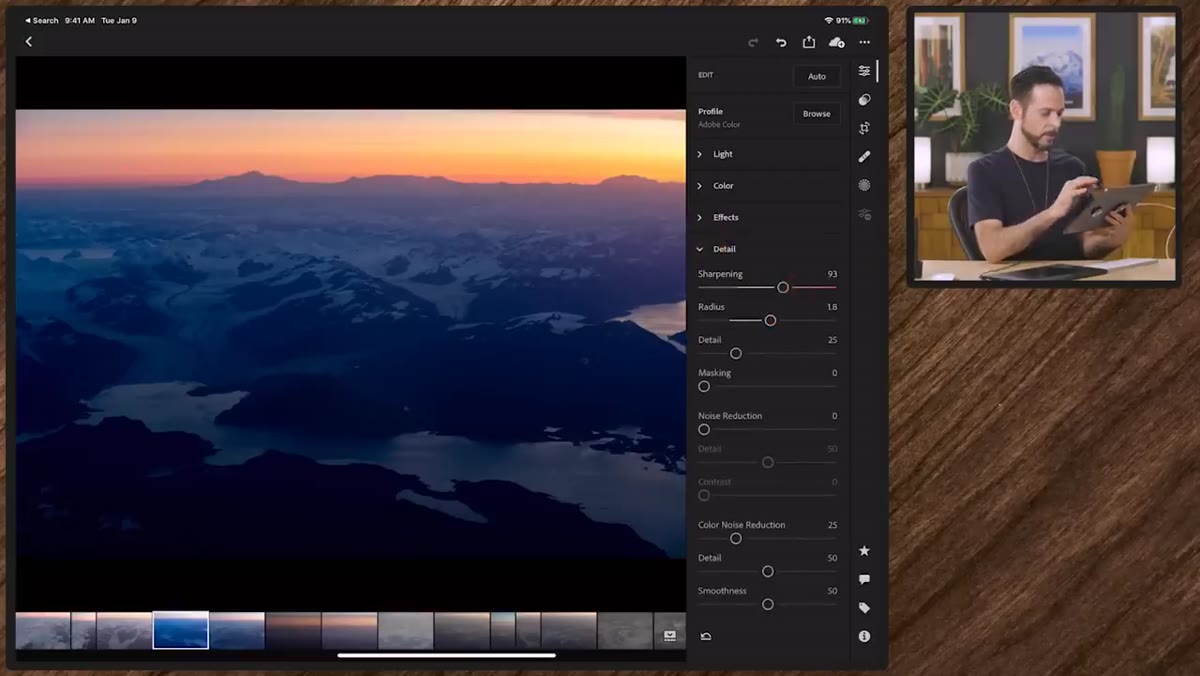
Aaron finishes his mobile edit with a sharpening pass. In Lightroom, sharpening lives in the Detail panel. The Amount slider controls how strong the effect is, and the Radius determines how wide the sharpening halo spreads around edges. For most raw files from a modern mirrorless camera, a sharpening amount somewhere between 40 and 70 with a radius around 1.0 is a solid starting point.
Sharpening controls visible in Lightroom mobile detail panel
Aaron finishes his mobile edit with a sharpening pass. In Lightroom, sharpening lives in the Detail panel. The Amount slider controls how strong the effect is, and the Radius determines how wide the sharpening halo spreads around edges. For most raw files from a modern mirrorless camera, a sharpening amount somewhere between 40 and 70 with a radius around 1.0 is a solid starting point.
One thing Aaron doesn’t over-explain but demonstrates implicitly: sharpening is applied last because it interacts with everything else you’ve done. If you sharpen first and then increase Clarity significantly, you’re stacking edge contrast in a way that can look artificial. Sharpening at the end of the process keeps you in control.
What I’d Add From My Own Experience
The sync workflow Aaron shows is genuinely seamless, but it does depend on having a solid internet connection on both ends. When I’m editing on my phone in a location with weak signal, the previews can load slowly and sliders feel sluggish. My workaround is to mark the images I want to edit on the go as Favorites before I leave the house. Lightroom prioritizes syncing those previews at higher resolution, so they’re responsive even when the connection isn’t great.
I also started using this app to make preset decisions on my phone during long train rides. I name my presets after songs (the current favorites pack is named after tracks from a Gillian Welch album, which should tell you everything about my taste). Seeing a preset applied on a mobile screen under different lighting conditions than my studio has genuinely changed how I evaluate my own preset work.
The biggest takeaway from Aaron’s tutorial is also the simplest one: the gap between desktop editing quality and mobile editing quality is much smaller than most photographers assume. If you’re still treating your phone as a place to do quick exposure fixes before you get to your “real” editing setup, this workflow might change that entirely.
Watch the full tutorial on YouTube to see Aaron demonstrate every step live, including additional reasons he’s converted to this ecosystem that go beyond what I covered here.
Comments (2)
I tried this on a client project yesterday and the results were way better than expected.
Great article! I actually covered something related on my site — the photoshop angle is really complementary to this.
Leave a Comment