
Every December I edit a batch of photos I’ll never sell, never print, and never submit anywhere. They’re family shots, gig photos, candid stuff from the year. For a long time those images just lived on my hard drive in RAW format, which means they effectively didn’t exist as far as anyone else was concerned. I’d tell myself I’d get around to exporting them, uploading them somewhere, maybe building a little gallery. I never did.
That changed when I found this feature buried inside Lightroom Classic. In this Matt Kloskowski tutorial, he walks through something that’s been sitting in Lightroom Classic the whole time: a built-in gallery sharing tool that creates a real, shareable web gallery with zero website setup required. Watch the full tutorial on YouTube - but if you want the full breakdown with all the specifics spelled out, keep reading.
The value here is speed. Matt’s real-world example is Christmas family photos, and the logic is dead simple: the people in those photos want to see themselves, and they want to see it before the holiday feeling fades. They don’t care about your color grading or your sharpening radius. They want a link they can tap on their phone. This feature gives you that link in about ten minutes, and it’s included with the standard Adobe $9.99/month subscription plan that gets you Lightroom Classic and Photoshop.
Step 1: Import Your Photos and Do Your Edits
 Lightroom Classic library showing a collection of landscape photos
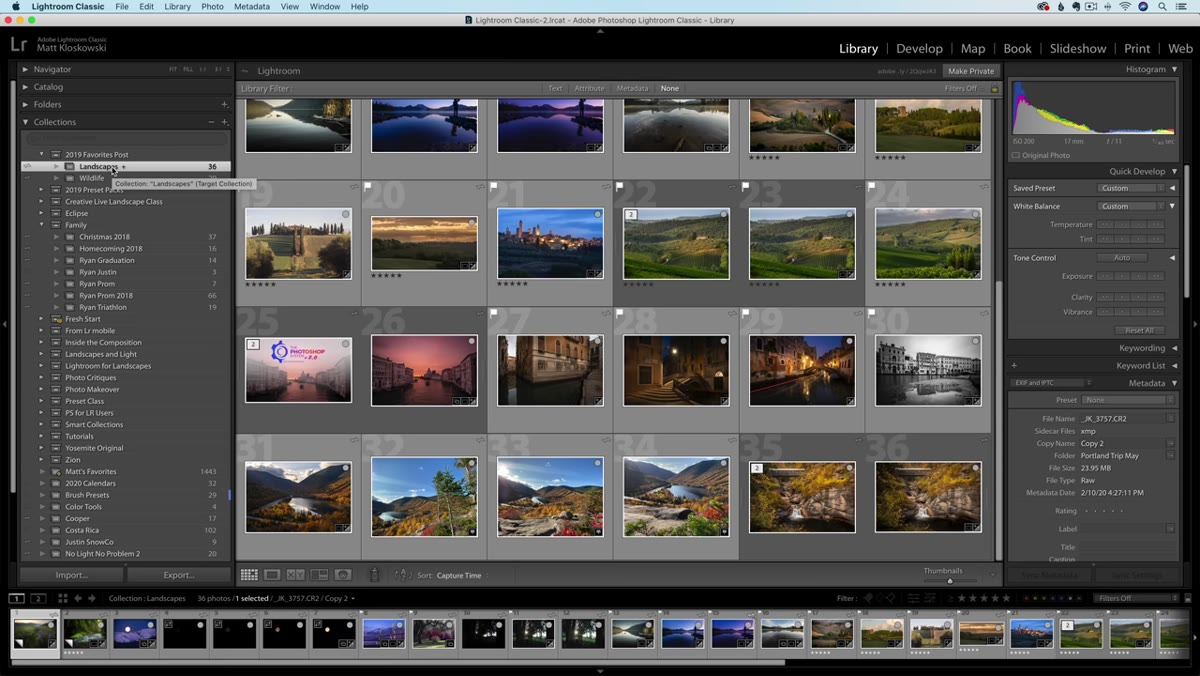
Before any of the sharing mechanics matter, you need your photos inside Lightroom Classic and at least roughly edited. This is your normal workflow - import, adjust exposure, do your basic color work, whatever your process looks like. The gallery will display whatever state your photos are in when you sync, so don’t skip this part. For family or event photos you can keep edits light. A quick Auto tone adjustment and a color temperature tweak takes thirty seconds per image and makes a noticeable difference when someone’s viewing on a phone screen.
Lightroom Classic library showing a collection of landscape photos
Before any of the sharing mechanics matter, you need your photos inside Lightroom Classic and at least roughly edited. This is your normal workflow - import, adjust exposure, do your basic color work, whatever your process looks like. The gallery will display whatever state your photos are in when you sync, so don’t skip this part. For family or event photos you can keep edits light. A quick Auto tone adjustment and a color temperature tweak takes thirty seconds per image and makes a noticeable difference when someone’s viewing on a phone screen.
Step 2: Build a Regular Collection
 Collections panel in Lightroom Classic with a new collection being created
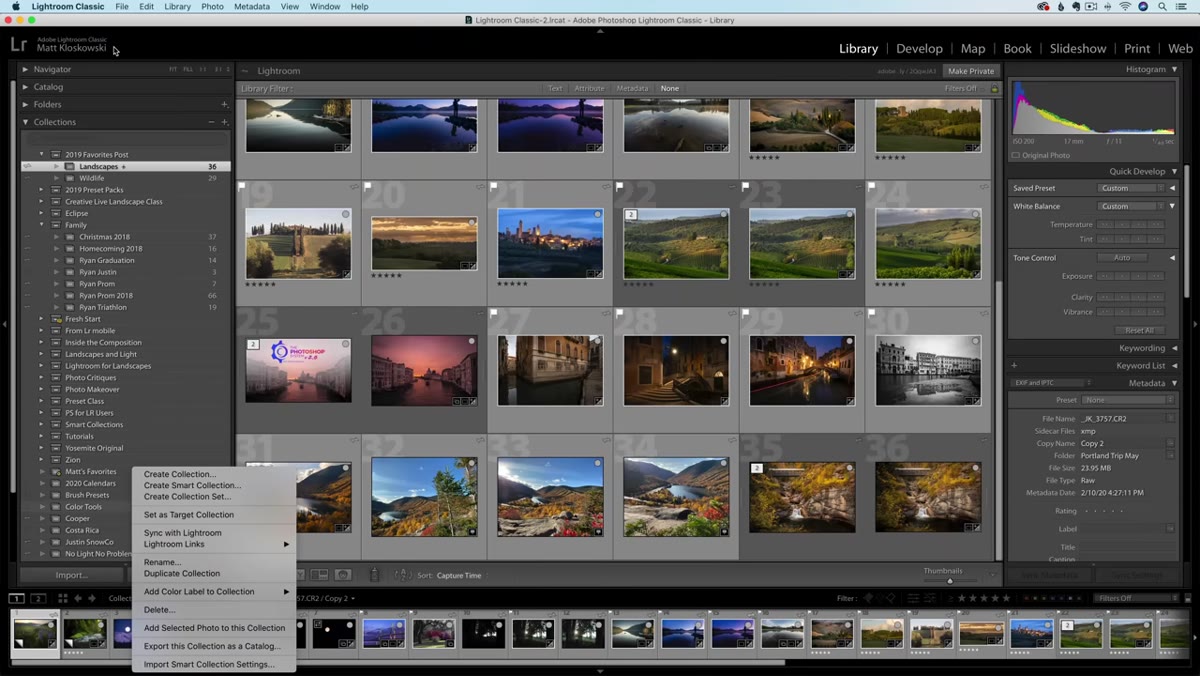
This is the part people skip over, and it’s the most important structural requirement. The gallery sharing feature in Lightroom Classic only works with a standard collection, not a smart collection, and not a collection set. Go to the Collections panel on the left side of the Library module, click the plus icon, and choose “Create Collection.” Name it something clear - the gallery title is going to reflect this later. Then drag the photos you want to share into it. Matt’s specific about this: collection sets won’t work, smart collections won’t work. It has to be a plain collection. That said, your plain collection can live inside a collection set for organizational purposes. Just make sure you’re right-clicking the collection itself, not the set.
Collections panel in Lightroom Classic with a new collection being created
This is the part people skip over, and it’s the most important structural requirement. The gallery sharing feature in Lightroom Classic only works with a standard collection, not a smart collection, and not a collection set. Go to the Collections panel on the left side of the Library module, click the plus icon, and choose “Create Collection.” Name it something clear - the gallery title is going to reflect this later. Then drag the photos you want to share into it. Matt’s specific about this: collection sets won’t work, smart collections won’t work. It has to be a plain collection. That said, your plain collection can live inside a collection set for organizational purposes. Just make sure you’re right-clicking the collection itself, not the set.
Step 3: Confirm Your Lightroom Sync Is Active
 Top left corner of Lightroom Classic showing the sync status icon
Look at the top-left corner of Lightroom Classic. There’s a small icon near your identity plate that shows your sync status with Adobe’s Lightroom cloud. You need this to be actively syncing, not paused. If it shows a pause symbol or an error, click it and choose to resume syncing. If you’re on the subscription plan and logged into your Adobe account, this should already be running. The sync is what makes the whole sharing feature possible - Lightroom Classic sends your collection up to Adobe’s servers, and that’s what generates the shareable URL. No sync, no gallery link.
Top left corner of Lightroom Classic showing the sync status icon
Look at the top-left corner of Lightroom Classic. There’s a small icon near your identity plate that shows your sync status with Adobe’s Lightroom cloud. You need this to be actively syncing, not paused. If it shows a pause symbol or an error, click it and choose to resume syncing. If you’re on the subscription plan and logged into your Adobe account, this should already be running. The sync is what makes the whole sharing feature possible - Lightroom Classic sends your collection up to Adobe’s servers, and that’s what generates the shareable URL. No sync, no gallery link.
Step 4: Right-Click the Collection and Sync It
 Right-click context menu on a collection showing “Sync with Lightroom” option
Once your sync is confirmed active, right-click directly on your collection in the Collections panel. You’ll see an option in the context menu that says “Sync with Lightroom.” Click that. Lightroom will begin uploading the photos in that collection to your Adobe cloud account. Depending on how many images you have and your internet speed this could take anywhere from a minute to much longer. You’ll see the sync indicator in the top-left corner animate while it’s working. This is the step that actually creates the online version of your gallery.
Right-click context menu on a collection showing “Sync with Lightroom” option
Once your sync is confirmed active, right-click directly on your collection in the Collections panel. You’ll see an option in the context menu that says “Sync with Lightroom.” Click that. Lightroom will begin uploading the photos in that collection to your Adobe cloud account. Depending on how many images you have and your internet speed this could take anywhere from a minute to much longer. You’ll see the sync indicator in the top-left corner animate while it’s working. This is the step that actually creates the online version of your gallery.
Step 5: Access the Sharing Settings and Generate Your Link
 Gallery sharing panel in Lightroom Classic with link and settings options visible
After the collection syncs, right-click it again. Now you’ll see updated options related to sharing. From here you can get to the gallery settings where Lightroom gives you a public URL. This is the link you’ll copy and share with anyone. No login required on their end, no Adobe account, nothing. Just a link. Before you send it, take a minute to look at the available settings. You can control whether viewers can see metadata like camera settings and location data. You can toggle comments on or off. You can allow or disable photo downloads. If you’re sharing family photos and you want everyone to be able to save their favorites, turn downloads on. If you’re sharing client proofs and you want to control distribution, leave it off.
Gallery sharing panel in Lightroom Classic with link and settings options visible
After the collection syncs, right-click it again. Now you’ll see updated options related to sharing. From here you can get to the gallery settings where Lightroom gives you a public URL. This is the link you’ll copy and share with anyone. No login required on their end, no Adobe account, nothing. Just a link. Before you send it, take a minute to look at the available settings. You can control whether viewers can see metadata like camera settings and location data. You can toggle comments on or off. You can allow or disable photo downloads. If you’re sharing family photos and you want everyone to be able to save their favorites, turn downloads on. If you’re sharing client proofs and you want to control distribution, leave it off.
Step 6: Share the Link and Let Viewers Explore
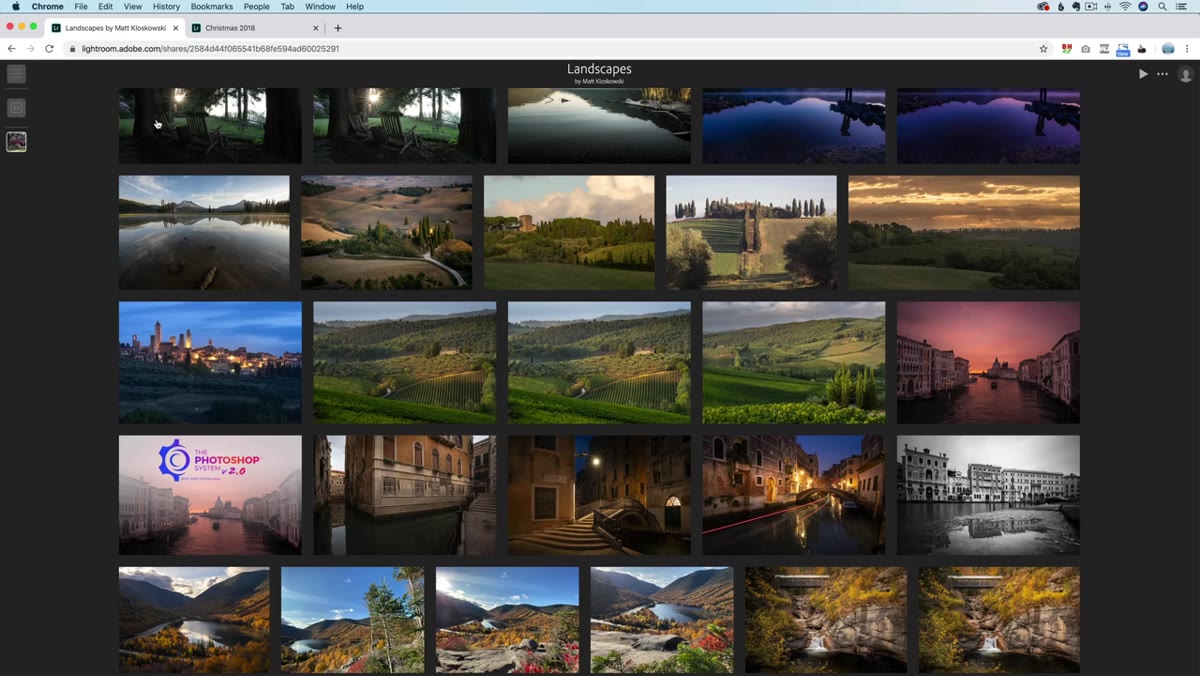
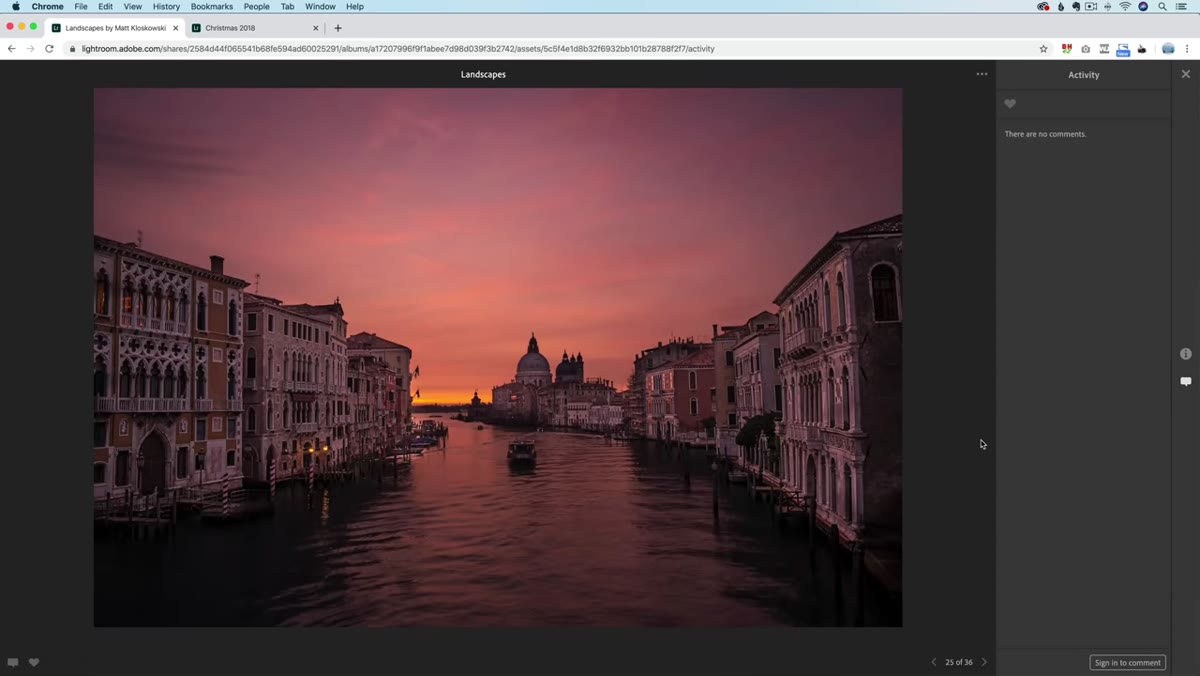
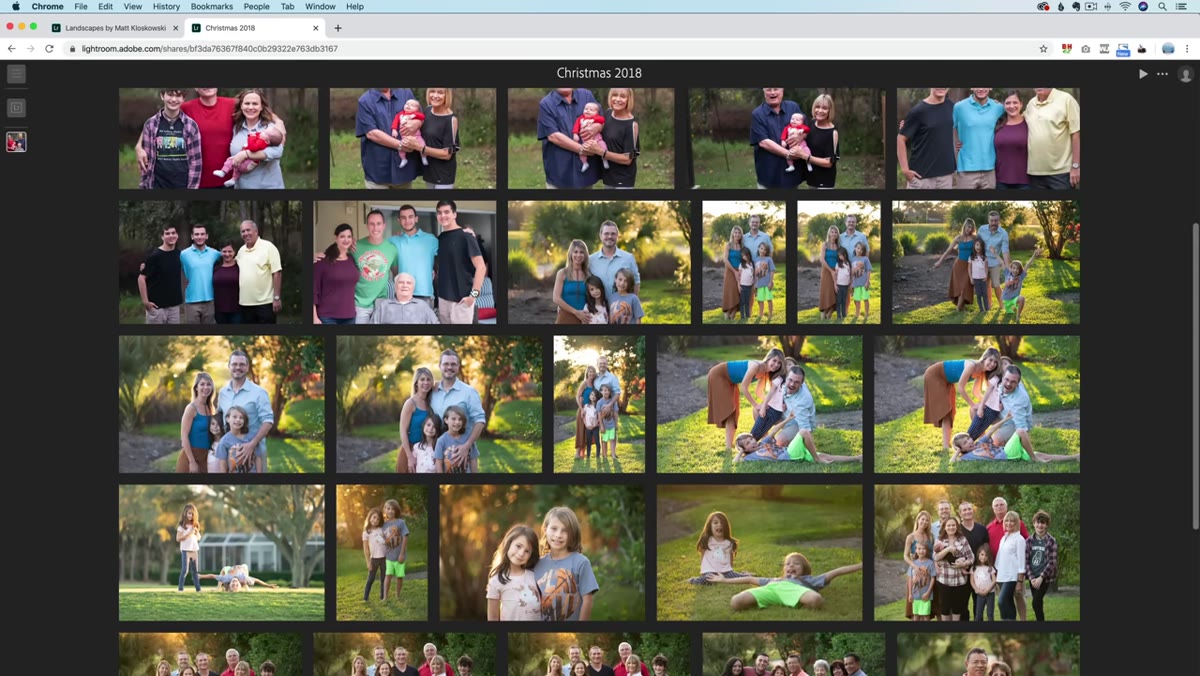
 Finished online gallery viewed in a browser with photo grid displayed
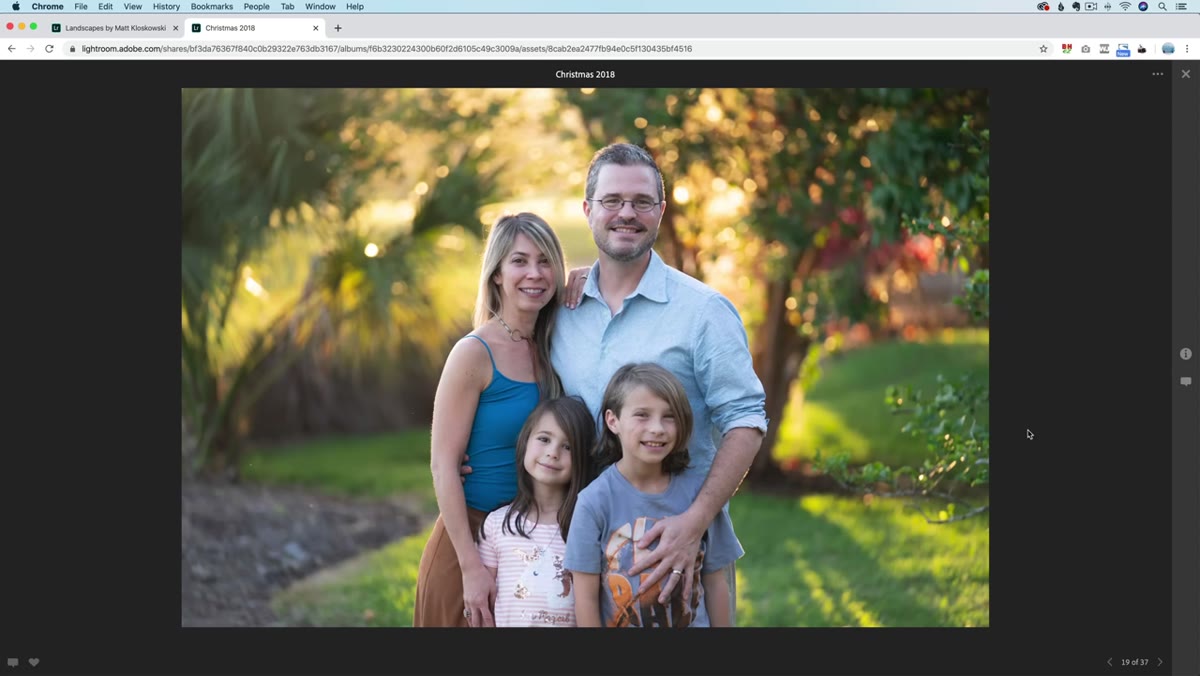
Copy the URL and send it however you like - text message, email, a direct message on Instagram. Recipients can open the gallery in any browser on any device. They can scroll through the grid, click into individual photos, view a slideshow, like images, and leave comments if you’ve enabled those options. The interface is clean and looks genuinely polished. Nothing about it screams “I generated this with a desktop app.” For the people receiving it, it just looks like a nice photo gallery you built for them.
Finished online gallery viewed in a browser with photo grid displayed
Copy the URL and send it however you like - text message, email, a direct message on Instagram. Recipients can open the gallery in any browser on any device. They can scroll through the grid, click into individual photos, view a slideshow, like images, and leave comments if you’ve enabled those options. The interface is clean and looks genuinely polished. Nothing about it screams “I generated this with a desktop app.” For the people receiving it, it just looks like a nice photo gallery you built for them.
What I’d Add From My Own Experience
The metadata toggle is worth thinking about carefully before you share. By default your EXIF data can potentially include GPS location information, which for landscape shots can reveal exactly where you were shooting. That’s fine if you want to share locations, but if you’ve found a spot you’d rather keep to yourself, go into your metadata settings in Lightroom and strip location data before syncing, or just make sure location display is turned off in the gallery options. I learned this the hard way after sharing a gallery of waterfall shots and getting a dozen messages asking for coordinates.
Also, I’d suggest naming your collection something viewer-friendly before you sync, because the collection name tends to carry through to the gallery title. “DSC Import 11-22” is not a great headline for your cousin’s Christmas photos.
The single biggest thing this feature changes is the gap between “I have these photos” and “the people who should see them can actually see them.” Matt Kloskowski puts it well in the tutorial: photos sitting in RAW format on a hard drive aren’t doing anything for anyone. This tool collapses that gap down to a few minutes of work, and it doesn’t cost you anything beyond the subscription you’re probably already paying for.
Watch the full tutorial on YouTube to see Matt walk through the whole thing live, including a look at how the finished gallery actually appears to viewers on the receiving end.
Comments (2)
Shared this with my photography group. Everyone loved it.
Never thought of approaching it this way. Really creative.
Leave a Comment