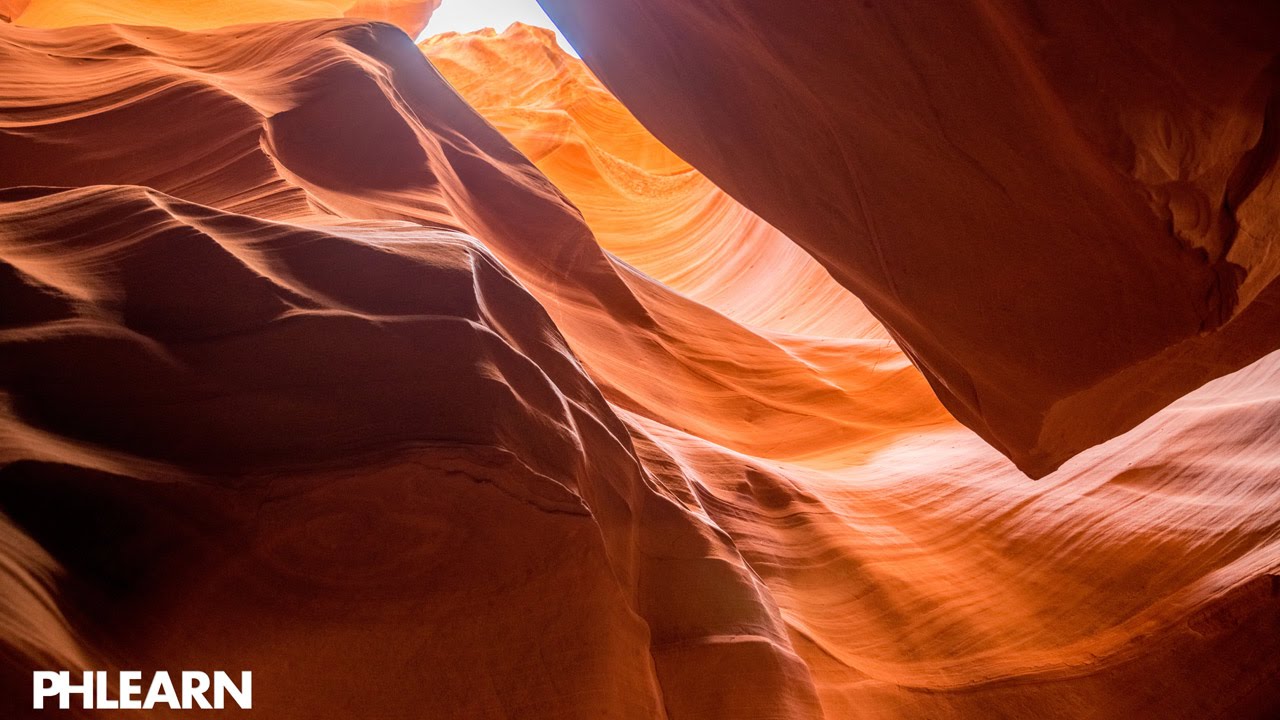
There’s a specific kind of frustration that comes from shooting a scene your eyes can see perfectly and your camera absolutely cannot. You know the one. Golden hour, gorgeous window light, a landscape where the sky is electric and the shadows are still full of detail. You look at the RAW file later and half of it is blown out or buried in noise. For years, the workaround was clunky: export to Photomatix, fight with tone mapping sliders, end up with something that looked like a painting of a sunset rather than a photograph of one.
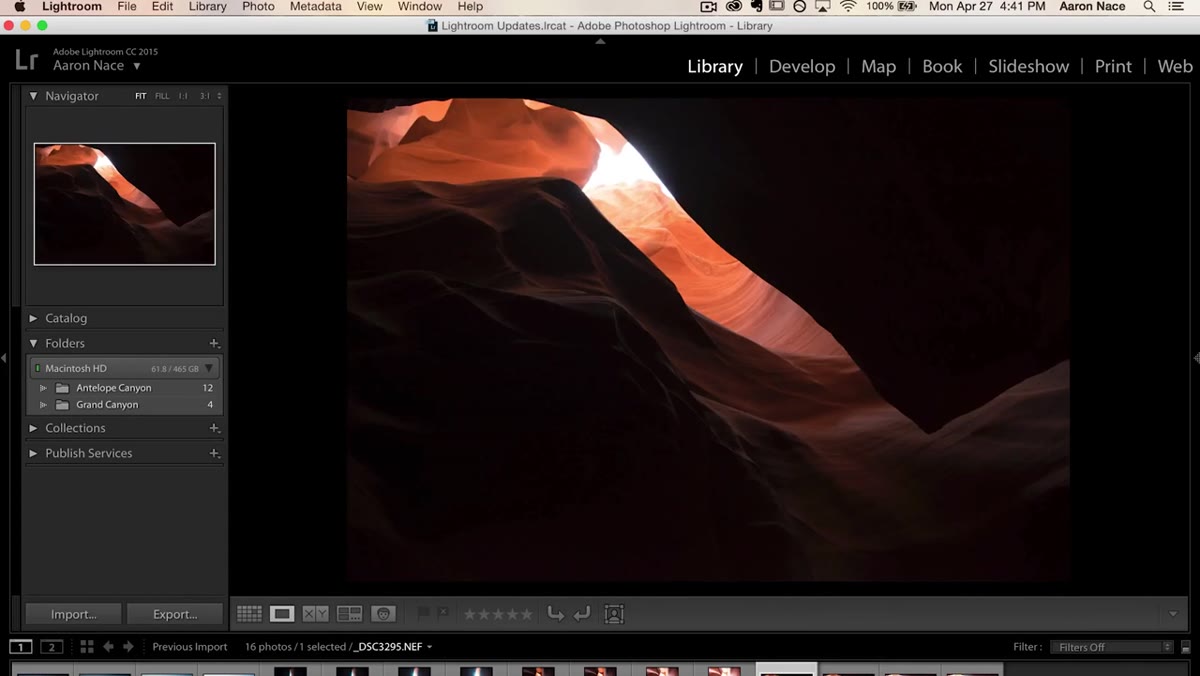
When Adobe added native HDR merging directly into Lightroom CC 2015, it changed my workflow in a real way. No round-tripping, no third-party plugins, no rebuilding your metadata on the way back in. In this Aaron Nace (PHLEARN) tutorial, Watch the full tutorial on YouTube, he walks through the entire HDR merge process from file import to final merged DNG. I’ve added my own notes below for each step, because a few details are easy to miss if you’re watching at 1.5x speed like I always do.
The technique itself is straightforward once you understand what you’re actually building. You’re not creating a “filtered” look. You’re stitching together real exposure data from multiple frames so that your final file contains highlight information your camera couldn’t hold in a single shot. The result is an image with more latitude to edit, not more obvious HDR “glow.”
Step 1: Shoot with a Tripod and Bracket Your Exposures
 Camera setup advice for capturing HDR bracket exposures
Before Lightroom can do anything, you need source files worth merging. Nace is clear on this: put the camera on a tripod. Even slight movement between frames creates alignment headaches, and while Lightroom does have an auto-align option during merge, it works best when it doesn’t have to do heavy lifting. Shoot at least three frames: one properly exposed, one underexposed (typically -2 stops), and one overexposed (+2 stops). The underexposed frame holds your highlight detail. The overexposed frame rescues your shadows. The middle frame anchors the merge.
Camera setup advice for capturing HDR bracket exposures
Before Lightroom can do anything, you need source files worth merging. Nace is clear on this: put the camera on a tripod. Even slight movement between frames creates alignment headaches, and while Lightroom does have an auto-align option during merge, it works best when it doesn’t have to do heavy lifting. Shoot at least three frames: one properly exposed, one underexposed (typically -2 stops), and one overexposed (+2 stops). The underexposed frame holds your highlight detail. The overexposed frame rescues your shadows. The middle frame anchors the merge.
If your camera has auto-bracketing, use it. The faster the frames fire, the less chance of wind, clouds, or moving subjects shifting between shots. For architecture and landscapes this is mostly a non-issue, but even a slow-moving curtain in a window shot can create ghosting artifacts that you’ll need to deal with later.
Step 2: Import Your Bracketed Files into Lightroom
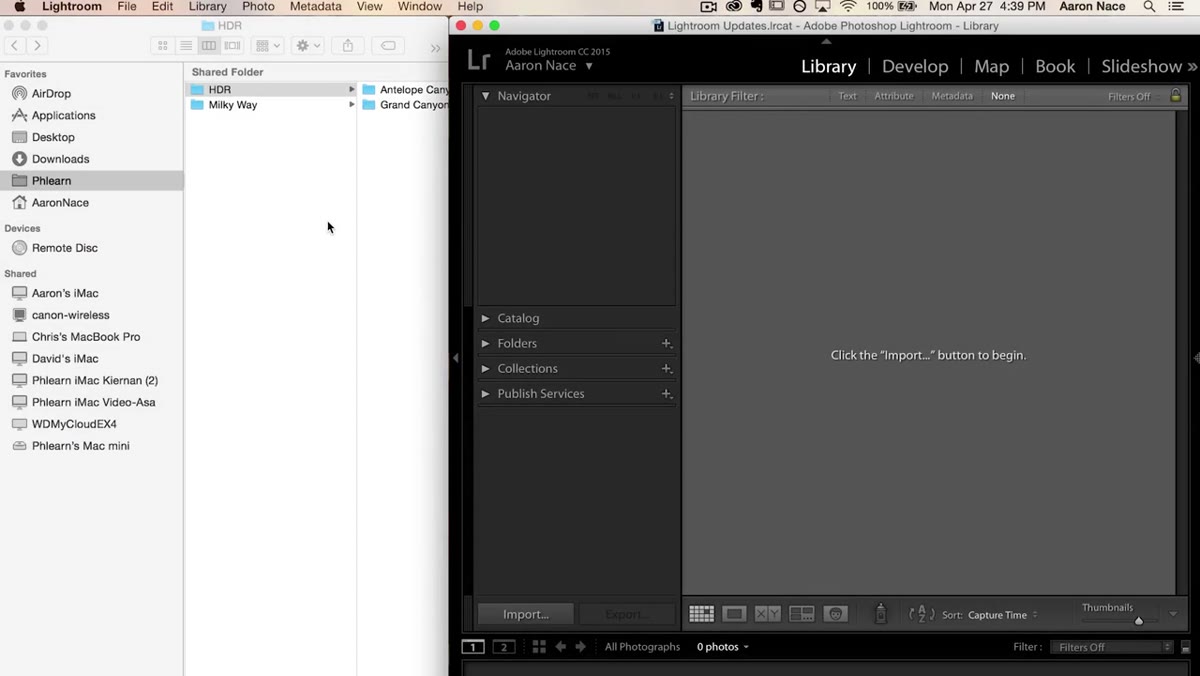 Dragging image folders into Lightroom catalog window
Nace’s import method is clean and I’ve adopted it myself: open Finder (or Windows Explorer), select your bracketed folder, and drag it directly into the Lightroom Library panel. No import dialog hunting. When the import options appear, choose “Add” rather than “Copy” if your files are already in their final location on your drive. This keeps your folder structure intact and avoids duplicating large RAW files unnecessarily.
Dragging image folders into Lightroom catalog window
Nace’s import method is clean and I’ve adopted it myself: open Finder (or Windows Explorer), select your bracketed folder, and drag it directly into the Lightroom Library panel. No import dialog hunting. When the import options appear, choose “Add” rather than “Copy” if your files are already in their final location on your drive. This keeps your folder structure intact and avoids duplicating large RAW files unnecessarily.
Once imported, click through each frame in the filmstrip and visually confirm you actually have the tonal range you intended. It sounds obvious, but I’ve merged HDRs before only to realize mid-process that I grabbed two copies of the same exposure. Check that your brightest frame shows visible detail in the shadows and your darkest frame holds texture in the highlights.
Step 3: Select All the Frames You Want to Merge
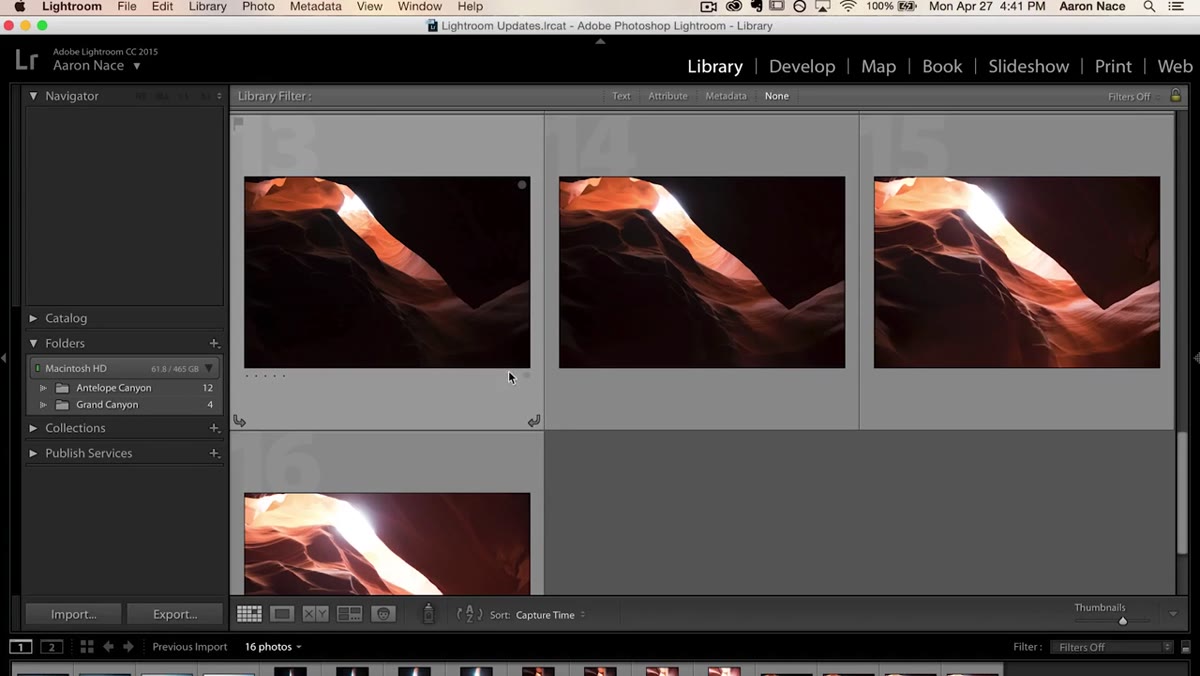 Multiple bracketed images selected in Lightroom filmstrip
In the Library module, click your first bracketed frame, then Shift-click the last one to select the full set. You can also Command-click (Mac) or Ctrl-click (Windows) to grab non-consecutive frames if your bracket is mixed in with other shots. Nace uses four images in his example rather than the standard three, which is worth noting. More frames can mean more tonal information, especially in high-contrast scenes, though three is usually enough for most situations.
Multiple bracketed images selected in Lightroom filmstrip
In the Library module, click your first bracketed frame, then Shift-click the last one to select the full set. You can also Command-click (Mac) or Ctrl-click (Windows) to grab non-consecutive frames if your bracket is mixed in with other shots. Nace uses four images in his example rather than the standard three, which is worth noting. More frames can mean more tonal information, especially in high-contrast scenes, though three is usually enough for most situations.
With all frames selected, right-click anywhere on the selection to bring up the context menu. This is where the new functionality lives.
Step 4: Launch the HDR Merge Dialog
 Right-click context menu showing Photo Merge HDR option
From the right-click context menu, navigate to Photo Merge, then select HDR. Lightroom will open a dedicated HDR Merge Preview dialog. Give it a moment to generate the preview, especially if you’re working with large RAW files. This preview is your quality control checkpoint before committing to the merge, so don’t skip past it.
Right-click context menu showing Photo Merge HDR option
From the right-click context menu, navigate to Photo Merge, then select HDR. Lightroom will open a dedicated HDR Merge Preview dialog. Give it a moment to generate the preview, especially if you’re working with large RAW files. This preview is your quality control checkpoint before committing to the merge, so don’t skip past it.
Inside the dialog you’ll see two key options: Auto Align and Deghost Amount. Auto Align should almost always be checked, even if you shot on a tripod. Deghosting handles any subject movement between frames, such as leaves, water, or people, and you can set it to None, Low, Medium, or High. Nace recommends starting at Low and only going higher if you see obvious ghosting artifacts in the preview. Higher deghost settings can reduce fine detail if applied unnecessarily, so use the minimum that gets the job done.
Step 5: Merge and Work on Your New DNG File
 HDR merge preview dialog with deghost and align options visible
Once your settings look right in the preview, hit Merge. Lightroom processes the frames and saves a new DNG file alongside your originals in the same folder. This DNG is your new master file, and it behaves like any other RAW in your catalog. You can apply Develop module adjustments, use the HSL panel, add local adjustments with brushes or graduated filters, the whole toolkit is available.
HDR merge preview dialog with deghost and align options visible
Once your settings look right in the preview, hit Merge. Lightroom processes the frames and saves a new DNG file alongside your originals in the same folder. This DNG is your new master file, and it behaves like any other RAW in your catalog. You can apply Develop module adjustments, use the HSL panel, add local adjustments with brushes or graduated filters, the whole toolkit is available.
Here’s what I find most useful about the merged DNG: the highlight and shadow recovery range is dramatically extended compared to a single frame. When I pull the Highlights slider to the left on a merged HDR file, I recover sky detail I genuinely couldn’t save from any individual frame. The extra dynamic range isn’t cosmetic. It’s real recoverable data baked into the file.
What I Do Differently After the Merge
Nace covers the merge process thoroughly, but there’s one thing I always do that the tutorial doesn’t touch: I immediately apply a gentle base tone curve to the HDR DNG before I do anything else. Merged HDR files can look a little flat straight out of the dialog because Lightroom is preserving all that extra tonal information without making any aesthetic decisions. A subtle S-curve, just a slight lift in the shadows and a soft roll-off in the highlights, gives me a better starting point before I reach for the Exposure or Contrast sliders. It also helps me see the actual image rather than a grey, compressed-looking preview of what it could be.
I’ve also started shooting five-frame brackets instead of three for any scene with significant sky-to-ground contrast. The two extra frames, at -3 and +3 stops, give Lightroom more data to work with in the extreme tonal ranges. The merge takes a little longer but the resulting DNG handles aggressive editing much more gracefully.
The biggest shift HDR merging inside Lightroom brought to my editing was keeping me in one tool for the full job. The fewer times you export, convert, and reimport, the more time you spend actually editing. Start with solid brackets on a tripod, trust the auto-align, keep deghosting conservative, and let the merged DNG do the heavy lifting when you’re pushing sliders in Develop.
Watch the full tutorial on YouTube to see Aaron walk through the entire process in real time with his own images.
Comments
Leave a Comment