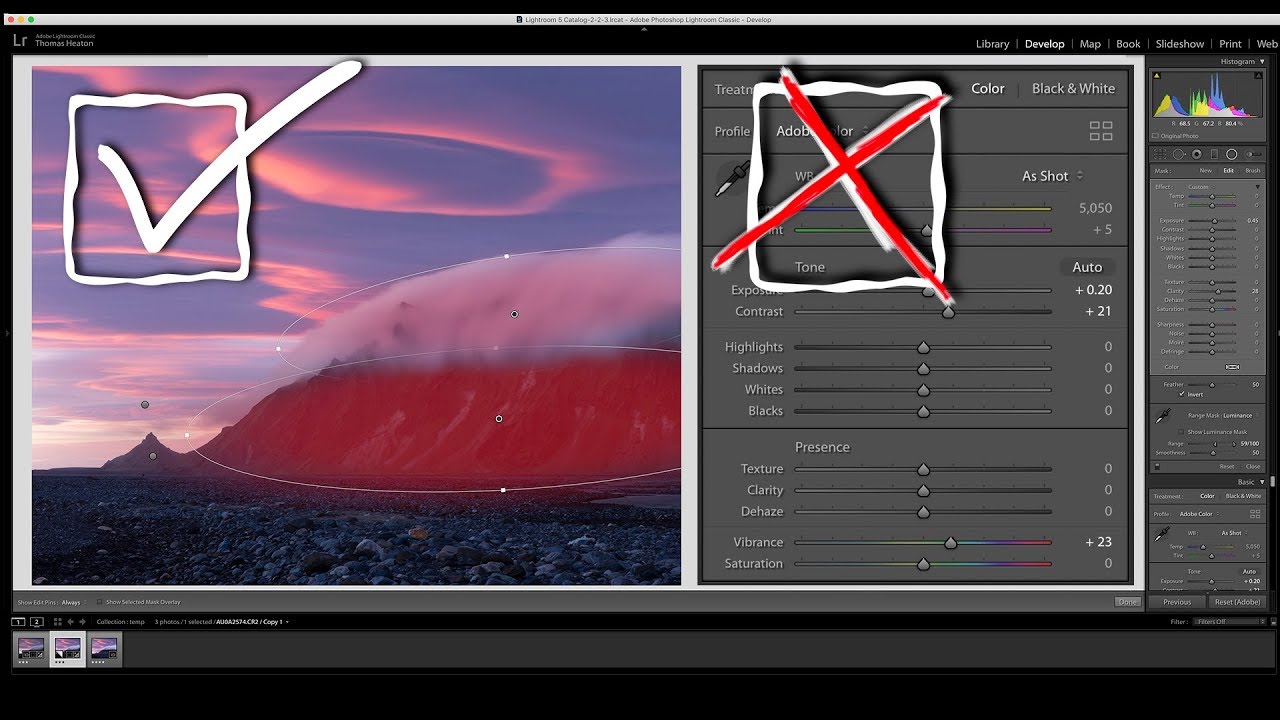
I used to open Lightroom and reach for the exposure slider before I even really looked at the photo. Exposure, contrast, highlights, shadows, done. It was efficient, it was comfortable, and it produced results that were… fine. Fine is the enemy of interesting. The problem with global adjustments is that they treat your entire image like a single, uniform thing when most compelling photos are the opposite of that. They have a subject, a background, a sky, a foreground, and each of those zones deserves its own treatment.
That thinking clicked into place for me while watching this Thomas Heaton tutorial on local editing in Lightroom. Watch the full tutorial on YouTube Heaton is a landscape photographer who shoots in the kind of dramatic conditions where the light in one corner of the frame has absolutely nothing to do with the light in another corner. His solution is to build the edit from scratch using Lightroom’s local tools, with global sliders playing only a supporting role. The workflow he walks through isn’t just a technique. It’s a different philosophy about what editing actually is.
Here’s a breakdown of how the approach works, using the image Heaton edits in the video as the guide.
Step 1: Start with Minimal Global Adjustments
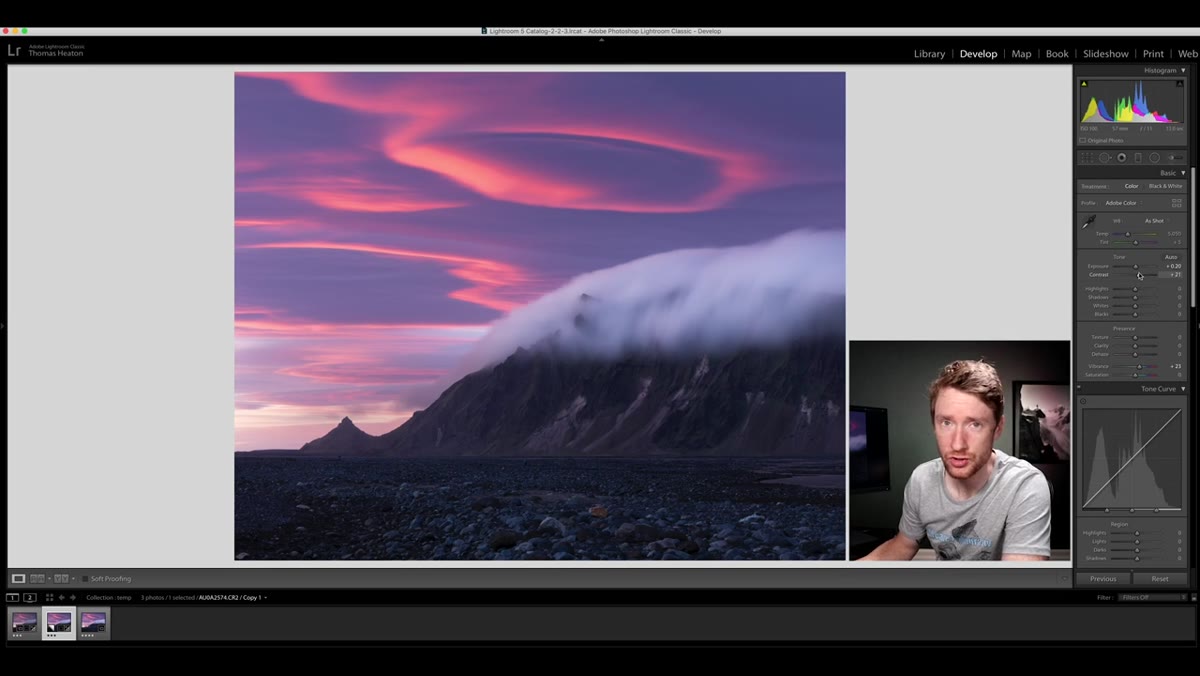 Global contrast and exposure sliders showing small positive values
Before touching any local tools, Heaton makes three small global corrections and only three. A slight contrast boost to lift the flatness inherent in raw files, a modest exposure bump to correct for underexposure in camera, and a vibrancy increase to bring some color life back into the scene. He also enables lens profile corrections and removes chromatic aberration in the optics panel. That’s the entire global edit.
Global contrast and exposure sliders showing small positive values
Before touching any local tools, Heaton makes three small global corrections and only three. A slight contrast boost to lift the flatness inherent in raw files, a modest exposure bump to correct for underexposure in camera, and a vibrancy increase to bring some color life back into the scene. He also enables lens profile corrections and removes chromatic aberration in the optics panel. That’s the entire global edit.
The point here isn’t to avoid global sliders forever. It’s to resist the urge to do all your heavy lifting there. Think of this stage as setting a neutral foundation, not making creative decisions. If your global adjustments are doing too much, they’re probably fighting the local work you haven’t done yet.
Step 2: Identify the Key Visual Elements Before You Touch Anything Else
 Raw landscape image displayed before any local edits are applied
This step doesn’t happen in any panel. It happens in your head before your cursor moves anywhere. Heaton looks at his image and mentally breaks it into zones: what’s the subject, what supports the subject, and what’s just background real estate? In his photo, he identifies two focal points, a set of high-altitude lenticular clouds and a lower hill cloud wrapping around a mountain peak. Everything else in the frame is secondary.
Raw landscape image displayed before any local edits are applied
This step doesn’t happen in any panel. It happens in your head before your cursor moves anywhere. Heaton looks at his image and mentally breaks it into zones: what’s the subject, what supports the subject, and what’s just background real estate? In his photo, he identifies two focal points, a set of high-altitude lenticular clouds and a lower hill cloud wrapping around a mountain peak. Everything else in the frame is secondary.
Doing this before editing is more valuable than it sounds. When you know what you’re trying to emphasize, every local adjustment has a purpose. You’re not just pushing sliders to see what happens. You’re making a case for why the viewer’s eye should land where you want it.
Step 3: Use Radial Filters to Lift Your Key Subjects
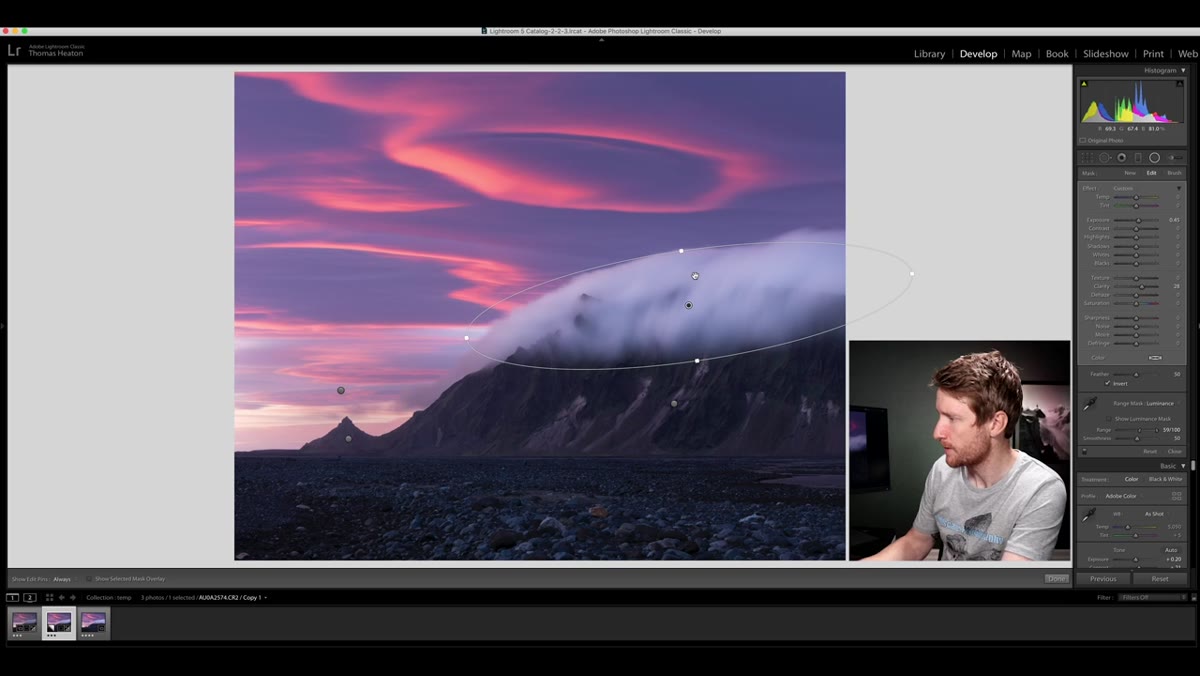 Radial filter stretched over the cloud formation in the image
Heaton’s first local tool is the radial filter, and he uses four of them across this single image. The first one targets that lower hill cloud. He drags a radial filter ellipse over the cloud area and increases both exposure and clarity. The exposure lift brightens that zone selectively, creating separation between it and the surrounding sky. The clarity boost pulls out texture and detail within the cloud structure itself, making it feel more three-dimensional.
Radial filter stretched over the cloud formation in the image
Heaton’s first local tool is the radial filter, and he uses four of them across this single image. The first one targets that lower hill cloud. He drags a radial filter ellipse over the cloud area and increases both exposure and clarity. The exposure lift brightens that zone selectively, creating separation between it and the surrounding sky. The clarity boost pulls out texture and detail within the cloud structure itself, making it feel more three-dimensional.
The specific values he uses aren’t the lesson here. The lesson is the logic: find the area you want the viewer to notice, and then use exposure and clarity together to make it earn that attention. Clarity without exposure can feel crunchy. Exposure without clarity can feel soft. Together they create something that reads as genuinely present in the frame.
Step 4: Apply Luminance Masking to Keep Adjustments Precise
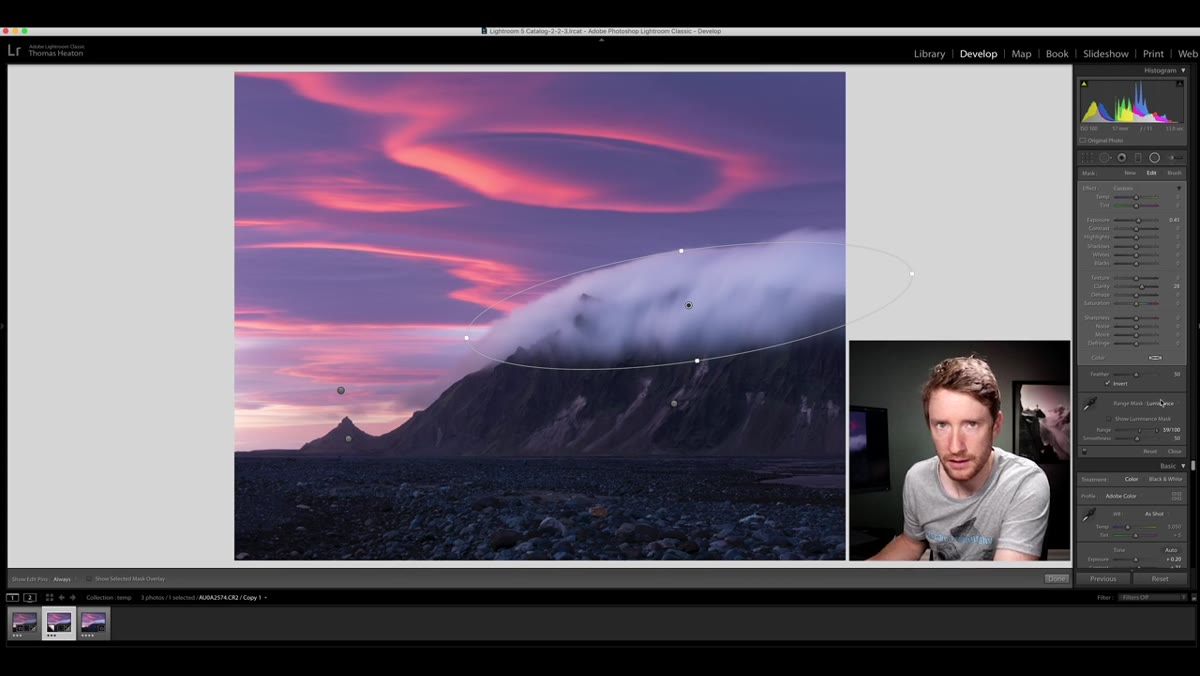 Luminance mask range selector inside the radial filter panel
This is where Heaton’s workflow goes from good to genuinely clever. Inside each radial filter, he applies a luminance mask to control exactly which tones receive the adjustment. The mask is set to favor the brighter parts of the image, meaning the exposure and clarity boosts hit the lighter areas of the cloud without bleeding into darker surrounding tones.
Luminance mask range selector inside the radial filter panel
This is where Heaton’s workflow goes from good to genuinely clever. Inside each radial filter, he applies a luminance mask to control exactly which tones receive the adjustment. The mask is set to favor the brighter parts of the image, meaning the exposure and clarity boosts hit the lighter areas of the cloud without bleeding into darker surrounding tones.
Without a luminance mask, a radial filter is just a soft-edged circle. With one, it becomes a precision tool that responds to the actual content of the image. If you’ve never used luminance masking inside local adjustments, open any landscape photo right now and try it. Pull the range selector toward the brighter end of the scale while watching your adjustment in the preview. You’ll see it affect highlights and pull back from shadows automatically. It’s one of those features that feels like cheating once you understand it.
Step 5: Stack Multiple Radial Filters for Layered Control
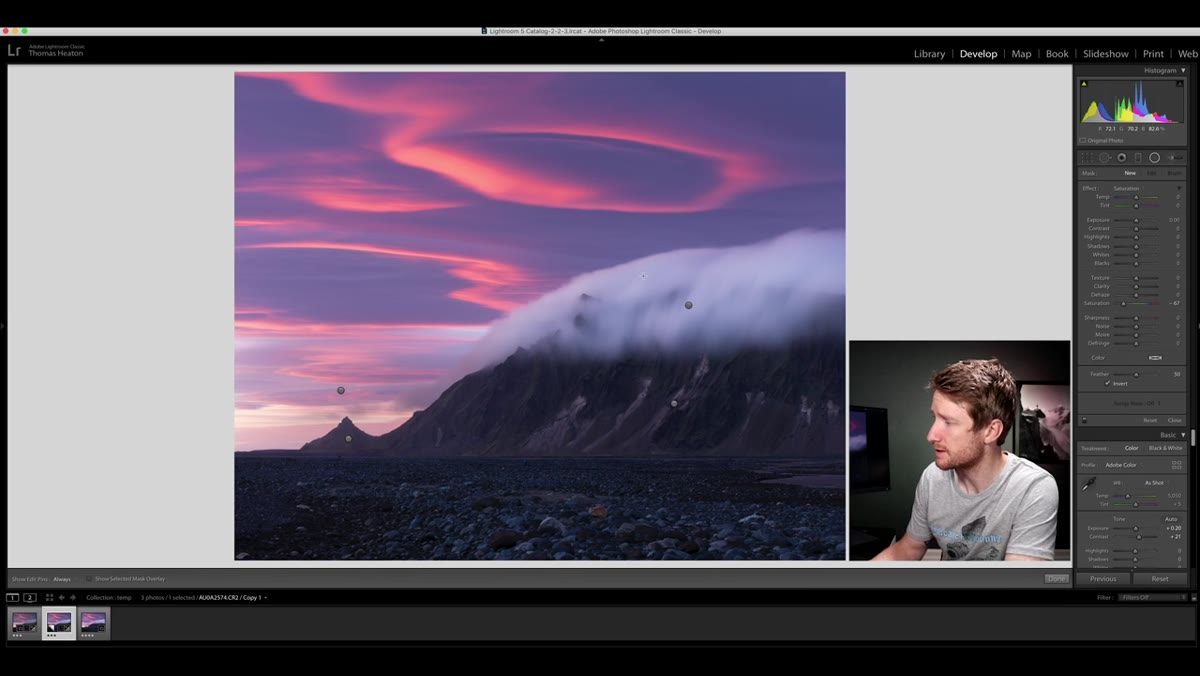 Four separate radial filter pins visible across the image
Heaton doesn’t stop at one radial filter. He builds up four of them across the image, each targeting a different zone. This layered approach is what separates a processed photo from one that feels crafted. Each filter is doing a small, specific job rather than one filter trying to do everything and doing none of it well.
Four separate radial filter pins visible across the image
Heaton doesn’t stop at one radial filter. He builds up four of them across the image, each targeting a different zone. This layered approach is what separates a processed photo from one that feels crafted. Each filter is doing a small, specific job rather than one filter trying to do everything and doing none of it well.
Think of it like mixing a record. You don’t apply one giant EQ to the entire session and call it done. You adjust each track individually so the whole thing sits together properly. Local editing in Lightroom works the same way. The cumulative effect of small, targeted adjustments is what creates images that look finished rather than filtered.
What I’d Add From My Own Experience
Heaton’s video focuses on radial filters, but the same logic applies when you move to the brush tool for more irregular shapes. I’ve found that the order in which you apply local adjustments matters more than most tutorials admit. I always start with my subject, then work outward toward the edges. If I start at the edges and work inward, I tend to over-darken the background relative to the subject, which flattens the sense of depth.
Also: save your local adjustment settings as presets. Lightroom lets you save brush, radial filter, and graduated filter settings. If you find a luminance mask range that works well for your typical cloud edits, or a clarity-plus-exposure combo that suits your shooting style, save it and name it something you’ll actually remember. I name mine after songs, which sounds ridiculous until you realize I can find “Thin Lizzy Riff” faster than “Cloud Preset v3.”
The most important thing to take away from Heaton’s approach is this: global sliders describe an image, but local adjustments direct one. If you want viewers to feel something specific when they look at your photo, you have to tell the light where to go.
Watch the full tutorial on YouTube and pay attention to how Heaton thinks out loud about each adjustment. The technique is worth learning, but the editorial reasoning behind each decision is what’ll actually change how you edit.
Comments
Leave a Comment