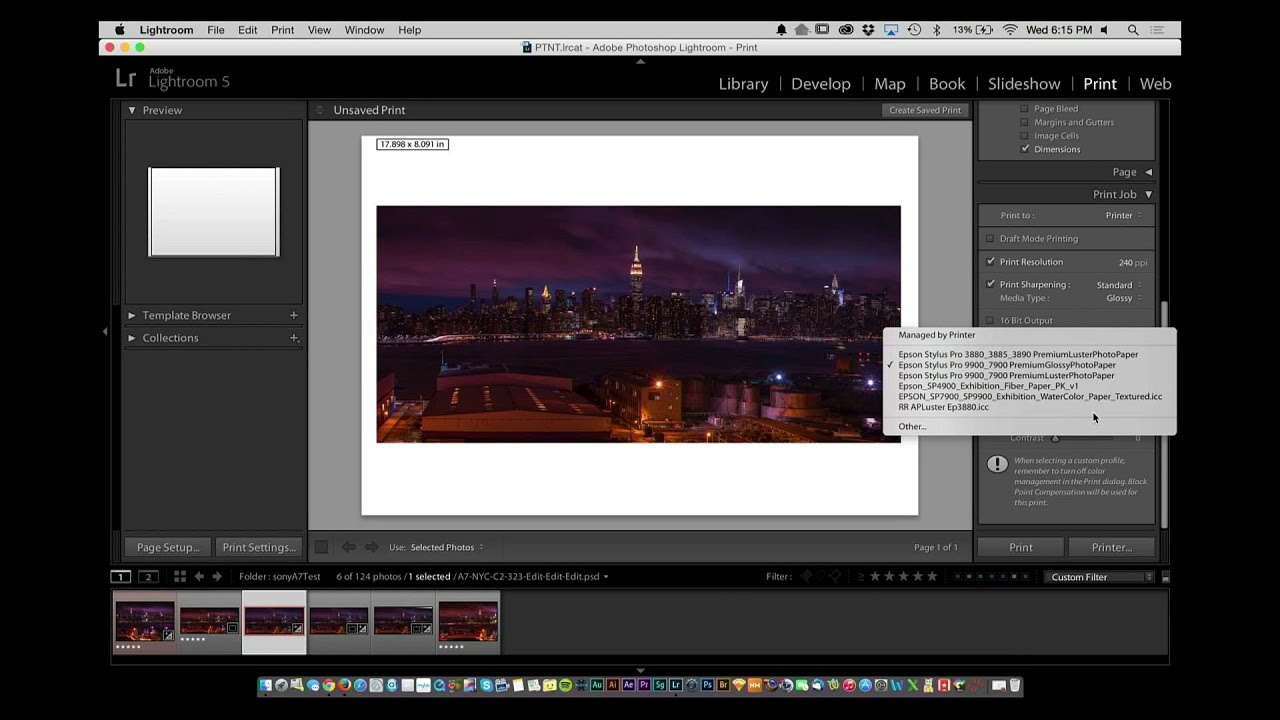
There is a specific kind of dread that only photographers know. It hits somewhere between handing someone a large print and watching their eyes drift to a smudge in the upper third of the image. Sensor dust. The gift that keeps giving, because whatever wrecked one frame wrecked every frame shot at that aperture. I have been editing seriously for almost a decade and I still catch myself skipping the spot-check step when I’m in a hurry. That always ends badly.
Watch the full tutorial on YouTube
In this KelbyOne tutorial, Scott Kelby walks through two things: a quick refresher on Lightroom’s Visualize Spots feature, and then a genuinely brilliant keyboard-driven technique for making sure you inspect every single pixel of your image before you commit to a print. The second part is the one that earned a permanent spot in my own workflow. Scott mentions printing a massive photo of the Burj Khalifa, sharing it publicly, and getting called out in the comments for a visible sensor spot. If it can happen to Scott Kelby, it can definitely happen to you. Or me. (It has happened to me.)
Step 1: Open the Spot Removal Tool
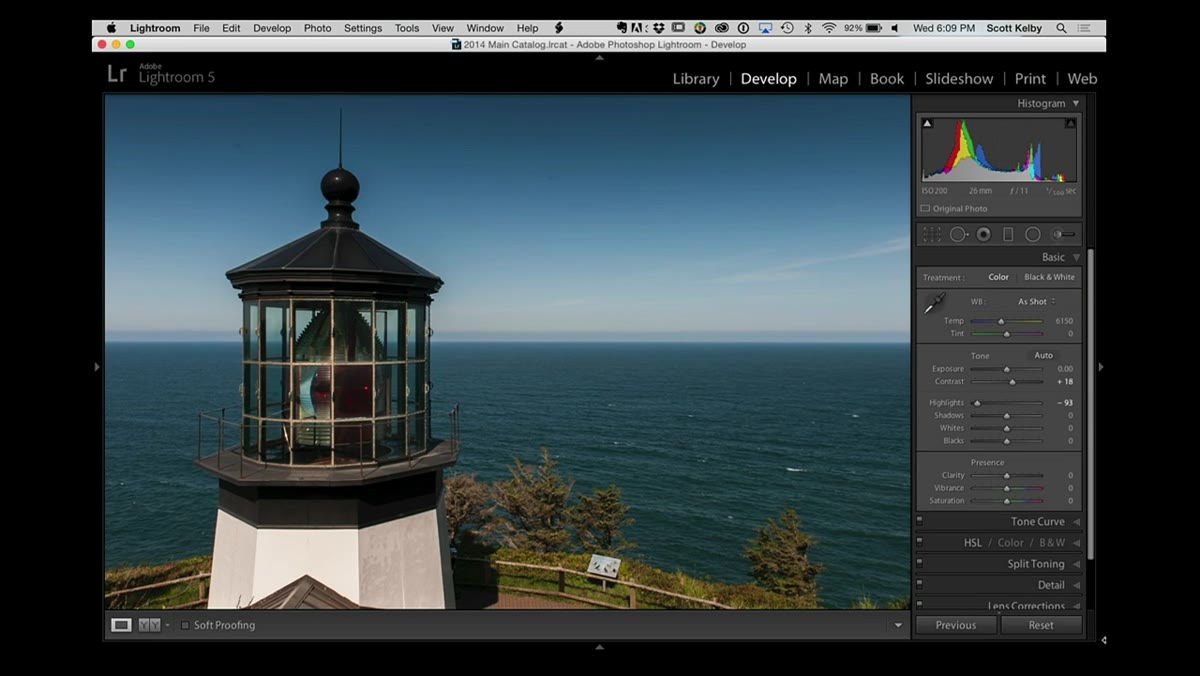 Spot Removal tool selected in Lightroom develop module
Head into the Develop module and activate the Spot Removal tool. You can click the icon in the toolbar just below the histogram, or press Q as a shortcut. This gets you into the right mode for both finding and fixing any dust, sensor spots, or stray specks that crept into your image. You want to be here before you do anything else in this process.
Spot Removal tool selected in Lightroom develop module
Head into the Develop module and activate the Spot Removal tool. You can click the icon in the toolbar just below the histogram, or press Q as a shortcut. This gets you into the right mode for both finding and fixing any dust, sensor spots, or stray specks that crept into your image. You want to be here before you do anything else in this process.
Step 2: Turn On Visualize Spots
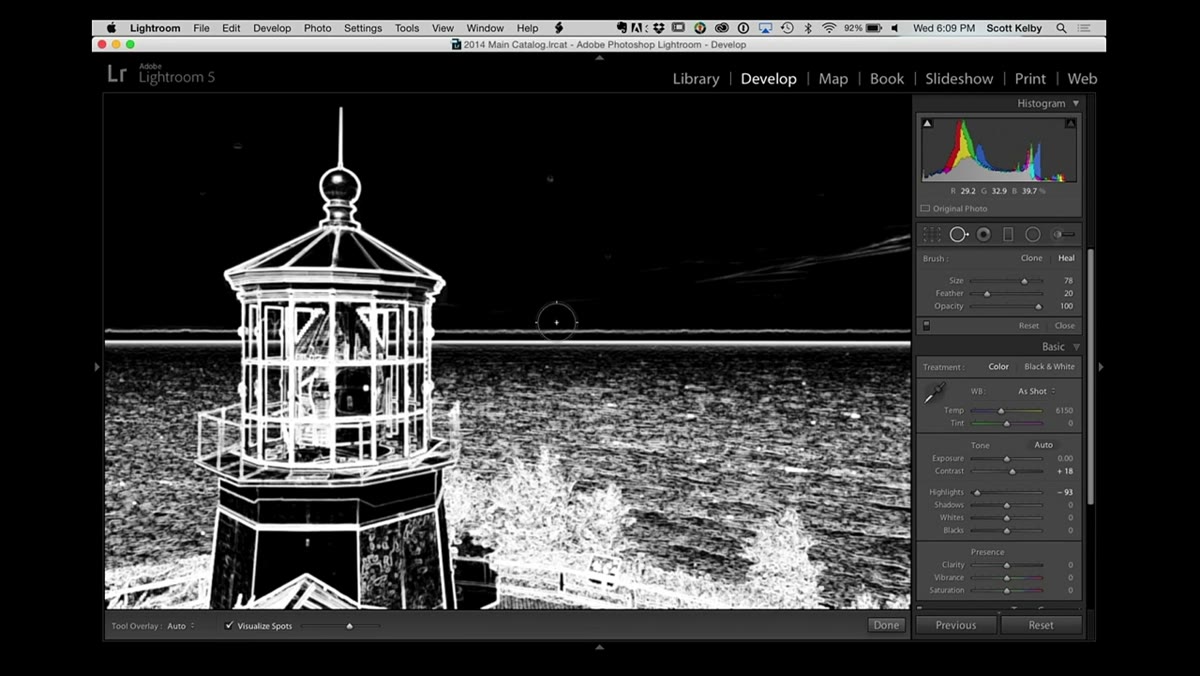 Visualize Spots checkbox enabled in the toolbar
At the very bottom of the image area, inside the toolbar strip, you will find a checkbox labeled “Visualize Spots.” Check it. The image will shift to a high-contrast black-and-white view that inverts tones in a way that makes circular sensor blemishes jump out immediately. Think of it like a flashlight pointed at the problem areas instead of the finished photo.
Visualize Spots checkbox enabled in the toolbar
At the very bottom of the image area, inside the toolbar strip, you will find a checkbox labeled “Visualize Spots.” Check it. The image will shift to a high-contrast black-and-white view that inverts tones in a way that makes circular sensor blemishes jump out immediately. Think of it like a flashlight pointed at the problem areas instead of the finished photo.
There is also a slider next to that checkbox. Drag it left or right depending on your image. Brighter, more even-toned images often need less sensitivity, while shots with busy backgrounds benefit from pulling the slider toward the right so subtle spots become obvious. Experiment with it rather than leaving it at the default.
Step 3: Fix Any Visible Spots in This View
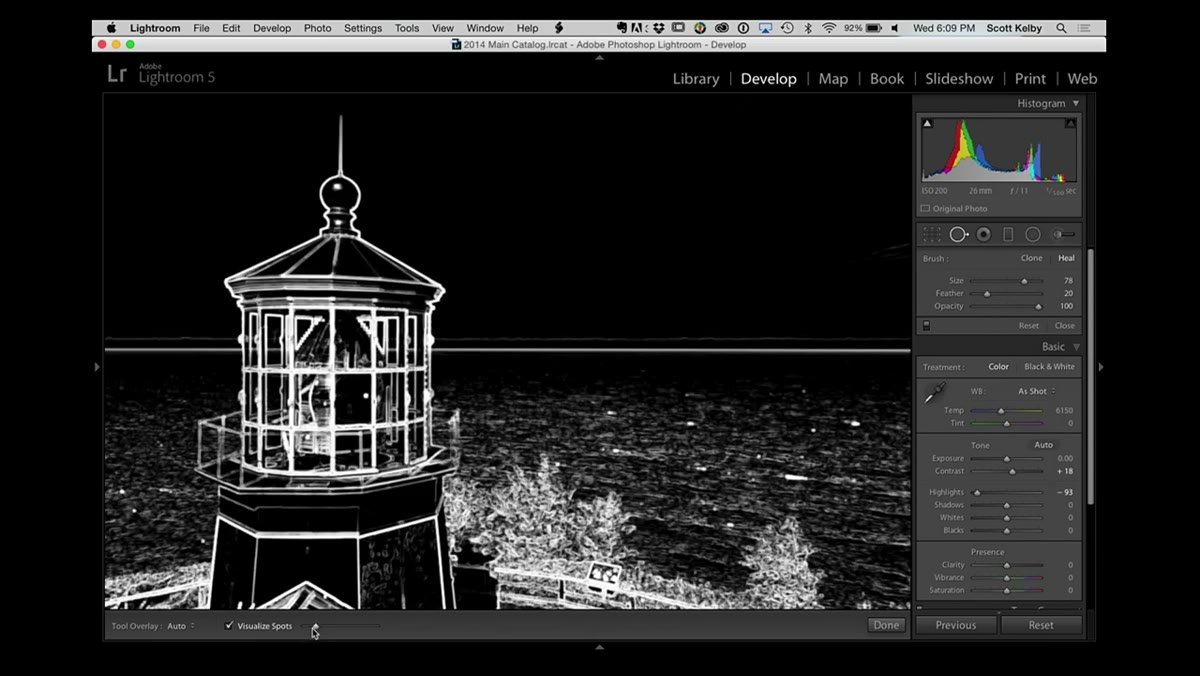 Dust spots visible in high-contrast Visualize Spots mode
With Visualize Spots active, click directly on any blemish you see. Lightroom will automatically sample a nearby area of the image and use it to patch the spot, either in Clone or Heal mode depending on your setting. Heal mode works best for most sensor dust situations because it blends texture naturally. If Lightroom picks a bad source area, drag the source circle manually to a cleaner part of the image.
Dust spots visible in high-contrast Visualize Spots mode
With Visualize Spots active, click directly on any blemish you see. Lightroom will automatically sample a nearby area of the image and use it to patch the spot, either in Clone or Heal mode depending on your setting. Heal mode works best for most sensor dust situations because it blends texture naturally. If Lightroom picks a bad source area, drag the source circle manually to a cleaner part of the image.
Do not turn off Visualize Spots yet. This view is not perfect, and some spots will still slip through depending on the tonal complexity underneath them. That is exactly why the next steps matter.
Step 4: Zoom In to 1:1 View
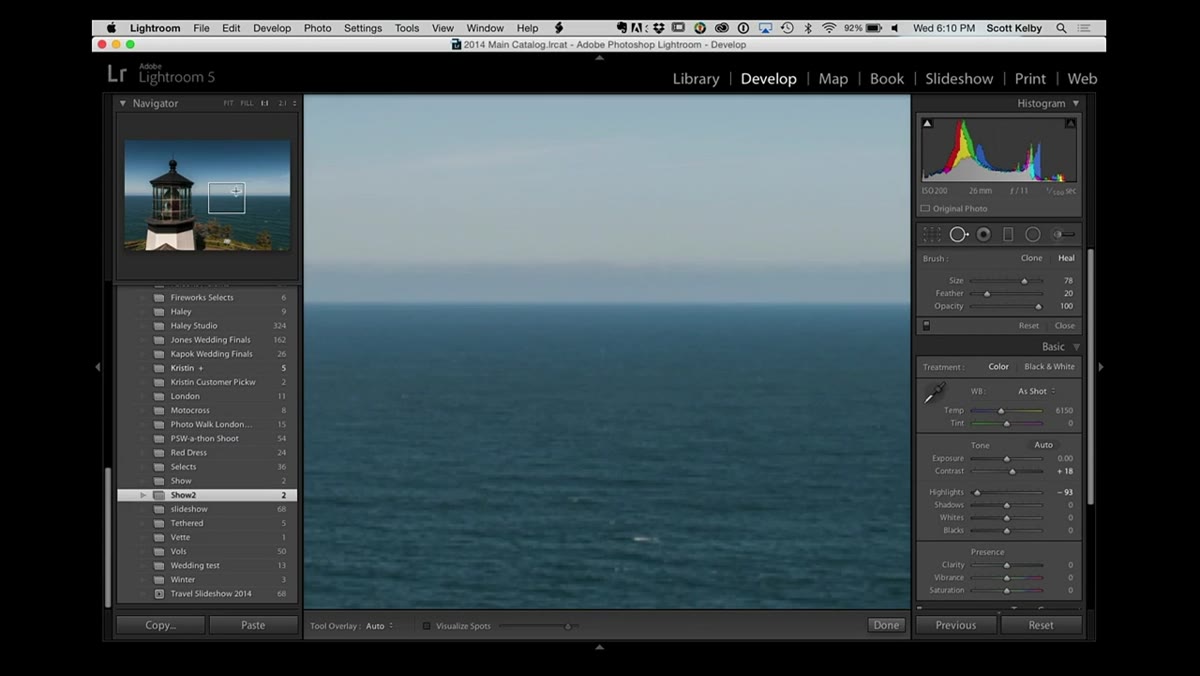 Navigator panel showing 1:1 zoom level selected
Turn off Visualize Spots and zoom into your image at 1:1, meaning one image pixel equals one screen pixel. You can click “1:1” in the Navigator panel in the top-left of Lightroom’s left sidebar. This is the zoom level where sensor spots that survived the Visualize Spots pass become visible, especially in smooth gradients like skies or out-of-focus backgrounds where your eye has nowhere to hide.
Navigator panel showing 1:1 zoom level selected
Turn off Visualize Spots and zoom into your image at 1:1, meaning one image pixel equals one screen pixel. You can click “1:1” in the Navigator panel in the top-left of Lightroom’s left sidebar. This is the zoom level where sensor spots that survived the Visualize Spots pass become visible, especially in smooth gradients like skies or out-of-focus backgrounds where your eye has nowhere to hide.
Step 5: Position the Navigator Thumbnail in the Top-Left Corner
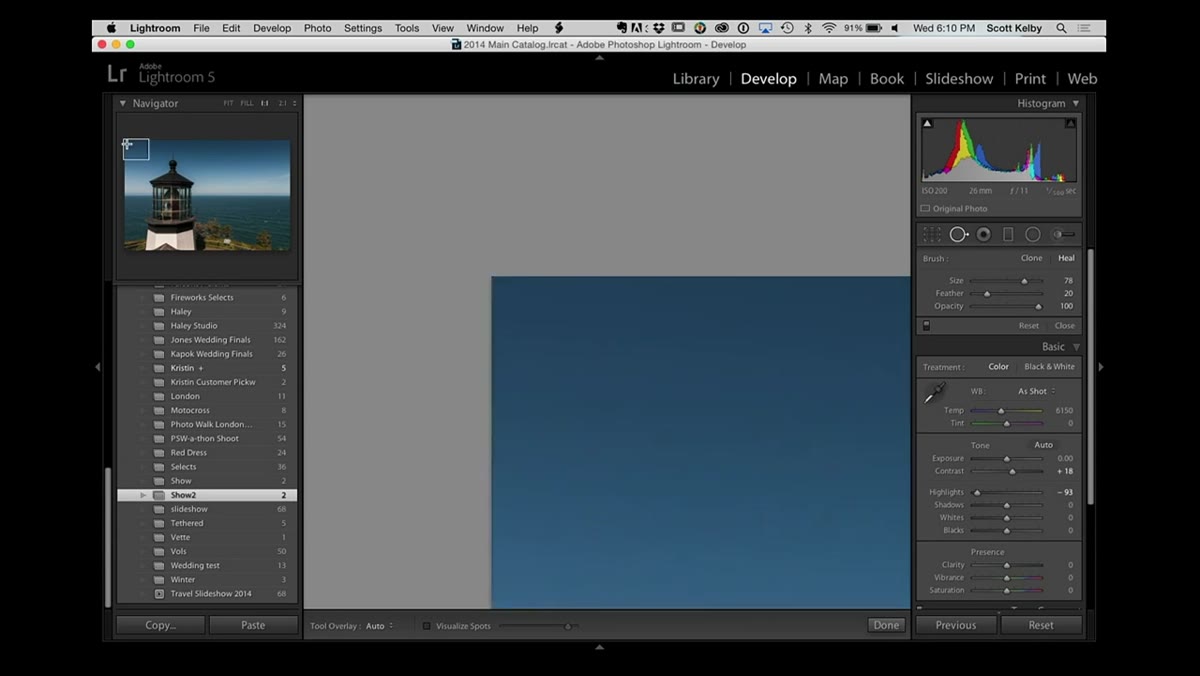 Navigator panel thumbnail box positioned in upper-left corner
Inside the Navigator panel, you will see a small white rectangle overlaid on the thumbnail of your photo. This rectangle represents the portion of the image currently visible on your screen. Drag it to the very top-left corner of the thumbnail. This is your starting position for a systematic, row-by-row inspection of the entire image. Starting here means you will not accidentally skip the top edge, which is an easy mistake to make.
Navigator panel thumbnail box positioned in upper-left corner
Inside the Navigator panel, you will see a small white rectangle overlaid on the thumbnail of your photo. This rectangle represents the portion of the image currently visible on your screen. Drag it to the very top-left corner of the thumbnail. This is your starting position for a systematic, row-by-row inspection of the entire image. Starting here means you will not accidentally skip the top edge, which is an easy mistake to make.
Step 6: Use Page Down to Scroll Through the Entire Image
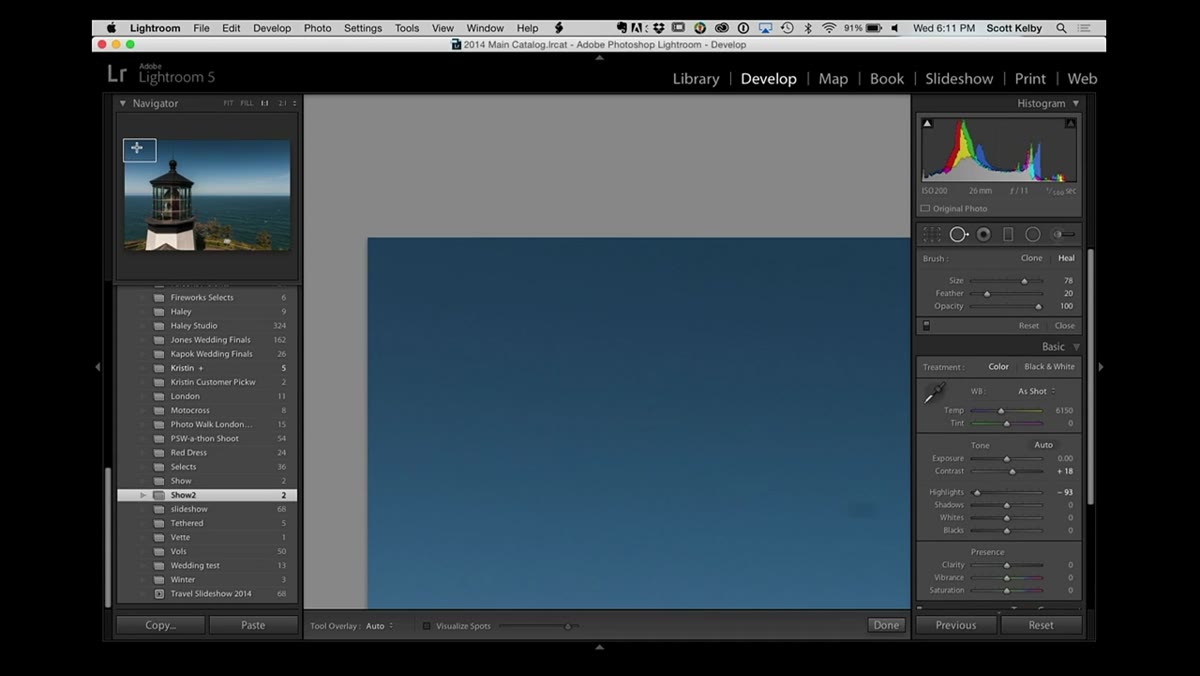 Navigator rectangle moving one panel down through the image
Here is the part that changed my approach entirely. Use the Page Down key to move through your image one screen-sized section at a time. On a MacBook Pro without dedicated Page Up and Page Down keys, hold the Function key and press the Down Arrow. Each press advances the view by exactly one screen-length, with no overlap and no gaps.
Navigator rectangle moving one panel down through the image
Here is the part that changed my approach entirely. Use the Page Down key to move through your image one screen-sized section at a time. On a MacBook Pro without dedicated Page Up and Page Down keys, hold the Function key and press the Down Arrow. Each press advances the view by exactly one screen-length, with no overlap and no gaps.
When you reach the bottom of the image, Lightroom automatically adjusts to make sure you see that final edge clearly. Then it jumps one column to the right and starts moving down again. Keep pressing Page Down and the entire image scrolls in a precise grid pattern, guaranteeing you have looked at every corner. It takes maybe 30 to 60 seconds on most images. That is a reasonable trade against the alternative, which is reprinting a 30-inch photo.
Step 7: Fix Any Spots You Find Along the Way
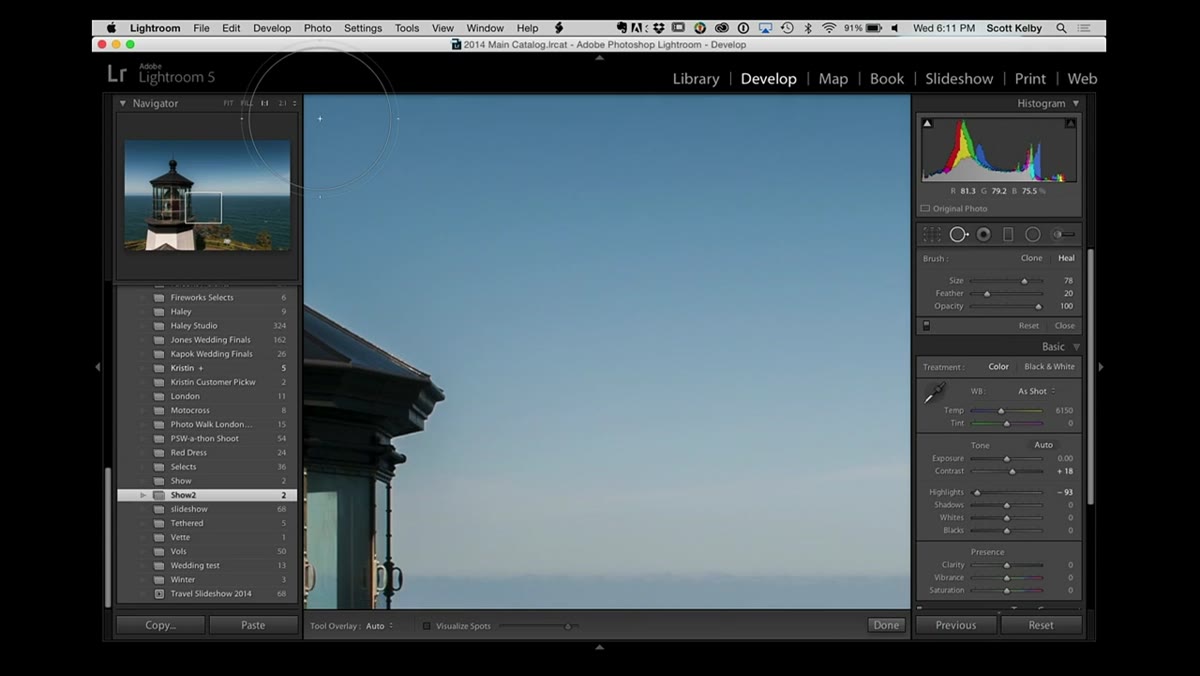 Spot removal circle applied to dust spot found during scroll
Do not wait until you have scrolled through the whole image to fix things. Stop and click on any spot the moment you spot it, with the Spot Removal tool still active. Lightroom will apply the same heal or clone fix, and you can immediately continue pressing Page Down to pick up where you left off. Fixing as you go keeps the process efficient and means nothing gets mentally noted and then forgotten.
Spot removal circle applied to dust spot found during scroll
Do not wait until you have scrolled through the whole image to fix things. Stop and click on any spot the moment you spot it, with the Spot Removal tool still active. Lightroom will apply the same heal or clone fix, and you can immediately continue pressing Page Down to pick up where you left off. Fixing as you go keeps the process efficient and means nothing gets mentally noted and then forgotten.
My Take: Make This the Last Thing You Do Before Exporting
Sensor spot removal is one of those tasks that is easy to do too early. I have fixed spots, continued editing, changed my crop, and then exported, only to realize the crop revealed a section I had never inspected. Now I run this scroll-through technique as the absolute final step, after cropping and after any global adjustments that might shift where I am looking in the frame. Treat it like a pre-flight check, not a mid-flight adjustment.
If you shoot at smaller apertures regularly, like f/11 or f/16 for landscapes, make this part of your standard workflow for every single image. Diffraction and small apertures make dust particles sharper and far more visible, which means what was a soft smudge at f/2.8 becomes a crisp, obvious blob at f/16. The systematic scroll catches it. Glancing at the image at fit-to-screen view never will.
The single most important thing here is this: do not trust your eyes to catch sensor spots on a zoomed-out image. The systematic 1:1 scroll using Page Down is the only method I have found that makes it genuinely impossible to miss something. A bad print costs money and embarrassment. This check costs 60 seconds.
Watch the full tutorial on YouTube and see Scott demonstrate the scroll technique live. Watching the Navigator panel move in perfect increments makes the method click in a way that reading about it almost cannot.
Comments (2)
Printing this out and pinning it next to my monitor. That good.
I keep coming back to this article. It's that useful.
Leave a Comment