There’s a specific kind of editing session that every Lightroom user knows. You open a raw file with good bones, start pushing sliders around to find a look, and somewhere around the forty-minute mark you realize you’ve gone too far in three different directions at once. The Highlights are somewhere they shouldn’t be, the HSL panel looks like you were editing with your elbows, and you can’t remember what “neutral” even looked like anymore.
That happened to me last week. I was working through a batch of portraits shot downtown at golden hour, trying to nail a warm-but-not-blown look, and I ended up in that exact spiral. I knew the image wasn’t right. I just couldn’t untangle which sliders were the problem.
That’s the moment Scott Kelby’s reset technique becomes worth its weight in gold.
The Double-Click Reset You’re Probably Not Using
In this Scott Kelby tutorial from his Lightroom Killer Tips series, he walks through one of those features that’s been sitting in Lightroom the whole time, hiding in plain sight. The core move is simple: double-click on any slider’s name (not the slider itself, the text label) and it snaps back to zero instantly. No menus, no keyboard shortcuts to memorize, no dragging back to center and hoping you land on 0.0.
That single behavior is genuinely useful on its own. But Kelby takes it further, and that’s where it gets interesting for anyone managing complex edits.
Resetting a Whole Panel at Once
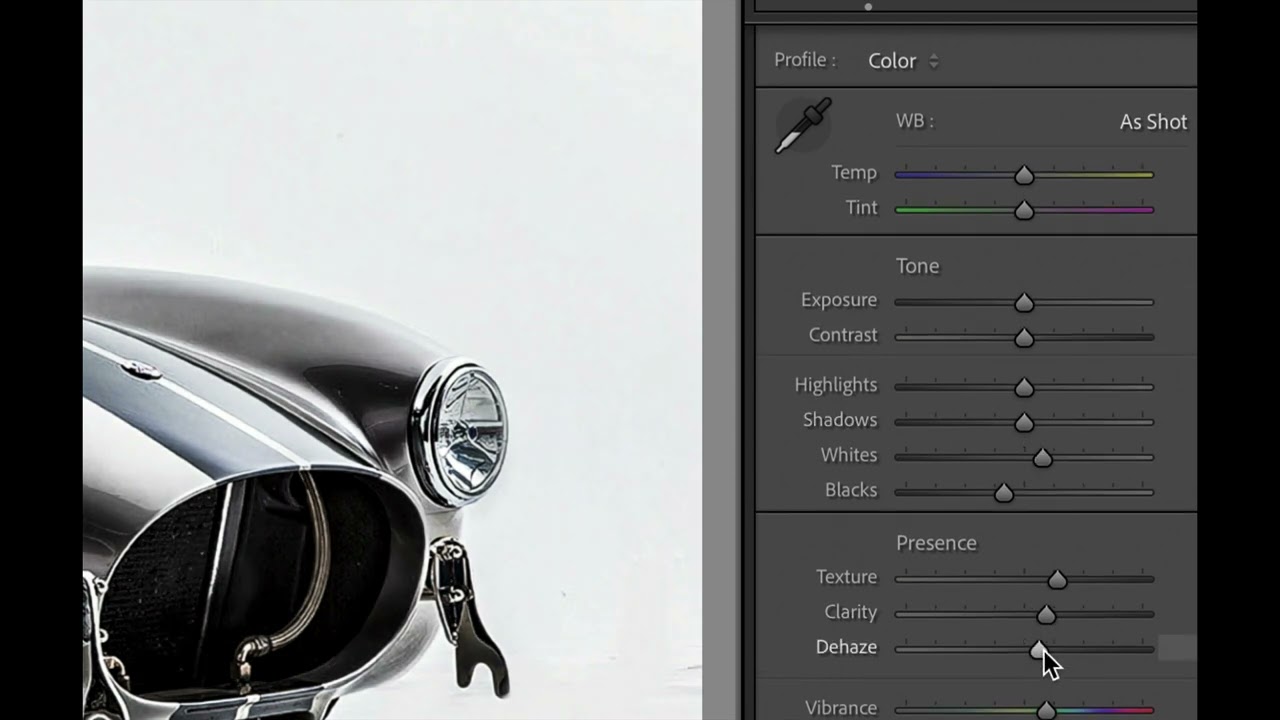
Here’s the part that actually changed how I work. If you want to reset an entire panel section, not just a single slider, you double-click the section’s label at the top. So if you’ve gone deep into the Tone Curve and want to wipe the whole thing back to default, you double-click “Tone Curve” and the entire panel resets. Same goes for HSL, Color, Detail, any panel in the Develop module.
This is different from hitting the Reset button at the bottom of the Develop module, which resets everything across every panel. That’s a nuclear option. The panel-level double-click is a surgical reset, which is exactly what you want when the rest of your edit is solid but one section has become unrecognizable.
For my portrait batch, I was able to wipe just the HSL panel, keep my tone work intact, and start the color work fresh. The whole recovery took about ninety seconds instead of twenty minutes of slider archaeology.
What’s Actually Happening Under the Hood
It’s worth being clear about what “reset to zero” means in Lightroom, because it’s not the same for every slider. Most sliders in the Basic panel, Highlights, Shadows, Whites, Blacks, Clarity, those reset to 0. But sliders like Exposure also return to 0. Vibrance and Saturation go to 0. Sharpening in the Detail panel resets to its defaults, which aren’t always zero. Amount resets to 40, Radius to 1.0, Detail to 25.
So “reset to default” is more accurate than “reset to zero” in the strictest sense. The double-click is snapping back to Lightroom’s baseline starting values for each slider, which are zero for most things but not for everything in the Detail or Lens Correction panels. Keep that in mind so you’re not surprised when Sharpening doesn’t go to zero after a double-click.
Where This Technique Has Limits (And What I Do Instead)
Here’s my honest extension of what Kelby covers: the double-click reset is perfect for cleanup, but it’s not a substitute for working in snapshots when you’re experimenting with a look.
I learned this the hard way. If I’m doing exploratory color grading, building toward something I’m not sure about yet, the reset trick can’t bring back where I was before I started. It only returns to Lightroom’s defaults, not to your previous intentional state. If I’d spent an hour building a look and then started experimenting on top of it, double-clicking to reset would blow up the good work too.
My workflow now: before any experimental grading pass, I hit Command+N (Ctrl+N on Windows) to create a snapshot. I name it after whatever phase of the edit I’m in. A lot of my snapshots are named after songs, because that’s just how my brain works. “Before Color Work.” “Pre-Skin Tone Pass.” That way if I go too far and need to return to a known-good state, I’m not relying on resets or history. I’m clicking one label in the Snapshots panel and I’m back.
The reset technique and snapshots solve different problems. Use the double-click when a panel has gotten messy and you want a clean start on that section. Use snapshots when you’re about to try something risky and want an escape route.
The Fastest Undo You’re Not Using
The real value of the double-click reset isn’t that it’s clever. It’s that it removes friction from a moment that usually kills creative momentum. When you’re mid-edit and something has gone sideways, the last thing you want to do is drag sliders around trying to find neutral. One double-click and you’re back to ground zero on that slider, or that whole panel.
Scott Kelby keeps the tutorial short and focused, which is exactly the right call for a technique this contained. Watch the full video to see him demonstrate it visually against a real image, because seeing where to double-click versus where not to makes the behavior click faster than any written description can.
Watch the full tutorial here: https://www.youtube.com/watch?v=cTnLVgQh6g4
Comments
Leave a Comment