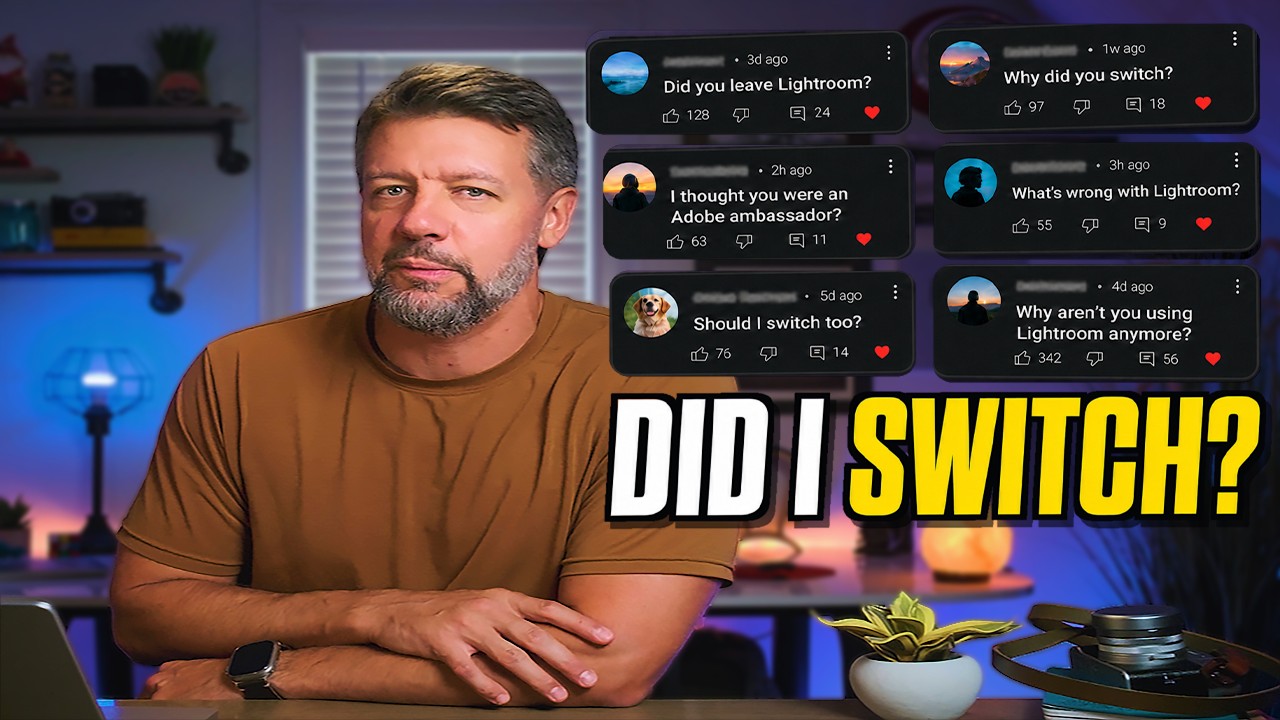
There’s a question I used to ask myself every time I’d see a photographer mention switching between three or four apps in a single edit: isn’t that just making things harder? I spent years trying to do everything inside Lightroom, convinced that bouncing between programs was a symptom of an overcomplicated workflow rather than a sign of a smart one. Then I actually tried it methodically, and the results shut me up pretty quickly.
Watch the full tutorial on YouTube
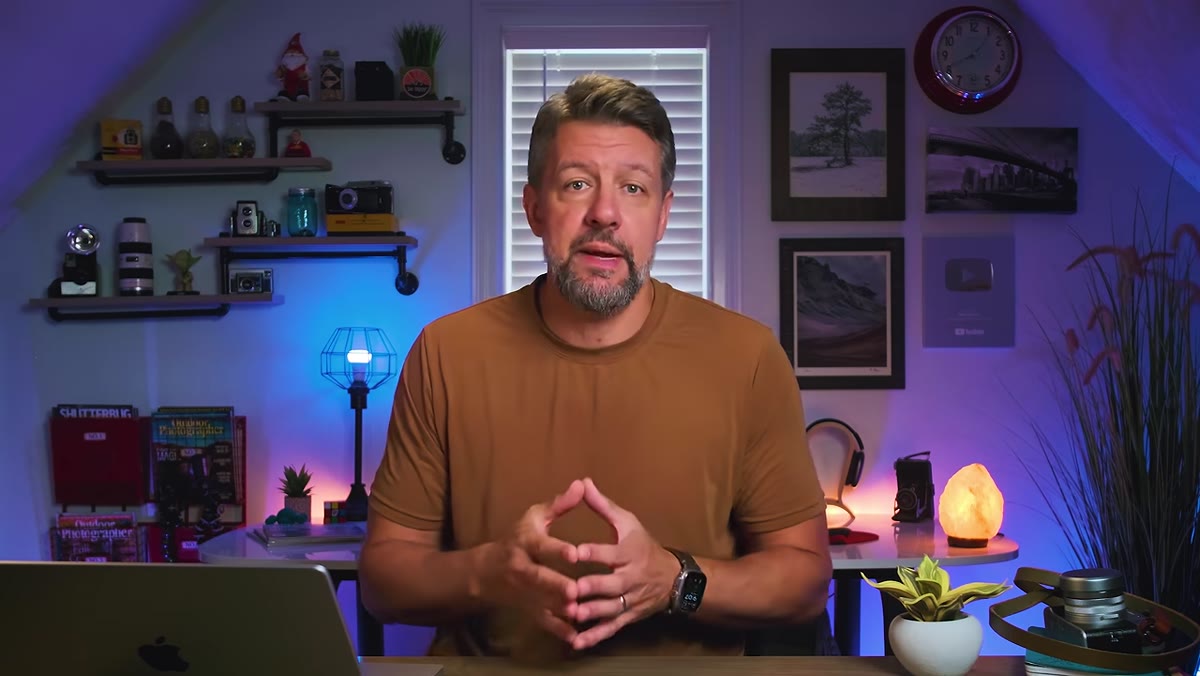
In this Mark Denney tutorial, he walks through the five-app workflow he uses on nearly every image he finishes: Lightroom, DxO Pure RAW 6, Photoshop, Adobe Camera Raw, and Luminar. The key argument he makes is a simple one that I’ve come to believe completely – no single photo editor does everything exceptionally well. Not Lightroom, not Photoshop, not anything. Each tool has a specialty, and once you stop asking one app to cover every job, the whole process gets faster and cleaner. What sold me on his approach is that he never loses track of the image. Lightroom stays the spine of the workflow. Everything else is just a specialist you send the file out to for a specific task, then bring it back home.
Here is how it actually works, step by step.
Step 1: Import and Organize in Lightroom First
 Lightroom catalog open with unedited Lake Tahoe RAW file
Before any slider gets touched, every photo lands in Lightroom. This is where Mark handles importing, culling, and organizing. It is not where he starts editing. That distinction matters more than it sounds. Keeping Lightroom as the organizational hub means you always know where your master file lives, regardless of how many external apps you send it to later. Think of it less as the editing station and more as the control tower.
Step 2: Send the File to DxO Pure RAW 6 for Noise Reduction
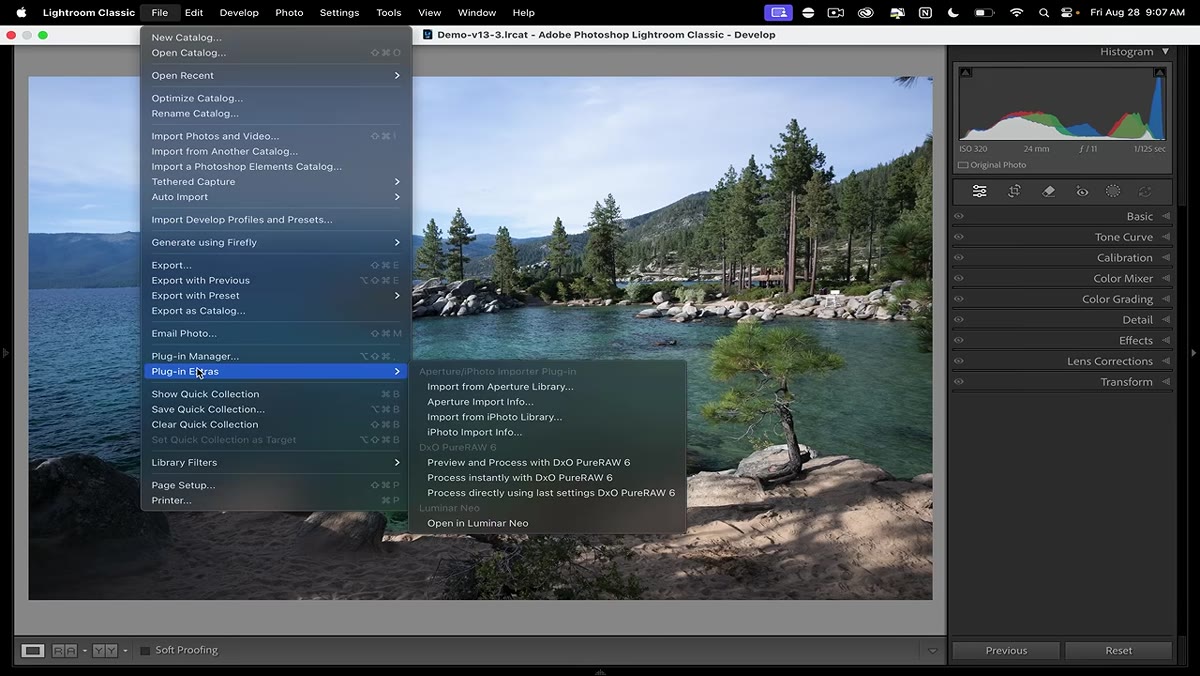 File menu open in Lightroom showing Plugins and DxO Pure RAW 6 option
Before making any exposure or color decisions, Mark cleans the file. He goes to File, then Plugins, then selects Preview and Process in DxO Pure RAW 6. The plugin integration is what makes this painless – the file leaves Lightroom, gets processed, and comes back as a new DNG without you manually moving anything. Inside DxO, he applies lens sharpness optimization and noise removal. Even at ISO 320, which most people would consider a clean file, the difference is visible at a pixel level. The goal here is to start every creative decision with the best possible foundation. Trying to color grade a noisy file is like painting on a rough wall.
Step 3: Return to Lightroom for Basic Tonal Adjustments
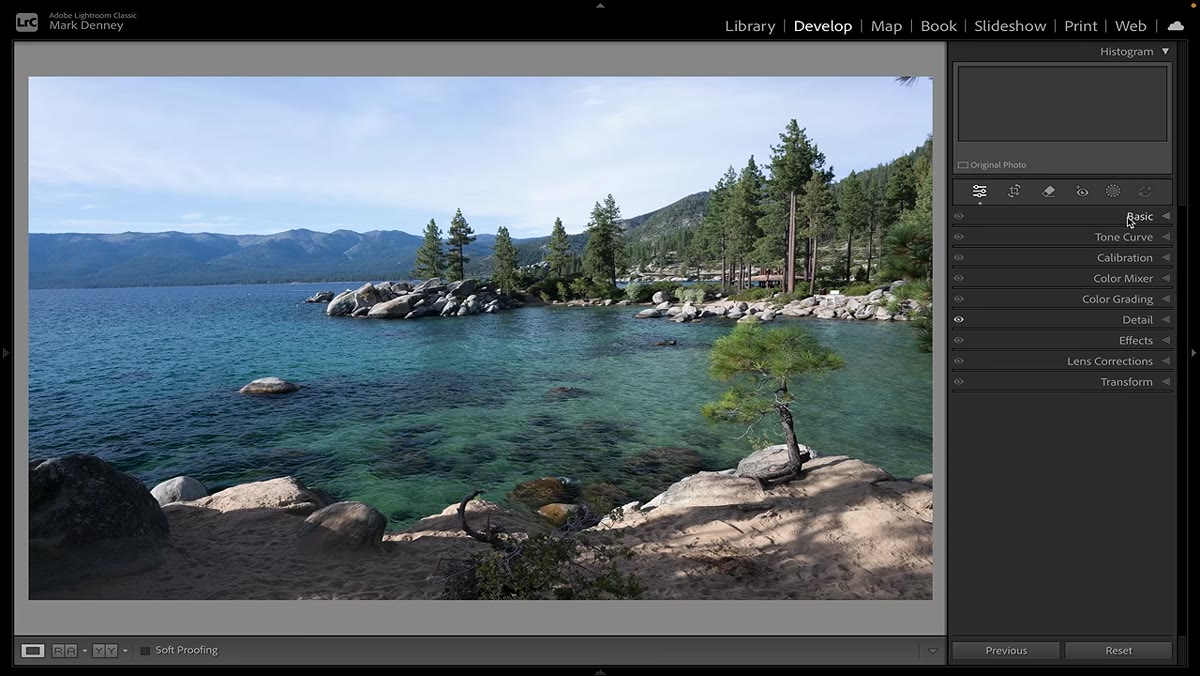 Lightroom Basic panel open with processed DNG file selected
Once the cleaned DNG is back in Lightroom, Mark moves to the Basic panel to handle foundational tonal work. He holds Shift and double-clicks individual sliders to auto-set them, then adjusts from there based on what the image actually needs. This is not a one-size preset drop – it is a quick starting point that he then refines by eye. His Lake Tahoe shot had good light and strong water color already, so the corrections here are modest. The cleaner file from DxO means he is pushing sliders into better starting territory than the original RAW would have allowed.
Step 4: Boost Colors Using the Color Calibration Panel
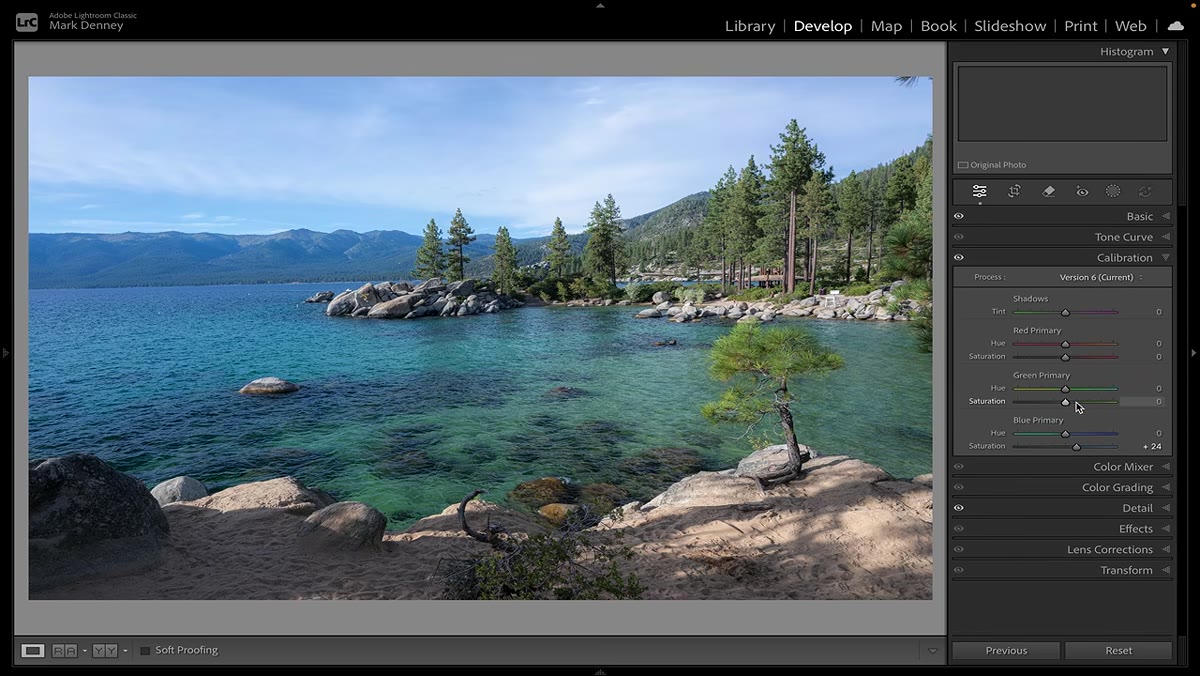 Color Calibration panel open with hue and saturation sliders visible
This is one of my favorite corners of Lightroom that most people completely ignore. Mark heads to the Color Calibration panel, not the HSL panel, to push the colors in a more natural, structured way. He nudges the blue tones carefully, keeping his hand light because the water already carries the color he wants – he is enhancing, not inventing. The Color Calibration panel works at a deeper level than HSL because it adjusts the way Lightroom interprets the RAW data itself. Small moves here read as bigger, more natural-looking shifts in the final image.
Step 5: Add a Vignette to Complete the In-Lightroom Work
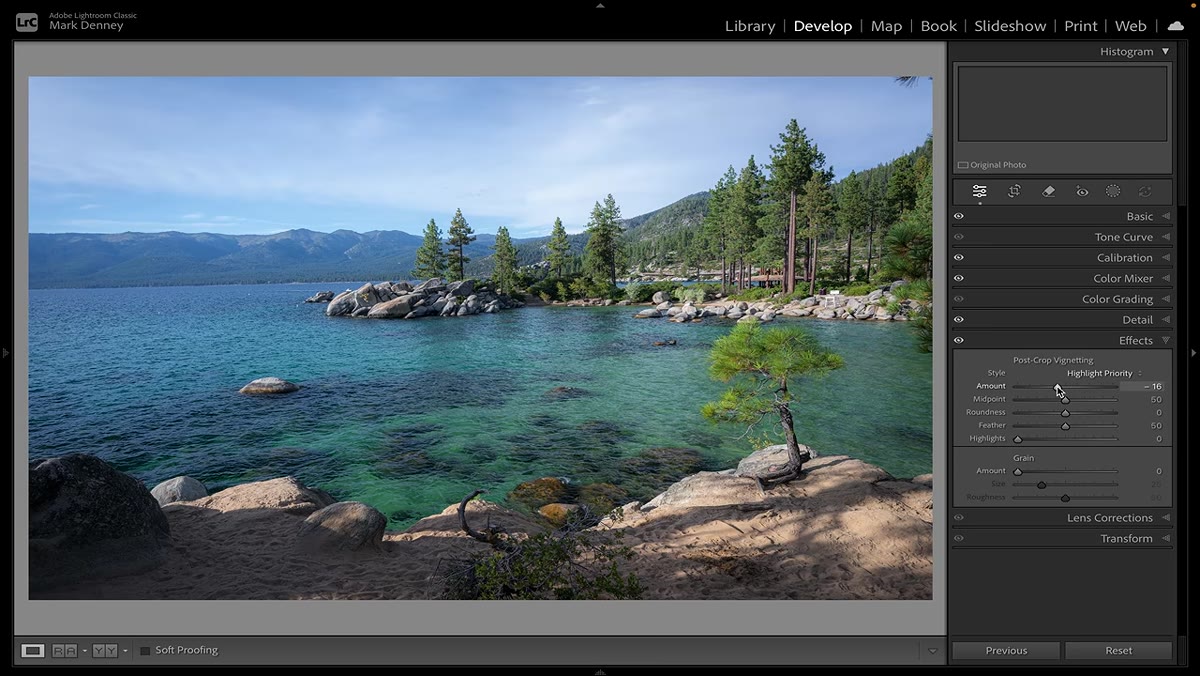 Effects panel in Lightroom with vignette slider being adjusted
Mark drops a vignette in Lightroom’s Effects panel before moving on. This is a deliberate sequencing choice. A vignette is a relatively permanent compositional decision, and doing it inside a non-destructive environment like Lightroom means it is easy to revisit. At this point, the Lightroom portion of the edit is essentially done – clean file, balanced tones, color foundation laid, and edges darkened to draw the eye inward. Everything from here goes to specialist tools.
Step 6: Use External Apps for Targeted Tasks
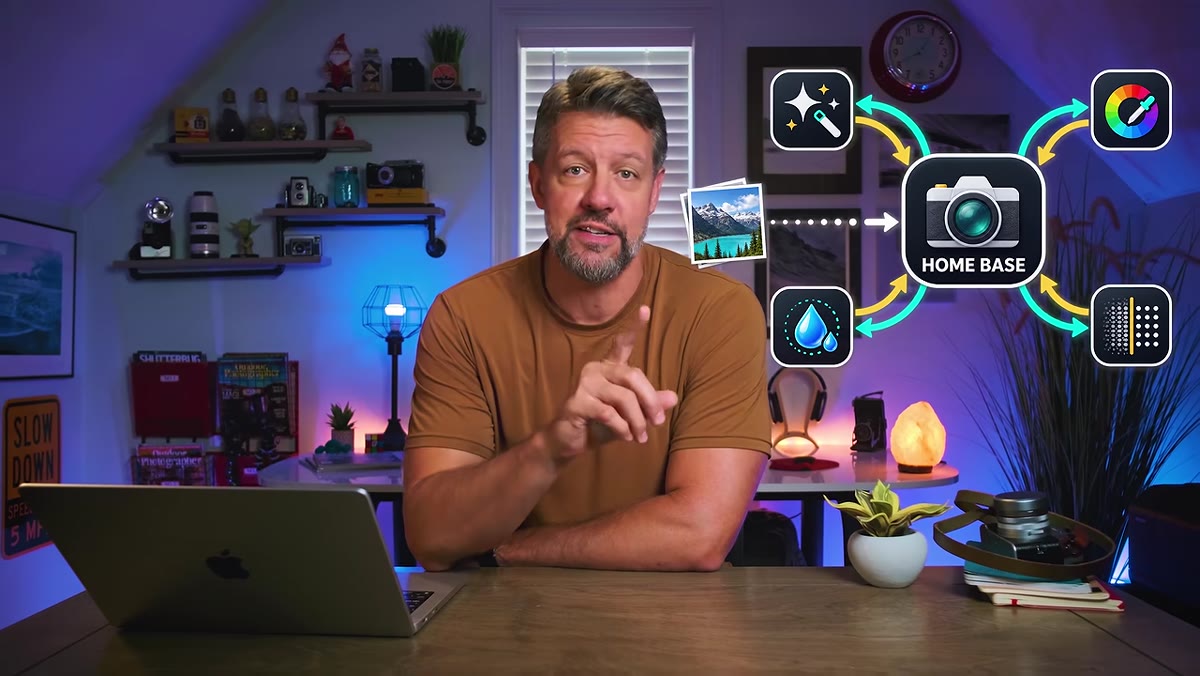 Diagram-style view of single Lightroom hub with arrows to other programs
The structure Mark describes for the remaining apps follows the same logic as the DxO step: identify a specific task, send the file to the tool that does it best, bring it back. Photoshop handles cleanup work – removing distractions, working with layers for compositing if needed. Adobe Camera Raw inside Photoshop gives him another round of RAW-level adjustments with a slightly different rendering engine, which can be useful for pulling detail in tricky highlights or shadows. Luminar handles creative and stylistic color grading, the kind of atmospheric work that is harder to achieve naturally in Lightroom alone. The critical discipline is never sending a file somewhere randomly. Each trip out of Lightroom has a defined purpose and a defined endpoint.
One Thing I’d Add From My Own Experience
The hardest part of this workflow is not learning five apps – it is learning to stop editing inside each one earlier than feels natural. Every program is seductive. DxO tempts you into tweaking sharpening past the point of reason. Luminar has sliders that feel incredible at 80% and embarrassing at 100%. I keep a loose personal rule that I call the “last 10% rule”: if I am pushing a slider into territory that I would have to justify out loud to someone, I am probably overworking that tool’s specialty. Mark’s workflow succeeds because every app only does what it does best, and then passes the baton. Respecting that handoff is what separates a clean multi-app edit from a messy one.
The single biggest takeaway from Mark’s approach is this: Lightroom is not the whole kitchen, it is the counter where everything starts and finishes. When you stop trying to force it to do jobs that other tools handle better, your edits get cleaner and faster without getting more complicated.
Watch the full tutorial on YouTube to see Mark walk through the complete edit from raw file to finished image, including exactly how he moves files between each program without losing his mind.
Comments (5)
Tried this technique this morning. Game changer for real.
Well explained. I think my audience would really benefit from this — mind if I link to it?
Just subscribed. If the rest of your content is this good, I'm in.
I've been looking for exactly this kind of tutorial. Perfect timing.
This is fantastic. I've been recommending this approach to my readers too.
Leave a Comment