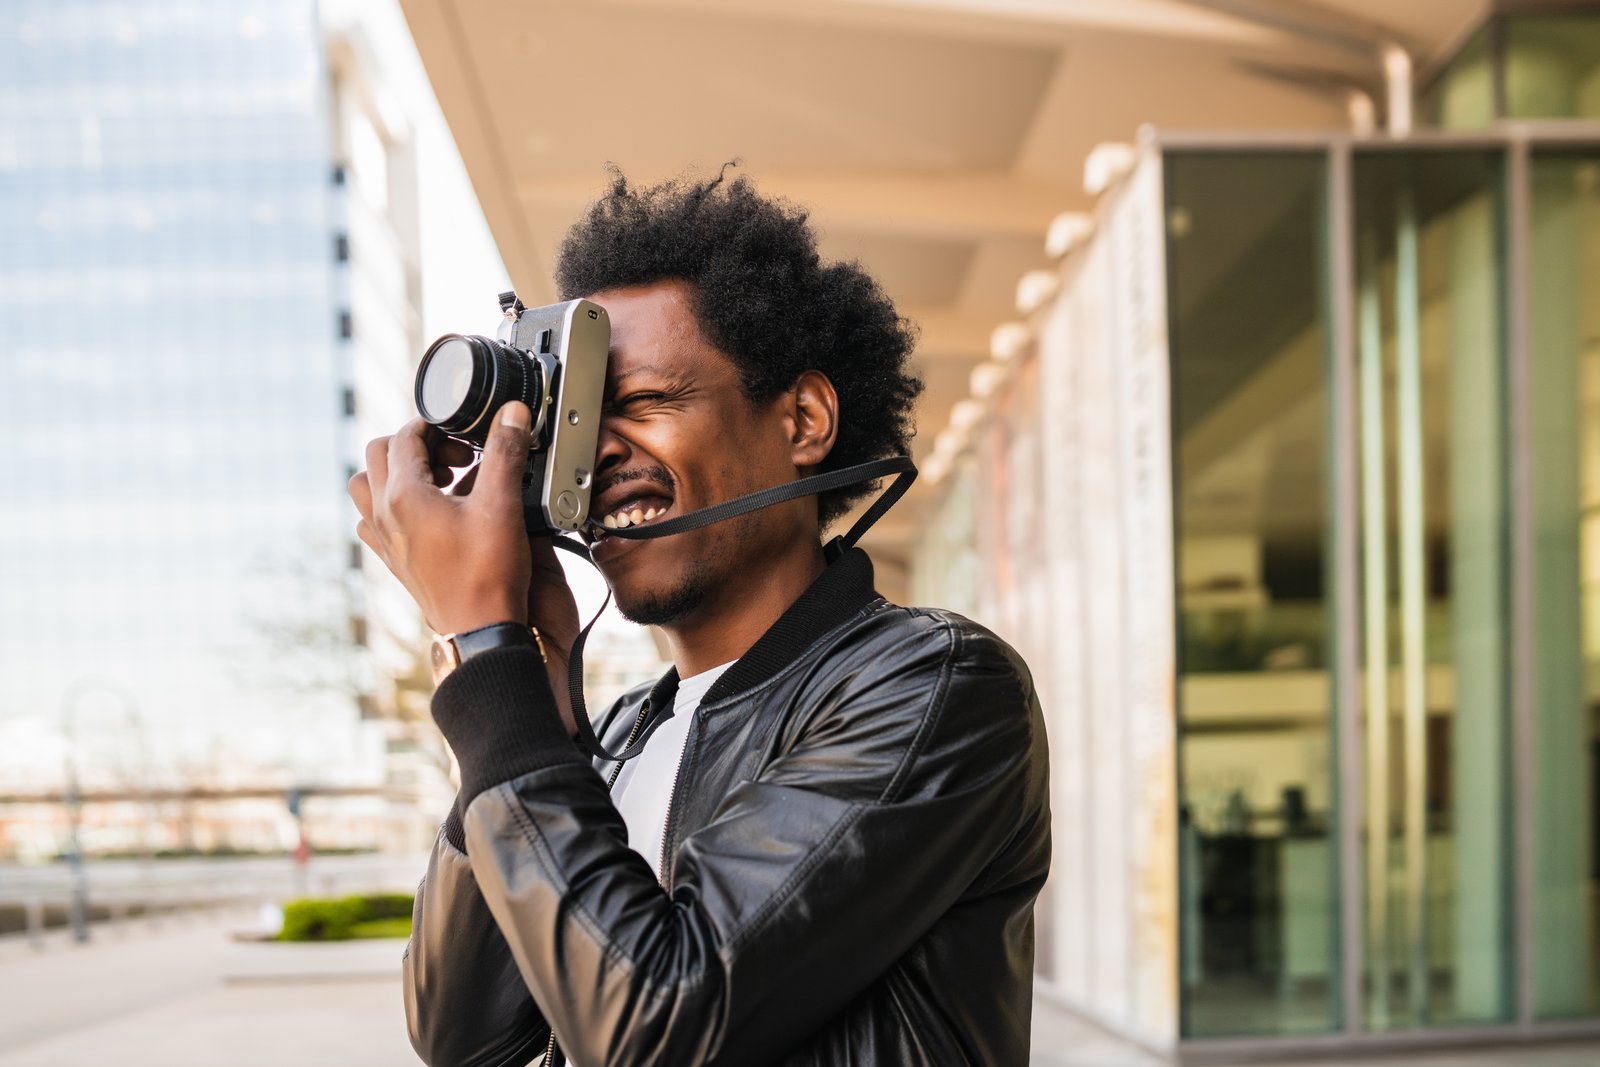
The Problem With Perfectly Sharp Photos
I was editing a batch of golden hour portraits last fall, technically perfect exposures, tack-sharp focus, clean shadows. And they looked completely lifeless. My client kept saying “they’re beautiful but something feels off,” which is the most frustrating sentence a photographer can hear because she wasn’t wrong.
What she was picking up on, without knowing the vocabulary for it, is something I call the digital sterility problem. Modern sensors are almost too good. A Sony A7 IV or a Fujifilm X-T5 renders reality with such precision that it strips out the visual texture that human eyes associate with warmth, memory, and feeling. Film wasn’t accurate. It was beautiful because it was imperfect in consistent, predictable ways. When you shoot a roll of Kodak Portra 400, the grain structure, the color response, the way it rolls off in the highlights, all of that is a physical byproduct of silver halide chemistry. Your camera sensor has none of that. It gives you data. Film gave you character.
Film emulation is how we put that character back.
What Film Emulation Is Actually Doing to Your File
This is where most tutorials wave their hands and say “it adds a vintage feel.” I want to be more specific than that.
When you apply a film emulation profile or preset in Lightroom, you’re typically doing several things simultaneously. The camera profile (found in the Profile section under the Histogram, not the Presets panel) is remapping the raw color data before any sliders are applied. This is important. A profile like VSCO’s Kodak Portra 400 or the built-in Adobe Analog profiles isn’t just adding an orange tint. It’s changing how hues, luminance, and saturation respond across the entire tonal range, baking in the spectral response characteristics of that specific film stock.
On top of that, a good film emulation workflow adds grain. Lightroom’s grain tool lives under Effects and it has three controls: Amount, Size, and Roughness. For a 35mm simulation, I typically run Amount between 20-35, Size around 25, and Roughness at 50. Bump Size past 40 and it starts looking like a texture overlay, not grain. The grain should disappear when you zoom to 100% and reveal itself in print or at full screen. That’s the behavior of real film grain.
The final piece is tone curve behavior, specifically highlight rolloff. Film doesn’t clip highlights hard. It compresses them gradually. In the Tone Curve panel, pulling the top-right anchor point down by 10-15 points and adding a slight S-curve gives you that compression. Pair that with a lifted black point (drag the bottom-left anchor up to around 15-20) and you’ve got the shadow lift that makes film look like film.
VSCO vs. Adobe’s Built-In Analog Profiles vs. RNI
You have three main options here and the price difference between them is significant.
Adobe’s built-in analog profiles are free and come with Lightroom. They’re decent starting points, especially the Agfa and Fuji options, but they’re conservative. They won’t offend anyone and they won’t wow anyone.
VSCO’s Lightroom presets cost $99 per year through their desktop subscription. For that, you get extremely accurate emulations of Kodak, Fuji, Ilford, and Agfa stocks, with separate variants for different exposure levels (so Portra 400 shot at box speed vs. pushed one stop). If you’re shooting client work and consistency matters, VSCO is worth the cost.
RNI (Really Nice Images) sells film pack bundles for a one-time fee of around $59-79, and they’ve built a passionate following among landscape and portrait photographers who want something between VSCO’s precision and Adobe’s simplicity. I’ve used all three and I reach for VSCO most often for portraits and RNI for moody landscape work.
The Preset I Almost Kept for Myself
A few years ago I spent about a weekend building a Lightroom preset pack based entirely on specific albums I was listening to at the time. Each preset was named after a song. The centerpiece was a film emulation I called “Marquee Moon,” after the Television album, built around an Ilford HP5 pushed two stops: heavy grain, crushed midtones, a slight blue-green shadow tint. It was the look I’d always wanted for black-and-white street photography.
I put the pack up for free on a whim and it got 50,000 downloads before I’d even written a tutorial to go with it. The “Marquee Moon” preset got the most downloads of anything in the pack, which told me that people aren’t just chasing pretty. They want something that feels like a specific thing, a time, a sound, a texture they recognize from somewhere.
That’s what good film emulation does. It gives the viewer a sensory anchor.
Applying Film Emulation Without Destroying Your Photo
The most common mistake I see is treating film emulation as a full-stop stylistic override when it should behave more like seasoning. Here’s my actual workflow order: start with your exposure and white balance in the Basic panel, get the image reading correctly first. Then apply your profile. Then adjust your tone curve for rolloff. Then add grain. Doing it in reverse, slapping a preset on first and then trying to correct exposure, means you’re fighting the emulation instead of building on top of it.
If a preset drops your exposure by half a stop (many do, to simulate the density of film), correct it back in the Basic panel rather than removing the curve adjustment. The curve is doing the work. The exposure shift is a side effect you can neutralize.
One final thing: film emulation looks different at different output sizes. What feels subtle at 2000px for Instagram can feel heavy at 30x40 inches. If you’re printing, add 30% less grain than you think you need.
Your digital files aren’t broken. They’re just waiting for you to give them something to feel.
Comments (2)
My workflow just got 10x faster. Not even kidding.
Finally someone explains this in a way that actually makes sense.
Leave a Comment