Lightroom vs Photoshop: Which Should You Use for Editing

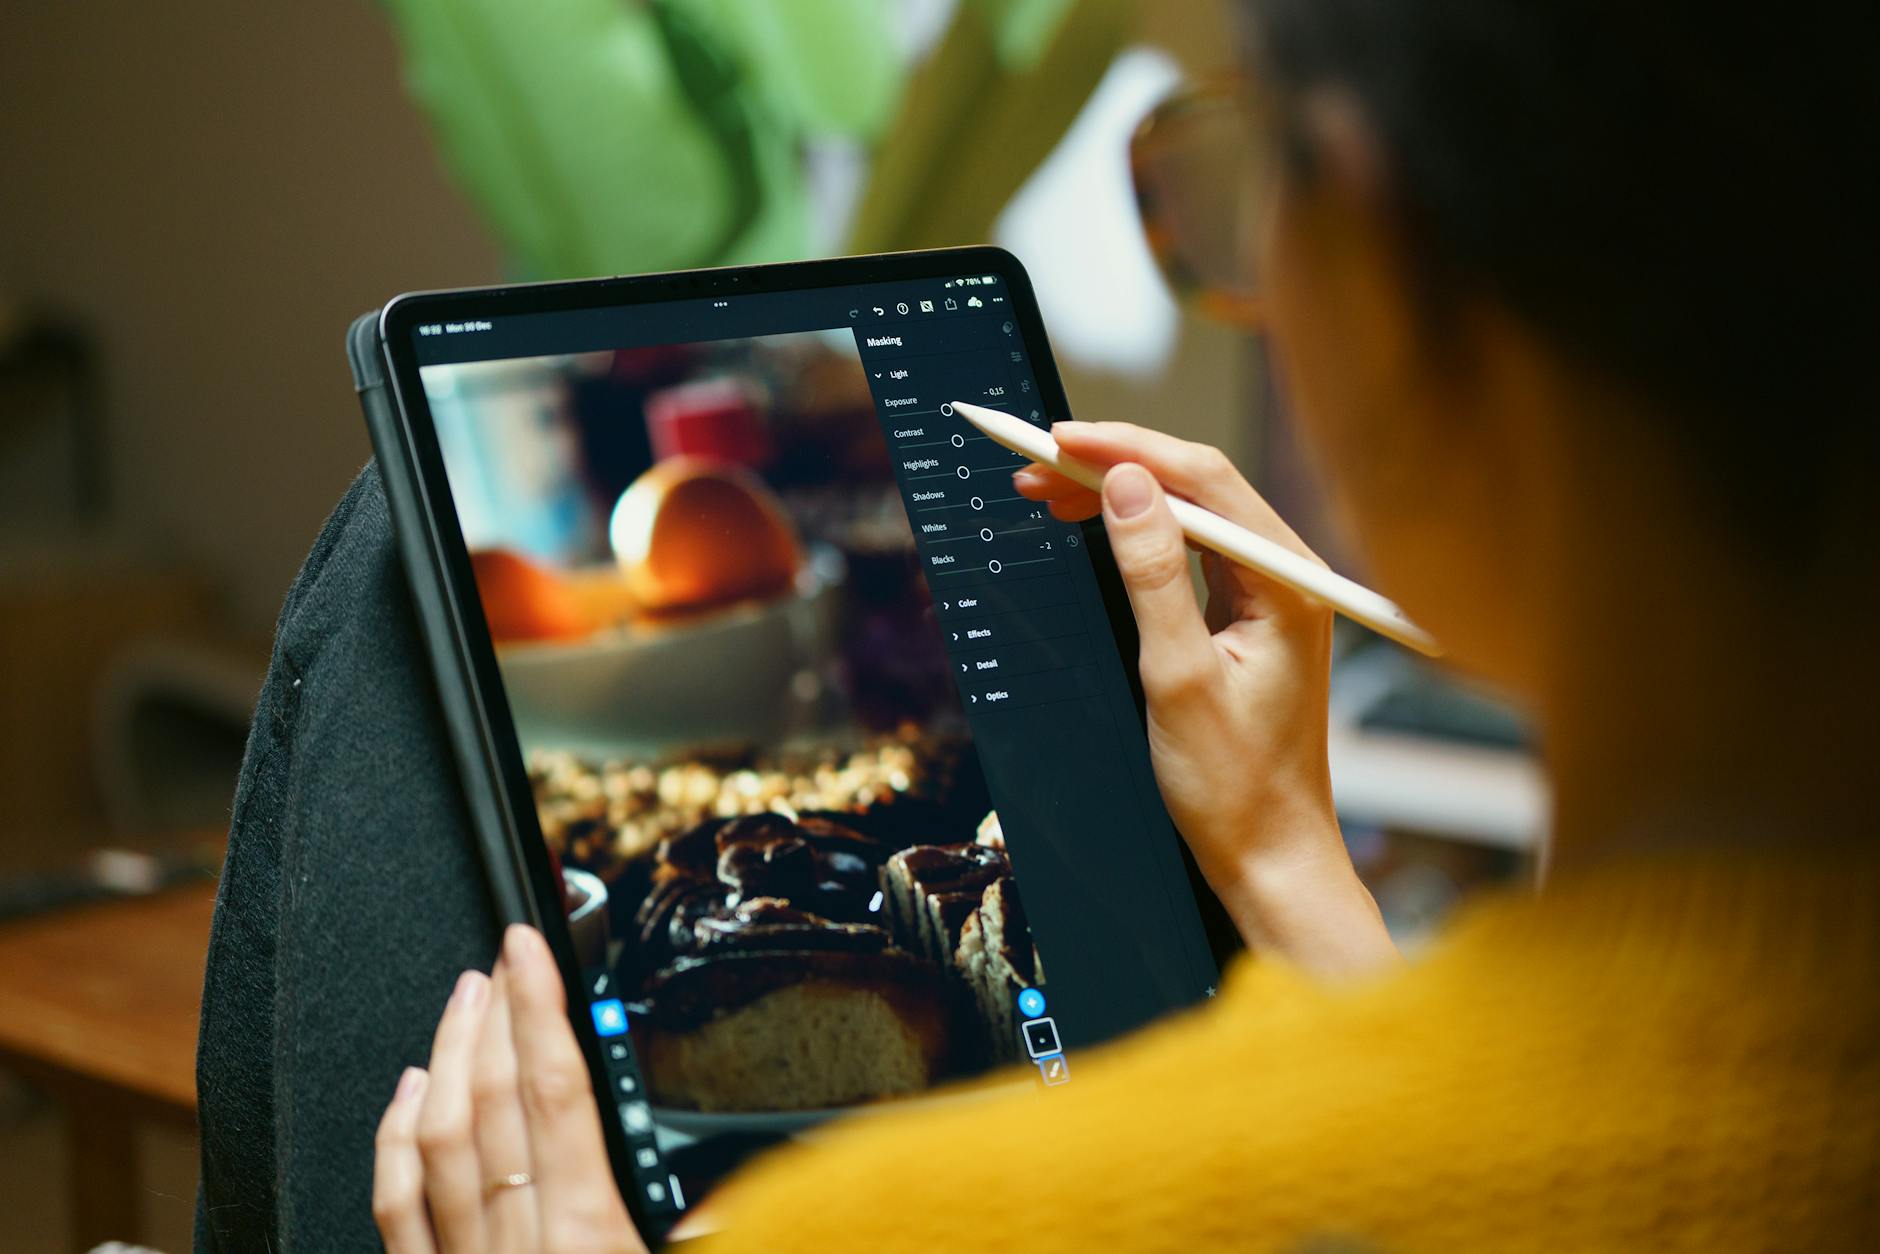
This is the most common question I get: “Should I learn Lightroom or Photoshop?” The answer is almost always Lightroom first, Photoshop when you need it. But let me explain why. What Lightroom Does Best Lightroom is a photo processor and organizer. It’s built specifically for photographers who need to import, sort, edit, and export large batches of images. Every adjustment in Lightroom is non-destructive — your original file is never touched.

Lightroom Masking: The AI-Powered Selection Tools

Lightroom Masking: The AI-Powered Selection Tools

Lightroom’s masking tools have transformed how targeted edits work. What used to require careful brushwork or a trip to Photoshop can now be done with a single click. The AI-powered selections are fast, accurate, and genuinely useful once you understand their strengths and limitations. The AI Selection Tools Select Subject Click “Select Subject” and Lightroom’s AI identifies and masks the primary subject — usually a person, animal, or prominent object. The accuracy is impressive, especially with well-defined subjects against distinct backgrounds.

Lightroom Mobile: Professional Editing on Your Phone

I edited an entire client gallery on Lightroom Mobile during a six-hour flight. The client couldn’t tell the difference from my desktop edits. That’s not a gimmick — Lightroom Mobile is genuinely capable of professional work. Here’s how to get the most from it. What You Get for Free (and What’s Paid) Free tier includes basic editing tools: exposure, contrast, white balance, tone curve, color mixer, effects, detail, and optics. That covers a lot.

How to Fix Overexposed Photos in Lightroom

How to Fix Overexposed Photos in Lightroom

You review your photos after a shoot and several are overexposed — the sky is white, skin looks washed out, and details have disappeared into blown highlights. Before you delete them, try these recovery techniques. Modern raw files contain far more highlight information than what’s visible at default settings. Step 1: Assess the Damage First, turn on the highlight clipping indicator by pressing J in the Develop module (or clicking the triangle in the top-right corner of the histogram).

Film Emulation in Lightroom: How to Master Analog Aesthetics in the Digital Age

Film Emulation in Lightroom: How to Master Analog Aesthetics in the Digital Age

Film Emulation in Lightroom: How to Master Analog Aesthetics in the Digital Age I’ll be honest—I spent three years shooting digital before I realized what I was missing. It wasn’t the gear. It was the soul. There’s something about film that makes images feel like memories rather than just pictures. The problem? Film costs money, requires a scanner, and honestly, not every shot deserves to be shot on Portra 400.

Editing Black and White Photos in Lightroom

Editing Black and White Photos in Lightroom

Black and white photography strips an image down to its essentials: light, shadow, shape, and texture. Without color to lean on, every tonal decision matters more. Lightroom gives you excellent tools for black and white conversion, but the defaults are just a starting point. The Conversion Click “B&W” in the Basic panel or press V. Lightroom converts the image to monochrome using its default mix of color channels. This default is decent but rarely optimal.

Creating Film Emulation Looks in Lightroom

Creating Film Emulation Looks in Lightroom

There’s a reason film photography has seen a massive revival: film looks beautiful. The colors, grain, and tonal characteristics of classic film stocks have a quality that digital images straight out of camera don’t naturally have. But you don’t need to shoot film to get the look. Lightroom can convincingly emulate the characteristics of popular film stocks if you understand what makes each one distinctive. What Makes Film Look Like Film Several characteristics separate film rendering from digital: