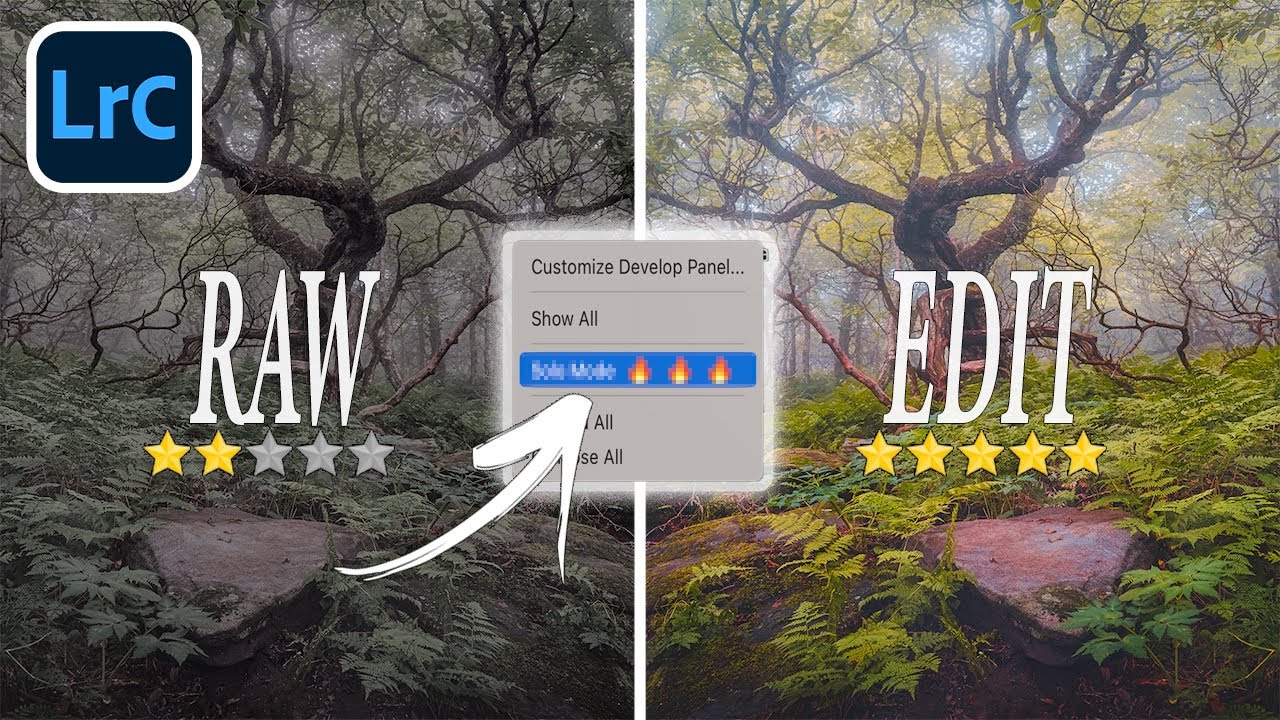
My editing sessions used to look like this: open the tone curve, check something in HSL, scroll down to color grading, scroll back up to basics, lose my place, get frustrated, close everything manually, repeat. It was the kind of low-grade chaos that doesn’t feel like a problem until you suddenly realize you’ve spent 20 minutes navigating panels instead of actually editing. I kept patching it with workarounds that never quite worked.
Then I sat down with Watch the full tutorial on YouTube — a Mark Denney video breaking down the essential Lightroom tricks he uses every single day. Mark is the kind of educator who makes you feel like you missed something obvious, but in a good way. The kind where you’re nodding along thinking “why didn’t anyone just say that.” He covers 13 tricks in this one video, and several of them immediately rewired how I move through an edit. Below I’ve broken down the ones that hit hardest.
Step 1: Turn On Solo Mode to Stop Panel Chaos
 Right-click menu open showing Solo Mode option in panel
Solo mode is one of those features that sounds minor until you actually use it. To enable it, right-click anywhere in the right-hand panel area inside the Develop module. A small menu appears, and near the bottom you’ll see “Solo Mode.” Click it. That’s the whole setup.
Right-click menu open showing Solo Mode option in panel
Solo mode is one of those features that sounds minor until you actually use it. To enable it, right-click anywhere in the right-hand panel area inside the Develop module. A small menu appears, and near the bottom you’ll see “Solo Mode.” Click it. That’s the whole setup.
What it does is force only one panel to stay open at a time. The moment you click on Tone Curve, the Basics panel collapses. Open HSL, and Tone Curve folds away. It sounds almost too simple, but it fundamentally changes how organized the workspace feels during a long editing session. If you’re someone who ends up with six panels open and has to scroll from Basics all the way down to Detail just to find your noise sliders, this is for you.
Step 2: Use the Y Key to See Before and After Side by Side
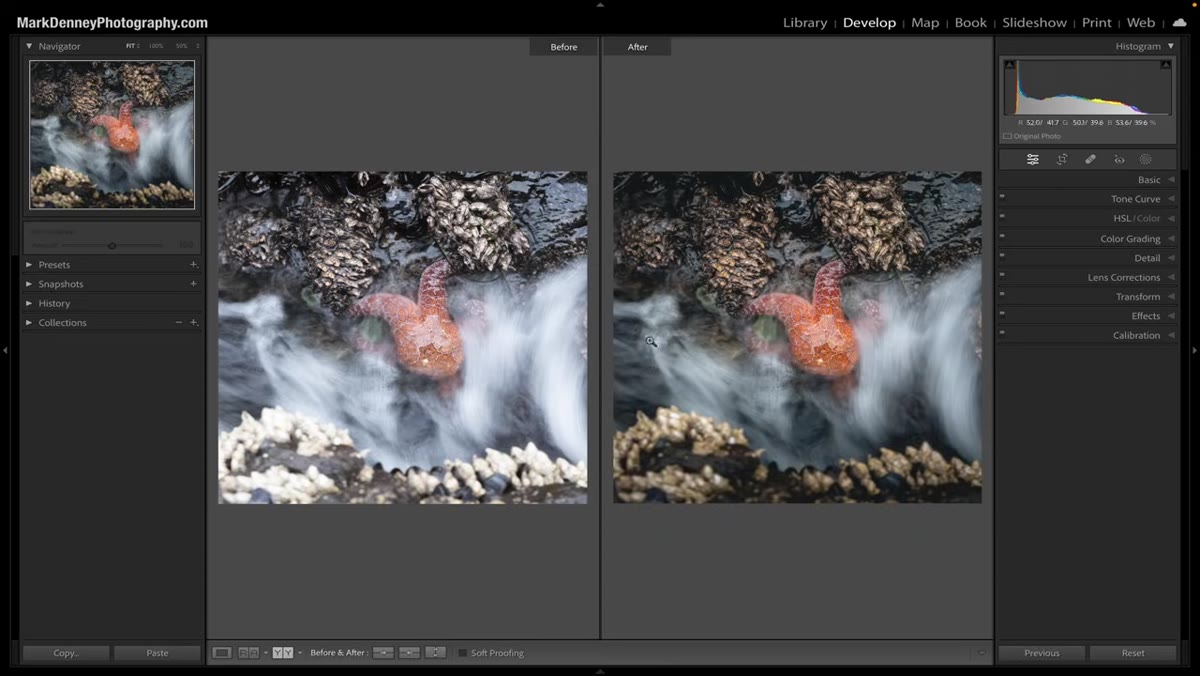 Split screen showing unedited raw image beside finished edit
Most editors know you can tap the backslash key to toggle between before and after. But Mark points to a different approach: press the Y key. Instead of flipping back and forth, this gives you both versions on screen at the same time, split side by side.
Split screen showing unedited raw image beside finished edit
Most editors know you can tap the backslash key to toggle between before and after. But Mark points to a different approach: press the Y key. Instead of flipping back and forth, this gives you both versions on screen at the same time, split side by side.
The left side shows your untouched raw file. The right side shows your current edit. This matters more than it sounds. When you’re deep into a grade, your eyes adapt to what’s in front of you. You stop seeing how far you’ve actually pushed things. The side-by-side view forces your brain to compare them as two separate images, which recalibrates your sense of what’s changed. Press Y again to exit back to normal view. I use this constantly before calling a final edit done.
Step 3: Target a Specific Color in the HSL Panel
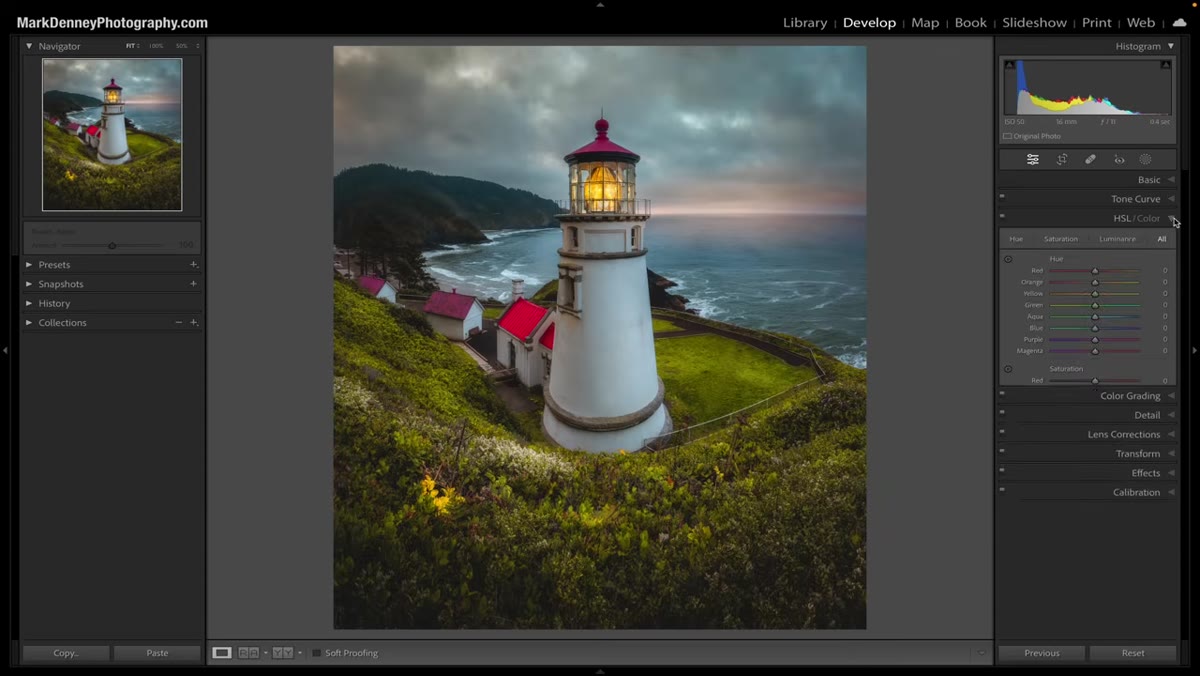 HSL panel open with targeted adjustment tool icon highlighted
This is the one that made me feel genuinely dumb for not knowing sooner. Inside the HSL panel, each row (Hue, Saturation, Luminance) has a small circular target icon on the left side. Click it, and your cursor becomes a color picker you can drag directly on the image.
HSL panel open with targeted adjustment tool icon highlighted
This is the one that made me feel genuinely dumb for not knowing sooner. Inside the HSL panel, each row (Hue, Saturation, Luminance) has a small circular target icon on the left side. Click it, and your cursor becomes a color picker you can drag directly on the image.
Click and drag upward on any area of your photo and Lightroom will automatically adjust the sliders that correspond to that specific color. Drag down to go the other direction. The magic here is that Lightroom isn’t just picking one slider. It often moves two or three sliders at once because real-world colors don’t map perfectly to a single hue range. This is far more precise than guessing which slider controls the color of a sunset or a forest canopy. You click the thing you want to change, and you change it.
Step 4: Shift-Double-Click to Reset Any Slider to Default
 Single slider being reset to zero with keyboard shortcut
This one is in the title of Mark’s video and it earns its place there. If you’ve pushed a slider somewhere and want to reset it to its default value, you don’t have to right-click and hunt through menus. Just hold Shift and double-click the slider label. It snaps back to default instantly.
Single slider being reset to zero with keyboard shortcut
This one is in the title of Mark’s video and it earns its place there. If you’ve pushed a slider somewhere and want to reset it to its default value, you don’t have to right-click and hunt through menus. Just hold Shift and double-click the slider label. It snaps back to default instantly.
The standalone double-click does the same thing, but Shift-double-click is more reliable across different sliders, particularly in the Tone Curve and Color Grading panels where behavior can vary. This is a small motion that saves a surprising amount of time when you’re iterating fast through different looks and need to undo specific adjustments without touching others.
Step 5: Use the Auto Masking Feature Inside Local Adjustments
 Masking panel with subject mask overlay visible on image
When working with radial or linear gradients, or the brush tool, Lightroom’s masking tools can get smarter if you know where to push them. Mark walks through using the “Intersect” and “Subtract” options to layer masks together, which lets you apply adjustments to things like “the sky, but not where the sun is” or “the subject, but only the shadowed side.”
Masking panel with subject mask overlay visible on image
When working with radial or linear gradients, or the brush tool, Lightroom’s masking tools can get smarter if you know where to push them. Mark walks through using the “Intersect” and “Subtract” options to layer masks together, which lets you apply adjustments to things like “the sky, but not where the sun is” or “the subject, but only the shadowed side.”
This sounds complicated but the workflow is straightforward. Create your initial mask (subject, sky, or brush). Then click “Subtract” or “Intersect” inside the masking panel and add a second condition. Lightroom does the math. The result is targeted adjustments that would have taken multiple layers in Photoshop, done inside a non-destructive workflow in Lightroom without any pixel-level work.
What I’d Add From My Own Workflow
Mark’s tricks are about speed and precision, and they deliver on both. But there’s one habit I’d stack on top of everything here: use snapshots before you experiment.
Before trying any big look change, like a heavy color grade or aggressive masking workflow, go to the Snapshots panel on the left side and create a snapshot. Name it something useful. Now you have a hard restore point. Solo mode, the Y key view, the reset shortcuts – these all become more powerful when you’re not afraid to push further because you know you can get back. Snapshots are Lightroom’s version of saving before a boss fight. I don’t start a serious edit without one.
These tricks compound. Solo mode keeps your panels clean. The Y key keeps your eye honest. The HSL picker gets you to the right color without guessing. Shift-double-click gets you out of a bad call in half a second. None of them are flashy, but they’re the difference between a workflow that grinds and one that flows.
Watch the full tutorial on YouTube to catch all 13 tricks in Mark’s video. He covers several more beyond what I’ve highlighted here, and his demonstrations are clear enough that you can have Lightroom open alongside the video and follow in real time.
Comments
Leave a Comment