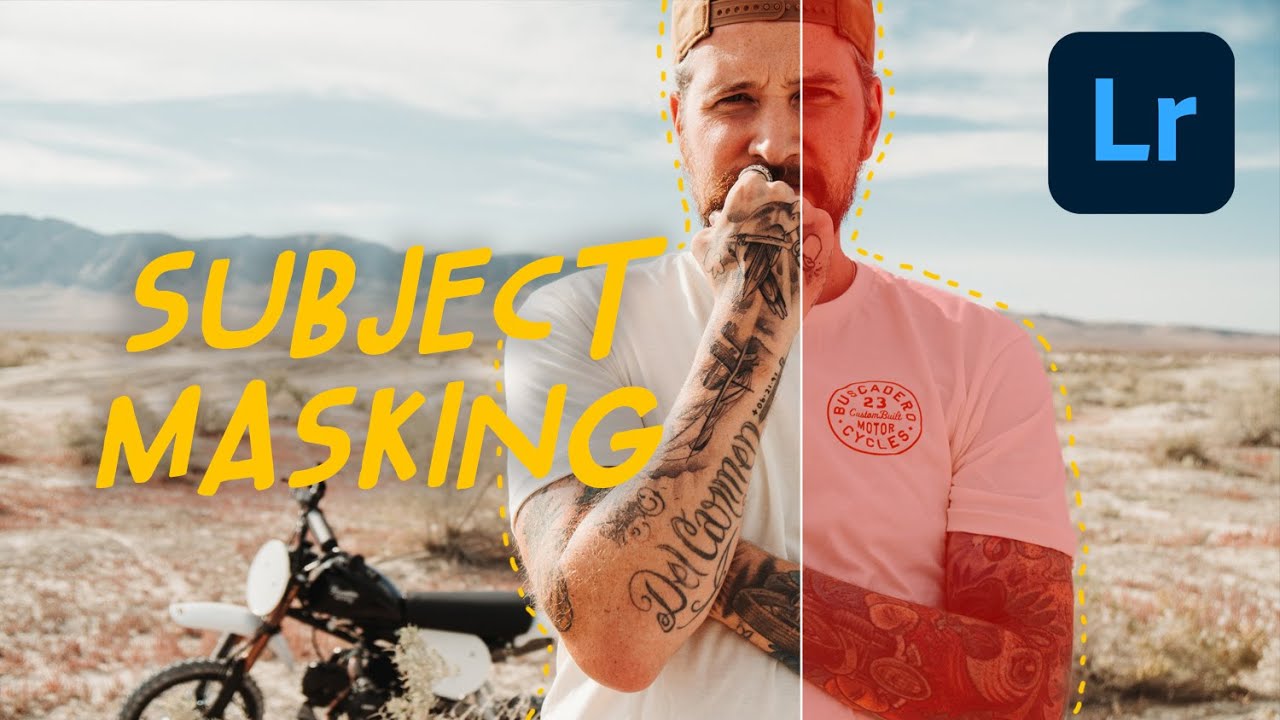
Every few months Adobe drops an update that genuinely changes how I work, and every few months I have to decide whether I’m excited or quietly unsettled. Sometimes it’s both at once. When I saw the new masking features land in Lightroom recently, I opened the app, sat down with a coffee, and pulled up Watch the full tutorial on YouTube from Peter McKinnon, who had already done the work of poking around in the new tools and thinking out loud about them. McKinnon is one of those creators who doesn’t just show you buttons - he actually tells you what he thinks, which is rarer than it should be.
The short version of what changed: Lightroom can now isolate a subject or a sky automatically, without any painting, pen tool work, or manual selection. If you have spent any real time in Lightroom, you know that localized adjustments used to mean grabbing the brush and carefully painting over your subject, cursing at hairy edges and weird spill onto the background. That workflow is not gone, but it’s no longer the only option. These new AI-driven tools are fast in a way that feels slightly illegal.
My honest reaction is the same one McKinnon lands on in the video: this is genuinely powerful, and also a little bittersweet. The craft of masking taught me patience and made me look more carefully at a frame. Watching the software do it in two seconds is impressive and slightly humbling. But here’s where I’ve landed after a week of using it on client edits: the time it saves on the technical work goes right back into the creative decisions, which is where my brain should be anyway. Here’s how it all works.
Step 1: Find the New Masking Panel
 Lightroom mask panel opening with new tool options visible
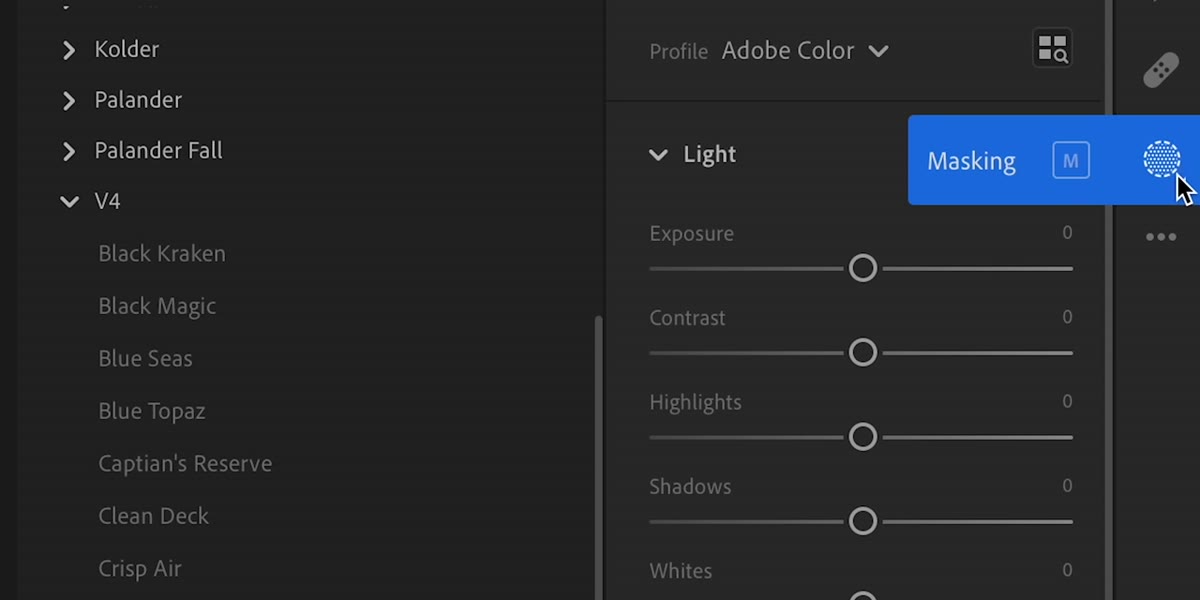
The masking interface has a new home. Look for the small circle icon in the editing panel - it looks like a dotted circle, easy to overlook if you’re not hunting for it. Click it and a panel opens with all your familiar tools: linear gradient, radial gradient, color range, luminance range. But the new additions are right at the top: Select Subject and Select Sky. Everything you need is in one place now, which is a genuine improvement over the old workflow of hunting through menus.
Lightroom mask panel opening with new tool options visible
The masking interface has a new home. Look for the small circle icon in the editing panel - it looks like a dotted circle, easy to overlook if you’re not hunting for it. Click it and a panel opens with all your familiar tools: linear gradient, radial gradient, color range, luminance range. But the new additions are right at the top: Select Subject and Select Sky. Everything you need is in one place now, which is a genuine improvement over the old workflow of hunting through menus.
Step 2: Apply a Preset First (Then Mask)
 Preset panel open with V4 presets listed on the right side
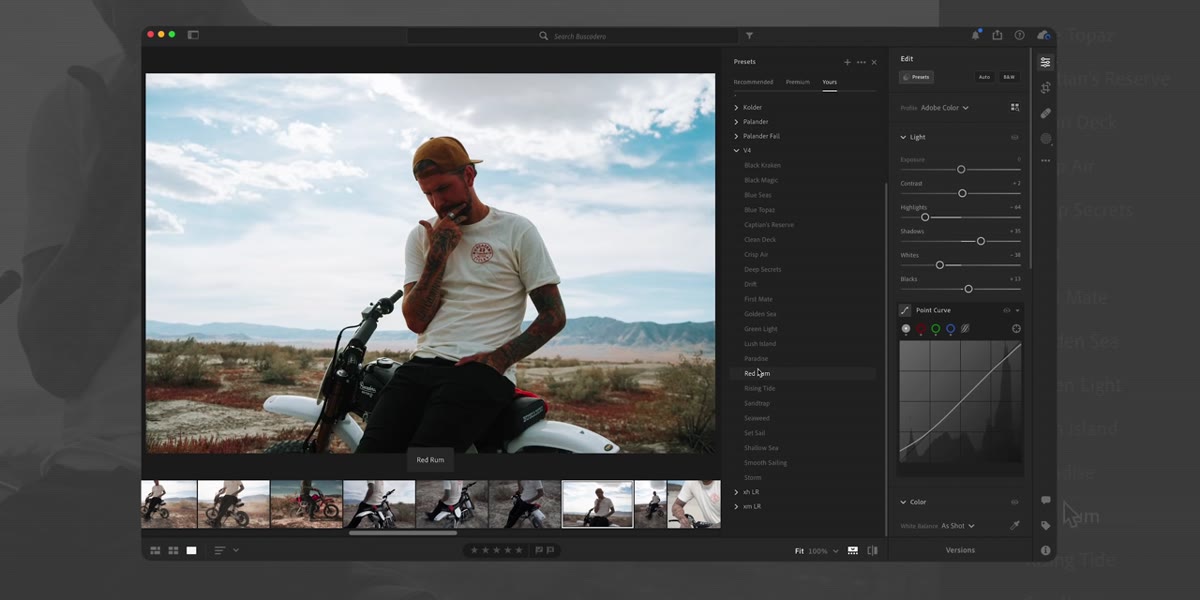
McKinnon’s workflow here is smart and worth copying. Before he touches the masking tools, he throws a preset on the image to give it a base grade. His reasoning: it’s easier to evaluate whether your subject needs brightening or darkening once the overall tone is already set. If you’re working from my preset packs or anyone else’s, drop one on the image first. You want the overall mood locked in before you start isolating elements, otherwise you’re making decisions in a vacuum.
Preset panel open with V4 presets listed on the right side
McKinnon’s workflow here is smart and worth copying. Before he touches the masking tools, he throws a preset on the image to give it a base grade. His reasoning: it’s easier to evaluate whether your subject needs brightening or darkening once the overall tone is already set. If you’re working from my preset packs or anyone else’s, drop one on the image first. You want the overall mood locked in before you start isolating elements, otherwise you’re making decisions in a vacuum.
This matters more than it sounds. I’ve made the mistake of masking first, then adding a preset, and watching my careful local adjustment get visually buried by the global grade shift. Order of operations in Lightroom isn’t always obvious, but this sequence - global grade first, local adjustments second - holds up almost every time.
Step 3: Use Select Subject to Isolate Your Main Element
 Red overlay showing AI subject selection covering a person and motorcycle
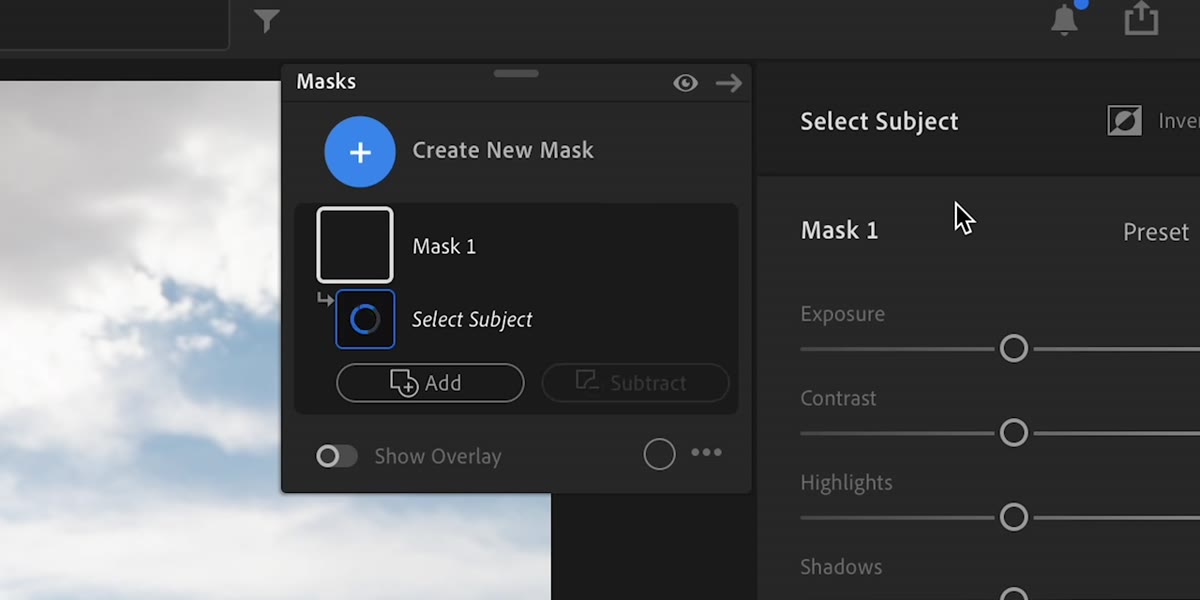
Click the mask circle icon, choose Select Subject, and wait about two seconds. That’s it. Lightroom’s AI reads the frame and generates a mask over whatever it identifies as the primary subject. McKinnon tests this on a portrait shot of himself and the selection comes back accurate enough to be immediately useful, catching his outline and most of his clothing cleanly.
Red overlay showing AI subject selection covering a person and motorcycle
Click the mask circle icon, choose Select Subject, and wait about two seconds. That’s it. Lightroom’s AI reads the frame and generates a mask over whatever it identifies as the primary subject. McKinnon tests this on a portrait shot of himself and the selection comes back accurate enough to be immediately useful, catching his outline and most of his clothing cleanly.
The thing to watch: the AI will sometimes grab elements in the foreground that aren’t your intended subject. In McKinnon’s test it also picked up part of a motorcycle parked nearby. That’s not a failure, it’s just the AI making a reasonable visual call. You can subtract from the mask manually using the brush tool after the initial selection, which keeps the workflow fast while still giving you final control.
Step 4: Adjust Exposure and Shadow on the Subject Alone
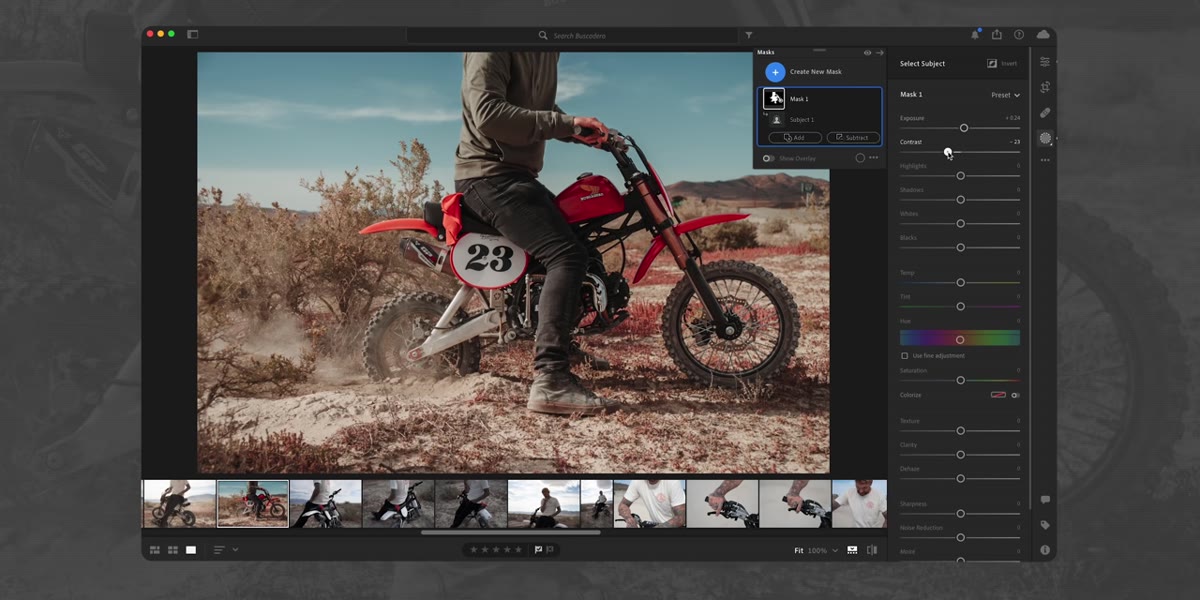 Shadows slider being moved with subject mask active, background unaffected
Once the subject mask is active, any slider you move applies only to that selection. McKinnon demonstrates pulling shadows down to deepen the subject against the background, then pushing them back up to show the range. The background stays completely untouched either way.
Shadows slider being moved with subject mask active, background unaffected
Once the subject mask is active, any slider you move applies only to that selection. McKinnon demonstrates pulling shadows down to deepen the subject against the background, then pushing them back up to show the range. The background stays completely untouched either way.
In practice, the adjustments I reach for most often on a subject mask are exposure, shadows, and clarity. A subtle clarity bump on a face adds definition without touching the background’s smoothness. A small exposure lift on a subject who’s backlit can recover a shot that would otherwise need a full reshoot. These are fine-tuned corrections, not heavy-handed filters, and the mask makes them surgical.
Step 5: Add a Second Mask for the Sky
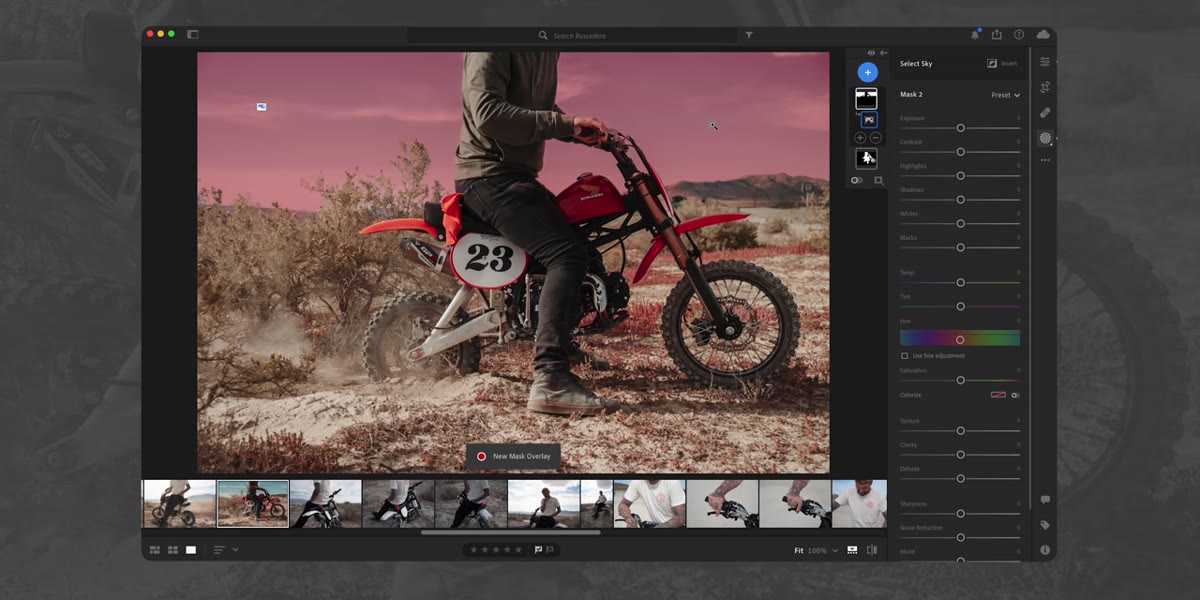 Sky mask being detected with blue overlay covering the sky area
Hit the plus button to add a new mask on top of your subject mask. Choose Select Sky. Same deal - Lightroom reads the image and selects the sky region automatically, leaving your subject and foreground untouched. Now you have two independent masks in the same image and you can grade them separately.
Sky mask being detected with blue overlay covering the sky area
Hit the plus button to add a new mask on top of your subject mask. Choose Select Sky. Same deal - Lightroom reads the image and selects the sky region automatically, leaving your subject and foreground untouched. Now you have two independent masks in the same image and you can grade them separately.
McKinnon brings the sky’s brightness down to balance an overexposed sky against a properly exposed foreground, which is one of the most common real-world editing problems. What used to require a graduated filter that you’d carefully angle and position now takes about four clicks total.
What I’d Add: Don’t Let the Automation Make the Creative Calls for You
The premium preset previews are also new in this update, and McKinnon spends some time scrolling through them. They’re genuinely useful for beginners trying to find their visual direction. But I’d flag something for anyone beyond the beginner stage: when software shows you a finished look before you’ve made any decisions yourself, it starts to shape what you think looks good.
I’ve seen this happen with photographers who lean too hard on preset previews early. Their eye calibrates to those looks rather than developing an independent sense of what the image needs. My suggestion is to use the AI masking freely, it’s a tool with no aesthetic opinion. But before you preview presets, spend five minutes just looking at the raw file and decide what you want. Then let the presets help you get there.
The single most important takeaway from McKinnon’s breakdown: Lightroom’s AI tools are not replacing your eye, they’re replacing the tedious mechanical work that came between your eye and the result. That’s actually a good trade. The craft is still in knowing what to do with a subject once it’s selected, what tones to pull, what mood to build. The machine can’t decide that. You still have to.
Watch the full tutorial on YouTube to see McKinnon walk through these tools in real time on his own photos - it’s worth watching even if you’ve already explored the features yourself.
Comments (2)
Just subscribed. If the rest of your content is this good, I'm in.
Well explained. I think my audience would really benefit from this — mind if I link to it?
Leave a Comment