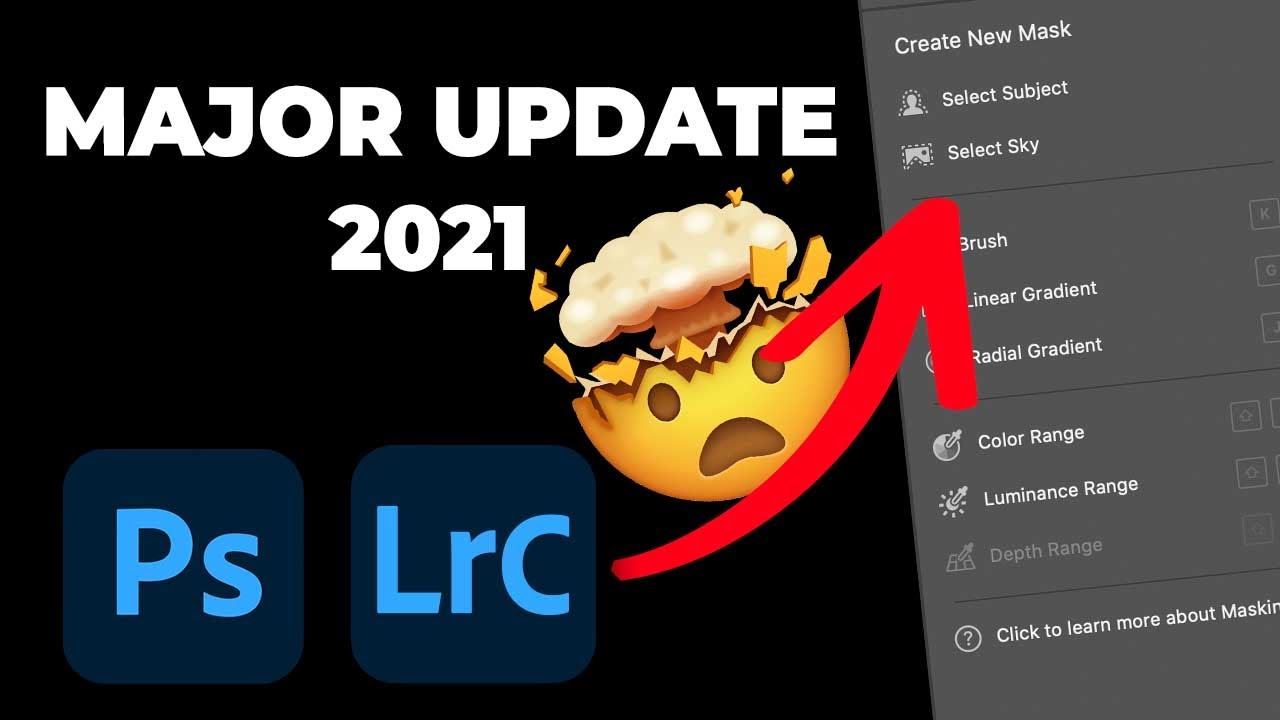
For years, my local adjustment workflow in Lightroom and Adobe Camera Raw felt like managing a cluttered desk. Pins scattered across the canvas, no clear visual reference for which adjustment was doing what, and a lot of hovering and guessing. I knew the tools were powerful, I just had to hold a lot of context in my head while using them. When Adobe rolled out their 2021 masking overhaul, I honestly didn’t expect it to change much. I assumed it was a UI facelift on tools I already knew.
I was wrong. In this William Patino tutorial on the 2021 Adobe Camera Raw and Lightroom updates, Patino walks through the new masking panel with a raw landscape file, and what he demonstrates is less of a cosmetic refresh and more of a genuine rethink of how local adjustments are structured. The AI-powered sky and subject selection tools alone would’ve saved me hours on edits I was doing manually with the old gradient filters. Watch the full tutorial on YouTube
If you’re coming from the old adjustment brush and radial filter workflow, here’s exactly how the new system works and how to fold it into what you’re already doing.
Step 1: Find the New Masking Panel
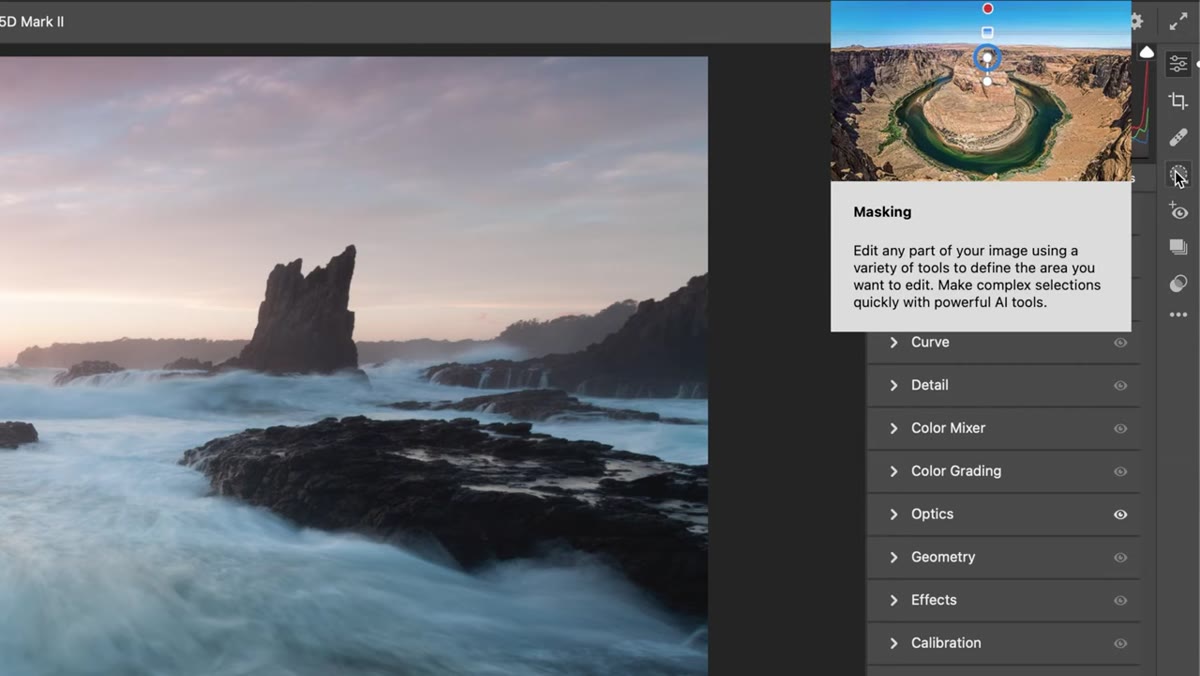 The new Masking button visible in the ACR toolbar
The adjustment brush, gradient filter, and radial filter no longer live as separate buttons in the toolbar. Adobe consolidated all of them into a single “Masking” button. In Adobe Camera Raw, you’ll find it in the right-side panel. In Lightroom Classic, it sits in the same familiar position where your old local adjustment tools used to be. Click it and a new panel opens asking you what kind of mask you want to create. This is the entry point for everything that follows.
The new Masking button visible in the ACR toolbar
The adjustment brush, gradient filter, and radial filter no longer live as separate buttons in the toolbar. Adobe consolidated all of them into a single “Masking” button. In Adobe Camera Raw, you’ll find it in the right-side panel. In Lightroom Classic, it sits in the same familiar position where your old local adjustment tools used to be. Click it and a new panel opens asking you what kind of mask you want to create. This is the entry point for everything that follows.
The shift here is conceptual, not just visual. Rather than picking a tool and painting or dragging, you’re now deliberately creating a named mask each time. It changes how you think about the edit before you even start.
Step 2: Create a Brush Mask and Set Your Defaults
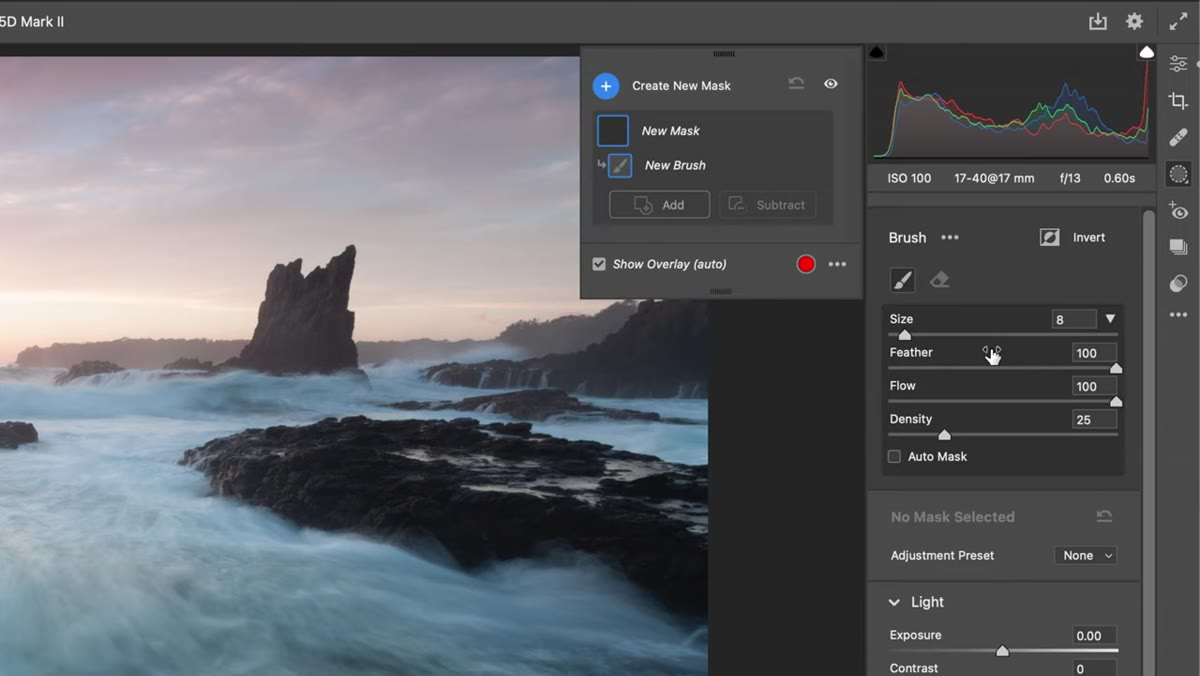 Brush tool selected with density, feather, and flow settings visible
When you select the brush option from the masking panel, you get the same slider set you had before: exposure, highlights, shadows, whites, blacks, temp, tint, and so on. Before you start painting, check your brush settings. Patino recommends running density all the way up, with feather and flow both at 100. These settings give you the most responsive, predictable brush behavior for most situations.
Brush tool selected with density, feather, and flow settings visible
When you select the brush option from the masking panel, you get the same slider set you had before: exposure, highlights, shadows, whites, blacks, temp, tint, and so on. Before you start painting, check your brush settings. Patino recommends running density all the way up, with feather and flow both at 100. These settings give you the most responsive, predictable brush behavior for most situations.
One setting worth enabling immediately is “Reset Sliders Automatically” at the bottom of the panel. Without it, every new mask you create inherits the slider values from your last one, which leads to subtle and confusing bleed-over between adjustments. Turning this on means every new mask starts clean, which is exactly what you want.
Step 3: Use the Brush for Targeted Light Painting
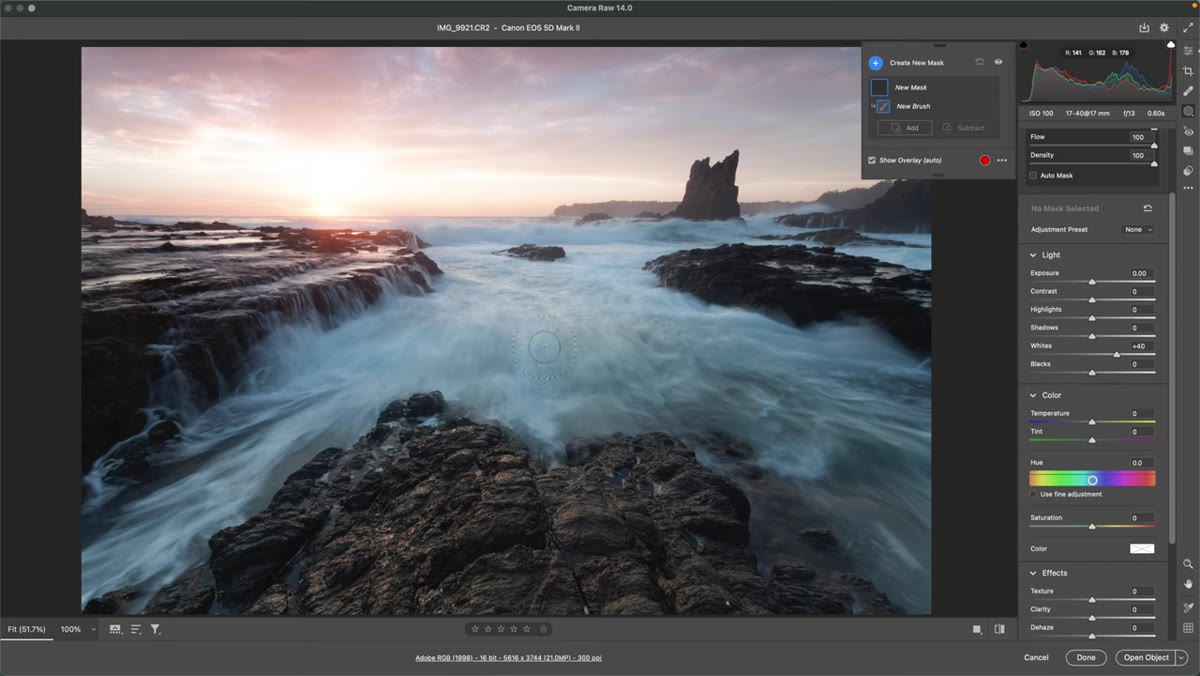 Brush being painted over water surface to boost whites
The brush is still the workhorse for organic, freehand adjustments. Patino’s go-to use case is what he calls “pulling out the light” - boosting whites and warmth on surfaces where natural light is skimming or reflecting. Think water surfaces, wet rocks, foreground textures catching golden hour. This is dodge and burn logic, but controlled through non-destructive sliders rather than pixel-level painting.
Brush being painted over water surface to boost whites
The brush is still the workhorse for organic, freehand adjustments. Patino’s go-to use case is what he calls “pulling out the light” - boosting whites and warmth on surfaces where natural light is skimming or reflecting. Think water surfaces, wet rocks, foreground textures catching golden hour. This is dodge and burn logic, but controlled through non-destructive sliders rather than pixel-level painting.
Paint your adjustment, dial in the slider values, then press K to immediately start a new mask. That keyboard shortcut is worth burning into your memory. You’re no longer clicking around looking for a “new” button. K creates a fresh mask with reset sliders, ready to go.
Step 4: Read Your Masks in the Panel
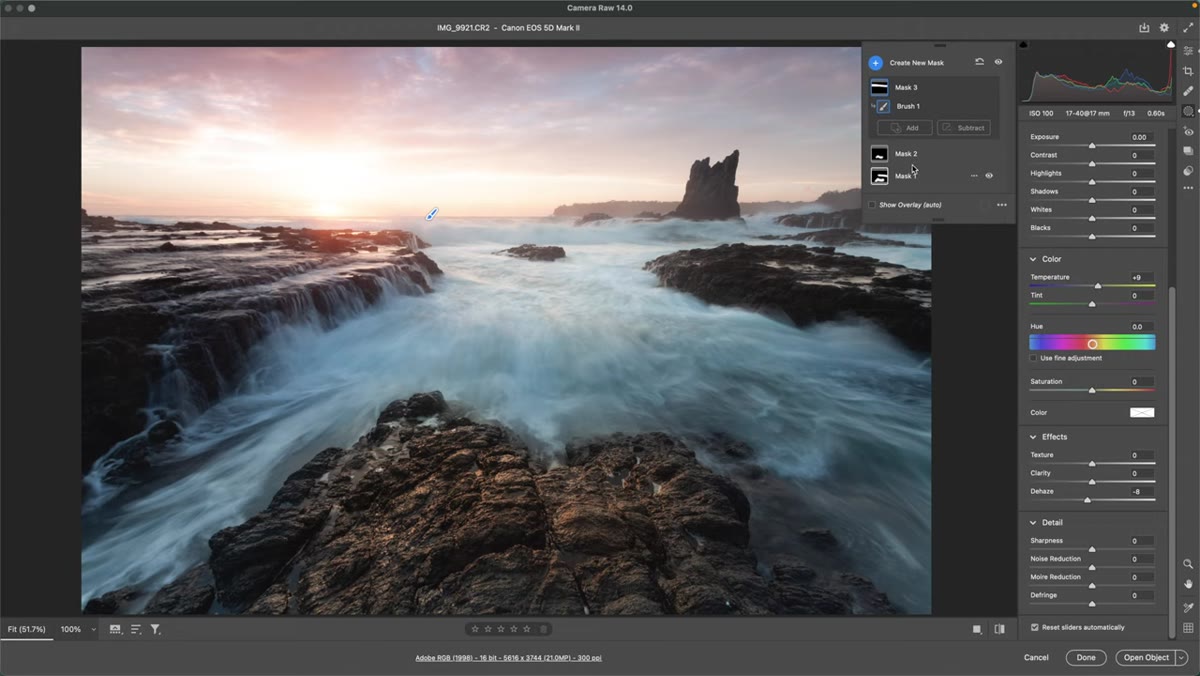 Multiple named mask entries visible in the masking panel list
This is the part of the update that changed my day-to-day workflow the most. Each adjustment you create now appears as its own labeled entry in the masking panel - Mask 1, Mask 2, and so on. Click any entry to jump back to that specific adjustment and tweak it independently. Before this update, you were hunting for tiny pins across a full-res image and hoping you hovered over the right one.
Multiple named mask entries visible in the masking panel list
This is the part of the update that changed my day-to-day workflow the most. Each adjustment you create now appears as its own labeled entry in the masking panel - Mask 1, Mask 2, and so on. Click any entry to jump back to that specific adjustment and tweak it independently. Before this update, you were hunting for tiny pins across a full-res image and hoping you hovered over the right one.
The practical benefit is that you can build up a multi-step local adjustment workflow and review your decisions like a stack. Sky treatment, foreground warmth, horizon haze - each one is legible and editable without disturbing the others.
Step 5: Let the AI Select the Sky
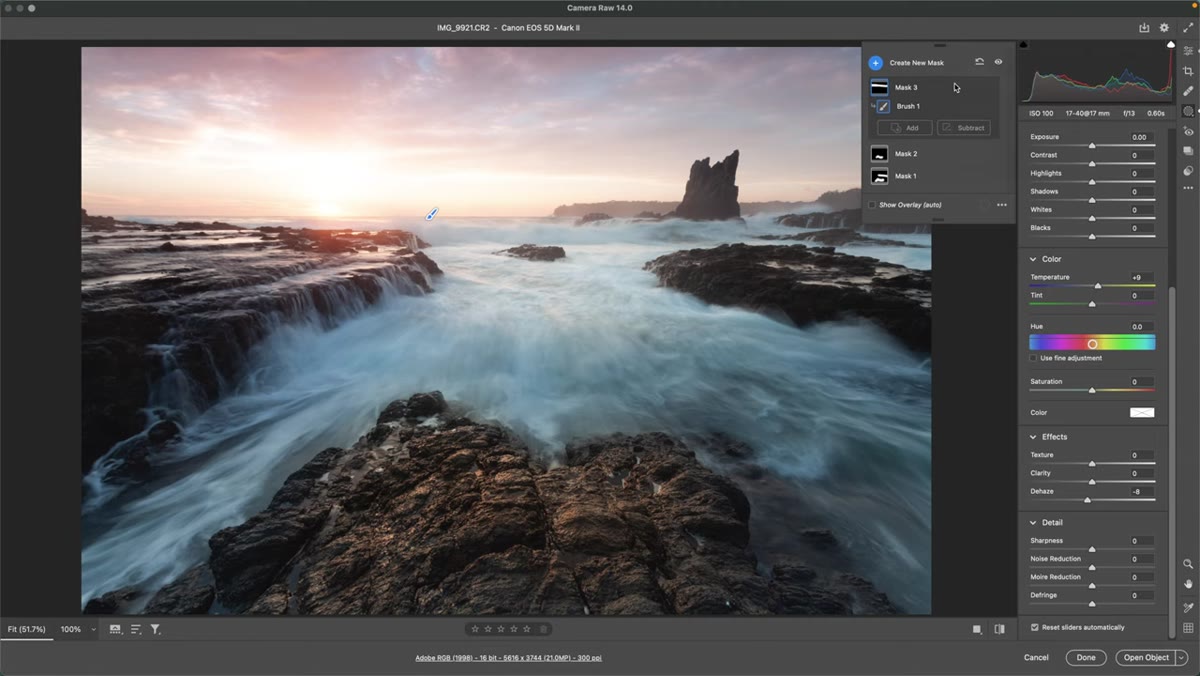 Select Sky option chosen, mask automatically covering sky area
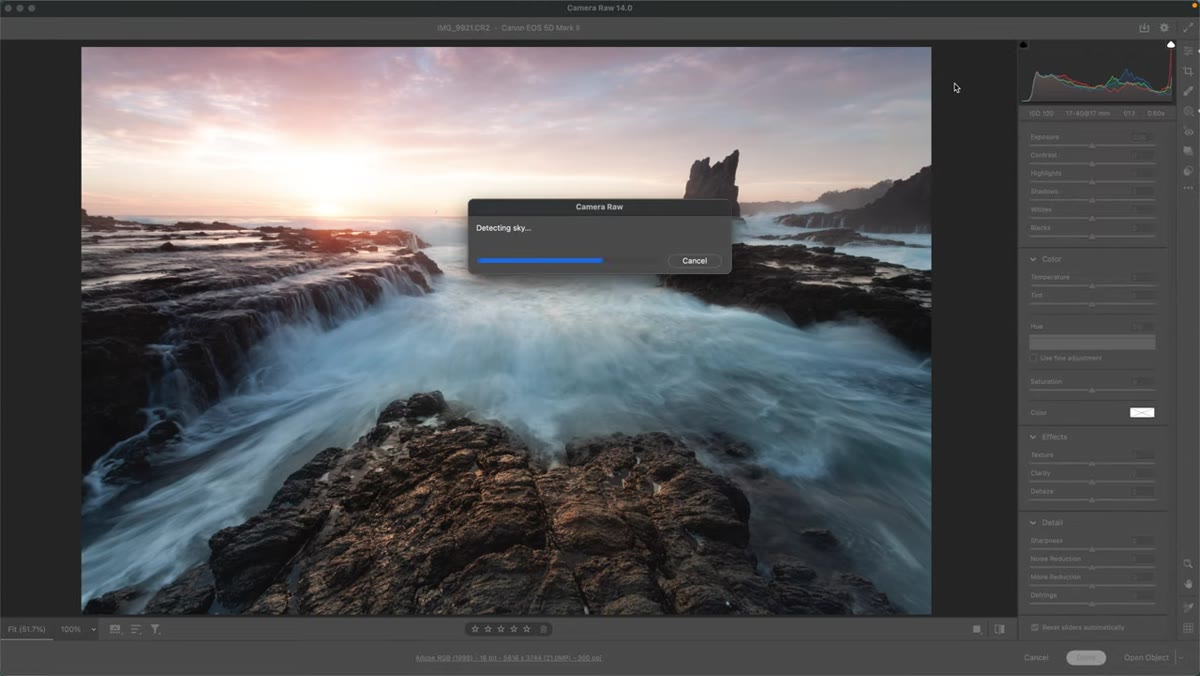
This is the feature that earns its headline. From the masking panel, choose “Select Sky” and Adobe’s AI analyzes your image and generates a mask covering the sky region automatically. On a landscape image with a horizon line, the result is genuinely impressive. Complex edges where trees or structures meet sky are handled with a level of detail that would take several minutes to replicate manually with a brush or gradient.
Select Sky option chosen, mask automatically covering sky area
This is the feature that earns its headline. From the masking panel, choose “Select Sky” and Adobe’s AI analyzes your image and generates a mask covering the sky region automatically. On a landscape image with a horizon line, the result is genuinely impressive. Complex edges where trees or structures meet sky are handled with a level of detail that would take several minutes to replicate manually with a brush or gradient.
Once the sky mask is created, you can push any combination of sliders to treat it independently from your foreground. Pull back highlights to recover a blown-out sky, drop the temp to push it cooler, or add contrast to give it more drama. The mask does the isolation work so you can focus entirely on the look.
Step 6: Try Subject Selection for Portrait and Foreground Work
 Subject selection option highlighted in the masking panel
Alongside sky selection, Adobe added a Subject selection option that uses the same AI engine to identify the primary subject in the frame and mask around it. For portraits this is an obvious win, but it also works on landscape foregrounds where a person, animal, or isolated object anchors the composition.
Subject selection option highlighted in the masking panel
Alongside sky selection, Adobe added a Subject selection option that uses the same AI engine to identify the primary subject in the frame and mask around it. For portraits this is an obvious win, but it also works on landscape foregrounds where a person, animal, or isolated object anchors the composition.
The workflow is identical to sky selection. Choose it from the panel, let Adobe process the image, then use the resulting mask to apply targeted adjustments without touching the background. Combined with a separate sky mask, you can treat three distinct tonal zones - subject, sky, and midground - each with their own independent settings.
How I Actually Use This Now
The AI masking tools are fast, but they’re not a replacement for the brush in every situation. My current workflow uses sky and subject selection as a starting point - they handle the heavy structural lifting - and then I build brush masks on top for anything granular. Specular highlights on water, shadows under a chin, the edge of a building catching warm light. Those still need a human hand.
I’ve also started naming my masks before I close the file, just like I name my presets. If I’m coming back to an image a week later, “warm foreground rocks” tells me more than “Mask 3.” It takes ten seconds and saves real time on revisions.
The single most important shift in this update is not the AI, impressive as it is. It’s the move to a layered, reviewable mask system. Your local adjustments are now legible. You can audit them, edit them individually, and build on them intentionally rather than managing a pile of invisible pins. That change alone makes complex edits significantly more sustainable.
Watch the full tutorial on YouTube to see Patino demonstrate these tools on an actual raw file - seeing the masks populate in real time makes the workflow click in a way that screenshots can’t fully capture.
Comments
Leave a Comment