
I used to dismiss Adobe Bridge the same way I dismiss genre labels for music - confidently, and without much actual evidence. It felt like the old, clunky thing you used before Lightroom existed. Then I started shooting more on weekends for fun, not for clients, and I found myself resenting the Lightroom import process every single time I wanted to glance at a handful of raw files. Nobody wants to sit through a catalog import just to grab one good frame from a Saturday afternoon shoot.
That friction is exactly what pushed me to actually watch Watch the full tutorial on YouTube - Matt Kloskowski’s breakdown of five things Bridge has that Lightroom doesn’t. Matt is someone I respect because he doesn’t oversell things. He’s not trying to pull you away from Lightroom. He’s just pointing out that Bridge solves specific problems faster, and that for a lot of photographers, using both programs together is smarter than treating it as a competition.
What follows is a step-by-step walkthrough of the techniques he covers, written so you can actually follow along without needing to pause and rewind.
Step 1: Open a Folder Without Importing Anything
 Bridge showing folder of photos on desktop with no import dialog
This is the one that stops Lightroom users cold the first time they see it. In Bridge, you navigate to a folder on your hard drive - desktop, external drive, wherever - and you just see the photos. No import dialog. No catalog. No “make Lightroom aware of these files” ritual.
Bridge showing folder of photos on desktop with no import dialog
This is the one that stops Lightroom users cold the first time they see it. In Bridge, you navigate to a folder on your hard drive - desktop, external drive, wherever - and you just see the photos. No import dialog. No catalog. No “make Lightroom aware of these files” ritual.
For anyone who’s spent time answering questions from newer photographers, this matters more than it sounds. The Lightroom import process is genuinely confusing for a lot of people. The concept of a catalog, the difference between copying and adding, the way Lightroom can lose track of files - these are real friction points. Bridge skips all of it because it’s not a catalog-based system at all. It’s a file browser. Think of it as Finder or Windows Explorer with a much better eye for visuals.
Step 2: Understand What Bridge Actually Is
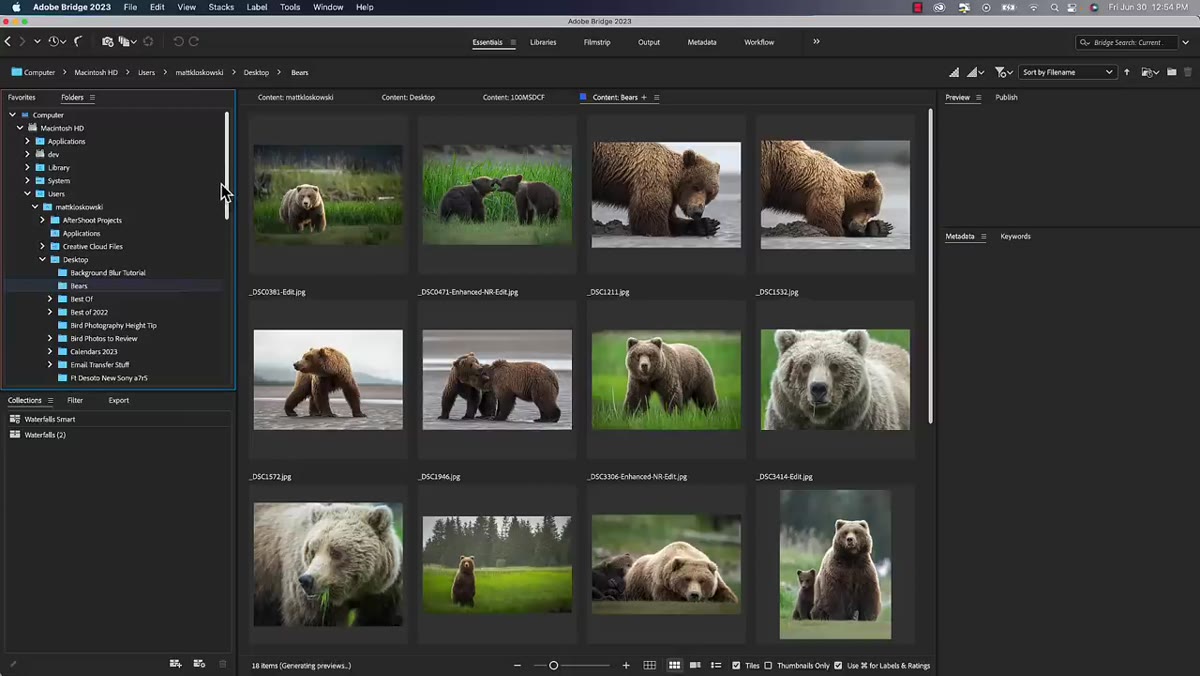 Bridge interface showing folder navigation panel on left side
Before you can use Bridge well, you need to reset your mental model of it. It is not a Lightroom alternative. It is a file browser - the same way your operating system lets you browse folders, except Bridge renders image thumbnails, shows metadata, and connects directly to Adobe Camera Raw.
Bridge interface showing folder navigation panel on left side
Before you can use Bridge well, you need to reset your mental model of it. It is not a Lightroom alternative. It is a file browser - the same way your operating system lets you browse folders, except Bridge renders image thumbnails, shows metadata, and connects directly to Adobe Camera Raw.
Matt makes this point clearly, and it’s worth sitting with. When you understand that Bridge is just a smarter way to look at what’s already on your drive, the “no import” thing stops feeling like a limitation of Bridge and starts feeling like a limitation of Lightroom’s catalog model. Both approaches have tradeoffs. Bridge’s tradeoff is that it doesn’t track your edit history or let you build collections the way Lightroom does. The upside is that you can see any folder, anywhere, instantly.
Step 3: Browse Photos Directly From Your Memory Card
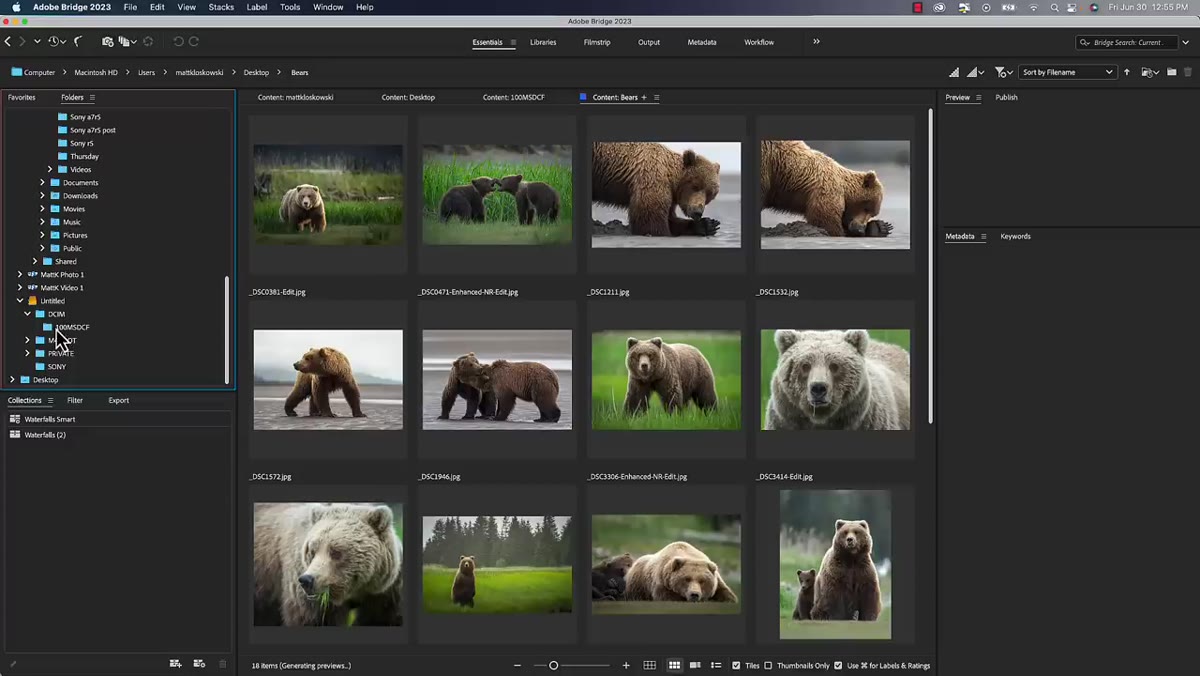 Card reader visible in Bridge’s folder panel, thumbnails loading
Plug in your card reader. Open Bridge. Click on the card. That’s it. The thumbnails build fast - Matt is careful to note that this wasn’t always true, and that Bridge had a reputation for being slow. That reputation is outdated. Modern Bridge renders previews quickly enough that it’s a legitimate option for quick culls straight off the card.
Card reader visible in Bridge’s folder panel, thumbnails loading
Plug in your card reader. Open Bridge. Click on the card. That’s it. The thumbnails build fast - Matt is careful to note that this wasn’t always true, and that Bridge had a reputation for being slow. That reputation is outdated. Modern Bridge renders previews quickly enough that it’s a legitimate option for quick culls straight off the card.
This is something Lightroom simply does not do. In Lightroom, the card is a source for importing, not browsing. You can’t sit with your card reader plugged in, scroll through shots, open one in Camera Raw, and send it to export without ever touching your hard drive. In Bridge, you can. For wildlife and event photographers who shoot high volumes and want to triage fast, this alone is worth knowing about.
Step 4: Double-Click Into Adobe Camera Raw for Fast Edits
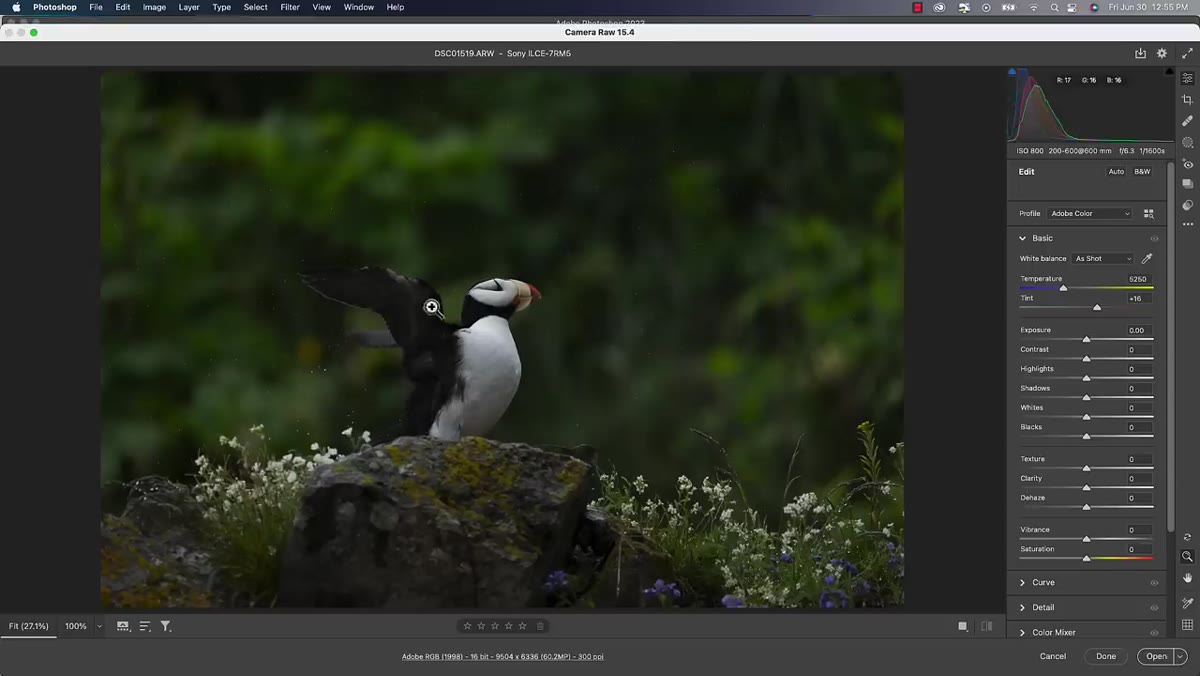 Adobe Camera Raw open after double-clicking raw file in Bridge
Once you’re looking at your thumbnails in Bridge, double-clicking a raw file opens it directly in Adobe Camera Raw. If you’ve ever used the Camera Raw filter inside Photoshop, you already know this interface - it’s the same one. All the familiar sliders are there: exposure, contrast, highlights, shadows, whites, blacks, HSL, tone curves, the works.
Adobe Camera Raw open after double-clicking raw file in Bridge
Once you’re looking at your thumbnails in Bridge, double-clicking a raw file opens it directly in Adobe Camera Raw. If you’ve ever used the Camera Raw filter inside Photoshop, you already know this interface - it’s the same one. All the familiar sliders are there: exposure, contrast, highlights, shadows, whites, blacks, HSL, tone curves, the works.
The key thing to understand here is that Camera Raw and Lightroom’s Develop module are running the same underlying engine. Edits you make in one are compatible with the other. So if you do a quick grade in Camera Raw through Bridge and later decide to bring that file into Lightroom, your edit history comes with it embedded in the file’s metadata or sidecar XMP. You’re not starting over. The workflow is more connected than most people realize.
Step 5: Keep It Simple for One-Off Shoots
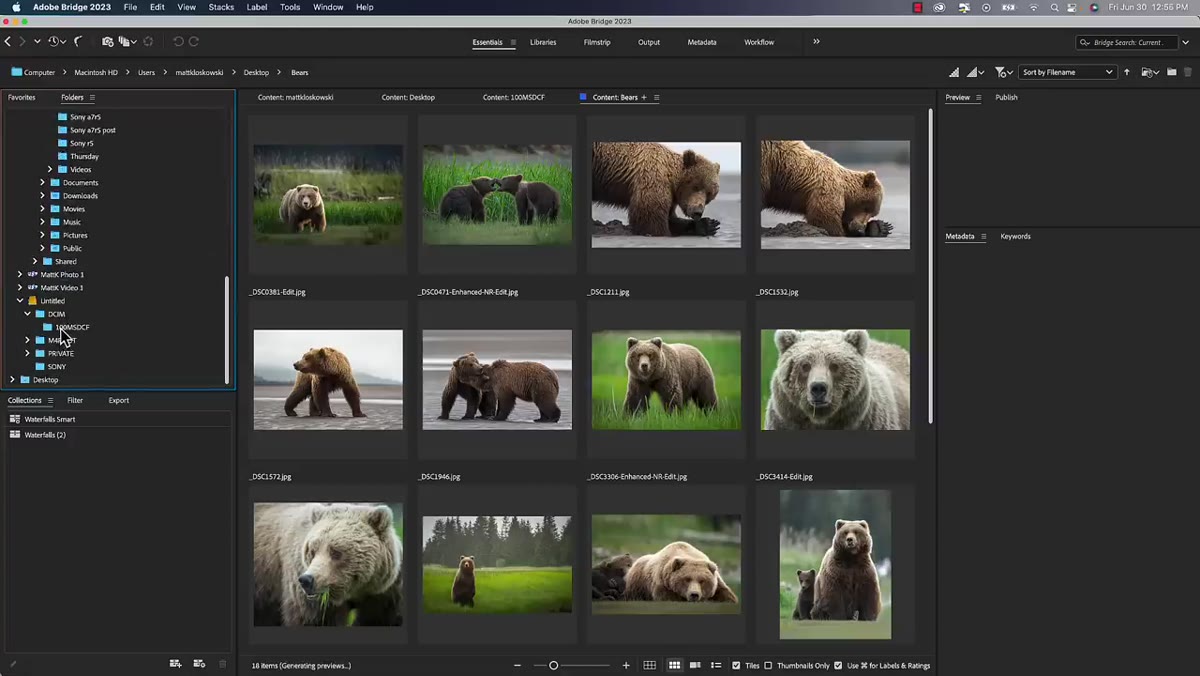 Single photo selected in Bridge, surrounding images unrated
Matt’s core use case for Bridge - the one that kicked off this whole tutorial - is the single-photo edit. You went out for a quick shoot. You got one keeper. You don’t want to build a catalog entry, set up a collection, or manage a folder structure inside Lightroom for a shoot that produced one file worth keeping.
Single photo selected in Bridge, surrounding images unrated
Matt’s core use case for Bridge - the one that kicked off this whole tutorial - is the single-photo edit. You went out for a quick shoot. You got one keeper. You don’t want to build a catalog entry, set up a collection, or manage a folder structure inside Lightroom for a shoot that produced one file worth keeping.
Bridge handles this gracefully. Navigate to the folder, find your shot, open it in Camera Raw, edit it, export it, done. The folder stays wherever it already lives on your drive. Lightroom never knows it existed. For photographers who separate their “serious work” workflow from their casual shooting, this kind of lightweight path matters. It keeps your Lightroom catalog clean and your sanity intact.
What I’d Add From My Own Experience
The thing Matt doesn’t spell out - but that I’ve found to be true after using both programs for years - is that Bridge is also genuinely useful as a pre-import review tool. Before I bring a shoot into Lightroom, I’ll sometimes open it in Bridge first just to flag the obvious rejects. Deleting files in Bridge actually removes them from your drive, which Lightroom won’t do without extra steps. Running a first pass in Bridge means my Lightroom imports are leaner from the start, which keeps catalog performance tighter over time.
If you’re someone who names presets after songs the way I do, and you care deeply about keeping your editing environment organized, that kind of upstream discipline pays off. Bridge isn’t trying to be Lightroom. It’s trying to be a really good file browser, and at that job, it’s excellent.
The single most important idea from this tutorial is one that took me too long to accept: these two programs are not competing for the same job. Lightroom manages your photo library and gives you a long-term home for your work. Bridge gives you instant, friction-free access to any folder on your drive. Using both isn’t indecision - it’s just using the right tool for the moment.
Watch the full tutorial on YouTube to see Matt walk through all five features with live demonstrations. He covers more ground than what’s summarized here, and watching the Bridge thumbnail rendering in real time is the kind of thing that changes your assumptions faster than reading about it.
Comments
Leave a Comment