
There’s a particular kind of panic that hits when you realize you’ve been editing photos in two different programs and you have no idea which one is “winning.” I’ve been there. You’re browsing a folder in Adobe Bridge, you make a quick tweak in Camera Raw, and then you open Lightroom and stare at the screen wondering why nothing looks right. It’s not a fun place to be, especially mid-deadline.
In this Matt Kloskowski tutorial, he addresses exactly that situation with something I’d call a “just in case” lesson. He’s not telling you to use Bridge and Lightroom together as a regular workflow. He’s preparing you for the moment when they overlap, which they will, eventually. Watch the full tutorial on YouTube if you want to see it all in real time, but this breakdown will walk you through the key mechanics step by step.
The core of what Matt explains comes down to one small file you’ve probably seen and ignored: the XMP sidecar. Understanding what it does, when each program reads it, and when it doesn’t, is the difference between a smooth workflow and a corrupted catalog.
Step 1: Understand What Adobe Bridge Actually Is
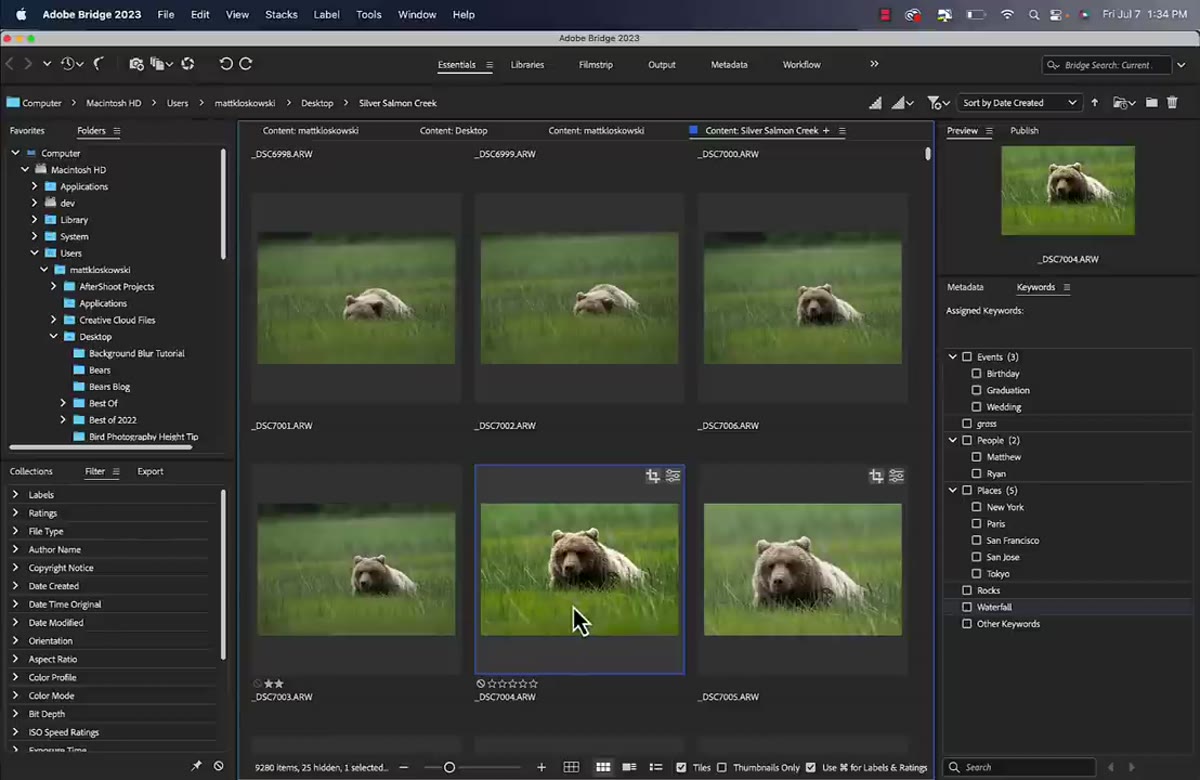
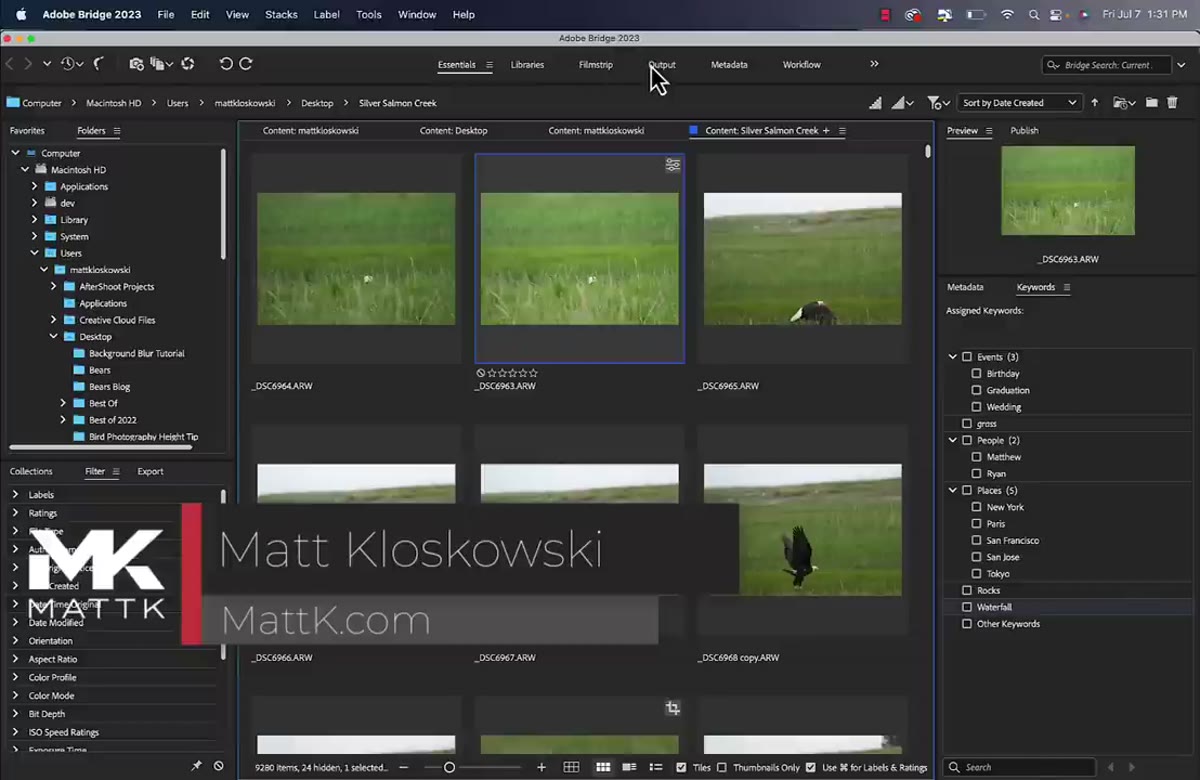 Adobe Bridge open as a file browser panel
Before anything else, get clear on Bridge’s role. It is not a photo editor. It is a file browser, one that comes free with any Adobe Creative Cloud subscription. When you open Bridge and navigate to a folder, you are looking at your actual files sitting on your hard drive. There is no catalog, no import process, no database running in the background. What you see is what is physically there.
Adobe Bridge open as a file browser panel
Before anything else, get clear on Bridge’s role. It is not a photo editor. It is a file browser, one that comes free with any Adobe Creative Cloud subscription. When you open Bridge and navigate to a folder, you are looking at your actual files sitting on your hard drive. There is no catalog, no import process, no database running in the background. What you see is what is physically there.
This matters because Lightroom operates completely differently. Lightroom imports photos into a catalog, tracks edits internally, and builds its own reference system. These two programs have genuinely different purposes, and trying to use them interchangeably on the same photo shoot is asking for trouble.
Step 2: Never Move or Rename Lightroom Files Inside Bridge
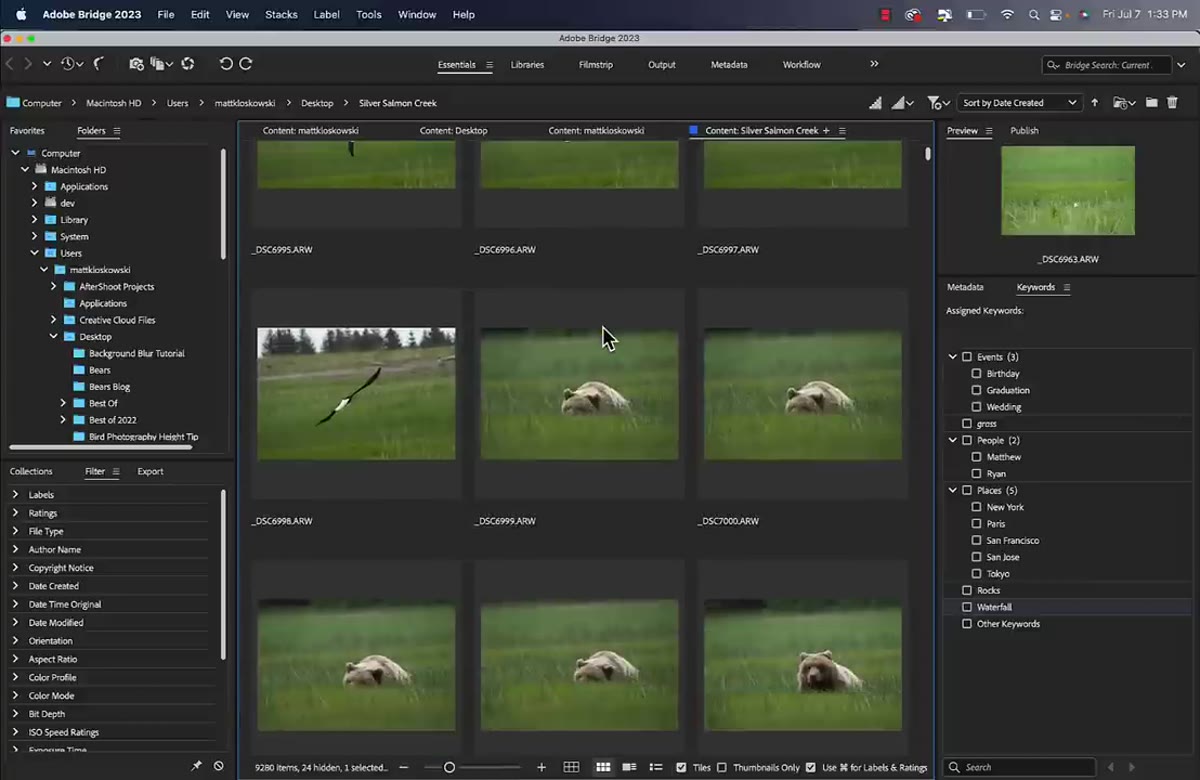
 File browser showing folder of imported photos
This is the first hard rule Matt lays out, and it deserves its own step because the consequences are real. If a folder of photos has already been imported into Lightroom, do not touch that folder structure inside Bridge. Do not rename the folder. Do not move files around. Do not reorganize anything.
File browser showing folder of imported photos
This is the first hard rule Matt lays out, and it deserves its own step because the consequences are real. If a folder of photos has already been imported into Lightroom, do not touch that folder structure inside Bridge. Do not rename the folder. Do not move files around. Do not reorganize anything.
When you do any of that in Bridge, you are changing things at the file system level. Lightroom’s catalog still points to the old location, and now those files are gone from where Lightroom expects them to be. You will end up with the dreaded question mark icons and missing photos. Always make folder and file management decisions inside Lightroom when those files are part of your catalog.
Step 3: Edit a Photo in Bridge Using Adobe Camera Raw
 Adobe Camera Raw open with exposure slider adjusted
When you double-click a raw file in Bridge, it opens in Adobe Camera Raw, which is Photoshop’s raw processing engine. From there you can make adjustments: exposure, white balance, color grading, all of it. When you finish and click “Done,” Camera Raw saves those edits and returns you to Bridge, where the thumbnail updates to reflect the changes.
Adobe Camera Raw open with exposure slider adjusted
When you double-click a raw file in Bridge, it opens in Adobe Camera Raw, which is Photoshop’s raw processing engine. From there you can make adjustments: exposure, white balance, color grading, all of it. When you finish and click “Done,” Camera Raw saves those edits and returns you to Bridge, where the thumbnail updates to reflect the changes.
Here is the key mechanic: Camera Raw does not bake those edits into the image file. Instead, it writes a separate file alongside your photo, a small text-based file with the same name as your image but with an .xmp extension. That file contains all the instructions for what you did. It is called a sidecar XMP file, and it is the piece that makes everything else in this tutorial make sense.
Step 4: See How the XMP Sidecar File Works
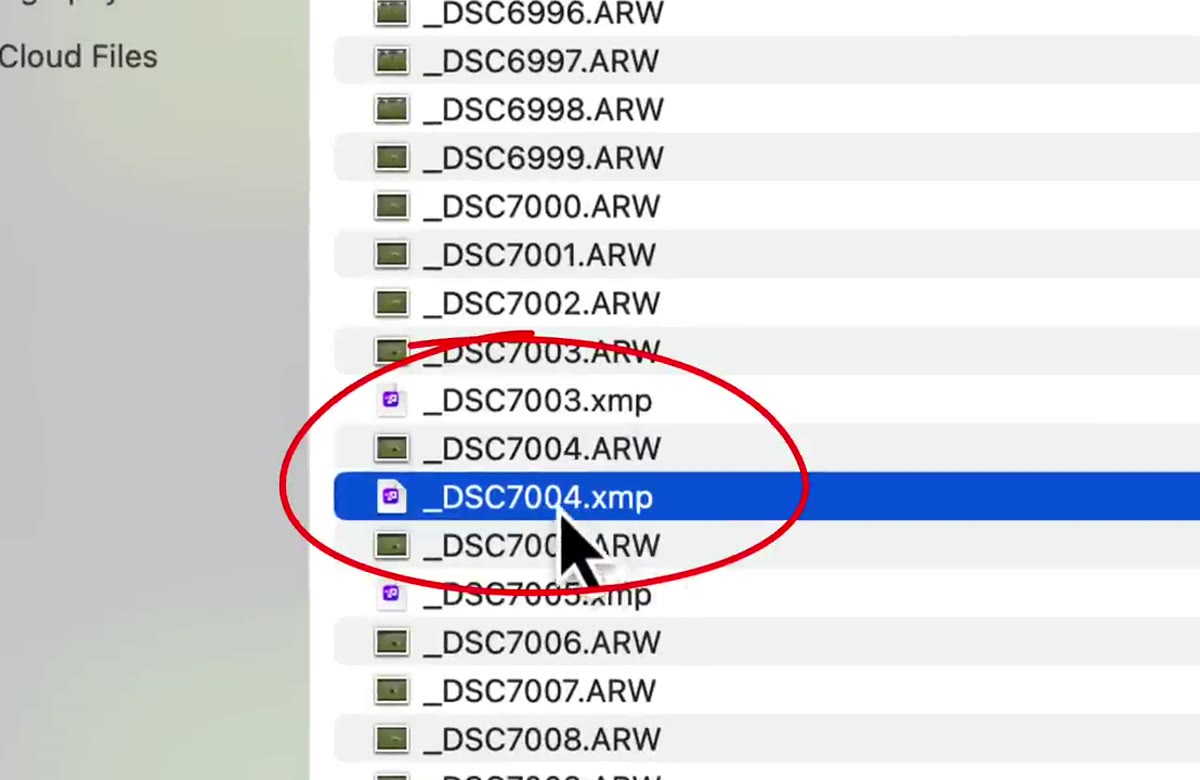 Finder window showing RAW file and .xmp sidecar file side by side
To actually see the sidecar file, right-click on your edited photo in Bridge and choose “Reveal in Finder” on Mac or “Reveal in Explorer” on Windows. In that folder, right next to your raw file, you will find a matching .xmp file. These two files are connected. Any program that knows how to read XMP, including Bridge, Camera Raw, and Lightroom, will pick up those edits automatically.
Finder window showing RAW file and .xmp sidecar file side by side
To actually see the sidecar file, right-click on your edited photo in Bridge and choose “Reveal in Finder” on Mac or “Reveal in Explorer” on Windows. In that folder, right next to your raw file, you will find a matching .xmp file. These two files are connected. Any program that knows how to read XMP, including Bridge, Camera Raw, and Lightroom, will pick up those edits automatically.
Think of the XMP file as a sticky note attached to your photo. It does not change the original image, but any compatible app that opens the photo will read that note and display the image accordingly. This is why edits made in Camera Raw via Bridge can carry over into other Adobe apps without any manual export or syncing.
Step 5: Import Into Lightroom and the Edits Come With You
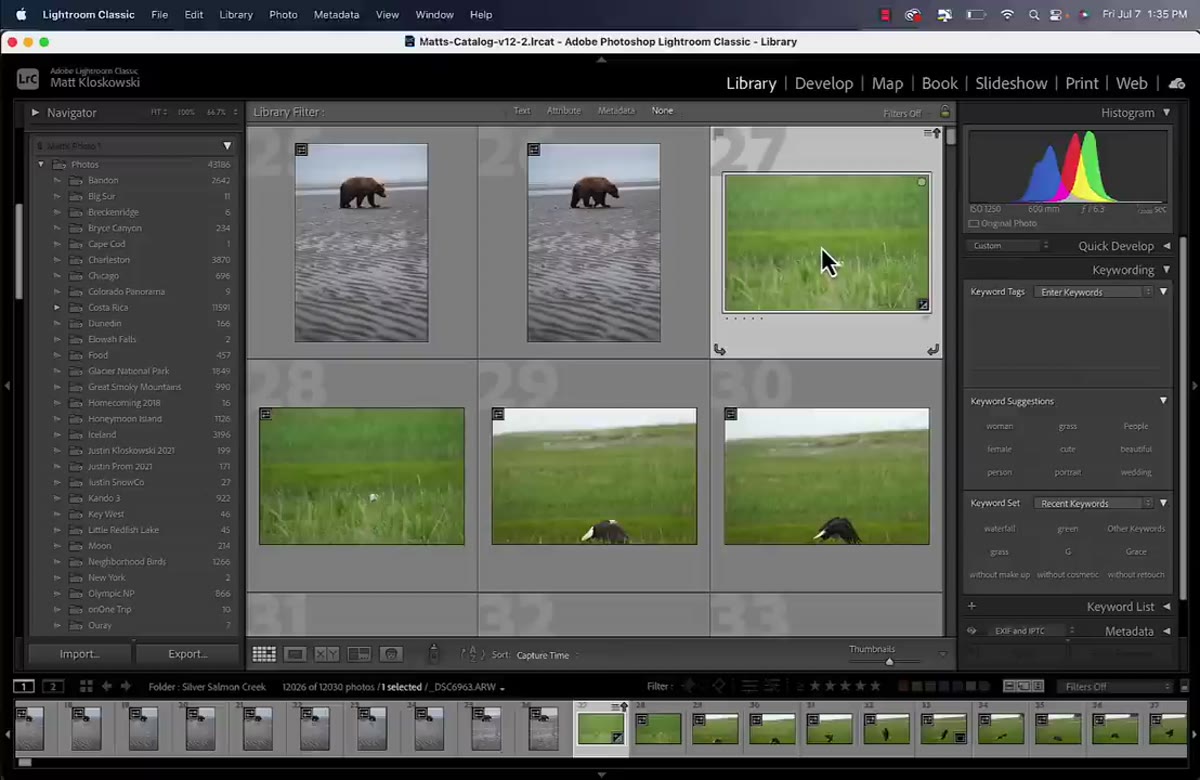
 Lightroom showing imported photo with Camera Raw edits applied
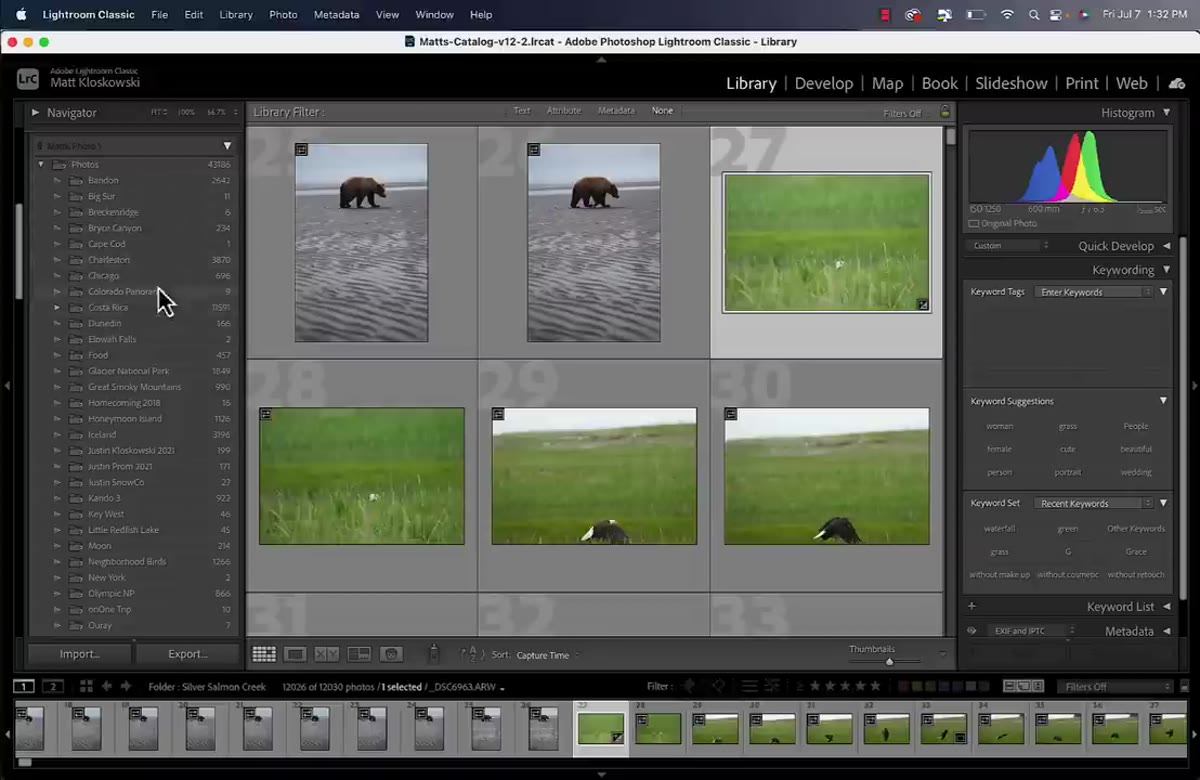
If you edited a photo in Bridge and Camera Raw before ever importing it into Lightroom, the good news is simple: Lightroom will read the sidecar XMP file on import and display the photo with those edits already applied. You do not have to do anything special. Just import the folder the normal way, and Lightroom picks up the XMP automatically.
Lightroom showing imported photo with Camera Raw edits applied
If you edited a photo in Bridge and Camera Raw before ever importing it into Lightroom, the good news is simple: Lightroom will read the sidecar XMP file on import and display the photo with those edits already applied. You do not have to do anything special. Just import the folder the normal way, and Lightroom picks up the XMP automatically.
This is actually a reasonable entry point for a hybrid workflow if you ever need one. Cull and do basic edits in Camera Raw through Bridge, then bring the selects into Lightroom for the rest of your processing. The edits travel with the files, not with either program.
Step 6: Understand Why Lightroom Does Not Auto-Update From Bridge
 Lightroom catalog showing photo unchanged after Bridge edit
Here is where things get interesting, and a little tricky. If a photo is already inside your Lightroom catalog, and you then go edit it in Bridge via Camera Raw, Lightroom will not automatically update to show those changes. Matt demonstrates this clearly: he makes a dramatic adjustment in Camera Raw, clicks Done, jumps back to Lightroom, and the photo looks exactly the same as before.
Lightroom catalog showing photo unchanged after Bridge edit
Here is where things get interesting, and a little tricky. If a photo is already inside your Lightroom catalog, and you then go edit it in Bridge via Camera Raw, Lightroom will not automatically update to show those changes. Matt demonstrates this clearly: he makes a dramatic adjustment in Camera Raw, clicks Done, jumps back to Lightroom, and the photo looks exactly the same as before.
This is intentional behavior, not a bug. Lightroom manages its own edit history through the catalog. It does not constantly poll your hard drive looking for updated XMP files. To bring Bridge edits into an already-imported Lightroom photo, you would need to explicitly tell Lightroom to read the updated metadata from the file. That is a manual step, and it is a potential source of confusion if you forget which program has the most recent version of your edits.
A Note From My Own Experience
The XMP sidecar system is more robust than most people realize, and it extends beyond just Bridge and Lightroom. I have used XMP files to move edit data between Lightroom Classic and Lightroom’s cloud-based version during testing, and the portability is genuinely useful. Where it gets messy is when you start making edits in multiple places and lose track of which XMP file is current.
My personal rule: pick one program per project and stay in it. If a job starts in Lightroom, it lives in Lightroom. The only time I deliberately touch Camera Raw through Bridge is for quick reference checks on older archives I never formally imported. Keeping those lanes separate has saved me more than a few headaches.
The single most important thing to take away from Matt’s tutorial is this: the XMP sidecar file is the handshake between Bridge and Lightroom, but that handshake only works automatically on import. Once a photo is inside the Lightroom catalog, you are in Lightroom’s world, and Bridge edits will not quietly follow you in. Know that going in, and you will never be caught off guard by a photo that looks completely different depending on which app you open it in.
Watch the full tutorial on YouTube to see Matt walk through each of these scenarios live with his own files.
Comments
Leave a Comment