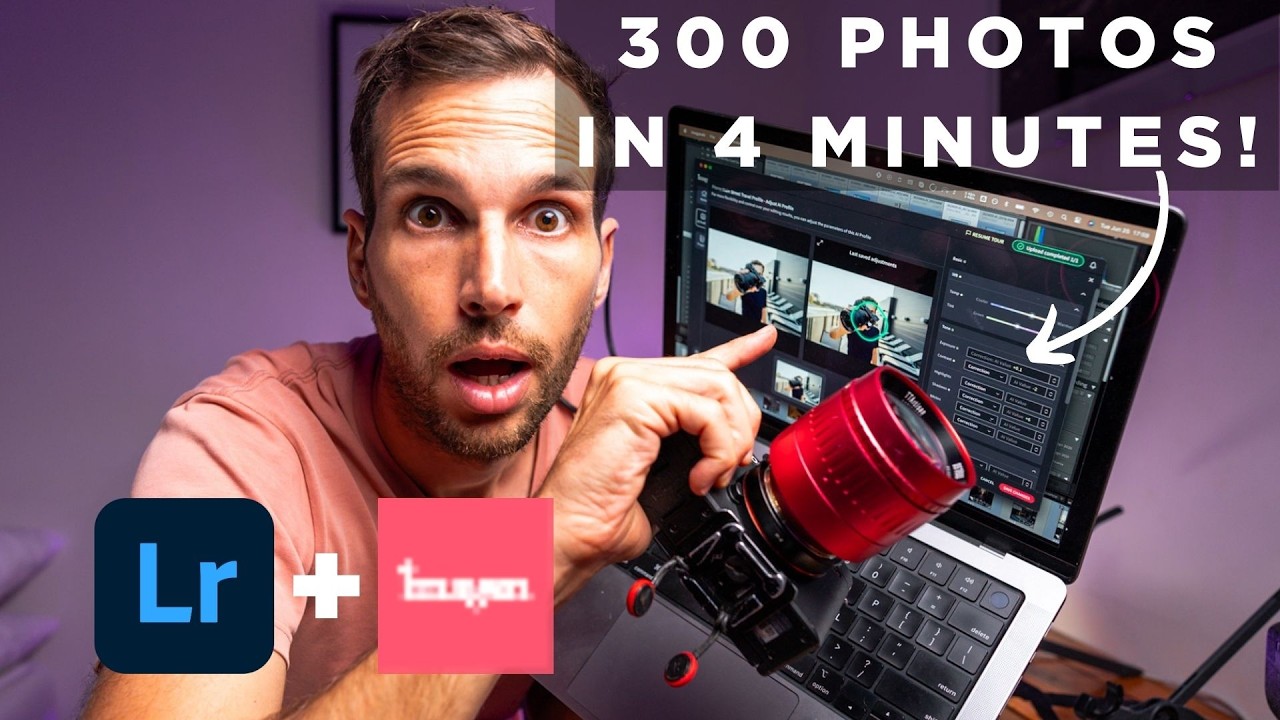
I used to joke that my editing backlog was its own form of cardio — the anxiety of staring down 800 unedited photos after a shoot kept my heart rate elevated for days. And the honest truth is, most of those hours in front of a screen weren’t making my photos dramatically better. They were just making me tired. If you shoot anything at volume, whether that’s weddings, travel, or even just personal projects you care about, the editing bottleneck is real and it compounds fast.
In this Pierre T. Lambert tutorial, Watch the full tutorial on YouTube, Pierre walks through Imagine AI, a Lightroom-integrated tool that learns your personal editing style and applies it automatically across large photo batches. Pierre is a travel photographer with serious volume behind him, and he tested this on 300 varied photos spanning landscapes, street photography, and portraits. What makes his breakdown useful is that he already edited those photos himself before running them through the AI, which means you get a real before-and-after comparison instead of a marketing demo. Here’s how the whole workflow breaks down, step by step, with the things I think are worth paying extra attention to.
Step 1: Download Imagine AI and Connect Your Lightroom Catalog
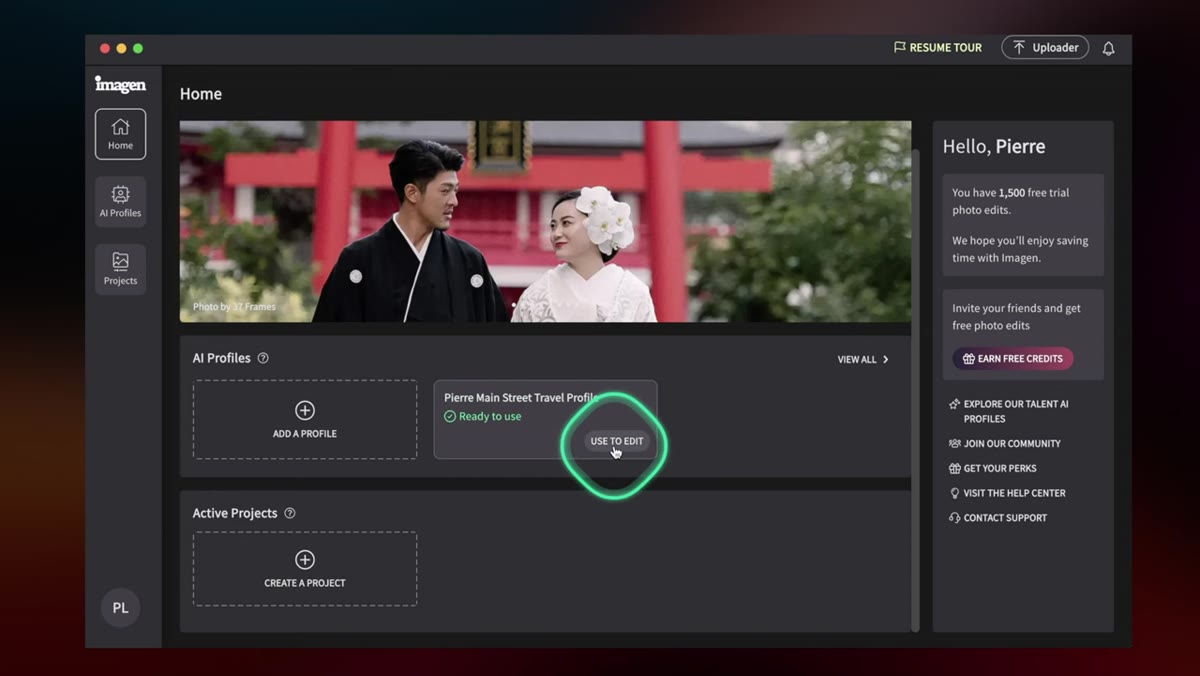 Imagine AI interface loading a Lightroom catalog
Start by downloading Imagine AI and opening it alongside Lightroom. The integration is catalog-based, not plugin-based, which matters because it means the software reads your existing Lightroom structure directly. Once inside Imagine, you select “Use Profile to Edit,” then point the software at your Lightroom catalog file and choose the specific collection you want to work with. The import process for 300 photos takes only a few minutes, which Pierre flags as genuinely surprising. If you’ve ever waited for a third-party tool to sync with Lightroom, you know why that’s worth noting.
Imagine AI interface loading a Lightroom catalog
Start by downloading Imagine AI and opening it alongside Lightroom. The integration is catalog-based, not plugin-based, which matters because it means the software reads your existing Lightroom structure directly. Once inside Imagine, you select “Use Profile to Edit,” then point the software at your Lightroom catalog file and choose the specific collection you want to work with. The import process for 300 photos takes only a few minutes, which Pierre flags as genuinely surprising. If you’ve ever waited for a third-party tool to sync with Lightroom, you know why that’s worth noting.
Step 2: Build Your Personal AI Profile from Your Edited Photos
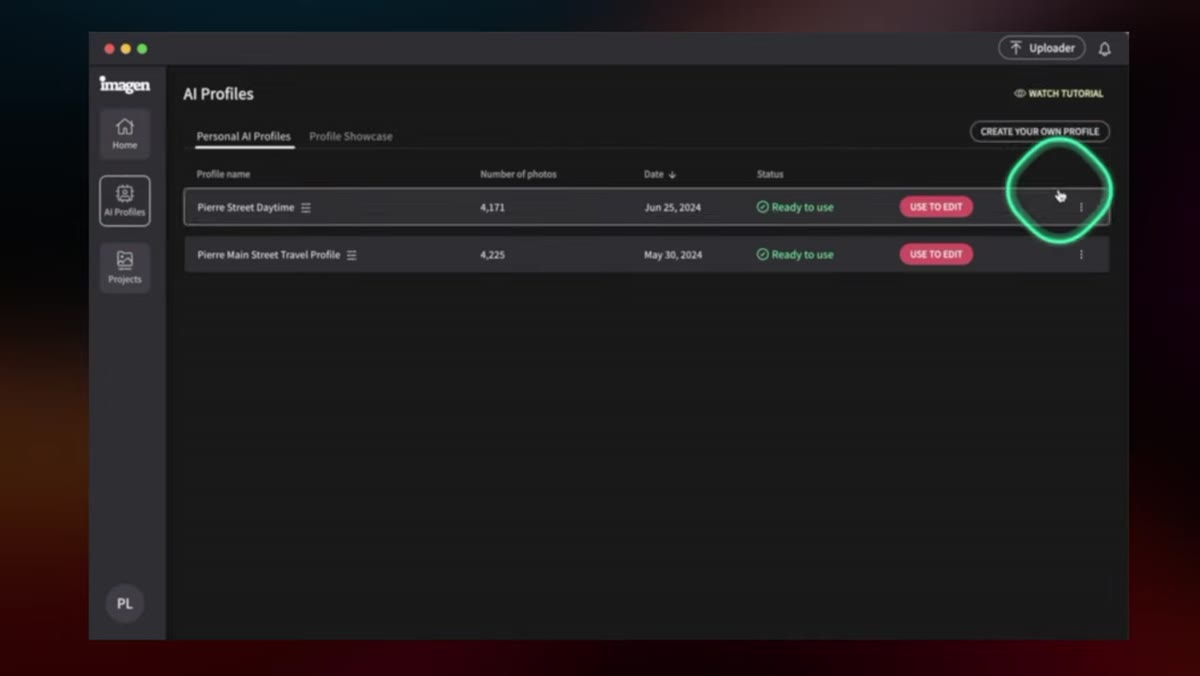 Personal AI profile setup screen with photo count displayed
Before the AI can edit anything the way you would, it needs to study how you already edit. Navigate to “Personal AI Profile” inside Imagine and follow the setup prompts. You’ll name your profile, then feed it a library of your previously edited photos. Pierre used around 4,900 images for his profile. Imagine recommends a minimum of 3,000 photos to get a functional result, but suggests pushing toward 7,000 for a more accurate, fine-tuned match to your style. This step takes time to run, but it’s a one-time investment. Think of it like training a very patient, very literal assistant who only learns from what you actually do, not what you say you do.
Personal AI profile setup screen with photo count displayed
Before the AI can edit anything the way you would, it needs to study how you already edit. Navigate to “Personal AI Profile” inside Imagine and follow the setup prompts. You’ll name your profile, then feed it a library of your previously edited photos. Pierre used around 4,900 images for his profile. Imagine recommends a minimum of 3,000 photos to get a functional result, but suggests pushing toward 7,000 for a more accurate, fine-tuned match to your style. This step takes time to run, but it’s a one-time investment. Think of it like training a very patient, very literal assistant who only learns from what you actually do, not what you say you do.
Step 3: Select Your Collection and Initiate the Editing Run
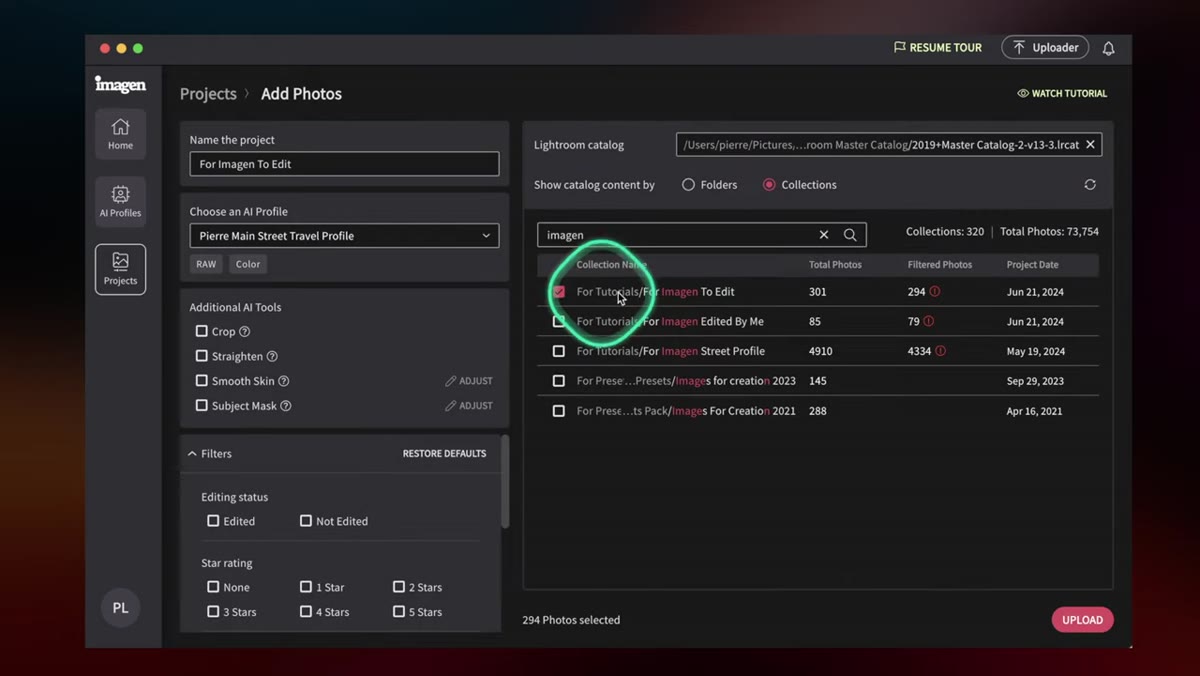 Collection selection screen inside Imagine AI interface
Once your profile is trained, go back to the main editing interface and select the collection you want to process. The AI will apply your learned profile to every photo in that collection automatically. For Pierre’s 300-photo test batch, the edit run completed in just a few minutes. You don’t need to babysit the process. This is the part where most editors do a double-take, because “a few minutes for 300 photos” sounds like marketing copy, but the transcript backs it up and the result is what matters.
Collection selection screen inside Imagine AI interface
Once your profile is trained, go back to the main editing interface and select the collection you want to process. The AI will apply your learned profile to every photo in that collection automatically. For Pierre’s 300-photo test batch, the edit run completed in just a few minutes. You don’t need to babysit the process. This is the part where most editors do a double-take, because “a few minutes for 300 photos” sounds like marketing copy, but the transcript backs it up and the result is what matters.
Step 4: Download the Edited Files Back into Lightroom
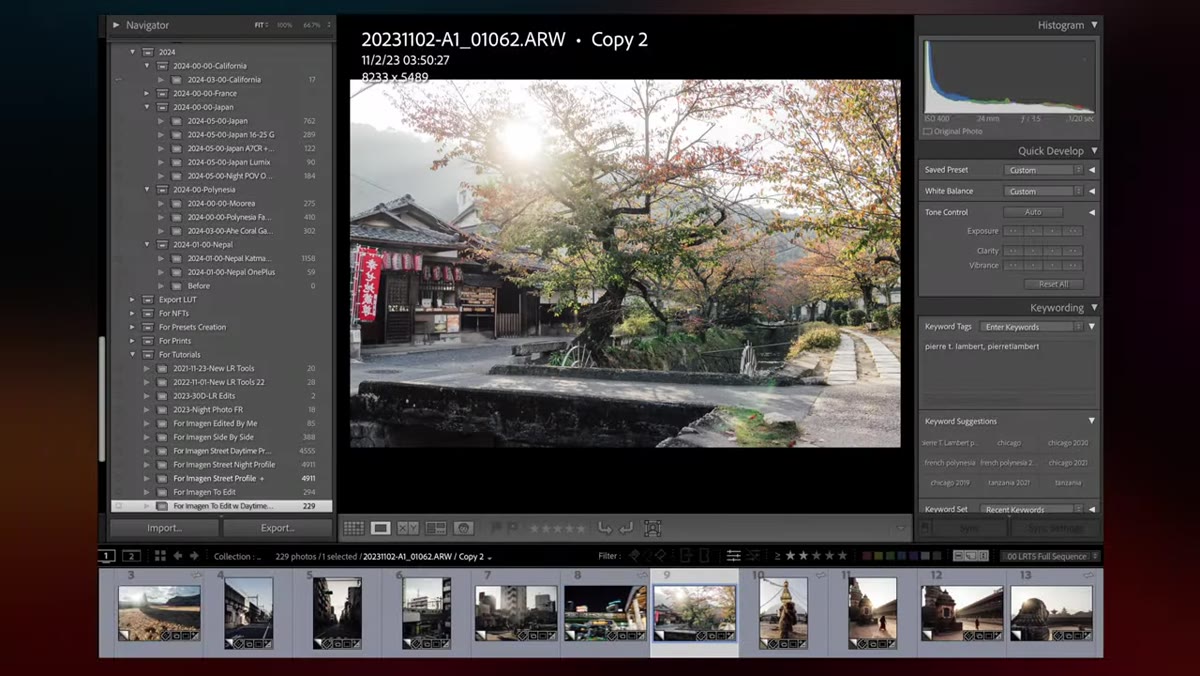 Edited photos loading back into Lightroom collection
After the AI finishes, download the results and reopen your Lightroom collection. The edited versions appear inside your existing catalog structure, so your organizational system stays intact. Pierre notes that on landscape images specifically, the tones came back very close to what he had done manually. The AI handled broad tonal work well across varied shooting conditions. What it handled less precisely were images that had local masks applied, meaning spot adjustments, graduated filters, or brush work. That’s an important caveat to keep in your back pocket.
Edited photos loading back into Lightroom collection
After the AI finishes, download the results and reopen your Lightroom collection. The edited versions appear inside your existing catalog structure, so your organizational system stays intact. Pierre notes that on landscape images specifically, the tones came back very close to what he had done manually. The AI handled broad tonal work well across varied shooting conditions. What it handled less precisely were images that had local masks applied, meaning spot adjustments, graduated filters, or brush work. That’s an important caveat to keep in your back pocket.
Step 5: Review Results and Identify Where Manual Adjustments Are Still Needed
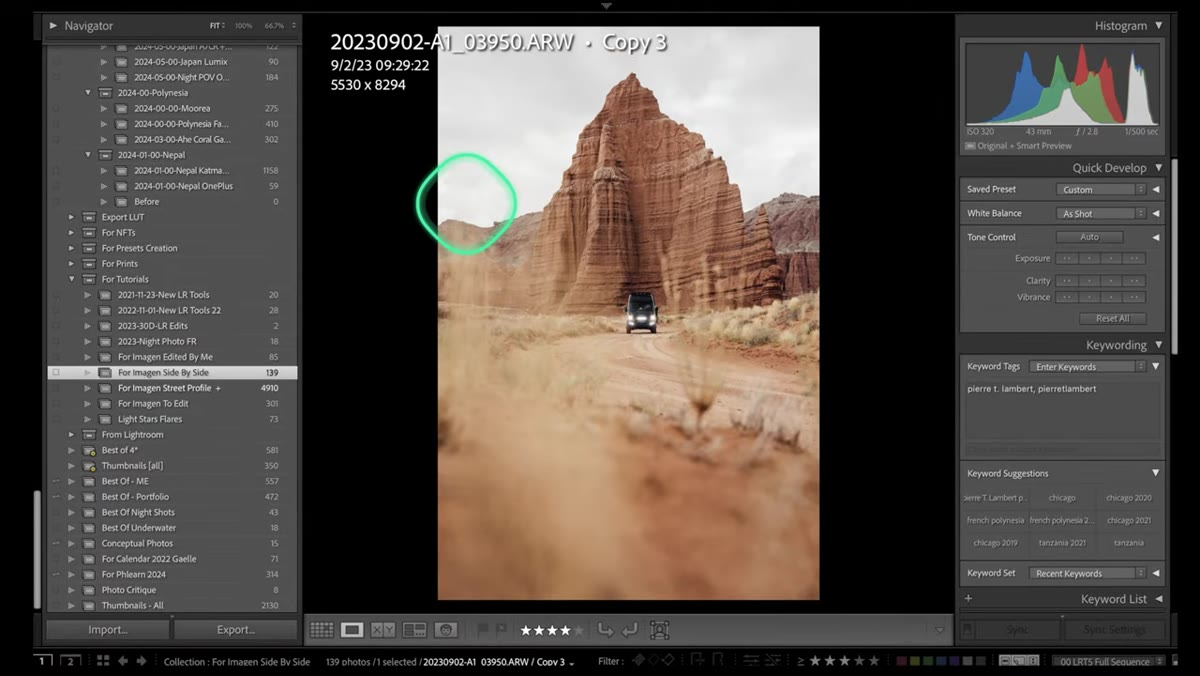 Side-by-side comparison of AI-edited and manually edited landscape photos
Don’t treat the AI output as finished work. Pierre is clear that the software is a starting point accelerator, not a replacement for your eye. Go through the batch and flag anything the AI didn’t land on. Local adjustments are the main gap. If your editing style relies heavily on dodging skies, brightening faces with brush masks, or applying radial filters for subject emphasis, those won’t transfer automatically. The AI learned your global tone and color tendencies, not your compositionally-specific choices. Budget time for a targeted review pass, even if it’s much shorter than your original editing session.
Side-by-side comparison of AI-edited and manually edited landscape photos
Don’t treat the AI output as finished work. Pierre is clear that the software is a starting point accelerator, not a replacement for your eye. Go through the batch and flag anything the AI didn’t land on. Local adjustments are the main gap. If your editing style relies heavily on dodging skies, brightening faces with brush masks, or applying radial filters for subject emphasis, those won’t transfer automatically. The AI learned your global tone and color tendencies, not your compositionally-specific choices. Budget time for a targeted review pass, even if it’s much shorter than your original editing session.
Step 6: Use the Free Tier to Test Before Committing
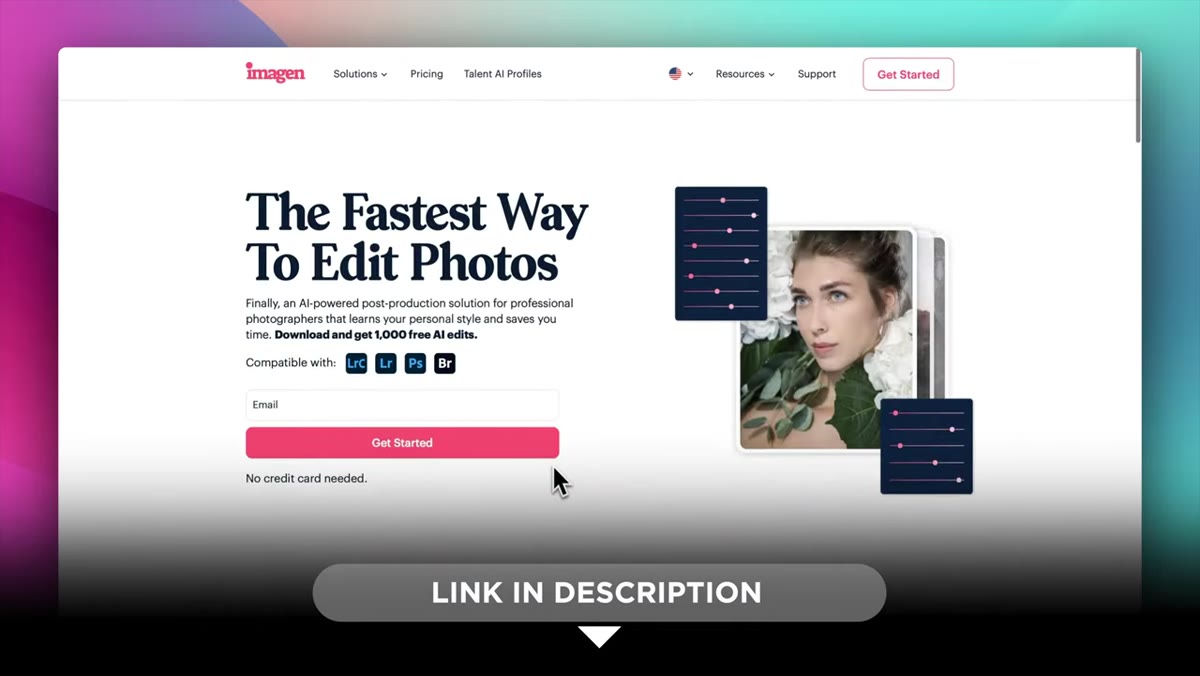 Free trial callout with 1500 image credit displayed
Imagine AI offers 1,500 free image edits to start, with no credit card required. Pierre’s recommendation is blunt: try it now, before you decide whether it fits your workflow. For photographers who already have a library of consistently edited work, the profile-building phase will take some time to set up, but the free tier gives you enough volume to run a meaningful test. Use a collection that covers the range of situations you shoot most, portraits, interiors, travel, whatever your bread and butter is. A 50-photo sample is not enough to judge this accurately.
Free trial callout with 1500 image credit displayed
Imagine AI offers 1,500 free image edits to start, with no credit card required. Pierre’s recommendation is blunt: try it now, before you decide whether it fits your workflow. For photographers who already have a library of consistently edited work, the profile-building phase will take some time to set up, but the free tier gives you enough volume to run a meaningful test. Use a collection that covers the range of situations you shoot most, portraits, interiors, travel, whatever your bread and butter is. A 50-photo sample is not enough to judge this accurately.
What I’d Add from My Own Workflow
The part Pierre doesn’t go deep on, understandably since this is a sponsored overview, is which photographers will get the most out of this and which won’t. In my experience, the AI-learns-your-style approach works best when your style is actually consistent. If you’re still experimenting with your look, or if you name your presets after different moods depending on the season (guilty), then the profile you build might be a blurry average of several different intentions rather than a sharp capture of one.
My suggestion: before you build your profile, go through your catalog and select a curated set of photos where you genuinely love the edit and where the style is uniform. Don’t just feed it everything. Think of it the way you’d brief a human retoucher: the cleaner and more consistent your reference material, the closer the output will be to what you actually want. Also worth noting, if you’re a Lightroom power user who lives in the HSL panel and spends time on individual color channels, check whether that nuance carries through on your test batch before you commit to a full workflow shift.
The core argument Pierre makes is one I’ve come to agree with after years of watching photographers including myself burn hours on repetitive editing tasks that compound into days. Outsourcing the mechanical work, whether to a human or an AI, isn’t giving up creative control. It’s protecting the energy you’d rather spend behind the lens.
Watch the full tutorial on YouTube to see Pierre’s actual before-and-after comparisons across landscape, street, and portrait photos. The visual proof is worth seeing firsthand, especially the landscape results, which are the strongest argument for giving this a real try.
Comments
Leave a Comment