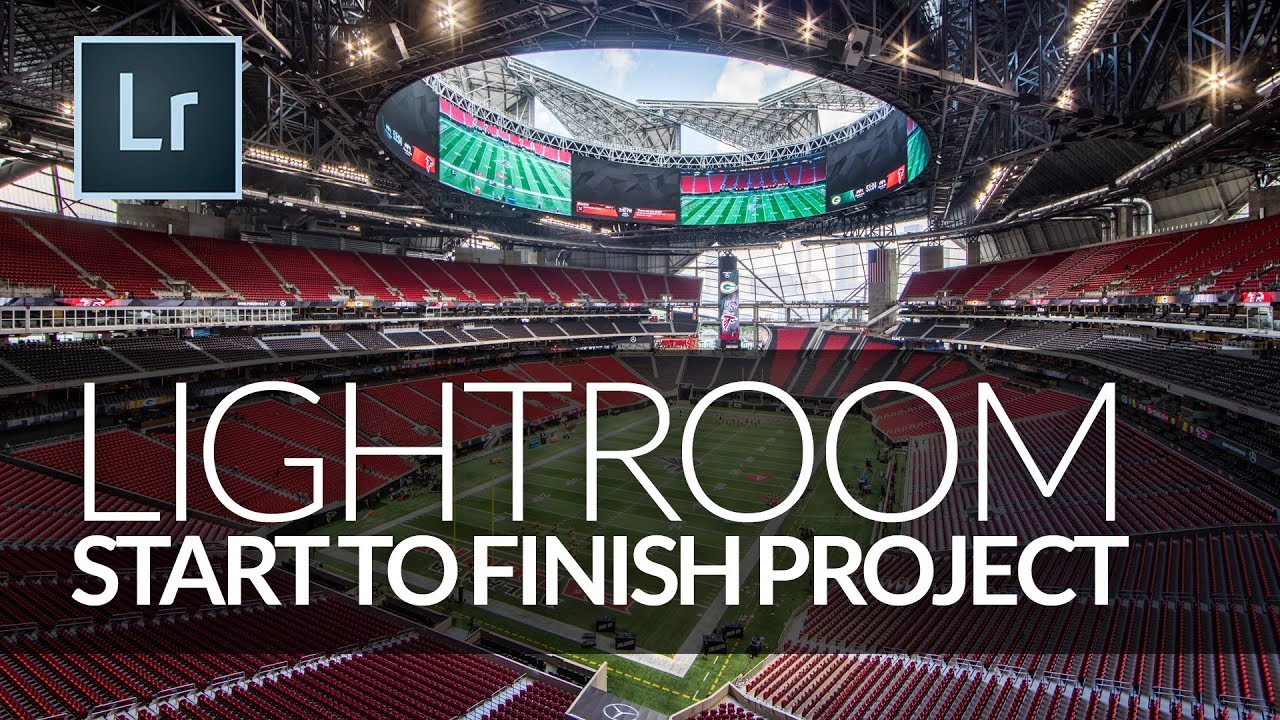
Shooting large interior spaces is one of those situations where a single exposure almost always fails you. The ceiling goes muddy, the sky through an open roof blows out, and the field sits somewhere in between looking like neither highlight nor shadow was handled correctly. It’s the kind of image that makes you feel like you did something wrong in camera, when really the problem is just dynamic range. Your sensor physically cannot capture it all in one shot.
This is exactly the scenario Scott Kelby walks through in a KelbyOne tutorial covering his post-processing workflow on photos from the Atlanta Falcons’ new stadium. Watch the full tutorial on YouTube before or after reading this breakdown. The technique he demonstrates is practical and repeatable, and it changed how I approach any interior or architectural shot with high contrast lighting. The real value here isn’t just the HDR merge step - it’s what happens after, in the Develop module and especially with the adjustment brush.
Step 1: Shoot in Brackets (Two Exposures is Enough)
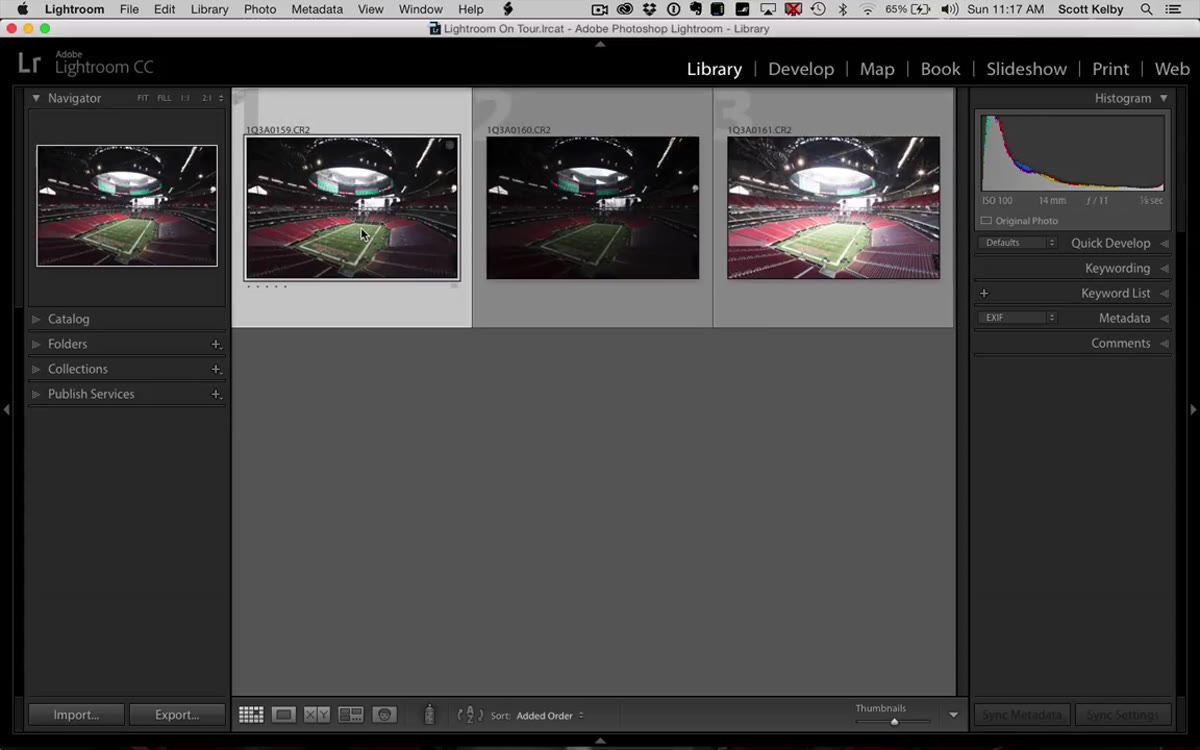 Three bracketed images shown in Lightroom grid view
Kelby sets his camera to shoot three bracketed frames: a normal exposure, one stop two stops under, and one stop two stops over. The important thing he points out immediately is that you only need two of those three images for the merge in Lightroom. You don’t need five or seven brackets. Just the darkest and the brightest frame.
Three bracketed images shown in Lightroom grid view
Kelby sets his camera to shoot three bracketed frames: a normal exposure, one stop two stops under, and one stop two stops over. The important thing he points out immediately is that you only need two of those three images for the merge in Lightroom. You don’t need five or seven brackets. Just the darkest and the brightest frame.
This is something I’ve preached for years and it still surprises people. More brackets doesn’t mean better results in Lightroom’s HDR engine. It means more processing time and sometimes more ghosting artifacts. Pull the underexposed and overexposed frames, leave the normal exposure in the library as a reference, and move on.
Step 2: Merge to HDR Inside Lightroom
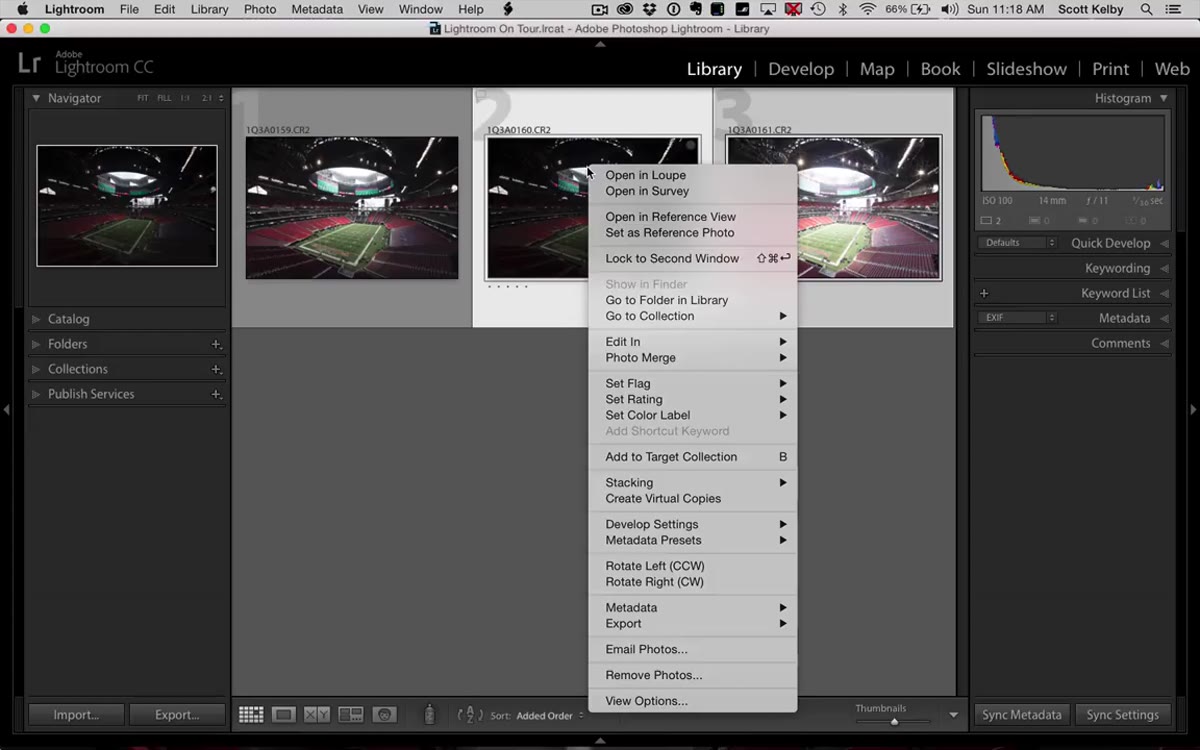 HDR Merge Preview window showing combined stadium image
With the two bracket images selected, right-click and choose Photo Merge, then HDR. Lightroom generates a preview in a dedicated merge window so you can see what you’re working with before committing. At this stage the image looks flat and a little off - that’s normal. The merge is doing its job of pulling sky detail back in and recovering ceiling texture that was completely gone in the normal exposure.
HDR Merge Preview window showing combined stadium image
With the two bracket images selected, right-click and choose Photo Merge, then HDR. Lightroom generates a preview in a dedicated merge window so you can see what you’re working with before committing. At this stage the image looks flat and a little off - that’s normal. The merge is doing its job of pulling sky detail back in and recovering ceiling texture that was completely gone in the normal exposure.
Click Merge and Lightroom creates a brand new DNG file. This is a real raw file, not a JPEG or a TIFF, which means you have full raw latitude to work with in the Develop module. That distinction matters more than most people realize. You’re not editing a rendered image, you’re still editing raw data.
Step 3: Kill the Flat HDR Look with Contrast
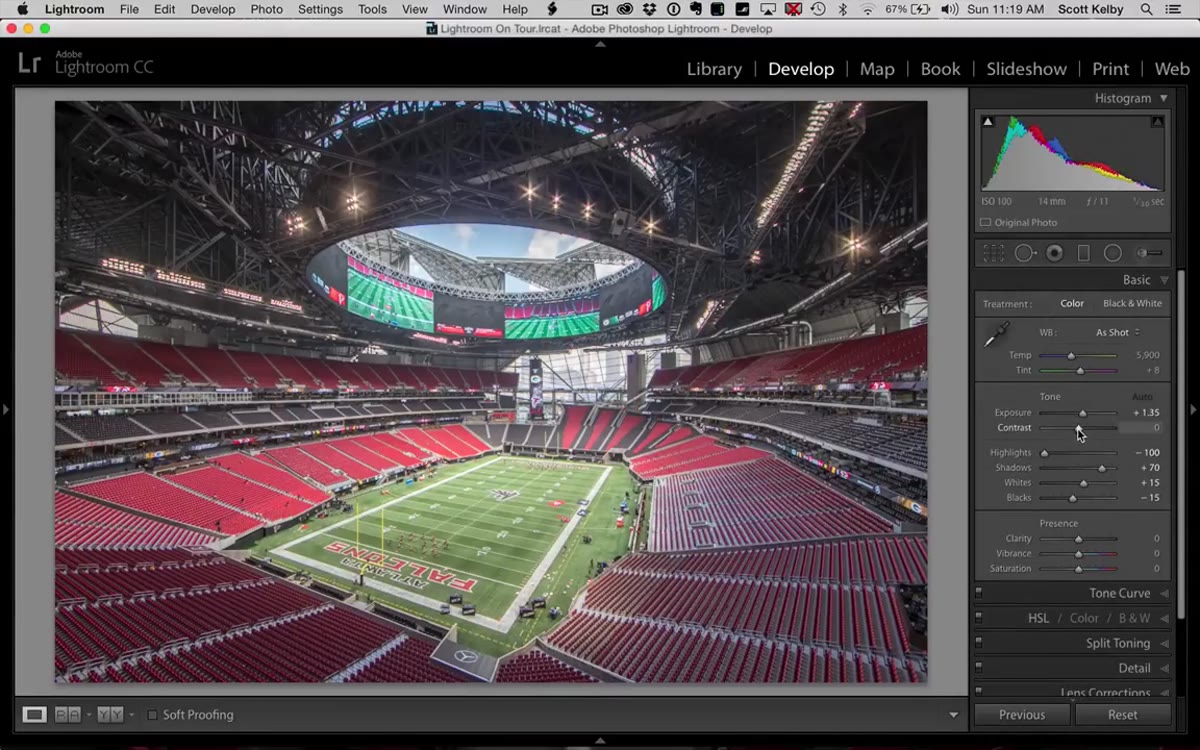 Develop module with Contrast slider being increased
Here’s where most people go wrong with HDR. They leave the image in that classic tone-mapped state where everything looks like it was painted by someone who really loves glowing edges. Kelby’s fix is immediate and simple: increase Contrast in the Basic panel.
Develop module with Contrast slider being increased
Here’s where most people go wrong with HDR. They leave the image in that classic tone-mapped state where everything looks like it was painted by someone who really loves glowing edges. Kelby’s fix is immediate and simple: increase Contrast in the Basic panel.
HDR merges tend to flatten the tonal relationship between shadows and highlights because that compression is literally the point of the process. Adding contrast back in reasserts that relationship and makes the image read more like a photograph taken by a camera and less like a video game cutscene from 2009. He also pulls the Shadows back slightly to keep the image grounded. It’s a two-slider move that makes a genuine visible difference.
Step 4: Add Clarity for Texture
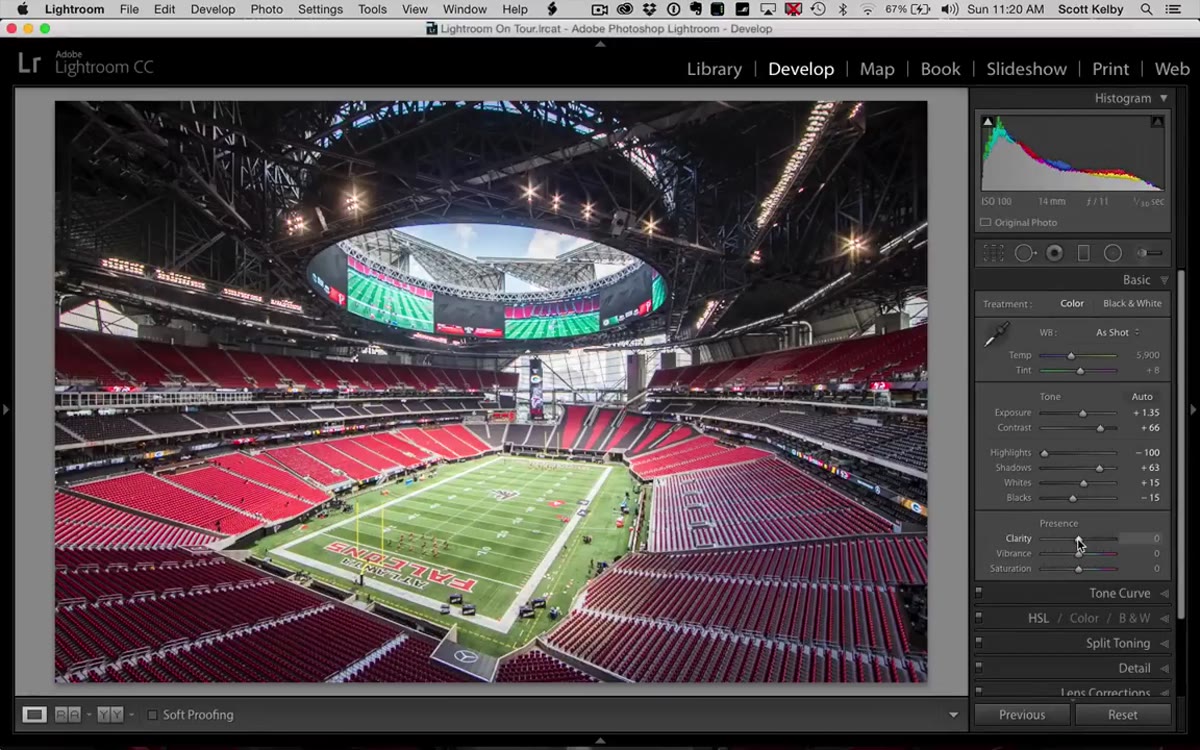 Clarity slider being raised in the Basic panel
After contrast, Kelby adds a moderate amount of Clarity. In a scene like a stadium - with structural steel, concrete, grass texture, and seat details - Clarity does real work. It increases local midtone contrast, which is different from the global contrast slider, and it’s what brings out the grain and texture in architectural surfaces.
Clarity slider being raised in the Basic panel
After contrast, Kelby adds a moderate amount of Clarity. In a scene like a stadium - with structural steel, concrete, grass texture, and seat details - Clarity does real work. It increases local midtone contrast, which is different from the global contrast slider, and it’s what brings out the grain and texture in architectural surfaces.
Don’t go overboard. This is a finishing touch, not a main event. A little Clarity here reads as “sharp and detailed.” A lot of Clarity reads as “this person just discovered Lightroom in 2012.” The goal is presence, not crunch.
Step 5: Use the Adjustment Brush for Targeted Brightening
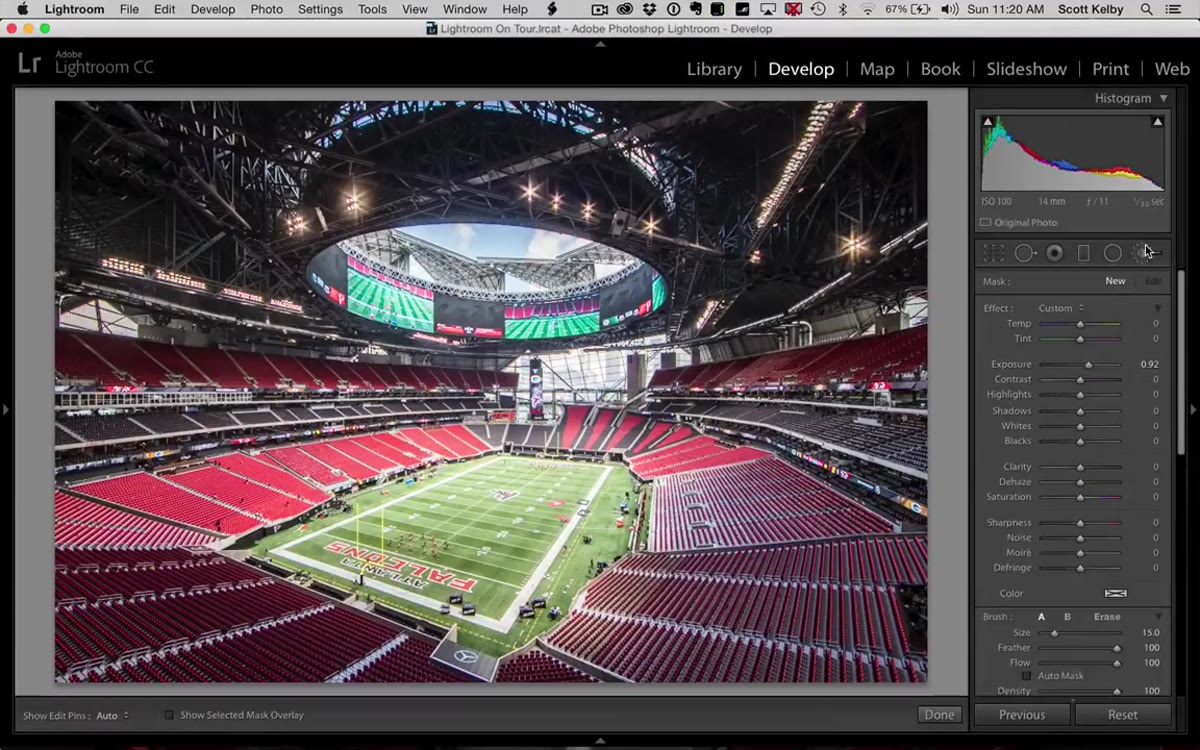 Adjustment Brush being painted over the ceiling area
This is where Kelby does the heavy lifting, and it’s the step most tutorials skip or gloss over. He switches to the Adjustment Brush, double-clicks the word “Effect” to zero out all sliders, then bumps Exposure up and paints selectively over the ceiling section where the detail needs lifting.
Adjustment Brush being painted over the ceiling area
This is where Kelby does the heavy lifting, and it’s the step most tutorials skip or gloss over. He switches to the Adjustment Brush, double-clicks the word “Effect” to zero out all sliders, then bumps Exposure up and paints selectively over the ceiling section where the detail needs lifting.
The key move here is using the Alt key (Option on Mac) to switch the brush to Erase mode mid-stroke. If you paint too far into an area that doesn’t need it, you don’t have to start over. You just hold Alt and brush back over the mistake. Kelby uses this to keep brighter exposure off the areas where extra light would look unnatural. This level of control is why I reach for the adjustment brush on almost every architectural shot I edit.
Step 6: Darken the Overexposed Field
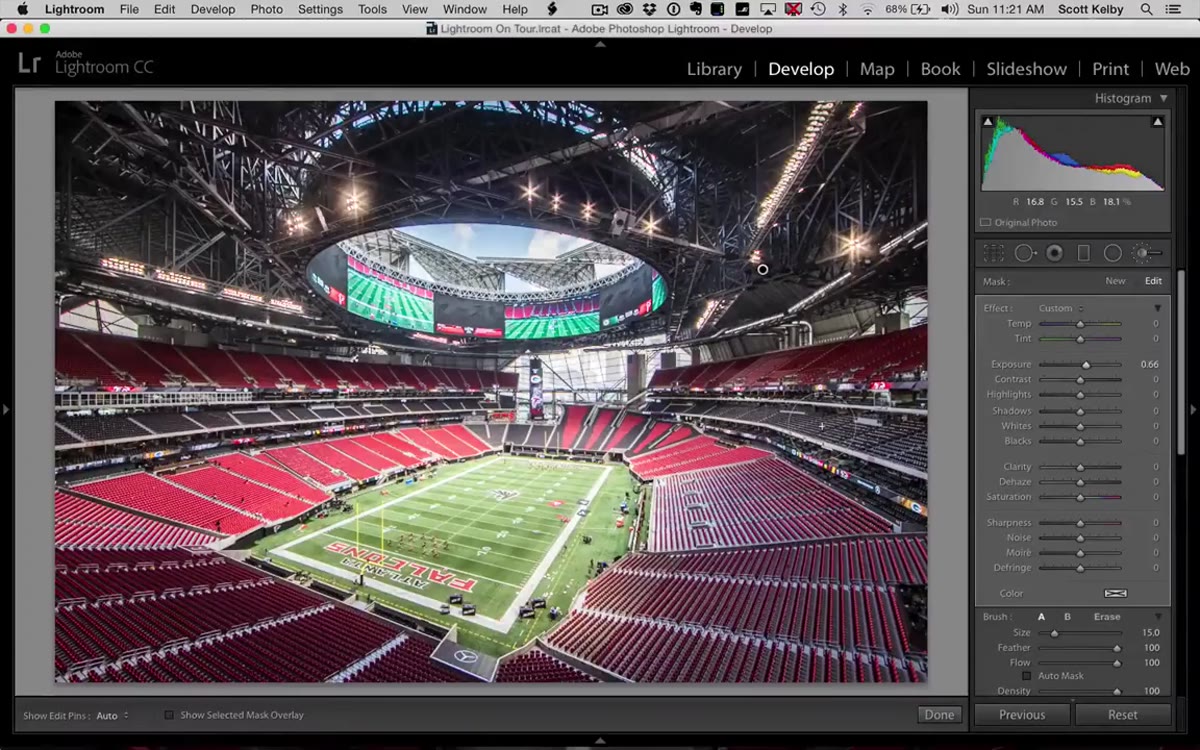 Adjustment Brush being applied to the stadium field
The field in this shot is too bright because the stadium has an open roof letting natural light pour in. Kelby adds a second adjustment brush pin, resets the sliders again, and this time pulls Exposure down to bring the field back to a more natural level relative to the rest of the frame.
Adjustment Brush being applied to the stadium field
The field in this shot is too bright because the stadium has an open roof letting natural light pour in. Kelby adds a second adjustment brush pin, resets the sliders again, and this time pulls Exposure down to bring the field back to a more natural level relative to the rest of the frame.
This two-pin approach - one brush to lift shadows, one brush to tame highlights - is a workflow pattern I use constantly. It keeps your global settings clean and gives you localized control that the basic sliders simply can’t offer. Think of it as dodging and burning, but with raw data instead of darkroom chemistry.
What I’d Add: A Luminosity Check Before You Finish
Before I call any HDR edit done, I do one extra check that Kelby doesn’t cover here but that I’ve found essential. I drop a Color Grading adjustment or use the Tone Curve to check that the luminosity transitions between my brushed areas and the untouched areas feel smooth. The edge where a brightened ceiling meets the stands can develop a subtle halo if your feathering on the adjustment brush wasn’t generous enough. Zoom to 100 percent and drag a slow brush along that edge with a very low flow setting - around 15 to 20 percent - to blend it out. It’s the kind of thing nobody notices when you do it, but everybody notices when you don’t.
The single most important idea in this entire workflow is that the HDR merge is just the beginning, not the destination. The DNG Lightroom creates is raw material. The real edit happens in the Develop module, and most of that edit happens with targeted brushes rather than global sliders. That reframe changes how you think about every high-contrast scene you shoot.
Watch the full tutorial on YouTube to see Kelby’s complete walkthrough with the actual stadium image on screen.
Comments (2)
The before and after really sells it. Incredible difference.
Just used this on a wedding shoot edit. Client was thrilled.
Leave a Comment