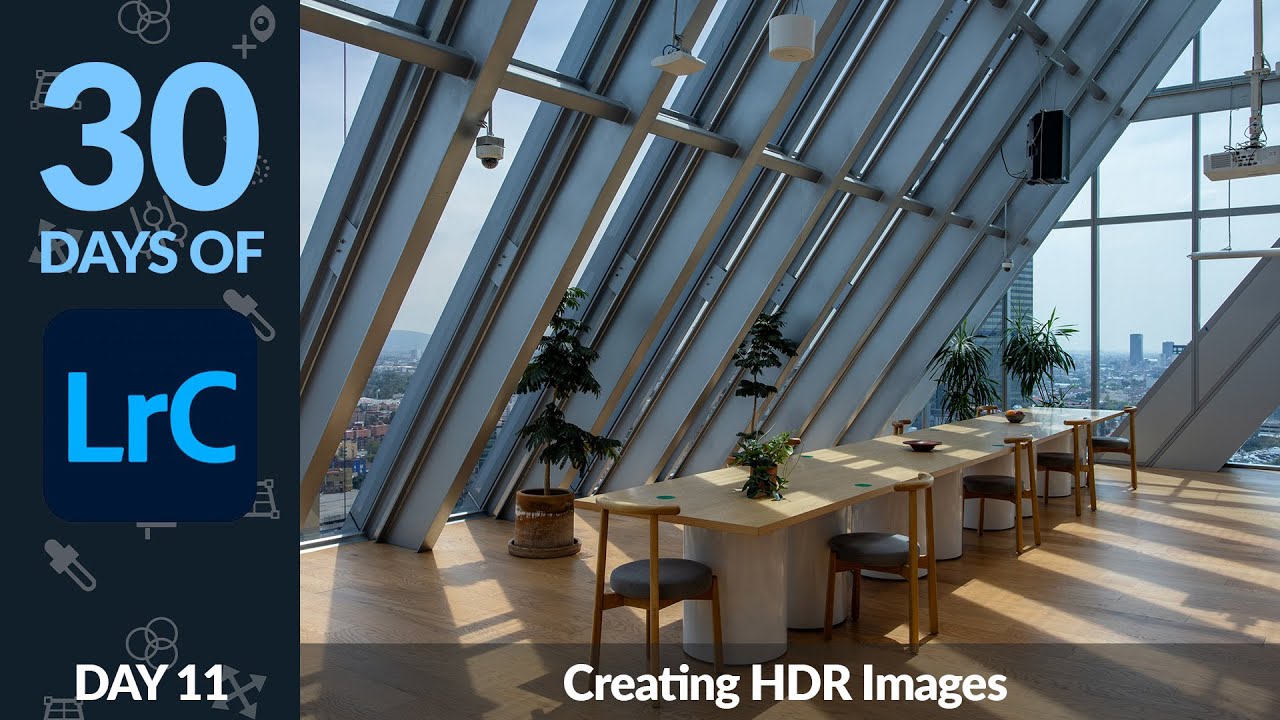
There is a specific kind of frustration that hits when you nail the composition, the moment is perfect, and then you pull the image up on your screen and realize the sky is completely blown out while the interior is drowning in shadow. Your camera saw the scene differently than your eyes did, and no amount of pushing sliders is going to recover detail that was never captured in the first place. That is exactly the problem HDR photography was built to solve, and it is one I run into constantly when shooting in high-contrast environments like venues, architecture interiors, or golden-hour outdoor scenes.
In this Aaron Nace (PHLEARN) tutorial from his “30 Days of Lightroom” series, he walks through the entire HDR merge process inside Lightroom Classic, from what you need to shoot in-camera all the way through the merge settings. Watch the full tutorial on YouTube if you want to follow along with his sample images. The walkthrough below extracts every actionable step so you can apply it immediately to your own shots.
Step 1: Shoot Bracketed Exposures Before You Touch Lightroom
 Camera settings overview for exposure bracketing explained
The work that makes HDR possible happens before you open Lightroom. You need at least two photos of the same scene at different exposure levels: one underexposed (which preserves highlight detail in bright areas like windows or sky), and one overexposed or properly exposed (which keeps shadow detail in darker areas like room interiors). Most modern mirrorless and DSLR cameras have a bracketing mode built into the settings menu that automates this for you, firing multiple shots in sequence at different exposure values. Some cameras can capture up to nine frames at up to three stops apart, which gives you a tremendous amount of tonal range to work with.
Camera settings overview for exposure bracketing explained
The work that makes HDR possible happens before you open Lightroom. You need at least two photos of the same scene at different exposure levels: one underexposed (which preserves highlight detail in bright areas like windows or sky), and one overexposed or properly exposed (which keeps shadow detail in darker areas like room interiors). Most modern mirrorless and DSLR cameras have a bracketing mode built into the settings menu that automates this for you, firing multiple shots in sequence at different exposure values. Some cameras can capture up to nine frames at up to three stops apart, which gives you a tremendous amount of tonal range to work with.
If you are shooting handheld, keep the camera as still as possible between frames. A tripod is the cleaner solution. Lightroom has an auto-align feature that can compensate for minor camera movement, but the less it has to compensate, the sharper and cleaner your final merge will be.
Step 2: Import Your Bracketed RAW Files into Lightroom Classic
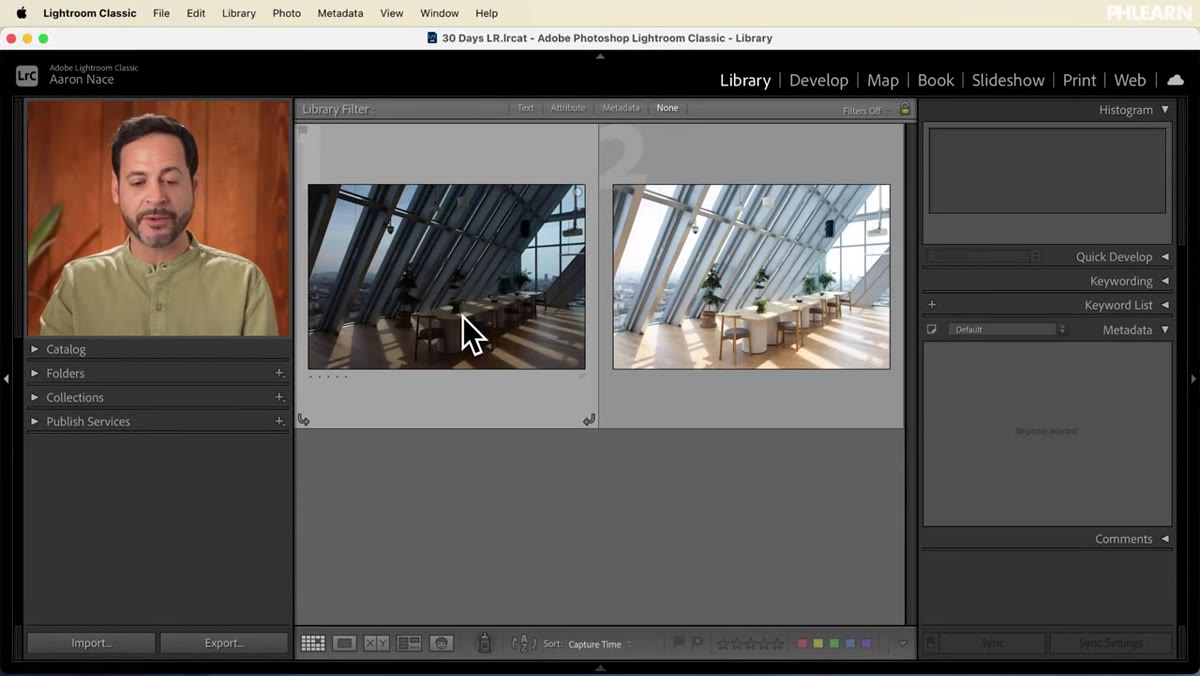 Two RAW bracketed images displayed side by side in Lightroom grid
Nace uses two RAW files for this tutorial: one where the outdoor sky and buildings are exposed correctly but the interior is dark, and one where the interior reads perfectly but the outside is washed out. Seeing them side by side in the grid view makes the problem immediately obvious, and it also makes the solution feel satisfying. RAW files are strongly preferred here because they hold significantly more recoverable data in both the highlights and shadows compared to JPEGs. If you shoot JPEG, HDR merging still works, but you are starting with less headroom.
Two RAW bracketed images displayed side by side in Lightroom grid
Nace uses two RAW files for this tutorial: one where the outdoor sky and buildings are exposed correctly but the interior is dark, and one where the interior reads perfectly but the outside is washed out. Seeing them side by side in the grid view makes the problem immediately obvious, and it also makes the solution feel satisfying. RAW files are strongly preferred here because they hold significantly more recoverable data in both the highlights and shadows compared to JPEGs. If you shoot JPEG, HDR merging still works, but you are starting with less headroom.
Load both (or all) of your bracketed images into the same catalog and keep them visible in the grid. You are going to select them together for the merge command.
Step 3: Select All Images and Open the HDR Merge Dialog
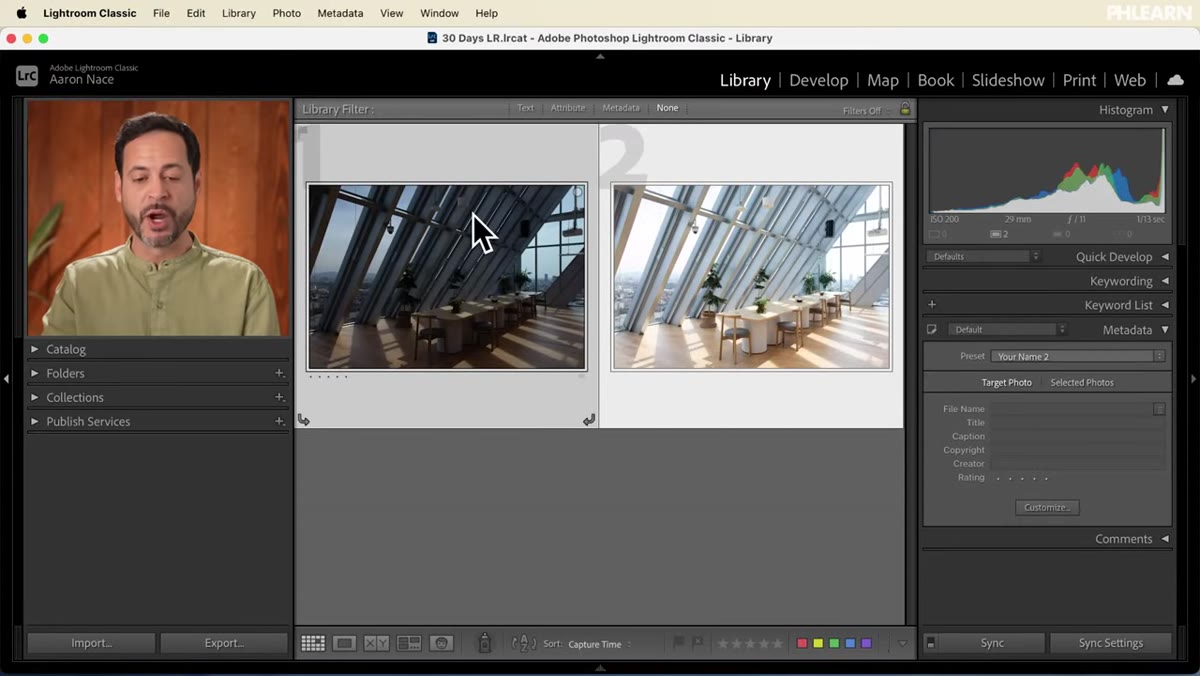 Right-click context menu showing Photo Merge and HDR options
With your images loaded in the Library or Develop module grid, hold Shift and click to select all the bracketed frames at once. Then right-click anywhere on the selection, go to “Photo Merge,” and choose “HDR.” Lightroom will begin generating a preview of the merged result, which takes a few seconds depending on file size and your machine’s speed.
Right-click context menu showing Photo Merge and HDR options
With your images loaded in the Library or Develop module grid, hold Shift and click to select all the bracketed frames at once. Then right-click anywhere on the selection, go to “Photo Merge,” and choose “HDR.” Lightroom will begin generating a preview of the merged result, which takes a few seconds depending on file size and your machine’s speed.
When the HDR Merge Preview dialog opens, you will see a composite preview that already looks dramatically improved over either individual frame. Both the bright outdoor areas and the shadowed interior areas are now rendering with usable detail simultaneously. This preview is interactive, so the settings you adjust here will update what you see before you commit.
Step 4: Enable Auto Align and Auto Settings
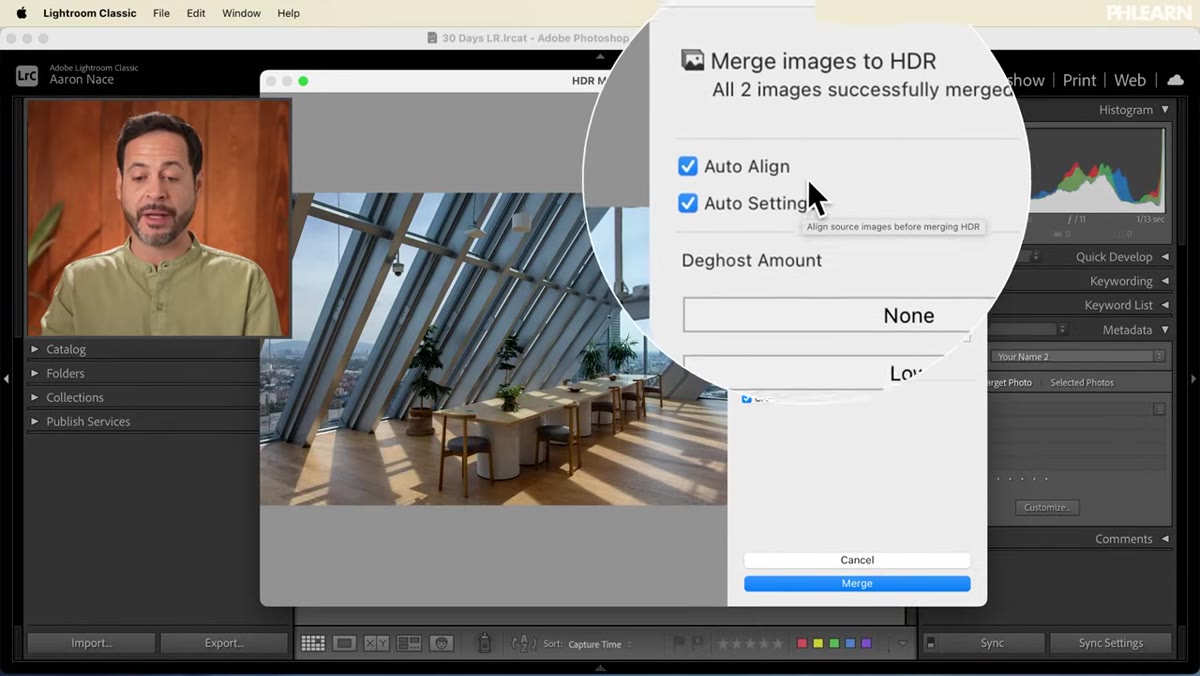 HDR Merge Preview dialog with Auto Align and Auto Settings checkboxes
Inside the HDR Merge Preview dialog, you will see two checkboxes at the top: “Auto Align” and “Auto Settings.” Nace recommends turning both on, and I agree completely. Auto Align analyzes the pixel positions across your frames and corrects for any camera shift between shots. Even on a tripod, vibration or mirror slap can introduce tiny misalignments that create ghosting or soft edges in the final file. Auto Align handles that cleanly.
HDR Merge Preview dialog with Auto Align and Auto Settings checkboxes
Inside the HDR Merge Preview dialog, you will see two checkboxes at the top: “Auto Align” and “Auto Settings.” Nace recommends turning both on, and I agree completely. Auto Align analyzes the pixel positions across your frames and corrects for any camera shift between shots. Even on a tripod, vibration or mirror slap can introduce tiny misalignments that create ghosting or soft edges in the final file. Auto Align handles that cleanly.
Auto Settings applies Lightroom’s automatic tone adjustments to the merged file as a starting point. Think of it as a first-pass edit that gets you in the ballpark. You can always go in afterward and adjust every slider manually, but starting with Auto Settings means you are not staring at a flat, unprocessed HDR file trying to figure out where to begin.
Step 5: Configure Deghost Settings and Merge
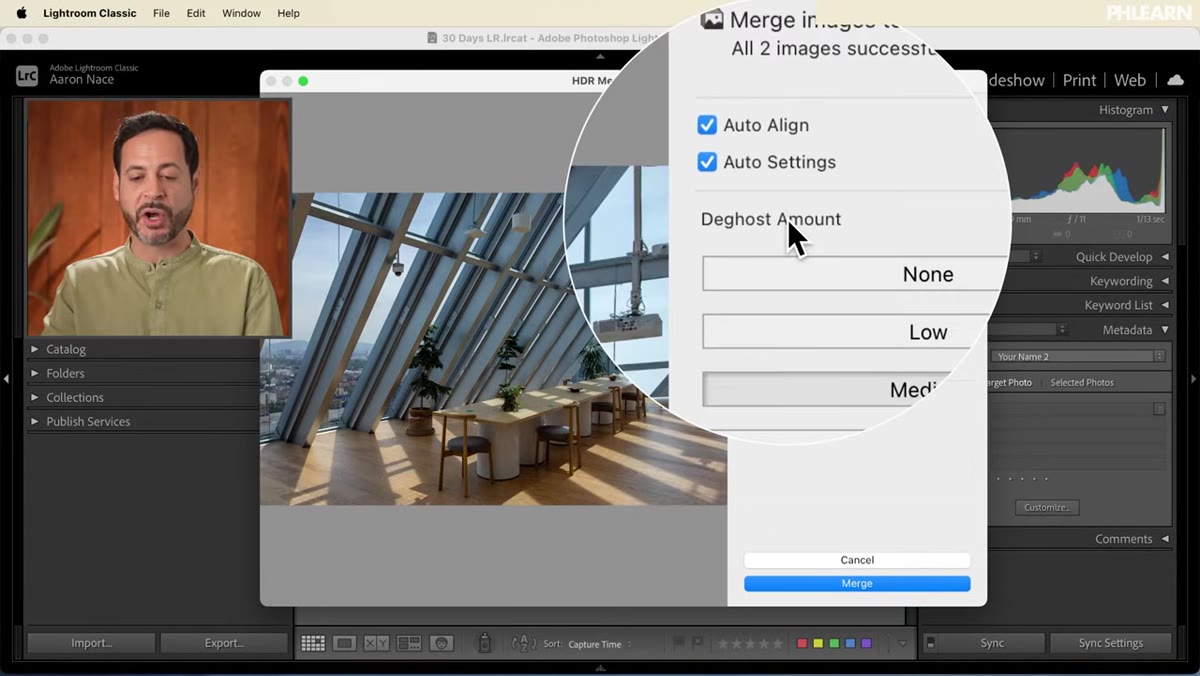 Deghost Amount slider options shown in HDR Merge Preview dialog
Below the alignment and settings checkboxes, you will find the Deghost Amount slider. Ghosting happens when something moves between your exposures: a person walking through the frame, tree branches blowing in the wind, or a car passing by. The merge process can create a blurry, doubled artifact where that movement occurred. The Deghost slider gives you control over how aggressively Lightroom attempts to identify and remove those artifacts.
Deghost Amount slider options shown in HDR Merge Preview dialog
Below the alignment and settings checkboxes, you will find the Deghost Amount slider. Ghosting happens when something moves between your exposures: a person walking through the frame, tree branches blowing in the wind, or a car passing by. The merge process can create a blurry, doubled artifact where that movement occurred. The Deghost slider gives you control over how aggressively Lightroom attempts to identify and remove those artifacts.
For scenes with no movement, leaving Deghost at None or Low is fine. If your scene had any motion at all, bump it up to Medium or High and watch the preview to see if the ghosting clears. Once you are satisfied with the preview, click “Merge.” Lightroom will process the files and create a new DNG file in your catalog, which is your merged HDR image ready for editing.
What I Do Differently: Stack Before You Merge
One habit I have built into my HDR workflow that the tutorial does not cover is stacking my bracketed frames before merging. In Lightroom, you can group images into a stack (Photo menu, then Stack, then Group into Stack) so your source files collapse behind the final merged DNG in the grid view. It keeps the catalog from feeling cluttered, especially if you shoot a lot of bracketed sequences in one session. Twenty merged HDR images that each have three or five source files behind them can turn a tidy catalog into a wall of thumbnails fast.
I also make a point of rating my source frames before merging. If one of the bracketed shots has motion blur or camera shake, I flag it and exclude it from the merge. Running a clean set of sharp frames through the process consistently gives better results than letting Lightroom try to compensate for a technically flawed source file.
The single most important thing to understand about HDR in Lightroom is that the technique only works as well as the source material you give it. Get the shooting right, use RAW files, and stabilize your camera, and the merge process almost handles itself. Watch the full tutorial on YouTube to follow along with Aaron’s sample files and see the before-and-after merge result in real time.
Comments (5)
I keep coming back to this article. It's that useful.
Shared this with my photography group. Everyone loved it.
Well explained. I think my audience would really benefit from this — mind if I link to it?
I keep coming back to this article. It's that useful.
Excellent tutorial. I'd add that from a photoshop standpoint, this technique is incredibly versatile.
Leave a Comment