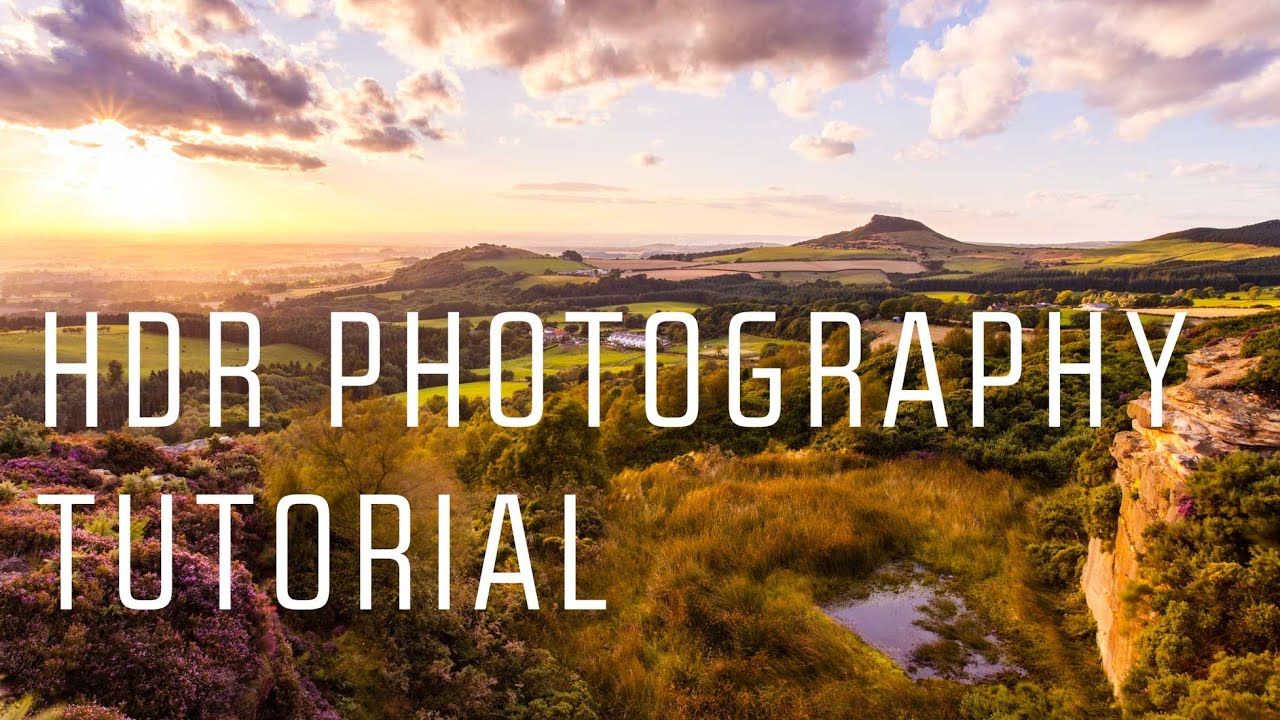
There’s a specific kind of frustration that hits when you’re standing in front of a stunning landscape, you nail the composition, you fire the shutter, and then you open the file later and half the image is either blown out or buried in shadow. Your eyes handled the scene beautifully. Your camera did not. This is the dynamic range problem, and it’s one of the most common reasons a photo that felt incredible in the field ends up looking flat or broken on screen.
HDR merging in Lightroom is one of the most practical solutions to this problem, and it’s more controlled and subtle than its early-2000s reputation suggests. In this First Man Photography tutorial, Adam walks through the full process from camera setup to finished merge, and what struck me rewatching it was how clean the workflow actually is. Watch the full tutorial on YouTube if you want to follow along, or use this breakdown as your working reference.
I come back to HDR merging most often for high-contrast exterior shots, specifically anything involving a bright sky and a shadowed foreground, which describes about half the landscape work I do. Getting this right in-camera through a single exposure is often impossible. Getting it right in post, with a proper bracket, takes about two minutes in Lightroom once you know the steps.
Step 1: Understand What HDR Is Actually Doing
 Diagram explaining highlights, midtones, and shadows in HDR
HDR stands for high dynamic range, and the concept is simpler than the acronym suggests. Instead of trying to capture a full scene in one exposure where something always gets sacrificed, you take multiple shots at different exposures. One frame is exposed for the bright highlights. Another captures the midtones. A third pulls detail from the shadows. Lightroom then stacks those frames and builds a single composite image that holds detail across the entire tonal range.
Diagram explaining highlights, midtones, and shadows in HDR
HDR stands for high dynamic range, and the concept is simpler than the acronym suggests. Instead of trying to capture a full scene in one exposure where something always gets sacrificed, you take multiple shots at different exposures. One frame is exposed for the bright highlights. Another captures the midtones. A third pulls detail from the shadows. Lightroom then stacks those frames and builds a single composite image that holds detail across the entire tonal range.
The reason this works is that you’re not asking one exposure to do the impossible. You’re giving each tonal zone its own dedicated frame, then letting the software do the blending. Modern Lightroom HDR merging produces results that look natural when done at moderate settings. The over-processed, glowing-halo look from early HDR software was a style choice, not a requirement of the technique.
Step 2: Set Your Camera to Manual Mode and Enable Bracketing
 Camera in manual mode with bracketing chart visible
Bracketing only works reliably in manual mode. If you’re shooting in aperture priority or auto, use those modes to find your base exposure for the midtones, make a note of the settings, then switch manually to those exact values. Keeping shutter speed as your variable between frames is the standard approach, since you want aperture and ISO to stay consistent so the depth of field and noise character match across all three shots.
Camera in manual mode with bracketing chart visible
Bracketing only works reliably in manual mode. If you’re shooting in aperture priority or auto, use those modes to find your base exposure for the midtones, make a note of the settings, then switch manually to those exact values. Keeping shutter speed as your variable between frames is the standard approach, since you want aperture and ISO to stay consistent so the depth of field and noise character match across all three shots.
Once you’re in manual, engage your camera’s bracketing function. On most Canon bodies this is accessed via the Q button and the exposure compensation chart, which shifts into a bracketing spread when you’re in manual. Set your bracket at one to two stops in either direction from your base exposure. For most high-contrast landscapes, two stops gives you enough separation without creating files so different that the merge struggles to align them. Shoot in continuous mode if your camera allows it, so all three frames fire quickly and minimize any movement between shots.
Step 3: Shoot on a Tripod
 Camera mounted on tripod in outdoor landscape setting
This one sounds obvious but it’s worth being specific about why it matters. Lightroom’s HDR merge does include auto-alignment, which can compensate for minor handheld drift. But the more movement between frames, the more the software has to work, and the more likely you are to get ghosting artifacts, especially around anything that moved between shots like clouds, water, or foliage.
Camera mounted on tripod in outdoor landscape setting
This one sounds obvious but it’s worth being specific about why it matters. Lightroom’s HDR merge does include auto-alignment, which can compensate for minor handheld drift. But the more movement between frames, the more the software has to work, and the more likely you are to get ghosting artifacts, especially around anything that moved between shots like clouds, water, or foliage.
A tripod keeps your frames consistent and gives Lightroom the cleanest possible material to work with. If you absolutely have to shoot handheld, brace yourself firmly, use a fast enough shutter that camera shake is minimal, and shoot more than three frames so you have options to discard the weakest ones.
Step 4: Import All Three Frames into Lightroom
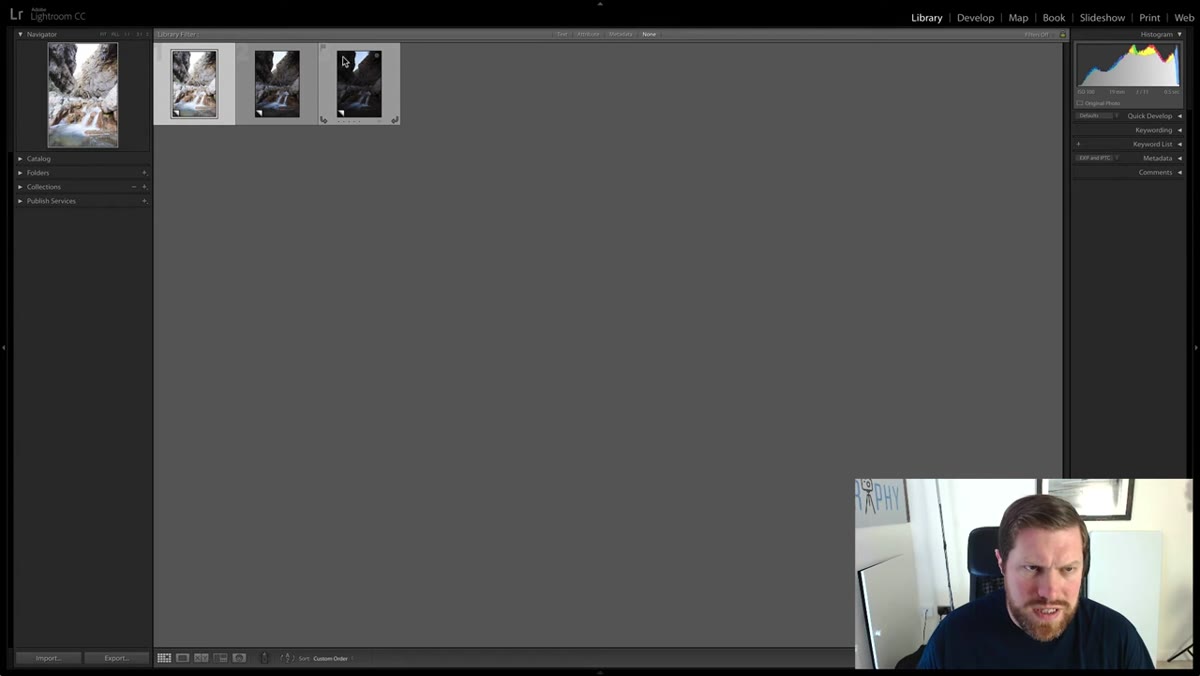
 Three bracketed images visible in Lightroom filmstrip
Once you’re in Lightroom, import your three bracketed frames together. In the filmstrip or grid view, you should be able to see the clear tonal difference between them. One frame will show a well-exposed sky with a dark foreground. Another will show a properly exposed foreground with a blown-out sky. The middle frame sits somewhere between the two. These are not mistakes. That’s exactly what you want.
Three bracketed images visible in Lightroom filmstrip
Once you’re in Lightroom, import your three bracketed frames together. In the filmstrip or grid view, you should be able to see the clear tonal difference between them. One frame will show a well-exposed sky with a dark foreground. Another will show a properly exposed foreground with a blown-out sky. The middle frame sits somewhere between the two. These are not mistakes. That’s exactly what you want.
Take a moment to look at each frame individually. Confirm that the key detail you care about is present and properly exposed somewhere across those three images. If the sky detail you need is blown out in all three, or the shadow detail is crushed in all three, no amount of merging will recover what isn’t there. The bracket has to actually capture the full range before Lightroom can combine it.
Step 5: Select All Three Images and Run the HDR Merge
 Right-click menu showing Photo Merge HDR option in Lightroom
Select all three images in the filmstrip by clicking the first, then shift-clicking the last. Right-click and navigate to Photo Merge, then select HDR. Lightroom will open a preview dialog where you can see the merged result before committing to it. This preview is genuinely useful. It lets you catch alignment issues or ghosting before Lightroom finishes the full-resolution render.
Right-click menu showing Photo Merge HDR option in Lightroom
Select all three images in the filmstrip by clicking the first, then shift-clicking the last. Right-click and navigate to Photo Merge, then select HDR. Lightroom will open a preview dialog where you can see the merged result before committing to it. This preview is genuinely useful. It lets you catch alignment issues or ghosting before Lightroom finishes the full-resolution render.
In the merge dialog, leave auto-align enabled. Deghost is worth experimenting with. If anything moved between your frames, a low or medium deghost setting will help Lightroom decide which exposure to prioritize for those moving areas. For completely static scenes, you can leave deghost off. Once the settings look right in the preview, click Merge, and Lightroom will produce a new DNG file containing the combined tonal information from all three frames.
My Take: HDR as a Starting Point, Not a Finished Edit
One thing Adam’s tutorial doesn’t dig into, because it’s outside the scope, is that the merged HDR file is your raw material, not your finished photo. The DNG Lightroom produces will often look a little flat or muted straight out of the merge. That’s intentional. The file now holds an enormous amount of tonal data, and Lightroom is being conservative about how it renders it.
I treat the merged file the same way I treat any raw file. I push the highlights down, lift the shadows, add contrast through the tone curve, and then address color. Because I work in Lightroom constantly, I usually drop one of my base presets on the file first, then make targeted adjustments from there. The HDR file responds beautifully to these edits precisely because it has all that recovered detail to work with. The before-and-after difference on a high-contrast landscape shot is often dramatic, in the best possible way.
The single most important thing to take from this workflow is that HDR in Lightroom is not about making images look processed. It’s about giving yourself enough raw material to do the edit you actually want. Bracket in camera, merge in Lightroom, then edit the result like any other file.
Watch the full tutorial on YouTube to see Adam’s specific example from the Yorkshire Dales, which does a great job of showing just how much detail a proper merge can pull from a single scene.
Comments (2)
Clear and practical. No fluff. Appreciate that.
This is going in my reference folder. Incredibly useful.
Leave a Comment