Fix Mixed White Balance in One Shot — No Photoshop Required

Fix Mixed White Balance in One Shot — No Photoshop Required

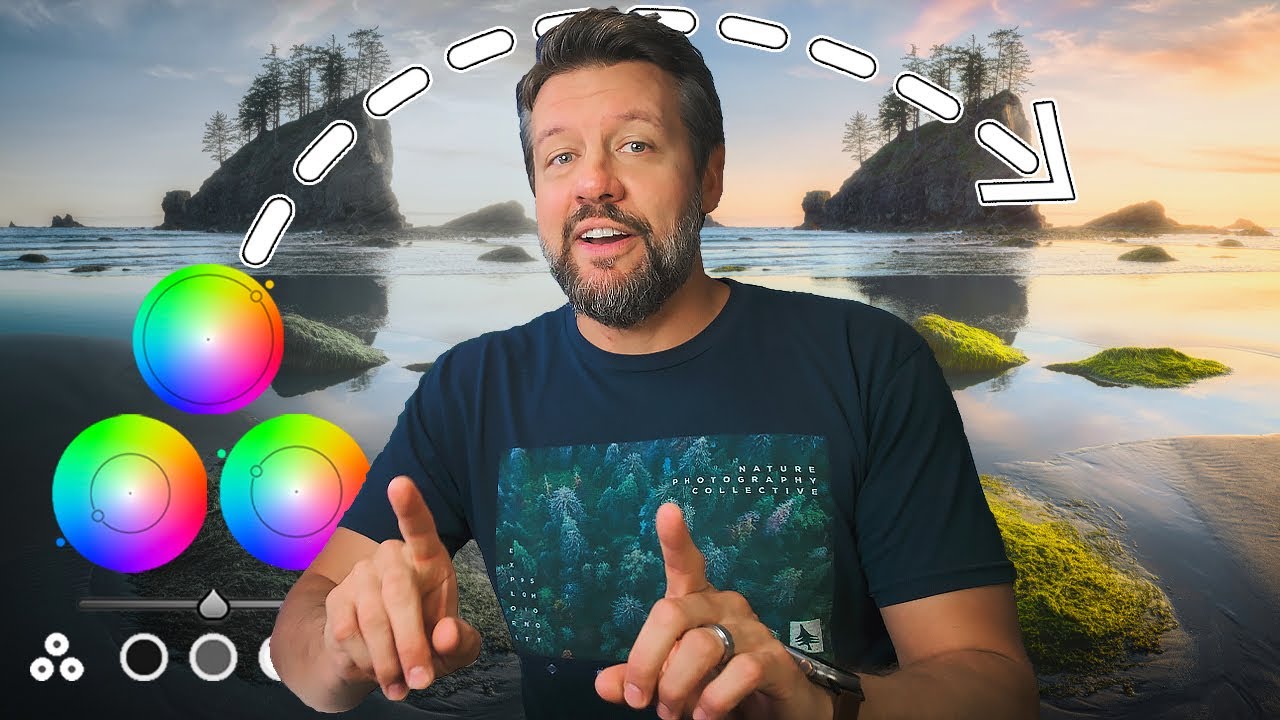
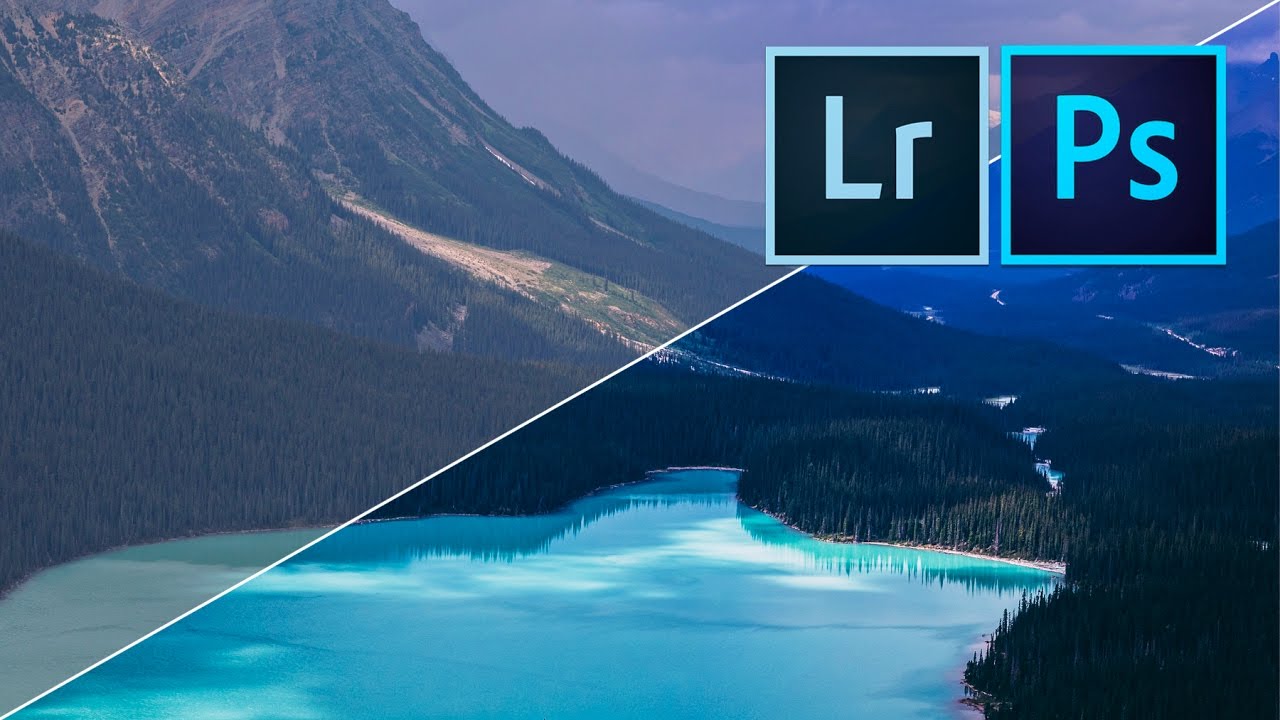
There’s a specific kind of frustration that only photographers know: you’ve got a landscape shot where the sky looks exactly right, but the foreground is too cool, or you’ve nailed the warmth in the ground and the sky looks like it was shot through a yellow window. You move the temperature slider left and the foreground dies. You move it right and the sky turns the color of old mustard. For years I just accepted that this was a Photoshop problem, something to mask out in layers and blend manually.

The 10-Minute Lightroom Landscape Workflow That Actually Holds Up

The 10-Minute Lightroom Landscape Workflow That Actually Holds Up

Every landscape photo I’ve edited in a hurry has the same problem: I rush the foundation. I skip lens correction, eyeball the exposure, and convince myself I’ll fix the color “later.” Later never comes, and the image ends up sitting in a reject folder next to seventeen other almost-good shots from a trip I was genuinely excited about. That’s why this tutorial from Mark Denney landed so well for me. It’s a Lightroom-only landscape workflow, no Photoshop, no plugins, no excuses.

How to Edit a Rocky Beach Sunset Photo: A Full Lightroom-to-Photoshop Walkthrough

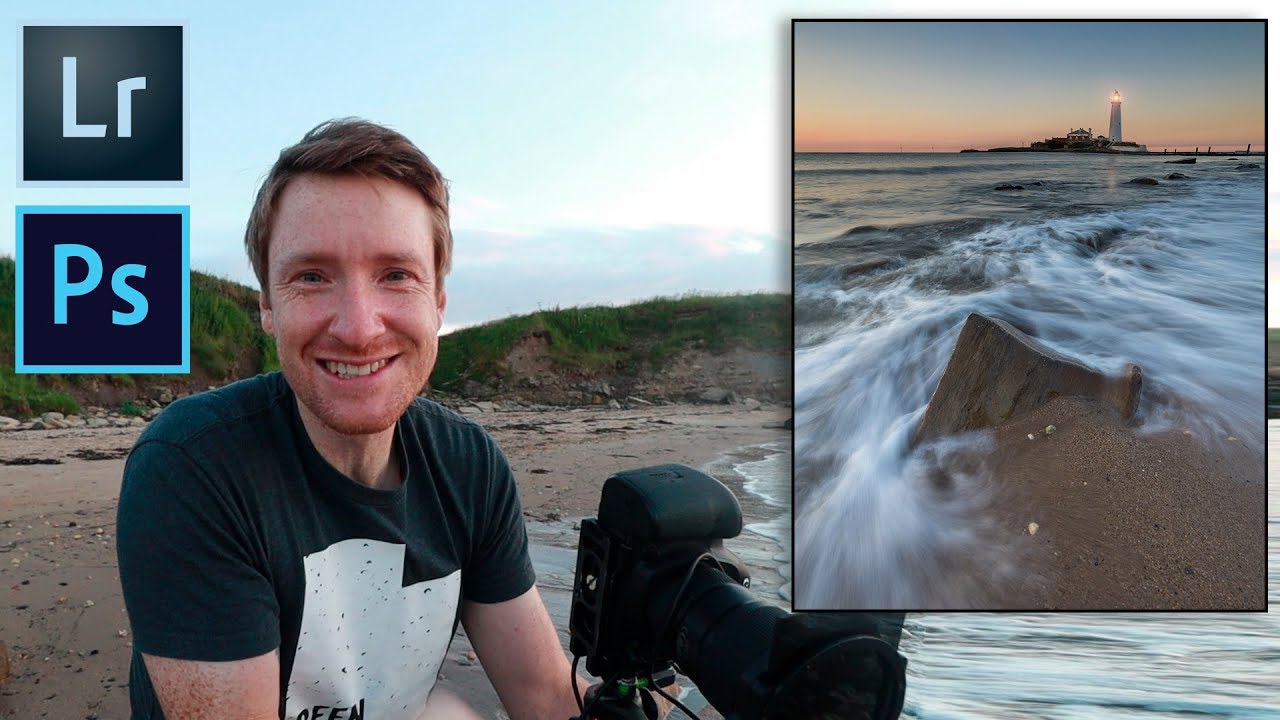
How to Edit a Rocky Beach Sunset Photo: A Full Lightroom-to-Photoshop Walkthrough

Sunset beach shots are the ones that make you look like a genius or expose you as someone who just dragged the Vibrance slider to 100 and called it a day. The challenging part isn’t the golden light, it’s the dynamic range. You’ve got a blown-out sky threatening to clip on one end and a shadowy foreground swallowing all your rock detail on the other. Every time I pull one of these into Lightroom, I feel the same pull in two directions, and the edit can go sideways fast if you don’t have a clear workflow.

Fix Blown-Out Landscape Skies in Lightroom Without Touching a Single Physical Filter

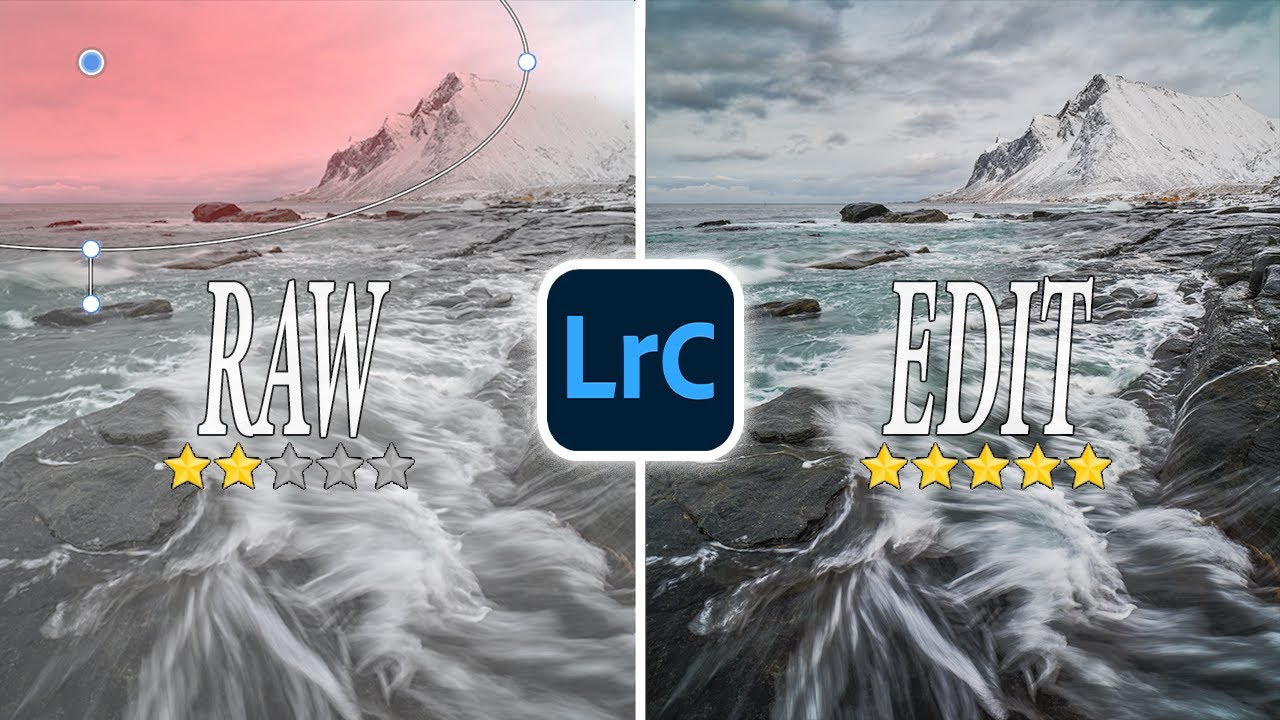
Fix Blown-Out Landscape Skies in Lightroom Without Touching a Single Physical Filter

There’s a photo sitting in my Lightroom catalog right now - shot at Percy Warner Park last fall, golden hour, the kind of light that makes you feel like you earned something. The foreground is perfect. The sky is a white, featureless void. I exposed for the trees, and the sky paid the price. If you shoot landscapes, you’ve been here. Your eyes handle that contrast between a bright sky and a shadowed foreground without thinking about it.

How to Edit Moody Landscape Photos in Lightroom: 6 Steps That Actually Work

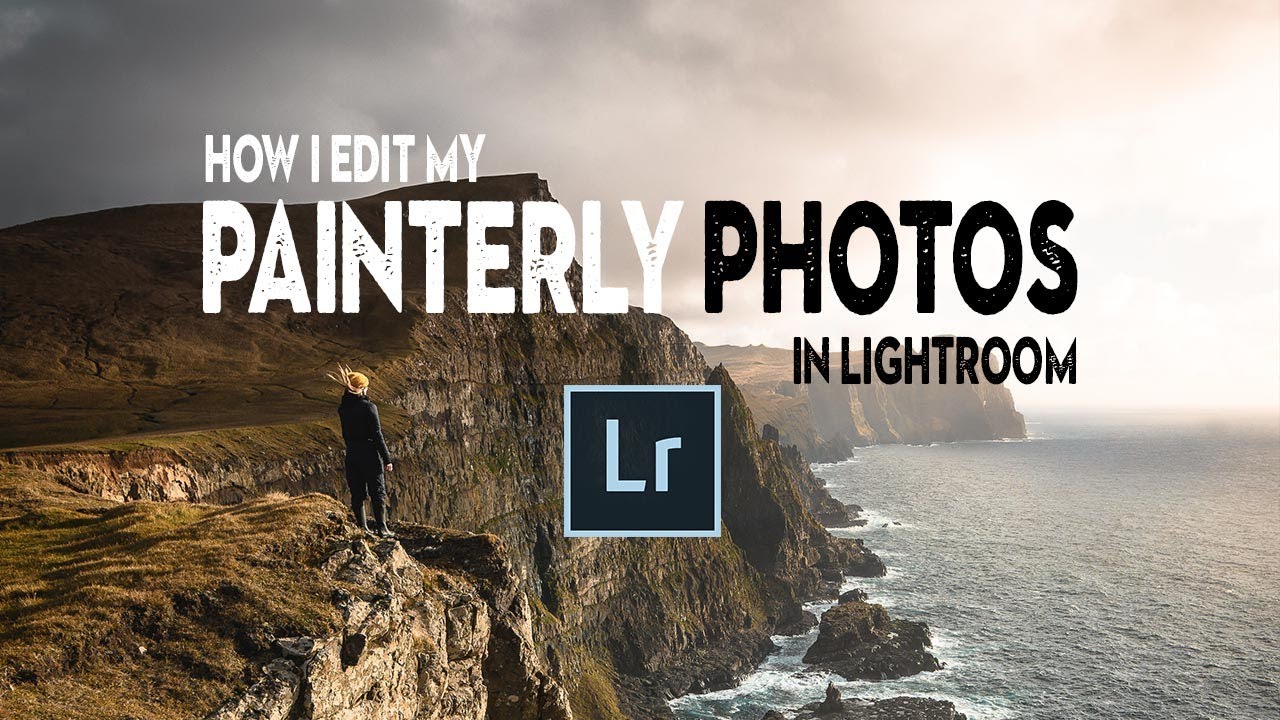
How to Edit Moody Landscape Photos in Lightroom: 6 Steps That Actually Work

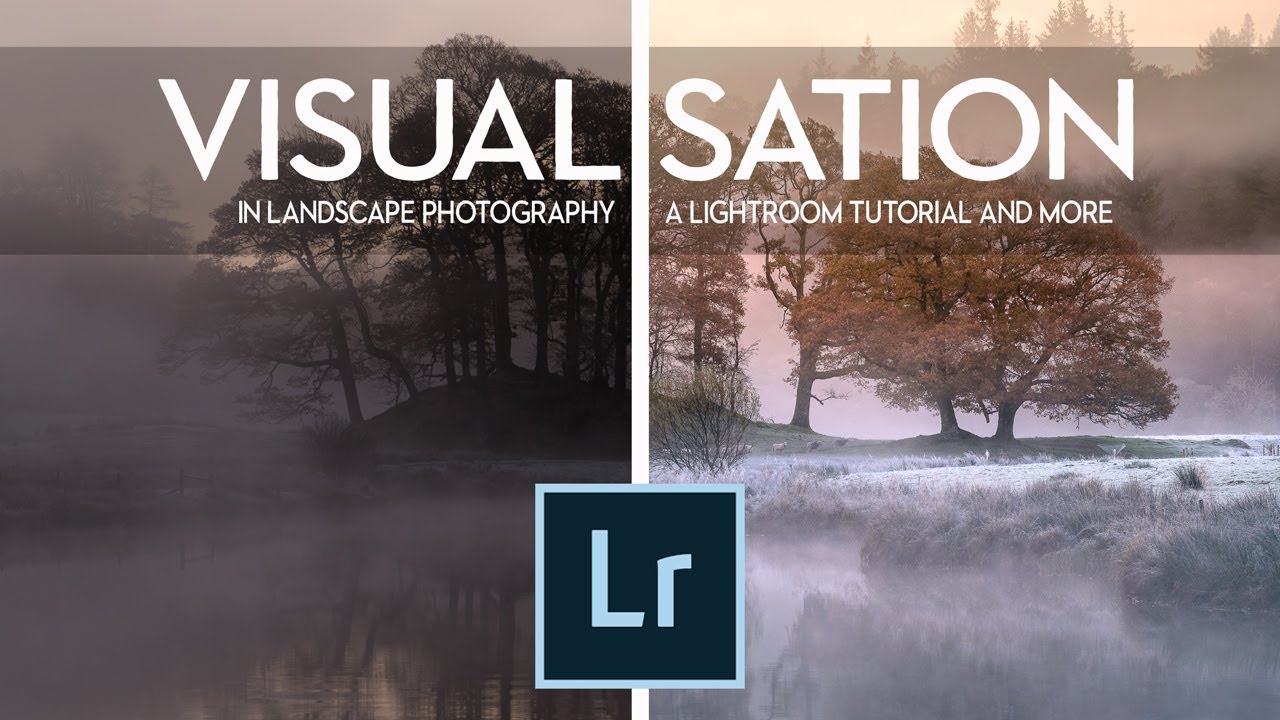
There’s a specific kind of landscape photo that stops you mid-scroll. Dark, atmospheric, a little unsettling. The kind of image where the fog does half the storytelling and the edit does the other half. I’ve been chasing that look for years, and I’ll admit I used to think it was mostly about being in the right place at the right time. It’s not. It’s mostly about knowing what to do with the raw file once you’re back home.

Why You're Probably Shooting (and Stitching) Panoramas Wrong in Lightroom

Why You're Probably Shooting (and Stitching) Panoramas Wrong in Lightroom

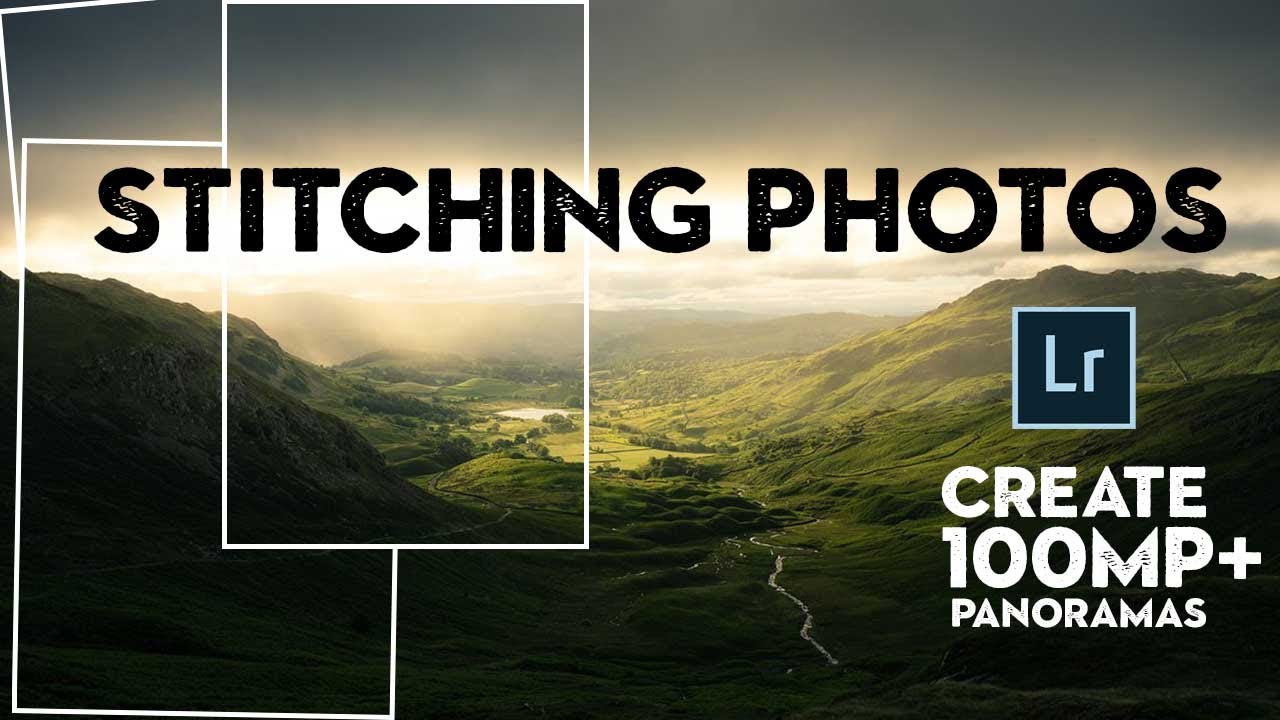
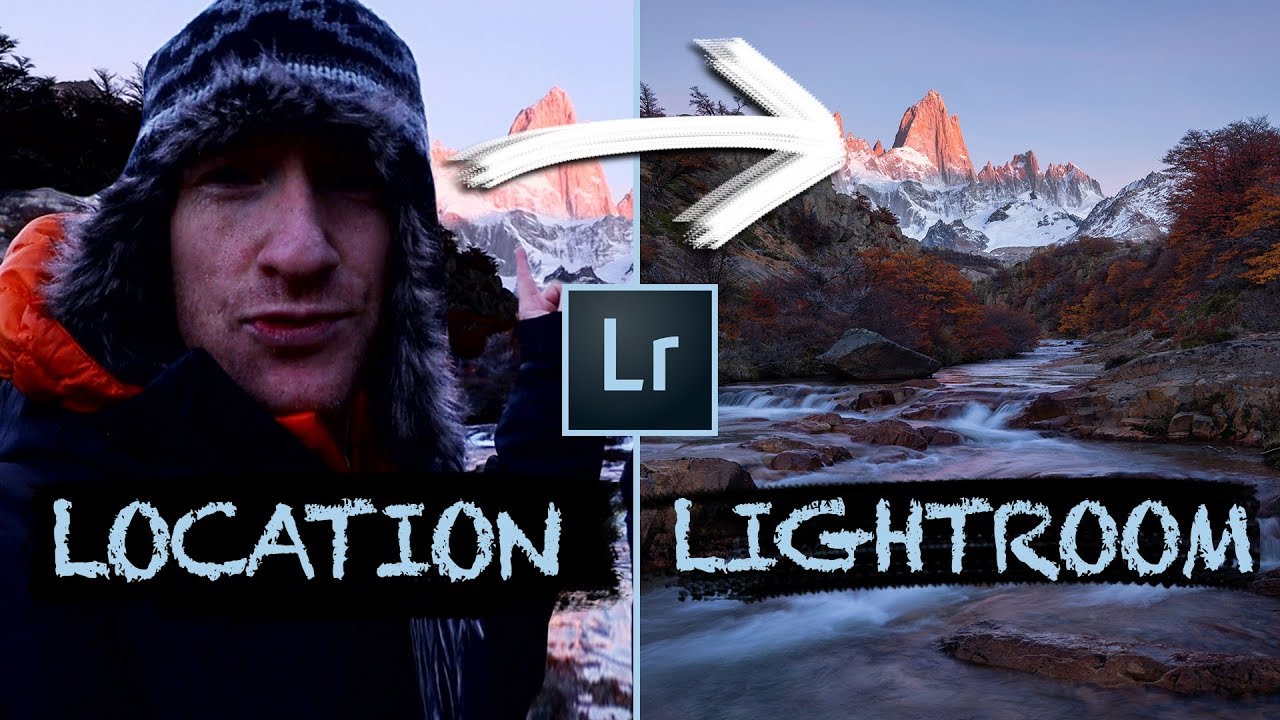
There’s a particular kind of pain that comes from getting home after a long shoot, opening Lightroom, selecting your pano sequence, hitting Merge, and watching the result come out warped, misaligned, or with exposure banding across the frame. I’ve been there more times than I’d like to admit. The frustrating part is that the problem almost always started on location, not in the software. That’s why this tutorial from Mark Denney caught my attention immediately.

Three Photos, No Rules: What Matt Kloskowski's Editing Process Actually Teaches You

Three Photos, No Rules: What Matt Kloskowski's Editing Process Actually Teaches You

Every few months I’ll watch another working photographer edit in real time, not because I need the basics refreshed, but because the decisions are where the education lives. Anyone can list sliders. Watching someone decide which slider matters, and why, is a different thing entirely. That’s what pulled me into Matt Kloskowski’s new Photo Makeover series. Watch the full tutorial on YouTube and you’ll see what I mean within the first two minutes.

How to Merge HDR Photos in Lightroom (Without Making It Look Like a Nightmare)

How to Merge HDR Photos in Lightroom (Without Making It Look Like a Nightmare)

There’s a specific kind of frustration that hits when you’re standing in front of a stunning landscape, you nail the composition, you fire the shutter, and then you open the file later and half the image is either blown out or buried in shadow. Your eyes handled the scene beautifully. Your camera did not. This is the dynamic range problem, and it’s one of the most common reasons a photo that felt incredible in the field ends up looking flat or broken on screen.

What Seven Years of Lightroom Experience Actually Looks Like (And What You Can Steal From It)

What Seven Years of Lightroom Experience Actually Looks Like (And What You Can Steal From It)

I have a folder on my hard drive called “Do Not Open.” It’s full of edits from my early years that I cannot look at without physically wincing. Over-sharpened skies. Shadows crushed to pure black like I was trying to make every photo look like a crime scene. Clarity sliders pushed so far right that the rocks look like they’re made of sandpaper. We’ve all been there. The problem is most of us don’t have a way to clearly see what changed between then and now, and more importantly, why it changed.

Plan the Shot, Then Let It Go: What a Canyon Waterfall Taught Me About Color Grading

Plan the Shot, Then Let It Go: What a Canyon Waterfall Taught Me About Color Grading

There’s a specific kind of frustration I know well: standing in front of a stunning location, firing off a solid technical shot, and then opening Lightroom later only to feel like something is just… missing. The image is fine. But fine isn’t why you drove two hours into a canyon. That gap between “technically correct” and “actually feels like the place” is where color grading lives, and it’s also the exact problem William Patino sets out to solve in this tutorial on shooting and editing a canyon waterfall.

The Lightroom Calibration Panel Is Doing Something Weird to Your Colors (And You Should Let It)

The Lightroom Calibration Panel Is Doing Something Weird to Your Colors (And You Should Let It)

There’s a panel in Lightroom that I ignored for an embarrassingly long time. Not because I didn’t know it existed, but because every time I opened it, nothing about it made intuitive sense. The sliders didn’t behave the way I expected. The results felt accidental. So I’d close it and go back to the HSL panel where everything felt safe and logical. I suspect most editors do the same thing, because the Camera Calibration panel has the energy of a mysterious neighbor you’ve never actually talked to.

Stitching the Sky: A Practical Guide to Building Panoramas Inside Lightroom

Stitching the Sky: A Practical Guide to Building Panoramas Inside Lightroom

There’s a specific kind of frustration that comes from shooting a killer landscape, knowing you captured something real out there, and then opening your files to find that no single frame holds the whole scene. I’ve been there more times than I want to count. Wide-angle lenses help, but they also introduce distortion that can make a beautiful horizon look like it’s bending toward you. The smarter solution, the one working photographers have been using for years, is shooting a sequence of overlapping frames and stitching them into a panorama.