A Beginner's Lightroom Workflow That Actually Sticks: Breaking Down Mark Denney's 7-Step Method

A Beginner's Lightroom Workflow That Actually Sticks: Breaking Down Mark Denney's 7-Step Method

There’s a specific kind of paralysis that hits when you open a raw file and stare at Lightroom’s right panel. Every slider is an option. Every option feels equally valid or equally wrong. I remember that feeling vividly from when I was first teaching myself the software, back when I was editing band press shots in a one-bedroom apartment because nobody else was going to do it. The problem wasn’t effort.
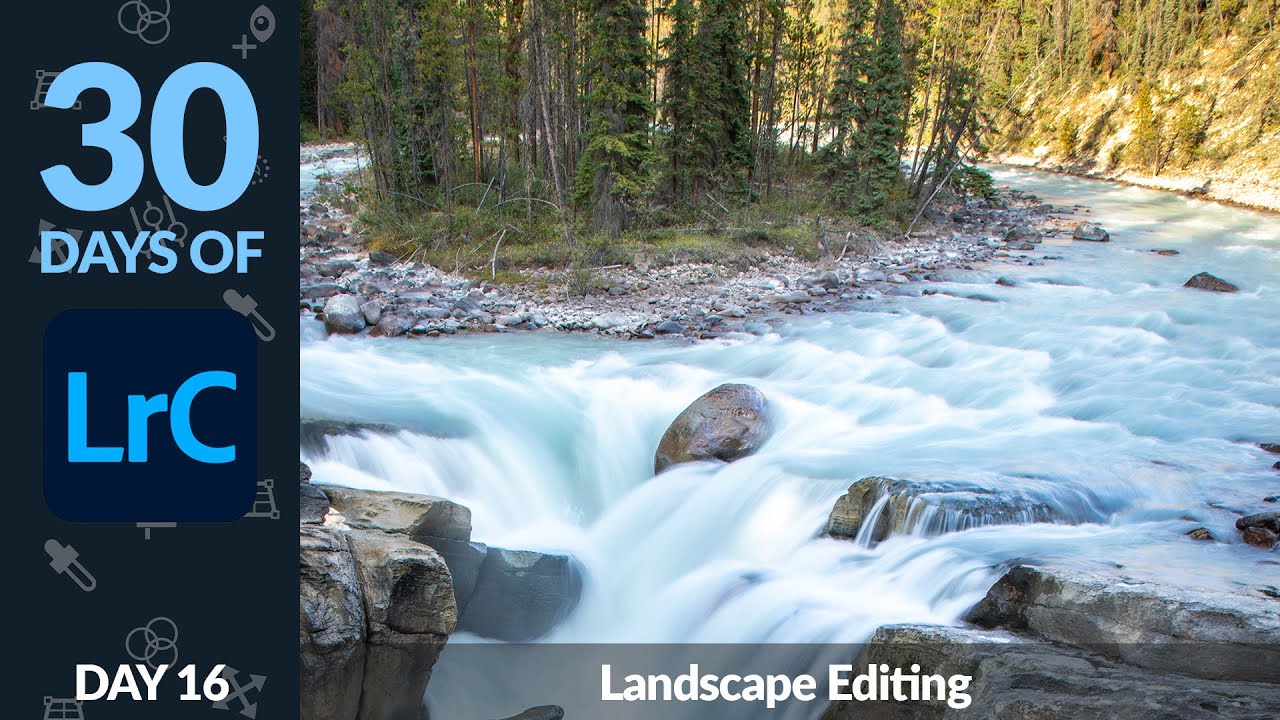
How to Fix Blown Skies and Flat Light in Landscape Photos Using Lightroom Masks

How to Fix Blown Skies and Flat Light in Landscape Photos Using Lightroom Masks

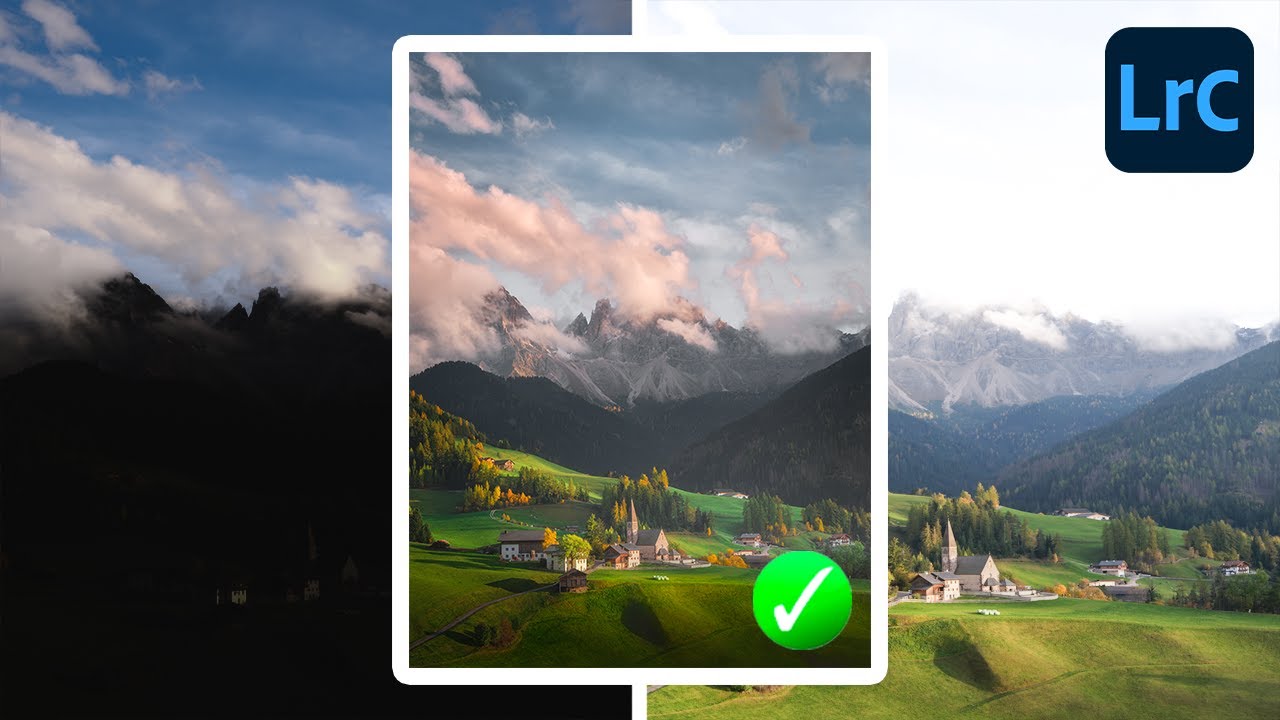
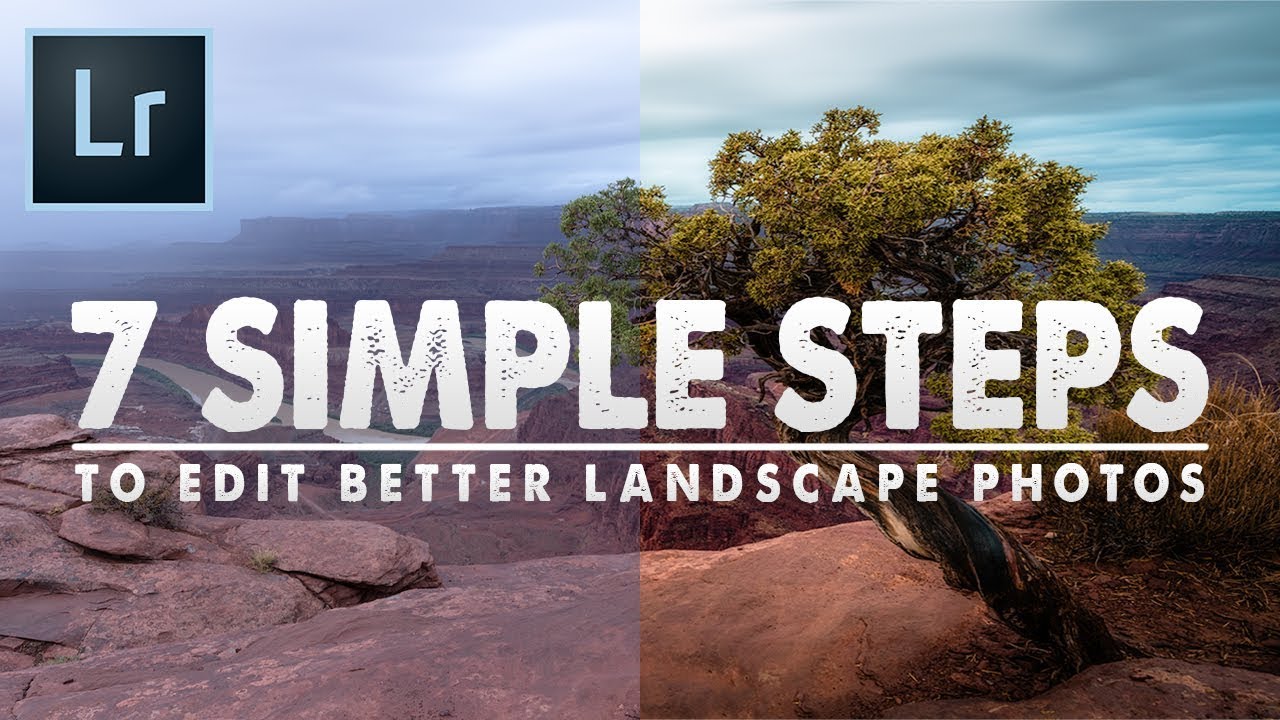
Landscape editing has a way of humbling you fast. You come home with a shot that looked incredible in the field, load it into Lightroom, and suddenly the sky is a blown-out white smear and the water looks like concrete. I’ve been there more times than I want to count. The problem isn’t usually the photo. It’s that landscapes have an extreme dynamic range that a single global edit almost never handles gracefully.

How to Build a Photography Style That's Actually Yours (A Lightroom Breakdown)

How to Build a Photography Style That's Actually Yours (A Lightroom Breakdown)

Every few months I’ll open my Lightroom catalog and feel that low-grade anxiety of looking at a grid of images that don’t quite belong together. Good photos, technically. But no thread connecting them. No sense that one person made all of these. If you’ve ever scrolled your own feed and thought “this looks like four different photographers,” this one’s for you. In this Nigel Danson tutorial, Watch the full tutorial on YouTube, Nigel tackles the question he says he gets asked more than anything else: how do you actually build a style?

Dehaze, Clarity, and Texture: The Lightroom Tools I Kept Getting Wrong (And How to Actually Use Them)

Dehaze, Clarity, and Texture: The Lightroom Tools I Kept Getting Wrong (And How to Actually Use Them)

For a long time, I treated the Dehaze slider like that one guitar pedal you keep on your board but never actually turn on. Too risky, too unpredictable, too easy to ruin a shot that was almost there. Clarity I’d use occasionally, usually too aggressively, and texture felt like the polite, younger sibling of a tool I didn’t fully understand either. I knew something was off about how I was using them, but I couldn’t articulate why my results kept looking crunchy, strange, or just weirdly brown.

Lightroom's Graduated Filter Has a Secret Mode That Beats the Physical ND Grad

Lightroom's Graduated Filter Has a Secret Mode That Beats the Physical ND Grad

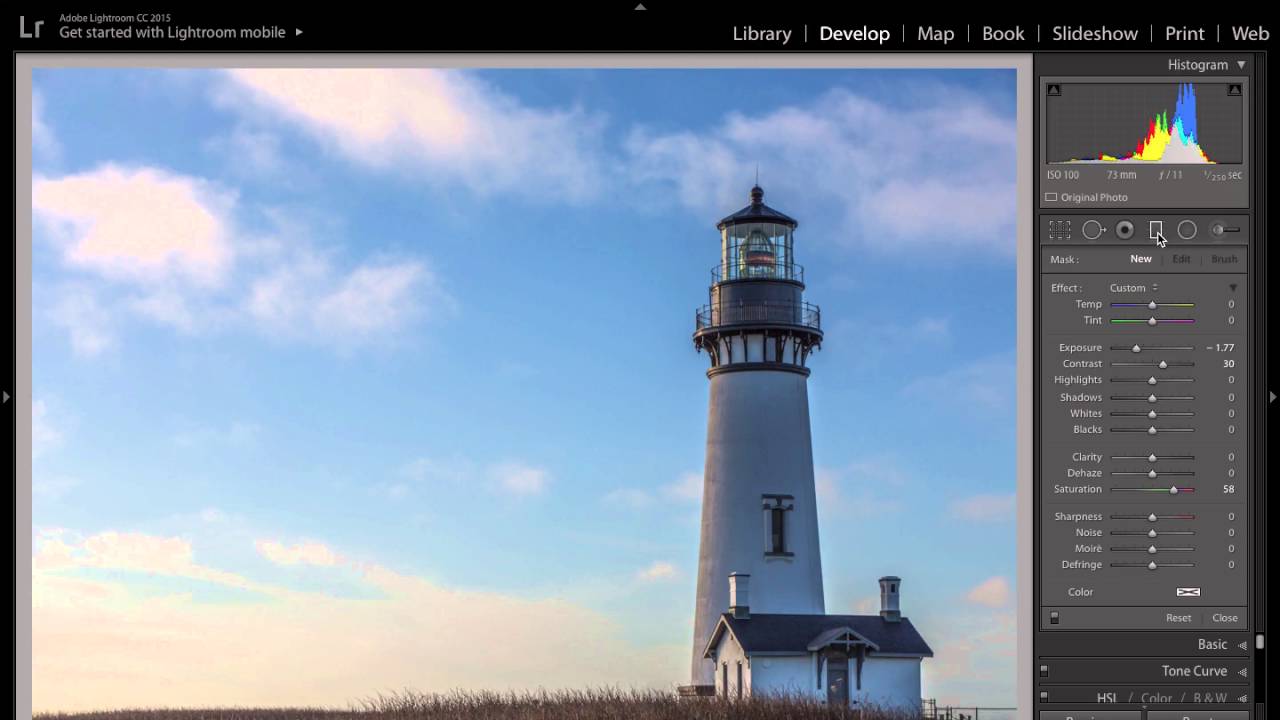
I’ve spent a lot of time and money chasing the perfect sky in landscape shots. Two-stop ND grad, three-stop, soft edge, hard edge. If you’ve stood in a camera shop or scrolled through B&H trying to figure out which neutral density gradient filter to buy, you already know the paralysis that comes with it. These filters aren’t cheap, and buying the wrong one means starting over. What I didn’t fully appreciate until recently is that Lightroom’s built-in Graduated Filter tool has quietly become a legitimate alternative, and there’s one specific trick that makes it pull ahead of physical glass in at least one important way.

Start to Finish in Lightroom: What Mark Denney's Bali Edit Taught Me About Getting Out of My Own Way

Start to Finish in Lightroom: What Mark Denney's Bali Edit Taught Me About Getting Out of My Own Way

There’s a particular kind of editing paralysis that hits when you open a raw file that’s dramatically underexposed. You know there’s a great photo in there somewhere, but the gap between what you’re looking at and what you imagined in the field feels enormous. I’ve been there more times than I can count, usually somewhere around midnight with a vinyl record spinning and my cat ISO judging me from the desk chair.

How to Actually Use Color in Lightroom (A Breakdown of Nigel Danson's Best Techniques)

How to Actually Use Color in Lightroom (A Breakdown of Nigel Danson's Best Techniques)

Color is the part of editing where most people either overdo it or give up and call it “done” too early. I’ve been on both sides of that. When I first started editing seriously, I treated the color sliders like a dare instead of a tool, and the results looked like a fever dream. It took years of working through other people’s workflows to develop a framework that actually holds up across different images and lighting conditions.

Lightroom Can Actually Blend Exposures - Here's the Hidden Feature That Makes It Work

Lightroom Can Actually Blend Exposures - Here's the Hidden Feature That Makes It Work

There’s a conversation I end up having at least once a week, usually in the comments or over email: “Should I switch to Photoshop just to blend exposures?” And honestly, for a long time, my answer was a reluctant “kind of, yeah.” Lightroom has always been the better tool for the actual editing workflow, but the moment someone needs to combine a bright sky shot with a properly exposed foreground, the conversation usually detours into Photoshop, luminosity masks, and about three hours of frustration.

Simple Lightroom Edits That Actually Move the Needle (Breaking Down a Nigel Danson Workflow)

Simple Lightroom Edits That Actually Move the Needle (Breaking Down a Nigel Danson Workflow)

There’s a version of Lightroom editing where you open a raw file, spend 45 minutes pushing sliders around, and end up with something that looks worse than when you started. I lived in that version for longer than I’d like to admit. What changed things for me was watching editors who had a clear sequence - people who knew what they were fixing and why before they touched a single control.

Stop Sharpening Everything: The Selective Sharpening Technique That Actually Works in Lightroom

Stop Sharpening Everything: The Selective Sharpening Technique That Actually Works in Lightroom

Every few months I’ll open a photo I was excited about in the field and feel that quiet disappointment when it just looks… soft. Not out-of-focus soft, but lacking that punch I saw with my own eyes when I pressed the shutter. For years I did what most photographers do: cranked the Sharpening slider in the Detail panel, dragged the Masking slider while holding Option, called it a day. The photo got sharper, technically.

How to Reshape Light in Lightroom When Your Photo Has No Focal Point

How to Reshape Light in Lightroom When Your Photo Has No Focal Point

There’s a specific kind of editing frustration I run into a few times a month. I’m looking at a technically solid photo, good exposure, interesting location, sharp focus, and I feel nothing. The image has no heartbeat. Everything in the frame is fighting for equal attention, which means nothing actually wins. I’ve cropped, I’ve tweaked the tone curve, I’ve gone back to the raw file and started over. Sometimes the problem isn’t the exposure or the colors.

From Foggy RAW File to Final Print: What I Learned Watching Nigel Danson Edit a Landscape Photo

From Foggy RAW File to Final Print: What I Learned Watching Nigel Danson Edit a Landscape Photo

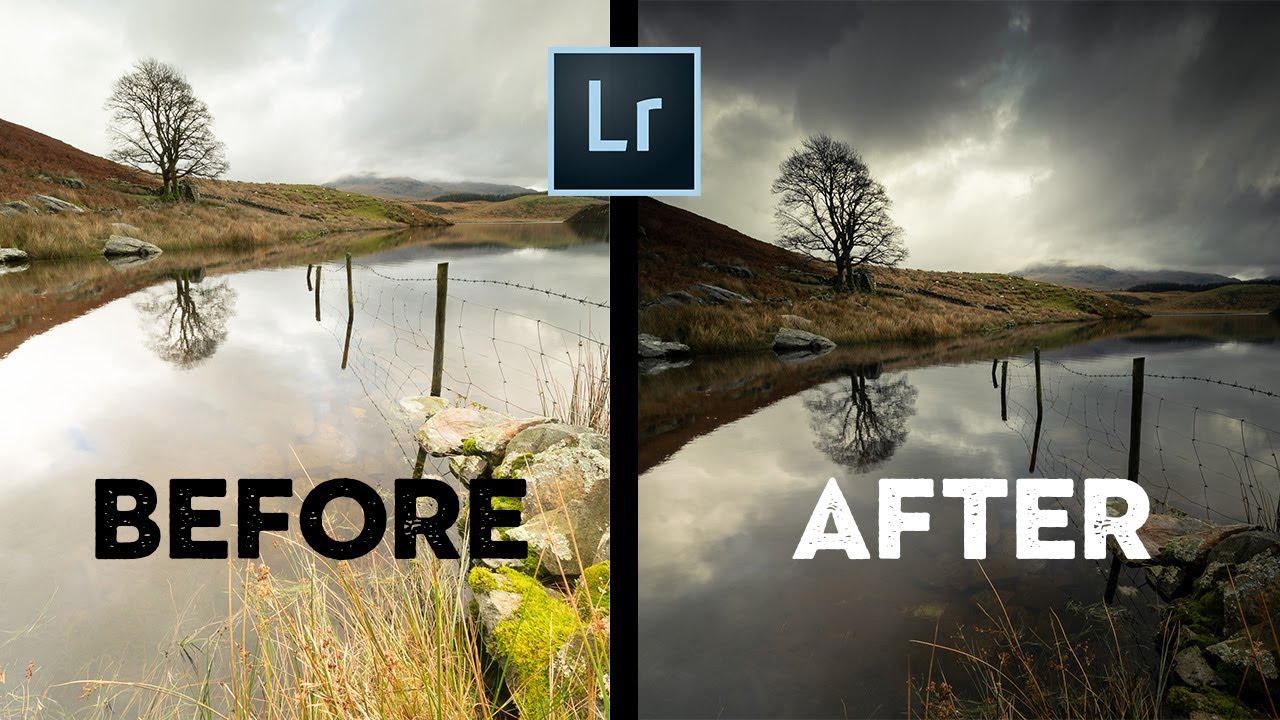
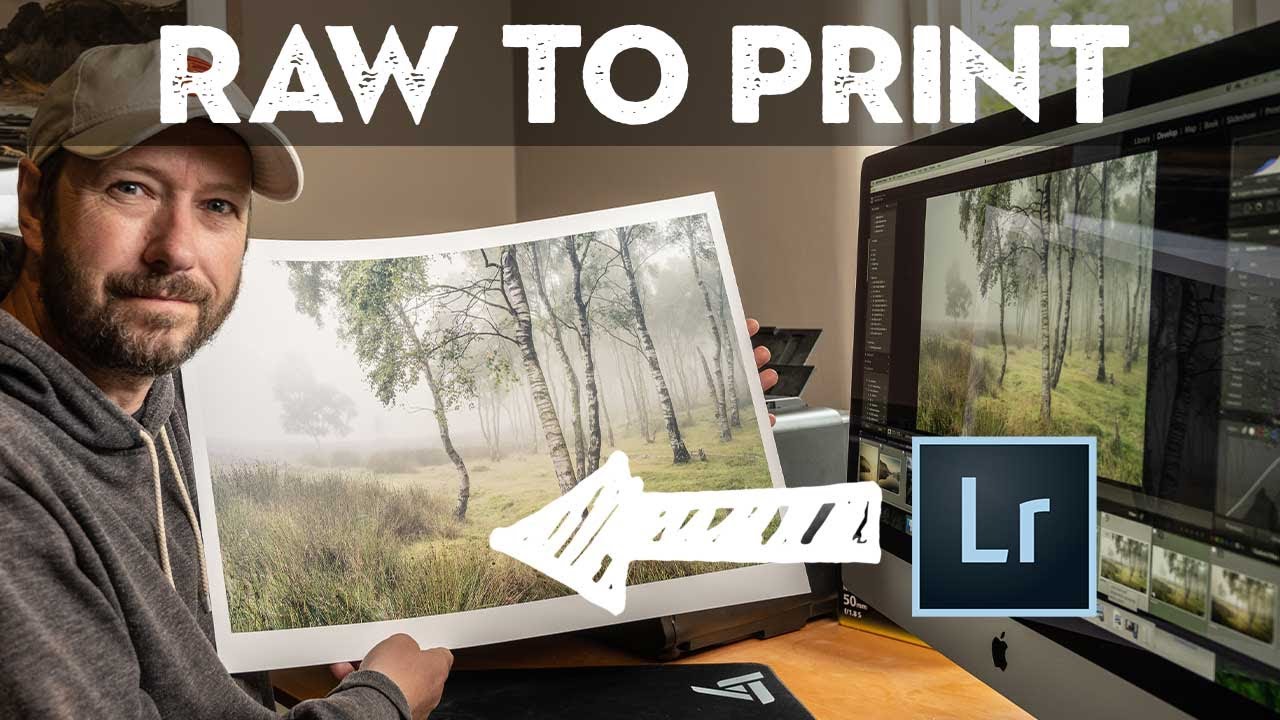
There’s a particular kind of frustration that comes from shooting a genuinely great scene and then watching the edit fall apart at your desk. You were there. You saw the fog rolling through the heather. You exposed carefully. And now the RAW file looks flat, muddy, and nothing like what you remember. This is the problem that a strong, repeatable editing workflow actually solves, and it’s why I keep coming back to tutorials from photographers who shoot seriously and edit seriously.