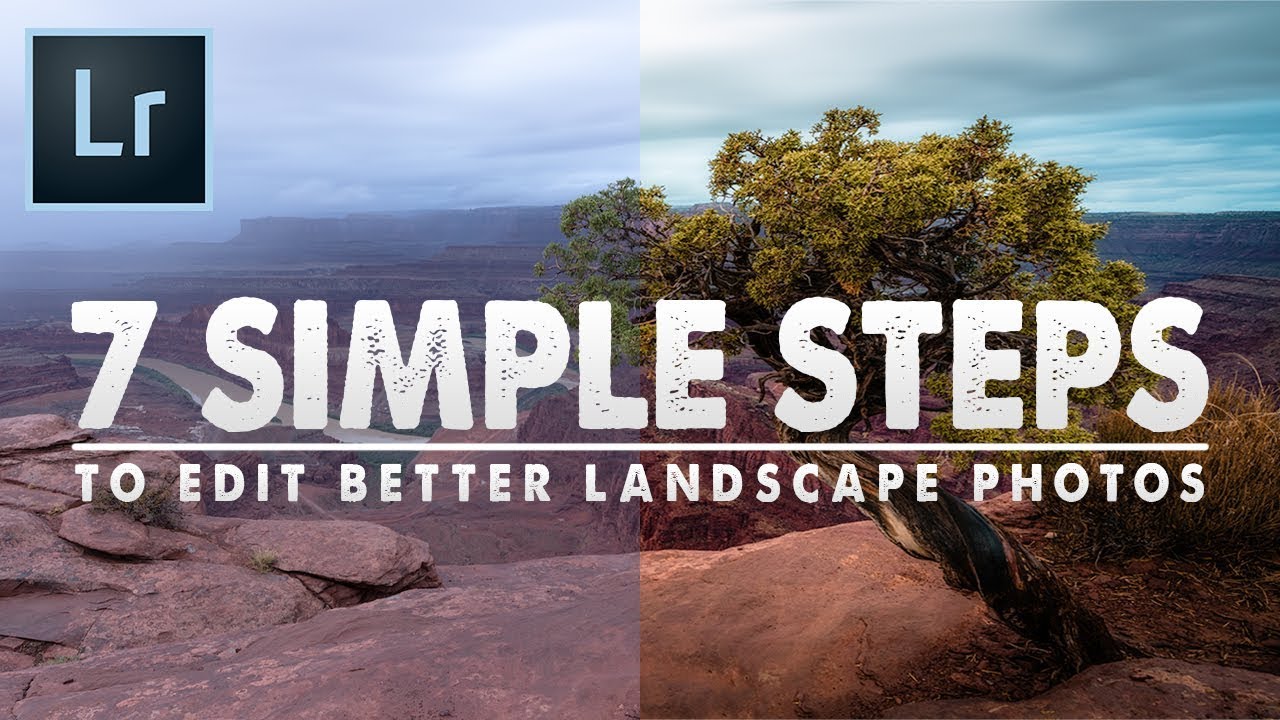
There’s a specific kind of paralysis that hits when you open a raw file and stare at Lightroom’s right panel. Every slider is an option. Every option feels equally valid or equally wrong. I remember that feeling vividly from when I was first teaching myself the software, back when I was editing band press shots in a one-bedroom apartment because nobody else was going to do it. The problem wasn’t effort. It was the absence of a repeatable system.
That’s exactly the problem that Watch the full tutorial on YouTube this Mark Denney tutorial addresses head-on. Denney, a landscape photographer known for clean, methodical teaching, walks through a seven-step editing workflow he applies to every single image he processes in Lightroom. The appeal isn’t novelty. It’s repeatability. The same logical sequence, every time, regardless of the photo. For anyone who has ever opened a raw file and just started randomly dragging sliders hoping something would click, this framework is the thing you didn’t know you needed.
What struck me most watching it was how much Denney front-loads the structural decisions before he touches tone or color. That sequencing is the insight. Here’s how it works.
Step 0: Lens Corrections Before Anything Else
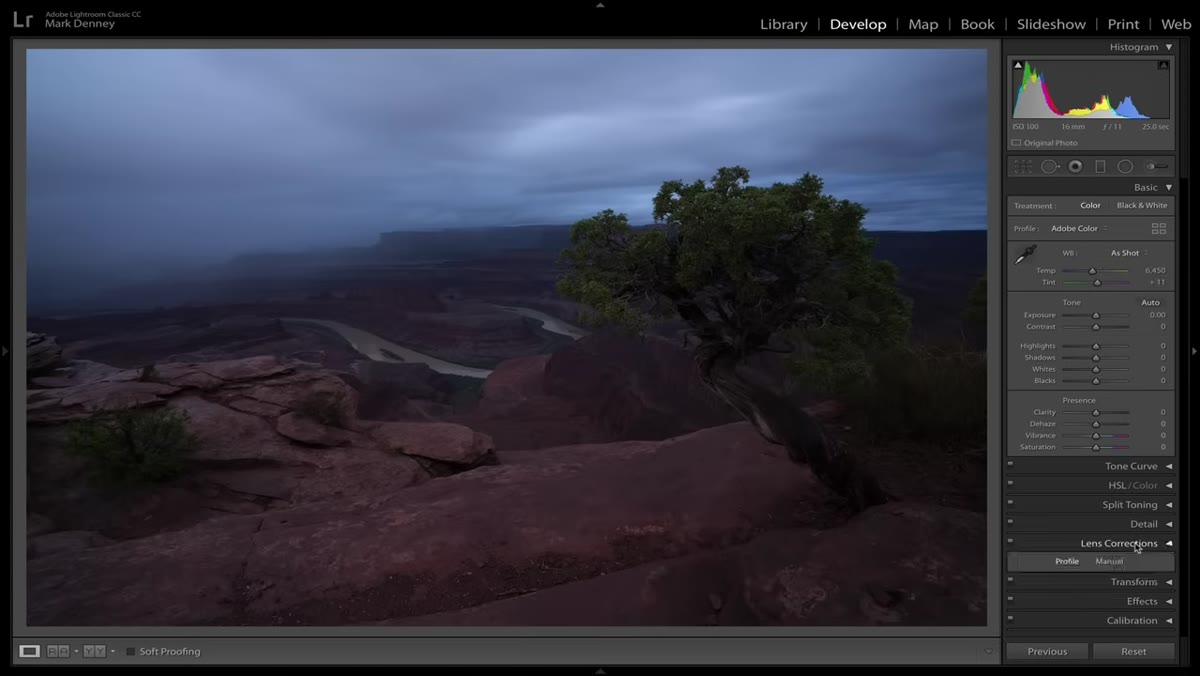 Lens Correction panel with chromatic aberration and profile enabled
Denney treats this as a prerequisite rather than an actual step in the sequence, which tells you something about how fundamental it is. Before any creative editing begins, head to the Lens Corrections panel and check two boxes: “Remove Chromatic Aberration” and “Enable Profile Corrections.” Chromatic aberration shows up as colored fringing around high-contrast edges, particularly common in landscape shots with bright skies meeting dark foreground elements. The profile correction compensates for geometric distortion introduced by your specific lens. Neither of these is a creative choice. They’re housekeeping, and doing them first means every subsequent judgment you make about the image is based on accurate visual information rather than lens artifacts.
Lens Correction panel with chromatic aberration and profile enabled
Denney treats this as a prerequisite rather than an actual step in the sequence, which tells you something about how fundamental it is. Before any creative editing begins, head to the Lens Corrections panel and check two boxes: “Remove Chromatic Aberration” and “Enable Profile Corrections.” Chromatic aberration shows up as colored fringing around high-contrast edges, particularly common in landscape shots with bright skies meeting dark foreground elements. The profile correction compensates for geometric distortion introduced by your specific lens. Neither of these is a creative choice. They’re housekeeping, and doing them first means every subsequent judgment you make about the image is based on accurate visual information rather than lens artifacts.
Step 1: Crop and Straighten First
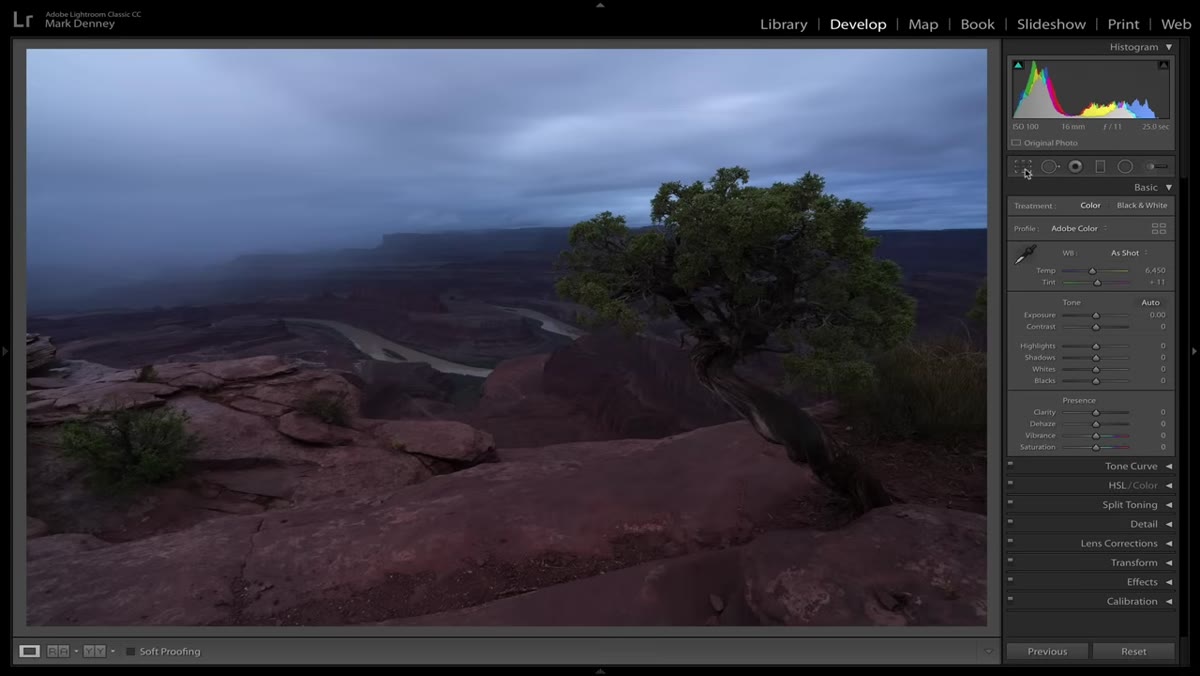 Crop tool active with composition being adjusted in Lightroom
The first official step in Denney’s sequence is cropping, and the logic here is sound in a way that took me longer than I’d like to admit to fully internalize. If you spend twenty minutes perfecting exposure and color on a composition that you’re going to crop anyway, you’ve wasted time and potentially made decisions based on elements that won’t survive the final frame. Grab the crop tool and ask yourself what’s genuinely contributing to the image versus what’s just occupying space.
Crop tool active with composition being adjusted in Lightroom
The first official step in Denney’s sequence is cropping, and the logic here is sound in a way that took me longer than I’d like to admit to fully internalize. If you spend twenty minutes perfecting exposure and color on a composition that you’re going to crop anyway, you’ve wasted time and potentially made decisions based on elements that won’t survive the final frame. Grab the crop tool and ask yourself what’s genuinely contributing to the image versus what’s just occupying space.
Denney demonstrates this on a Dead Horse Point landscape, pulling in the left edge to eliminate a bush that felt like a good compositional anchor in the field but reads as clutter in post. He also removes a partially cropped tree on the right edge, something that’s almost invisible when you’re in the moment but becomes a nagging distraction at a desk. He also adjusts the bottom of the frame to emphasize a natural leading line, a crack in the rock that pulls the eye toward the main subject. Straighten the horizon here too, either manually or using Lightroom’s angle tool. Get the geometry right before you do anything else.
Step 2: Establish Your Global Exposure
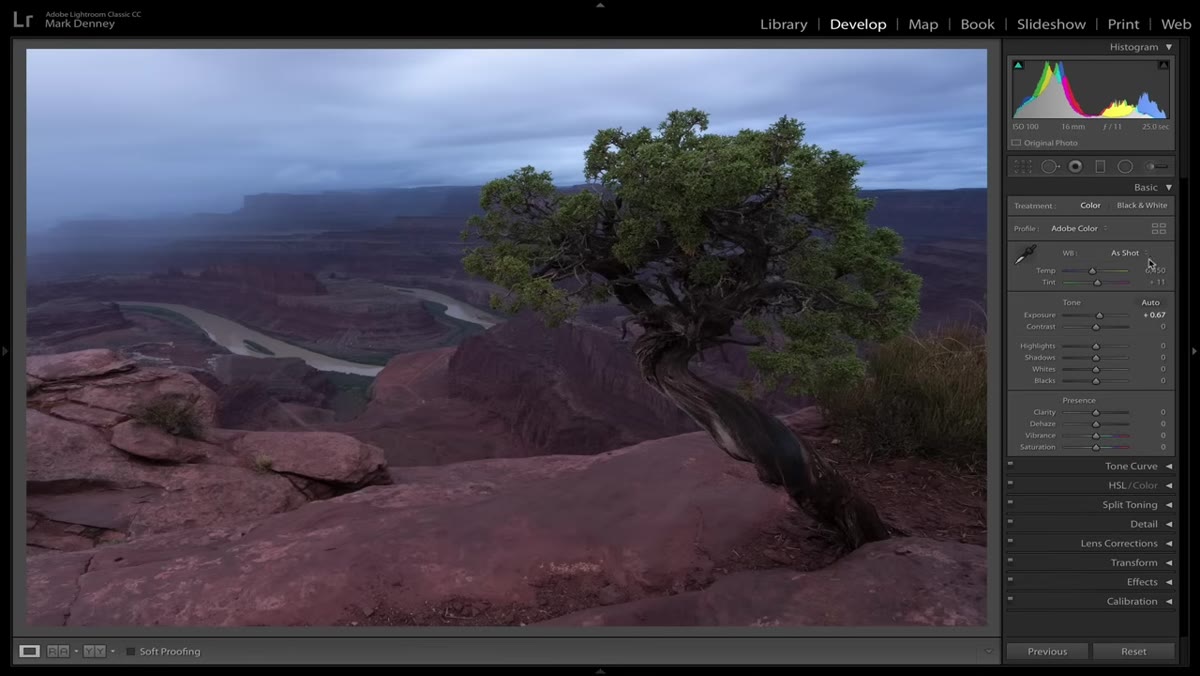 Basic panel sliders being adjusted for overall exposure balance
Once the composition is locked, Denney moves to the Basic panel to set a foundation for overall exposure. This isn’t about making the image look finished. It’s about getting the tonal range into a workable place so you can make accurate decisions in every step that follows. Think of it as calibrating your starting point.
Basic panel sliders being adjusted for overall exposure balance
Once the composition is locked, Denney moves to the Basic panel to set a foundation for overall exposure. This isn’t about making the image look finished. It’s about getting the tonal range into a workable place so you can make accurate decisions in every step that follows. Think of it as calibrating your starting point.
The key here is using the histogram as a guide rather than dragging sliders by feel. You want to see detail preserved in both the highlights and the shadows without heavy clipping on either end. For a landscape image where dynamic range is often the central challenge, pulling the Highlights slider down and lifting the Shadows slider up is usually the move. Adjust the overall Exposure slider to set the midtone brightness, then use Whites and Blacks to set the endpoints of your tonal range. A common and effective approach is to hold Alt (Option on Mac) while dragging Whites or Blacks. Lightroom will show you exactly where clipping begins.
Step 3: Refine Contrast and Clarity
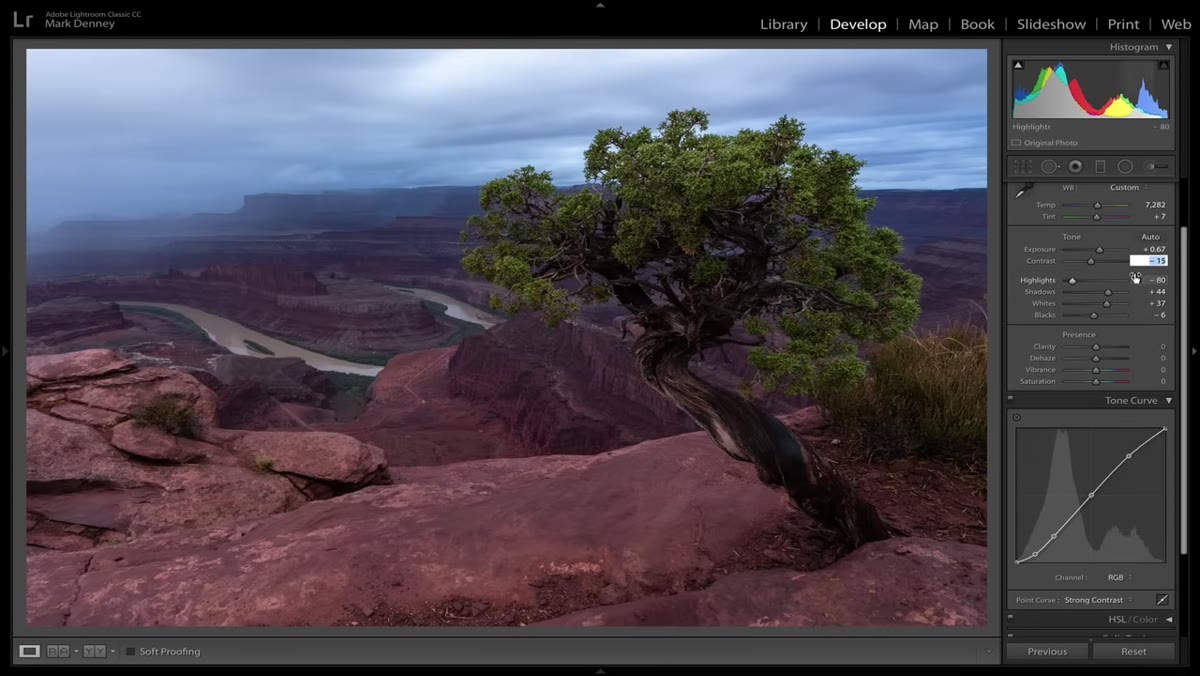 Contrast and Texture sliders being refined in Basic panel
With a solid tonal base in place, Denney brings in targeted adjustments for contrast and local detail. The Contrast slider affects the overall separation between your midtones and gives the image a sense of punch or flatness depending on which direction you push it. For landscapes, moderate contrast usually serves the image better than heavy-handed adjustments.
Contrast and Texture sliders being refined in Basic panel
With a solid tonal base in place, Denney brings in targeted adjustments for contrast and local detail. The Contrast slider affects the overall separation between your midtones and gives the image a sense of punch or flatness depending on which direction you push it. For landscapes, moderate contrast usually serves the image better than heavy-handed adjustments.
Texture and Clarity are the tools that bring back dimensionality in surfaces like rock, water, and foliage. Texture works on fine surface detail without significantly altering the overall look, while Clarity adds midtone contrast that can make a scene feel more present and tangible. Be conservative with Clarity on skies and smooth surfaces, where it can introduce unwanted grit. On rock formations and foreground elements, it earns its place.
Step 4: Address Color with White Balance and HSL
 White Balance and HSL panel open showing color adjustments
Denney approaches color in two stages. First, he revisits White Balance to ensure the overall color temperature and tint feel true to the scene or deliberately stylized in a way that serves the image. For raw files, you have full control here. A landscape shot in golden hour might benefit from a slightly warmer temperature to honor the quality of the light, while a blue-hour or overcast scene might read better cooler.
White Balance and HSL panel open showing color adjustments
Denney approaches color in two stages. First, he revisits White Balance to ensure the overall color temperature and tint feel true to the scene or deliberately stylized in a way that serves the image. For raw files, you have full control here. A landscape shot in golden hour might benefit from a slightly warmer temperature to honor the quality of the light, while a blue-hour or overcast scene might read better cooler.
From there, he moves to the HSL panel (Hue, Saturation, Luminance) for targeted color work. This is where you can selectively boost the saturation of a sky’s blues without affecting the warm tones in a canyon wall, or brighten the luminance of orange rocks to make them pop against a darker background. The most useful habit here is using the targeted adjustment tool, the small circular icon at the top of the HSL panel. Click it, then drag directly on the color in your image you want to change. Lightroom figures out which sliders to move. It’s faster and more intuitive than guessing which color channel a given pixel falls into.
One Thing I’d Add From My Own Work
Denney’s workflow is beautifully linear, and I follow a similar sequence for almost everything I edit. The one thing I’d layer on top, particularly for landscape work, is doing a quick noise check at 1:1 zoom before you start pulling shadows up in the Basic panel. When you lift shadows aggressively, luminance noise in underexposed areas becomes much more visible. If you know it’s there early, you can either apply noise reduction in the Detail panel before making your tonal moves, or you can be more conservative with the shadow lift. I’ve recovered shadows on more than a few images only to realize I’d also surfaced a muddy, grainy mess in what should have been a clean dark area. A thirty-second check at 100% zoom saves you from backtracking.
The single most transferable idea from this tutorial is that a repeatable sequence is more valuable than a perfect one. You don’t need a different creative process for every image. You need one logical process that you can apply consistently, adapt as needed, and execute quickly enough that editing doesn’t become a reason not to shoot. Denney’s seven steps give you exactly that.
Watch the full tutorial on YouTube to see Denney work through the complete edit on the Dead Horse Point image, including the local adjustment work that builds on this global foundation.
Comments (4)
Tried this technique this morning. Game changer for real.
Great article! I actually covered something related on my site — the landscape angle is really complementary to this.
I keep coming back to this article. It's that useful.
This is fantastic. I've been recommending this approach to my readers too.
Leave a Comment