
There’s a particular kind of editing paralysis that hits when you open a raw file that’s dramatically underexposed. You know there’s a great photo in there somewhere, but the gap between what you’re looking at and what you imagined in the field feels enormous. I’ve been there more times than I can count, usually somewhere around midnight with a vinyl record spinning and my cat ISO judging me from the desk chair. The temptation is to overcorrect fast, slam the exposure slider up, and hope for the best. That approach almost never works.
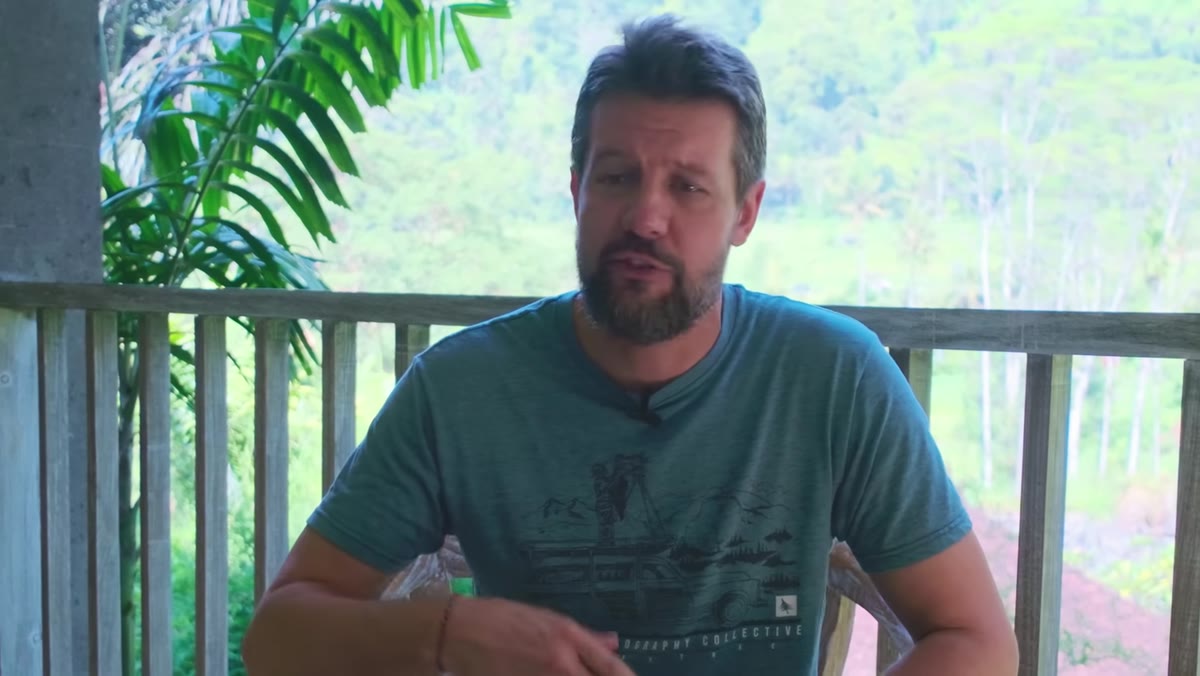
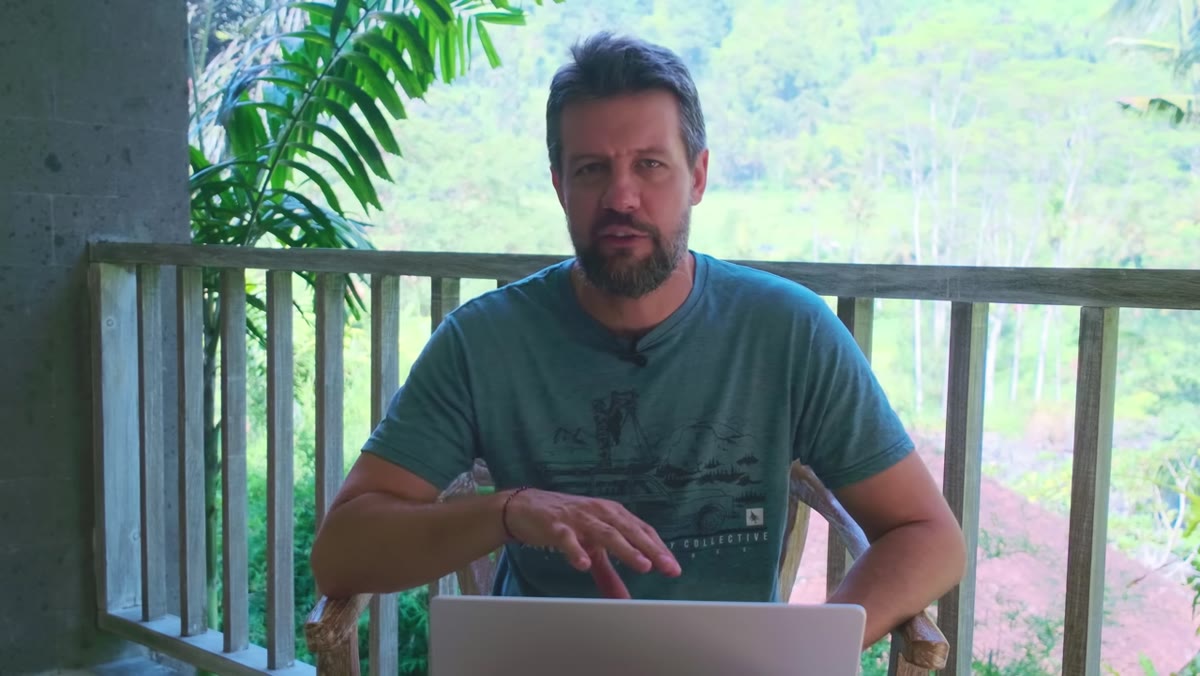
In this Mark Denney tutorial, filmed on location in Bali during a photography workshop, he walks through a complete start-to-finish Lightroom edit on one of his favorite images from the trip. What makes it worth your time isn’t the exotic backdrop (though steamy Indonesian resorts are a solid flex). It’s the sequencing. Denney has a clear order of operations, and watching him stick to it even when the screen is almost unreadable in bright outdoor light is genuinely instructive. He doesn’t fuss. He works.
Watch the full tutorial on YouTube
Here’s how the edit breaks down, step by step.
Step 1: Protect Your Highlights Before You Shoot, Then Honor That Decision in Post
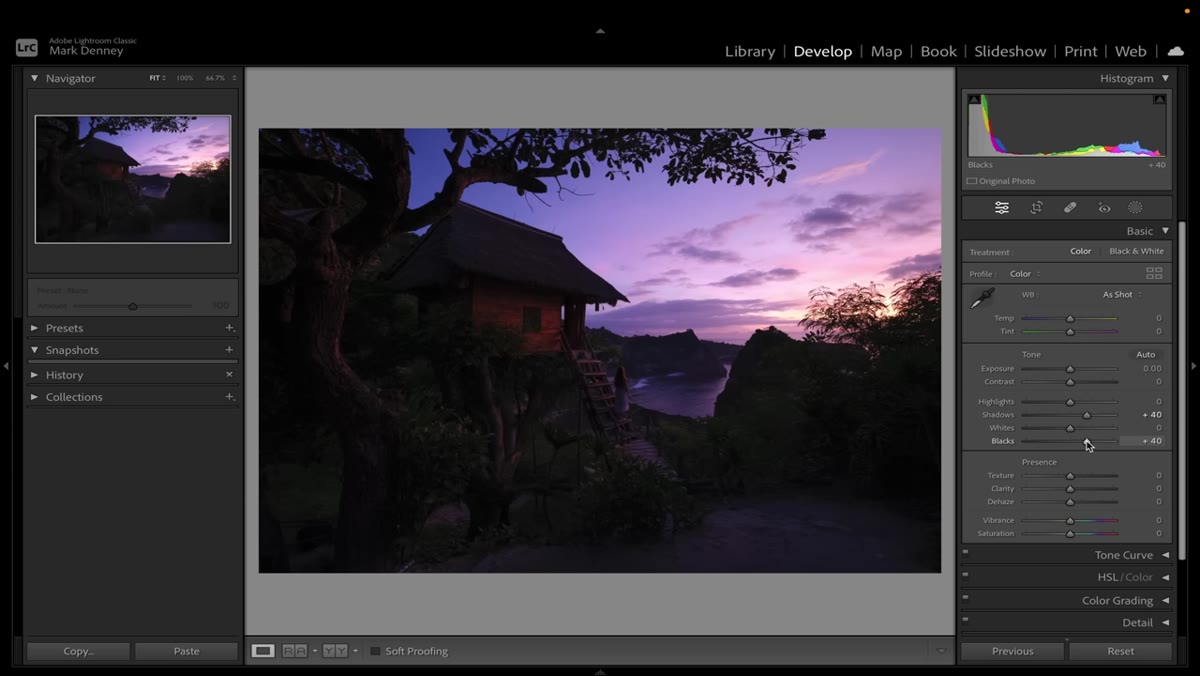
 Dark raw file open in Lightroom Develop module
Denney opens with a point that I think a lot of photographers skip past too quickly: he intentionally underexposed this image in camera. The scene had extreme dynamic range, with deep shadows and a very bright sky, and blown highlights are unrecoverable. Crushed shadows are not. This isn’t a mistake he’s fixing in Lightroom. It’s a decision he’s building on.
Dark raw file open in Lightroom Develop module
Denney opens with a point that I think a lot of photographers skip past too quickly: he intentionally underexposed this image in camera. The scene had extreme dynamic range, with deep shadows and a very bright sky, and blown highlights are unrecoverable. Crushed shadows are not. This isn’t a mistake he’s fixing in Lightroom. It’s a decision he’s building on.
Before you touch a single slider, it helps to know which problem you’re actually solving. If your highlights are clipped, no amount of Lightroom recovery will bring back data that wasn’t recorded. If your shadows are dark but the highlights are intact, you have room to work. Denney’s starting point looks almost too dark to save, but the histogram tells the real story: all the data is there, waiting.
Step 2: Balance the Exposure Using the Basic Panel in Order
 Shadows and highlights sliders being adjusted in Basic panel
Rather than jumping straight to the Exposure slider, Denney starts by working the tonal range from the edges inward. He lifts the Shadows, pulls the Highlights down, and nudges the Whites before touching the main Exposure. This approach fills out the histogram more naturally than simply cranking the exposure up front and then trying to rein everything back in.
Shadows and highlights sliders being adjusted in Basic panel
Rather than jumping straight to the Exposure slider, Denney starts by working the tonal range from the edges inward. He lifts the Shadows, pulls the Highlights down, and nudges the Whites before touching the main Exposure. This approach fills out the histogram more naturally than simply cranking the exposure up front and then trying to rein everything back in.
Once the tonal endpoints are closer to where he wants them, he boosts the Exposure slider and the image genuinely comes to life. The histogram visibly fills out. This is the right order: set the floor and ceiling of your tones first, then raise or lower the overall brightness. Doing it backwards creates more problems than it solves.
Step 3: Raise the Black Point to Create a Softer, More Filmic Look
 Blacks slider lifted above zero in the Basic panel
Here’s a move that I use constantly and that never gets enough attention in beginner tutorials. Denney deliberately lifts the Blacks slider above zero. He’s not going for true black anywhere in the frame. The result is a softer, more lifted shadow that gives the image a quality he describes as dreamier and more filmic. It’s the same principle behind the faded film look that’s been popular for years, but applied subtly rather than as a heavy style statement.
Blacks slider lifted above zero in the Basic panel
Here’s a move that I use constantly and that never gets enough attention in beginner tutorials. Denney deliberately lifts the Blacks slider above zero. He’s not going for true black anywhere in the frame. The result is a softer, more lifted shadow that gives the image a quality he describes as dreamier and more filmic. It’s the same principle behind the faded film look that’s been popular for years, but applied subtly rather than as a heavy style statement.
Try setting your Blacks anywhere from plus 10 to plus 30 on a moody landscape and see what it does to the mood. You’re essentially putting a floor under your shadows so nothing in the frame goes truly dark. It reads as atmospheric rather than underexposed, which is a useful distinction.
Step 4: Use Auto White Balance as a Starting Point, Not a Final Answer
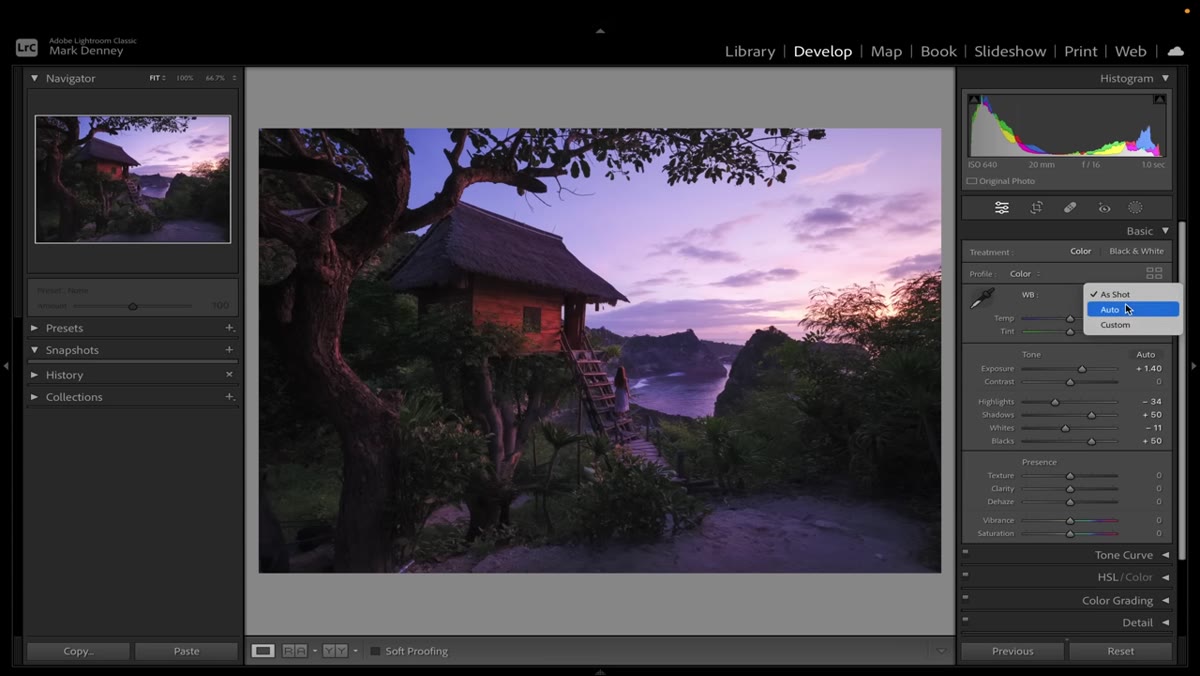 White Balance selector set to Auto in Basic panel
After the exposure is balanced, Denney moves to white balance and does something that surprised me the first time I saw experienced photographers do it: he hits Auto. Not as a lazy shortcut, but as a fast calibration point. Auto white balance in Lightroom has gotten genuinely good, and it often lands you in a reasonable neighborhood even if it’s not exactly where you want to end up.
White Balance selector set to Auto in Basic panel
After the exposure is balanced, Denney moves to white balance and does something that surprised me the first time I saw experienced photographers do it: he hits Auto. Not as a lazy shortcut, but as a fast calibration point. Auto white balance in Lightroom has gotten genuinely good, and it often lands you in a reasonable neighborhood even if it’s not exactly where you want to end up.
The key word there is starting point. Denney uses the Auto result as a reference and then adjusts from there based on what the image needs creatively. This is faster than manually scrubbing from scratch, and it removes some of the guesswork about whether your color cast is a stylistic choice or an error. Start neutral, then push in the direction you actually want.
My Addition: The Order of Operations Is the Skill
Watching Denney work, what struck me wasn’t any single slider move. It was how rarely he doubled back. Exposure first, white balance second, then color work from there. That sequence isn’t arbitrary. Each adjustment affects the next one, so doing them out of order means you’re constantly chasing your own tail.
I spent a long time editing in whatever order felt right in the moment, which usually meant adjusting white balance before exposure was dialed in and then wondering why my colors looked wrong after I fixed the tones. The histogram looked fine but the image felt off. Once I started treating the Basic panel like a checklist with a non-negotiable sequence, my edits got faster and the results got more consistent. Denney’s workflow here is a clean example of that discipline. He’s been doing this long enough that the order is automatic, and that’s exactly the kind of thing that’s worth borrowing from someone who’s further along.
The single most important thing this tutorial reinforces is that underexposure in the field is a recoverable, intentional strategy, not a failure. If you protect your highlights at capture, Lightroom gives you real latitude to build the image you intended. And if you work the Basic panel in order, starting with the tonal range and moving to color, you spend less time fixing decisions and more time making them.
Watch the full tutorial on YouTube - Denney keeps shooting while he talks through the full edit, and the Bali scenery alone is worth the click.
Comments (2)
Love how you break down complex stuff into manageable steps.
Applied this to my portfolio shots and the improvement is noticeable.
Leave a Comment