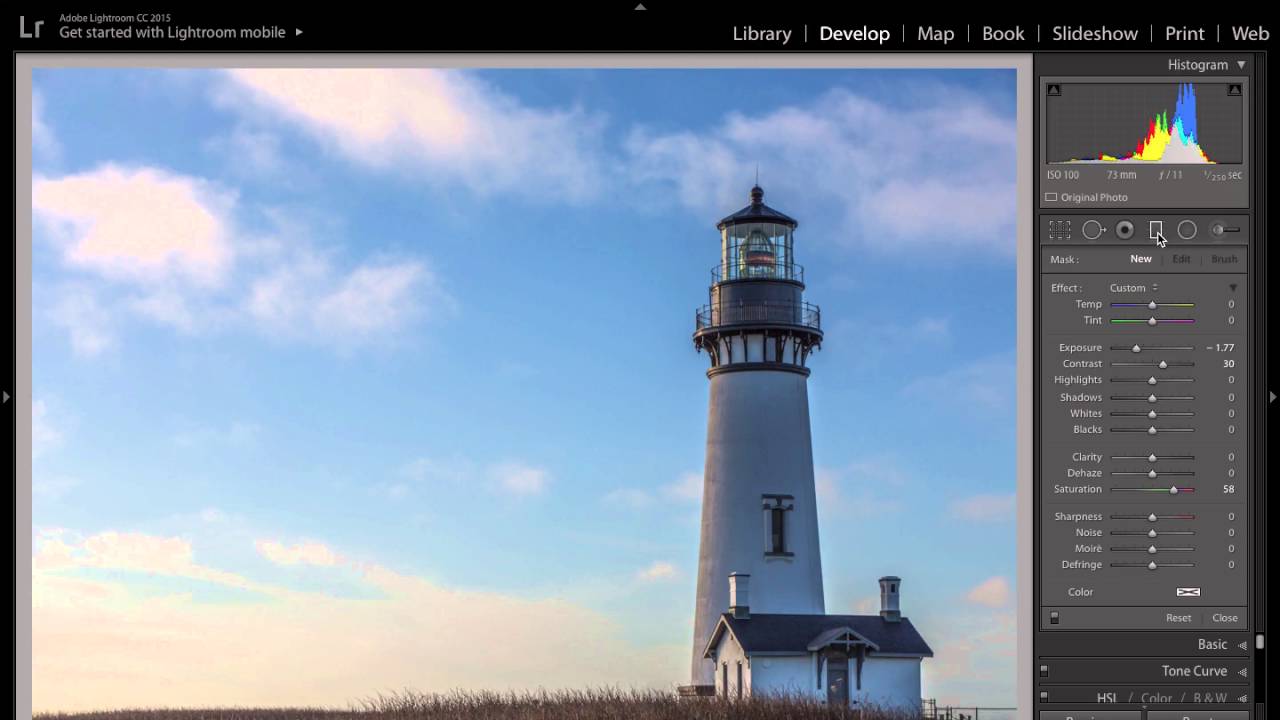
I’ve spent a lot of time and money chasing the perfect sky in landscape shots. Two-stop ND grad, three-stop, soft edge, hard edge. If you’ve stood in a camera shop or scrolled through B&H trying to figure out which neutral density gradient filter to buy, you already know the paralysis that comes with it. These filters aren’t cheap, and buying the wrong one means starting over. What I didn’t fully appreciate until recently is that Lightroom’s built-in Graduated Filter tool has quietly become a legitimate alternative, and there’s one specific trick that makes it pull ahead of physical glass in at least one important way.
In this KelbyOne tutorial, Scott Kelby walks through a technique he picked up while answering a question from an attendee on his seminar tour. The core idea is simple: use Lightroom’s Graduated Filter to simulate an ND grad, then use a hidden brush mode to selectively erase the darkening from anything in the foreground you didn’t mean to affect. That last part, the erasing step, is what most people miss entirely. Watch the full tutorial on YouTube and then follow the breakdown below.
This matters to me practically because I shoot a lot of wide-angle scenes around Nashville where the foreground isn’t just empty ground. There are structures, trees, sometimes people. A real ND grad darkens everything above a certain line, including whatever’s sticking up into the sky portion of your frame. Lightroom can do the same thing, but unlike a piece of glass, it lets you paint back the parts you didn’t mean to touch.
Step 1: Open Your Landscape Image in the Develop Module
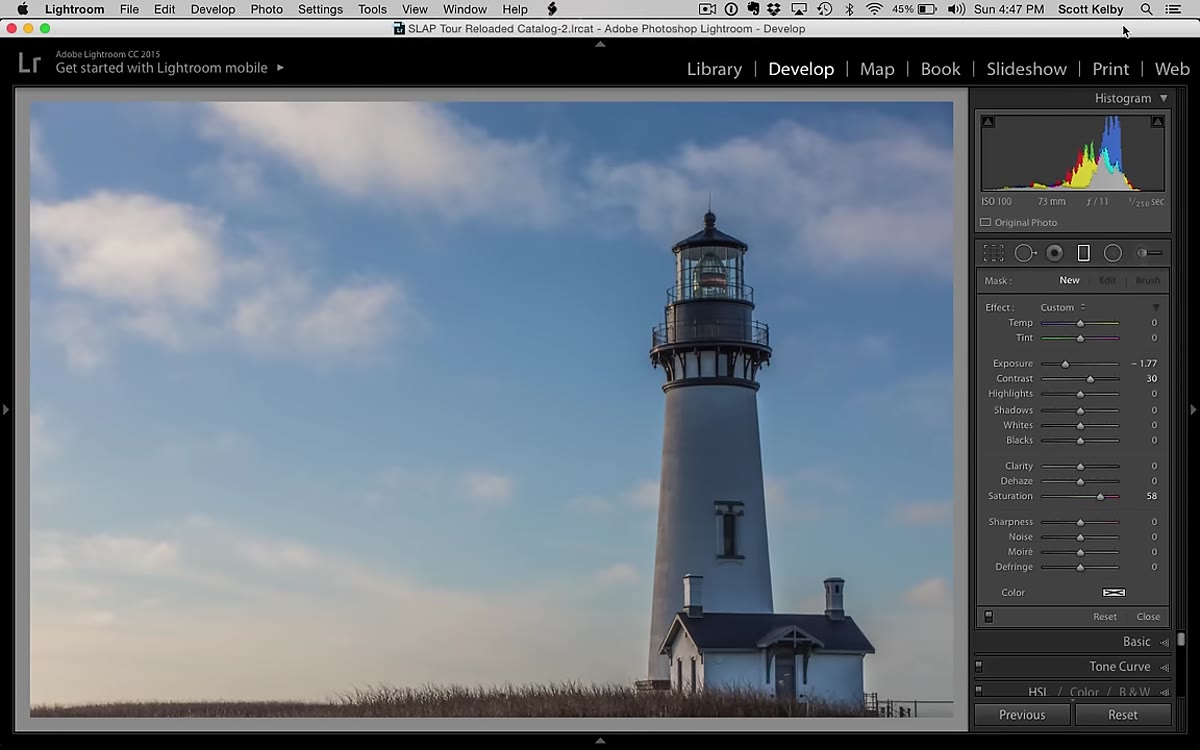 Lighthouse photo loaded in Lightroom Develop module
Start with any landscape image where the sky is significantly brighter than the foreground. The technique works best when there’s a clear tonal gap between the two. Scott uses a lighthouse shot for the demonstration, which is a good example because the lighthouse itself becomes a problem later, and that’s exactly the point.
Lighthouse photo loaded in Lightroom Develop module
Start with any landscape image where the sky is significantly brighter than the foreground. The technique works best when there’s a clear tonal gap between the two. Scott uses a lighthouse shot for the demonstration, which is a good example because the lighthouse itself becomes a problem later, and that’s exactly the point.
Make sure you’re in the Develop module. You won’t find the Graduated Filter anywhere else.
Step 2: Select the Graduated Filter Tool
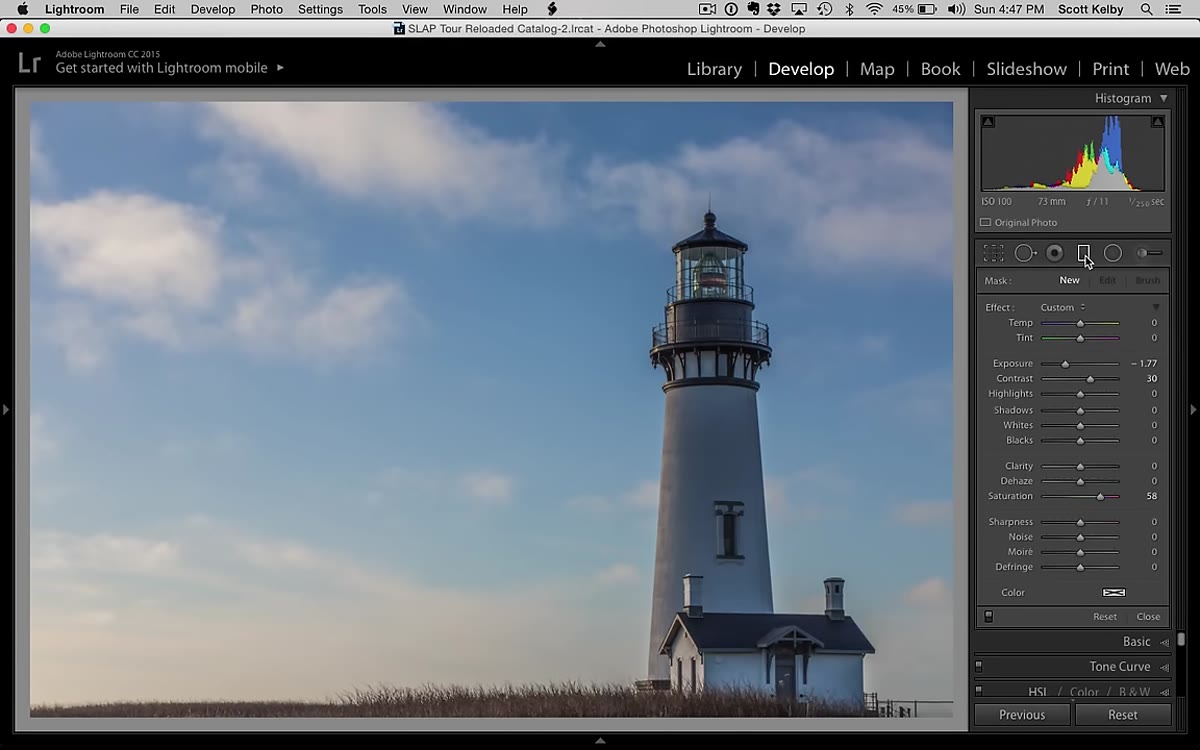 Graduated Filter icon selected in the toolbar below the histogram
Look at the toolbar sitting just below the histogram on the right-hand panel. The Graduated Filter is the fourth icon across. It looks like a small gradient rectangle. Click it to activate it.
Graduated Filter icon selected in the toolbar below the histogram
Look at the toolbar sitting just below the histogram on the right-hand panel. The Graduated Filter is the fourth icon across. It looks like a small gradient rectangle. Click it to activate it.
This is the same tool you may have used before to add drama to skies or tone down a blown-out horizon. If you’ve never touched it, think of it as Lightroom’s version of that physical ND grad filter you were about to spend $150 on.
Step 3: Drag the Gradient From the Top of the Frame Downward
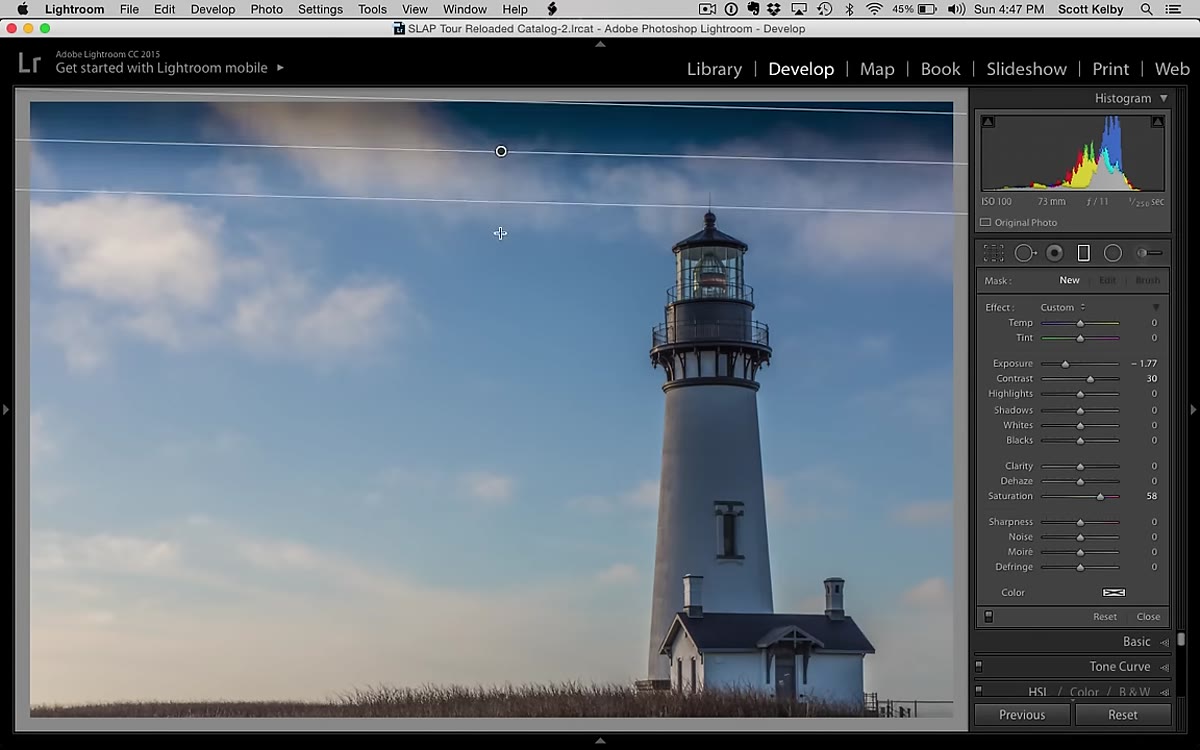 Graduated filter being dragged down from sky toward horizon
Click near the top of the image and drag downward toward the horizon line. As you drag, Lightroom applies a graduated exposure adjustment. The effect is strongest at the top and fades out as it reaches wherever you stop the drag.
Graduated filter being dragged down from sky toward horizon
Click near the top of the image and drag downward toward the horizon line. As you drag, Lightroom applies a graduated exposure adjustment. The effect is strongest at the top and fades out as it reaches wherever you stop the drag.
Pull it all the way to the horizon if you want the transition to be gradual and natural. The default adjustment darkens the area, which mimics what a physical ND grad does when you’re trying to balance a bright sky with a darker foreground. You’ll see the sky compress in tone immediately. Looks great right up until you notice it’s also darkening your lighthouse, barn, mountain peak, or whatever’s breaking the horizon.
Step 4: Notice the Problem With Foreground Objects
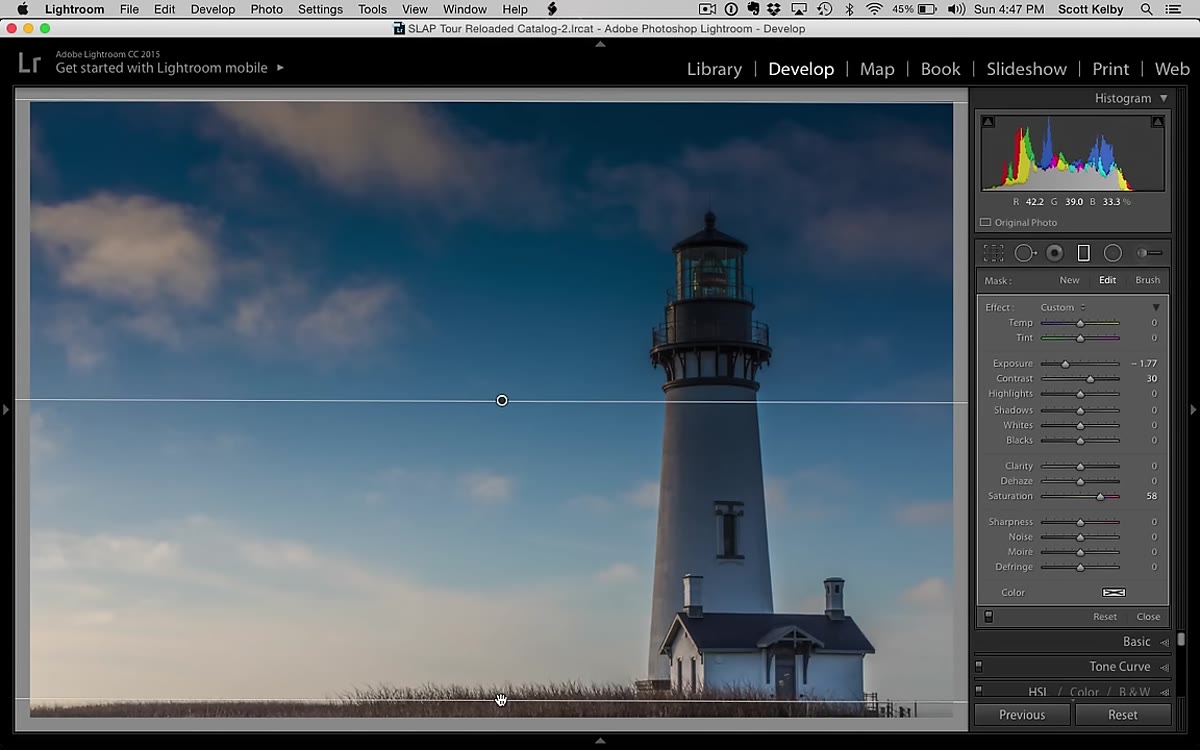 Darkened gradient covering the lighthouse foreground subject
This is the moment Scott highlights as the central limitation of both the digital and physical ND grad. Any object that sits inside the gradient zone gets darkened along with the sky. With a real filter mounted on your lens, you have zero options at this point. You’re stuck with it.
Darkened gradient covering the lighthouse foreground subject
This is the moment Scott highlights as the central limitation of both the digital and physical ND grad. Any object that sits inside the gradient zone gets darkened along with the sky. With a real filter mounted on your lens, you have zero options at this point. You’re stuck with it.
The lighthouse in Scott’s example was already underexposed and needed to be brighter, not darker. The gradient is now working against the image rather than for it. This is exactly where most photographers either give up on the tool or accept a compromise they shouldn’t have to make.
Step 5: Switch to Brush Mode Inside the Graduated Filter
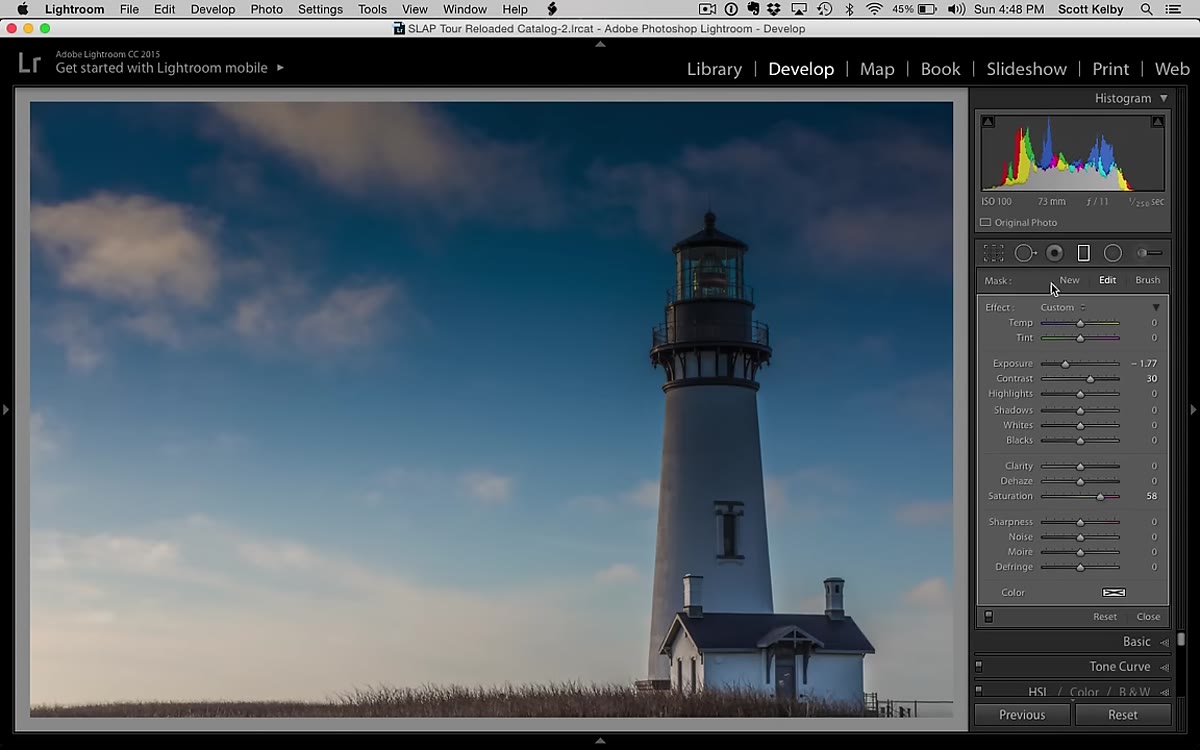 Brush option selected within the Graduated Filter panel
Here’s the part most people have never touched. With your gradient still active, look at the panel options near the top of the right-hand panel. You’ll see three options: New, Edit, and Brush. Click Brush.
Brush option selected within the Graduated Filter panel
Here’s the part most people have never touched. With your gradient still active, look at the panel options near the top of the right-hand panel. You’ll see three options: New, Edit, and Brush. Click Brush.
Additional brush controls will appear below, including Size, Feather, Flow, and Density. These work the same way as Lightroom’s standard Adjustment Brush. But what you’re doing here is operating inside the graduated filter you just created, not creating something new.
Step 6: Hold Option (Mac) or Alt (Windows) to Erase the Gradient
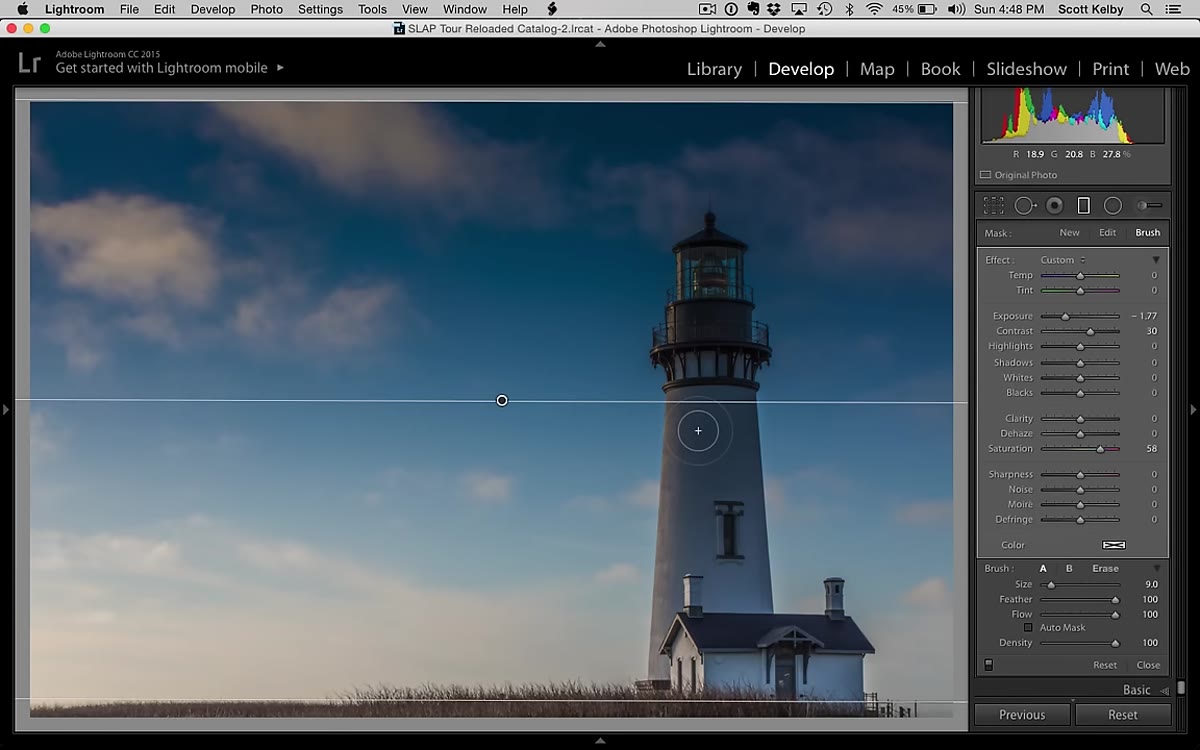 Erasing gradient darkening from the lighthouse with brush
This is the move. Hold the Option key on a Mac or Alt on a Windows PC, and your brush switches into erase mode. Now paint over any part of the foreground that got caught inside the gradient zone.
Erasing gradient darkening from the lighthouse with brush
This is the move. Hold the Option key on a Mac or Alt on a Windows PC, and your brush switches into erase mode. Now paint over any part of the foreground that got caught inside the gradient zone.
As you brush over the lighthouse, the darkening lifts away. You’re essentially cutting the gradient’s influence out of specific areas with surgical precision. A real ND grad filter can’t do this. It darkens everything in the transition zone with no exceptions. Scott’s point here is well-made: the digital version has now done something physically impossible with glass.
Step 7: Refine and Finalize
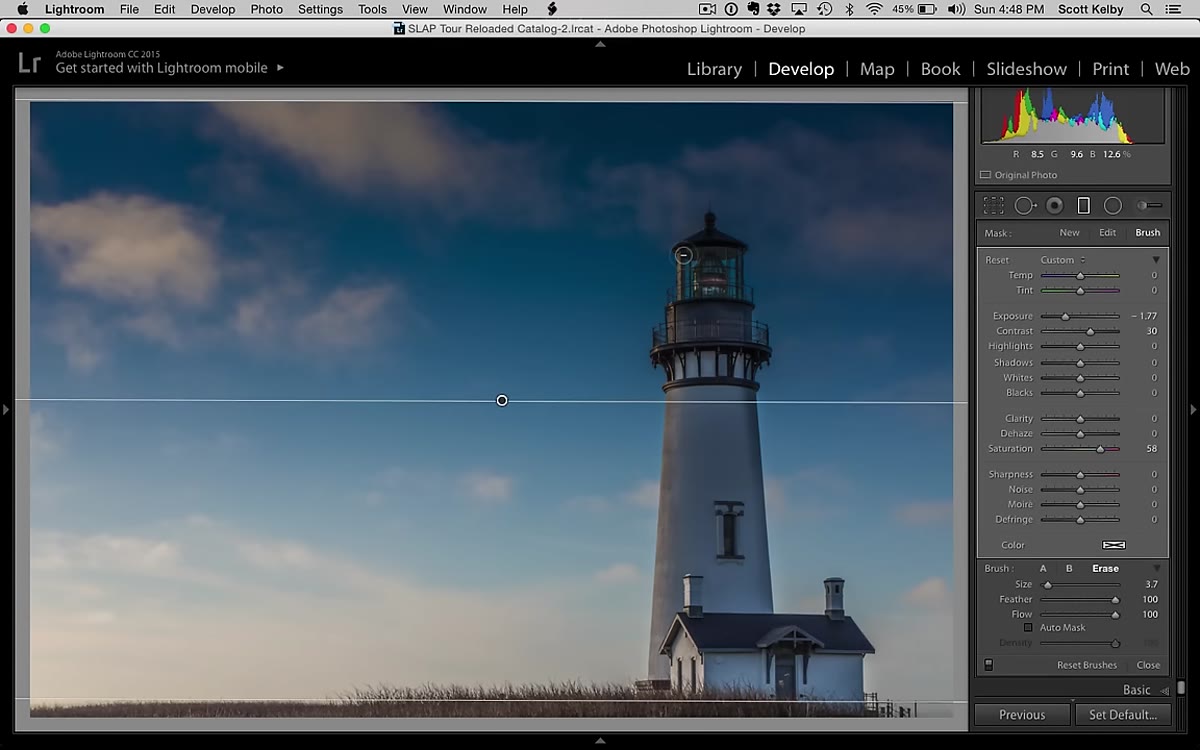 Before and after comparison of the lighthouse with gradient applied
You don’t need to be perfect, but work carefully around the edges of whatever object you’re recovering. Adjust the brush size using the scroll wheel or the Size slider, and dial back the Flow if you want to build up the erase gradually rather than all at once.
Before and after comparison of the lighthouse with gradient applied
You don’t need to be perfect, but work carefully around the edges of whatever object you’re recovering. Adjust the brush size using the scroll wheel or the Size slider, and dial back the Flow if you want to build up the erase gradually rather than all at once.
When you’re done, the sky reads darker and more dramatic, and your foreground subject is sitting at its original exposure. The gradient is doing its job on the background only.
One Thing I’d Add: Pair This With a Luminosity Range Mask
The technique as Scott teaches it is genuinely useful on its own. But if I’m being honest about my own workflow, I almost always pair this brush-erase step with a Luminosity Range Mask on the initial gradient. Before you start erasing, click on the Range Mask dropdown at the bottom of the Graduated Filter panel, set it to Luminance, and drag the range sliders to target only the brightest tones. Lightroom will automatically reduce the gradient’s effect on darker areas in your frame, which means less manual brushwork to clean up afterward.
It’s not in Scott’s tutorial, and it’s not necessary to get results. But for complex scenes with a lot of foreground texture, it cuts the erasing time in half. Think of it as the rough cut before you go in with the brush for the fine detail work.
The single biggest takeaway here is that Lightroom’s Graduated Filter isn’t a substitute for physical ND grads in every situation, but the brush erase mode gives it a capability that glass will never have. If you’re a landscape photographer who’s been on the fence about buying a filter kit, spend an afternoon testing this workflow first. You might find the only thing missing was knowing Option/Alt was sitting there waiting for you.
Watch the full tutorial on YouTube to see Scott walk through the full sequence on his lighthouse image. It’s a short watch and the visual of the lighthouse being recovered in real time makes the technique click immediately.
Comments
Leave a Comment