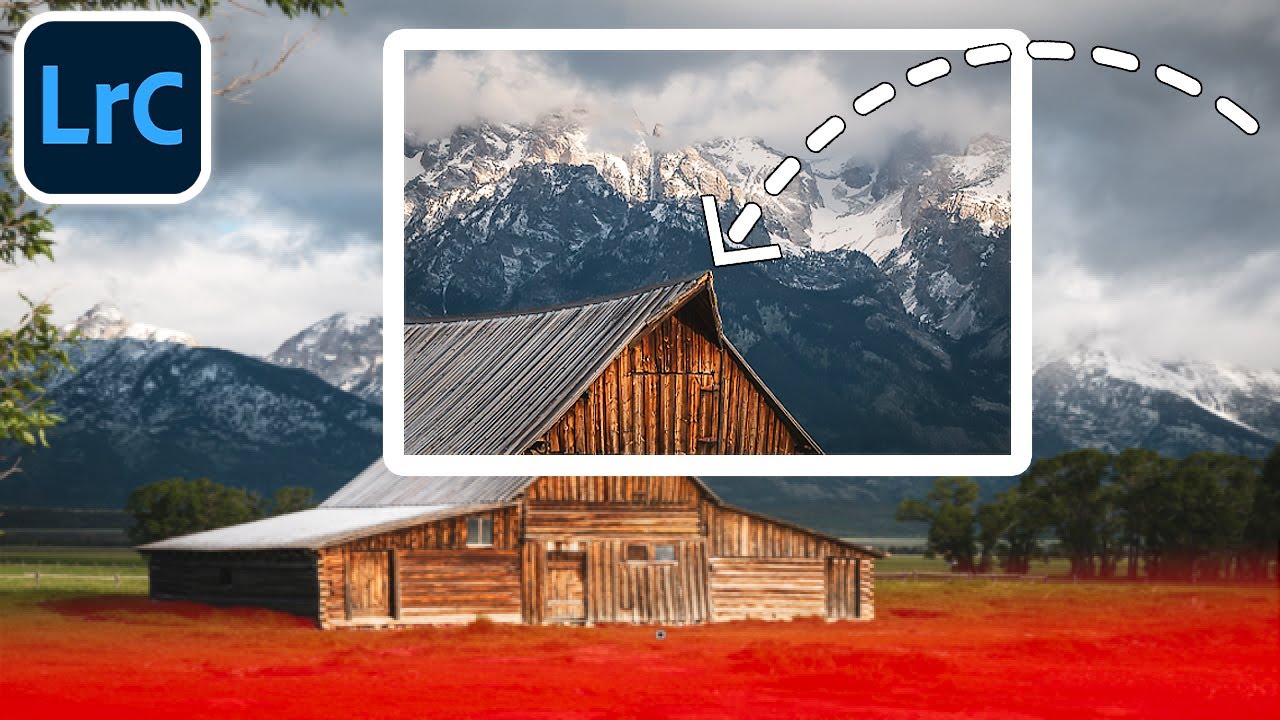
Every few months I’ll open a photo I was excited about in the field and feel that quiet disappointment when it just looks… soft. Not out-of-focus soft, but lacking that punch I saw with my own eyes when I pressed the shutter. For years I did what most photographers do: cranked the Sharpening slider in the Detail panel, dragged the Masking slider while holding Option, called it a day. The photo got sharper, technically. But it still didn’t feel sharp.
Watch the full tutorial on YouTube
In this Mark Denney tutorial, he names exactly why that default approach falls short, and the fix is more about human perception than it is about sliders. The core argument is this: when every part of a photo is equally sharp, the eye doesn’t know where to go. Sharpness loses its impact when it’s distributed everywhere. But when certain areas are enhanced and others are left softer, the enhanced areas read as dramatically sharper by comparison. It’s the same principle as contrast, just applied to detail instead of light. Once I understood that, a lot of my older edits started making more sense as problems I could actually fix.
Step 1: Reset Your Default Sharpening and Understand What You’re Working With
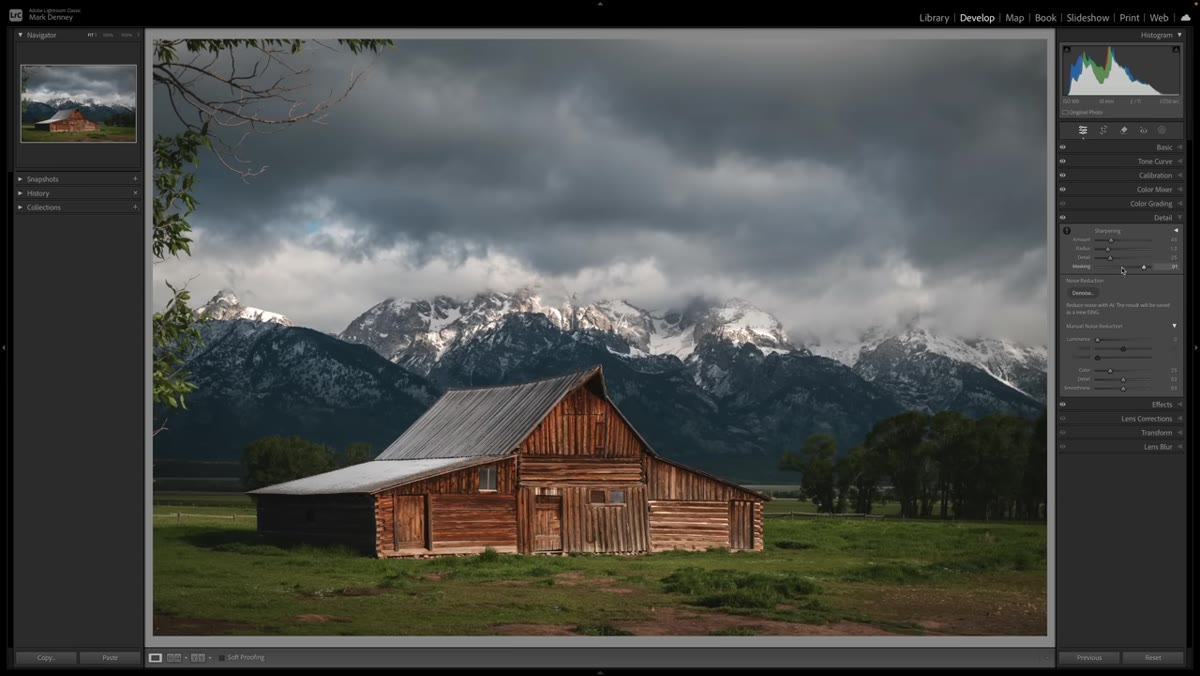 Sharpening panel reset to Lightroom defaults
Before touching anything, Mark resets the Sharpening settings in the Detail panel back to Lightroom’s defaults. This is a useful habit because many photographers are working on top of whatever a camera profile or import preset already applied. Starting clean means you know exactly what each adjustment is doing. In Lightroom Classic, the default Sharpening Amount is 40, Radius 1.0, Detail 25, and Masking 0. Take a beat to zoom into your subject at 1:1 and actually assess what you’re starting with.
Sharpening panel reset to Lightroom defaults
Before touching anything, Mark resets the Sharpening settings in the Detail panel back to Lightroom’s defaults. This is a useful habit because many photographers are working on top of whatever a camera profile or import preset already applied. Starting clean means you know exactly what each adjustment is doing. In Lightroom Classic, the default Sharpening Amount is 40, Radius 1.0, Detail 25, and Masking 0. Take a beat to zoom into your subject at 1:1 and actually assess what you’re starting with.
Step 2: Identify the One Area That Deserves the Most Sharpening
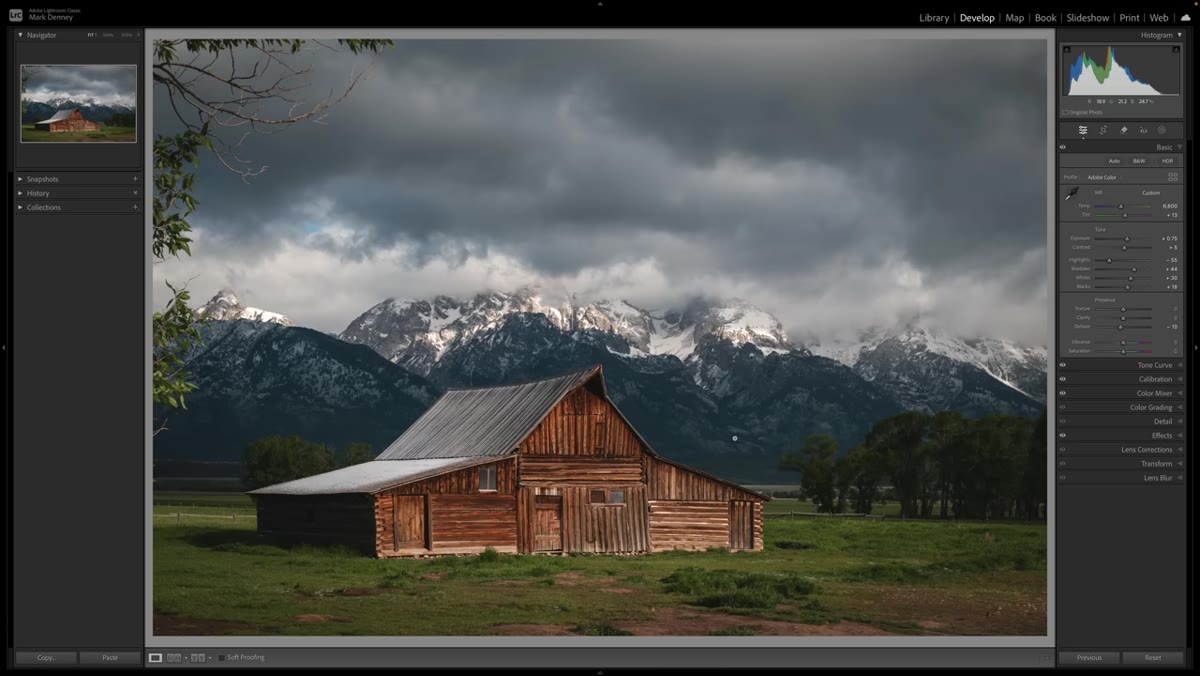 Zoomed view of barn with visible wood grain detail
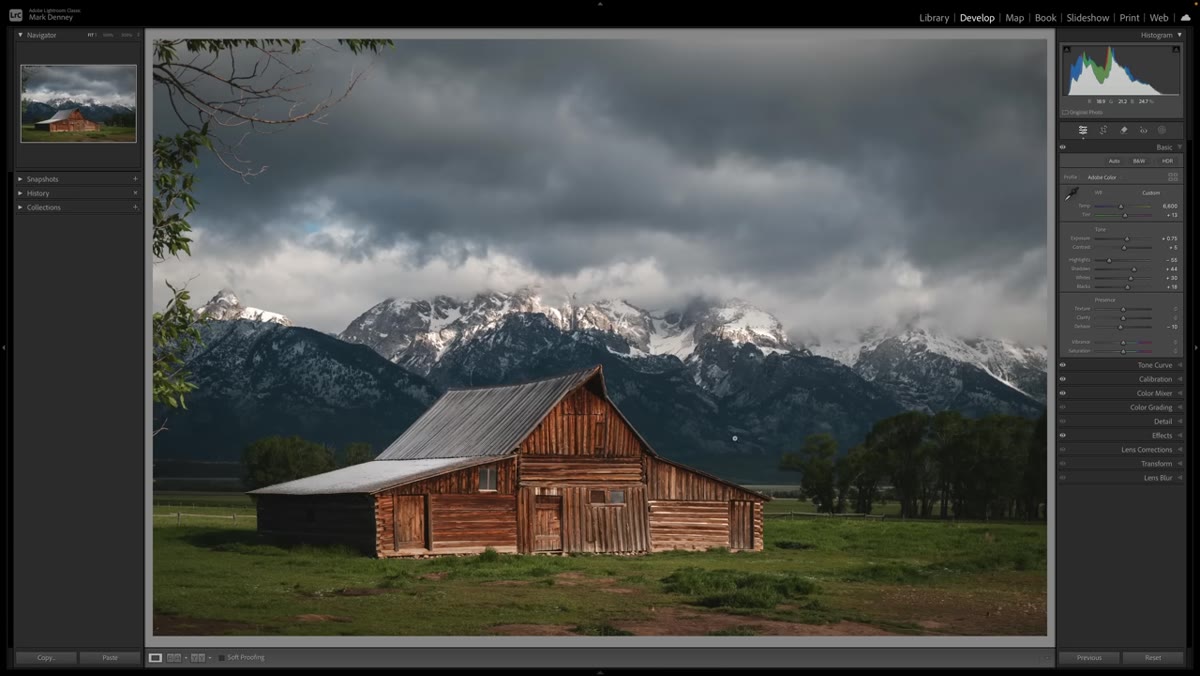
This is the conceptual step that most tutorials skip over, but it’s where the whole technique lives. Before you move a single slider, decide where you want the viewer’s eye to land. For Mark’s Grand Teton barn photo, the answer is obvious: the barn itself, with all its weathered wood texture and color variation, is the subject. The mountains behind it are context. Your job isn’t to make the whole scene sharp. Your job is to make that one area undeniable.
Zoomed view of barn with visible wood grain detail
This is the conceptual step that most tutorials skip over, but it’s where the whole technique lives. Before you move a single slider, decide where you want the viewer’s eye to land. For Mark’s Grand Teton barn photo, the answer is obvious: the barn itself, with all its weathered wood texture and color variation, is the subject. The mountains behind it are context. Your job isn’t to make the whole scene sharp. Your job is to make that one area undeniable.
Think about how your eye actually works. When you stare at something close, the background goes soft. When you shift focus to something far away, the foreground blurs. A photo where everything is tack-sharp from foreground to background doesn’t look more professional. It looks slightly artificial, because it’s not how vision actually works. Mark makes the point that this is part of why he’s pulled back from focus stacking as a default practice.
Step 3: Apply Global Sharpening in the Detail Panel
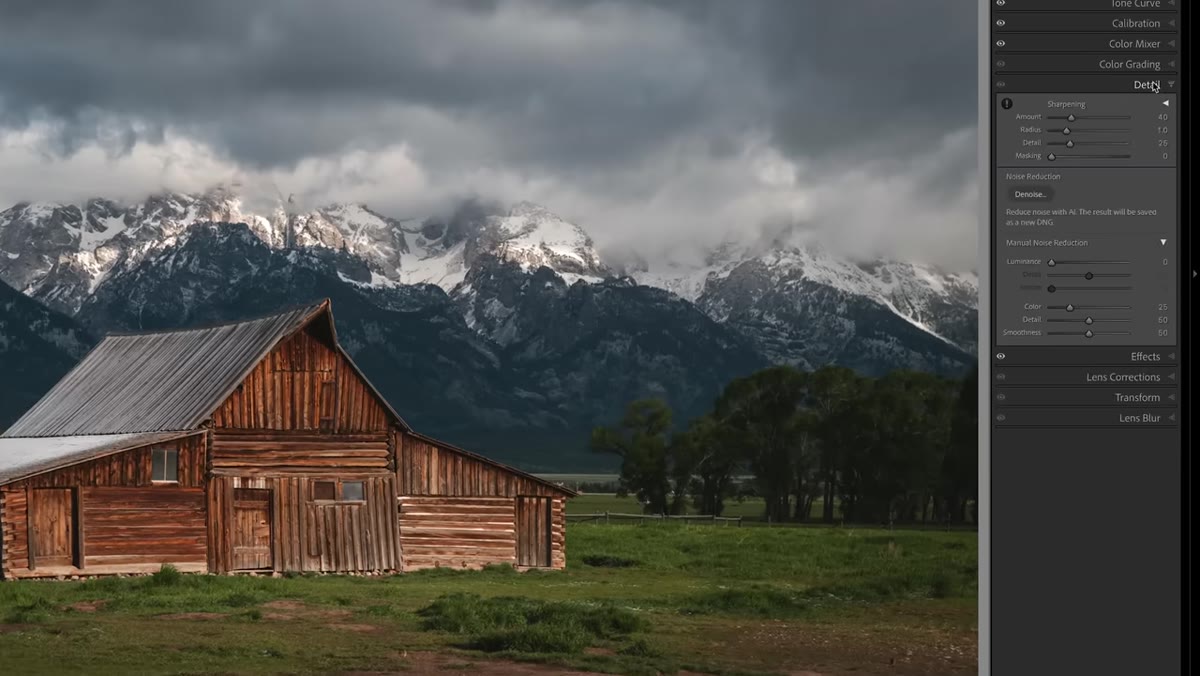 Detail panel open, Sharpening Amount slider being adjusted
With your target area in mind, go to the Detail panel and bring up your Sharpening Amount. Mark lands somewhere in the moderate range rather than pushing it to extremes. The key move here is holding down the Option key (Alt on Windows) while dragging the Masking slider. As you drag right, the preview switches to a black-and-white mask view. White areas will receive sharpening. Black areas are protected from it.
Detail panel open, Sharpening Amount slider being adjusted
With your target area in mind, go to the Detail panel and bring up your Sharpening Amount. Mark lands somewhere in the moderate range rather than pushing it to extremes. The key move here is holding down the Option key (Alt on Windows) while dragging the Masking slider. As you drag right, the preview switches to a black-and-white mask view. White areas will receive sharpening. Black areas are protected from it.
Drag the Masking slider until the flat, textureless areas like sky and smooth surfaces go black, while the edges and textured areas you care about stay white. This keeps you from amplifying noise in soft areas like clouds or out-of-focus backgrounds. It’s a solid technique, and it’s the one most photographers already know. But as Mark points out, it’s only half the job, because you’re still applying that sharpening to the entire scene equally.
Step 4: Use a Local Adjustment Mask to Focus Sharpening on Your Subject
 Masking panel open with subject selection active
Here’s where the technique separates itself from the standard approach. Instead of letting that global sharpening hit the whole frame, use Lightroom’s masking tools to isolate sharpening to your subject area specifically. In Lightroom Classic, open the Masking panel and use either a brush, a Subject mask, or a combination to paint over or select the area you identified in Step 2.
Masking panel open with subject selection active
Here’s where the technique separates itself from the standard approach. Instead of letting that global sharpening hit the whole frame, use Lightroom’s masking tools to isolate sharpening to your subject area specifically. In Lightroom Classic, open the Masking panel and use either a brush, a Subject mask, or a combination to paint over or select the area you identified in Step 2.
Once your mask is active, you can push the Texture and Clarity sliders in addition to Sharpening. Texture is particularly useful here because it targets mid-frequency detail, which is exactly what you see in things like wood grain, rock faces, or bark. Clarity adds edge contrast and makes the subject feel more three-dimensional. Together, these three adjustments applied locally will make your subject look dramatically sharper than any global sharpening setting alone.
Step 5: Reduce Detail in the Surrounding Areas to Increase Perceived Contrast
 Discussing how unsharp areas make sharp areas appear sharper
This step is the one that changed things for me personally. After boosting detail on your subject, consider creating a second mask for the areas you want to recede, like background elements, sky, or negative space. With that mask active, try pulling Texture slightly negative and leaving Clarity and Sharpening alone. You’re not blurring anything dramatically. You’re just softening the competition.
Discussing how unsharp areas make sharp areas appear sharper
This step is the one that changed things for me personally. After boosting detail on your subject, consider creating a second mask for the areas you want to recede, like background elements, sky, or negative space. With that mask active, try pulling Texture slightly negative and leaving Clarity and Sharpening alone. You’re not blurring anything dramatically. You’re just softening the competition.
The result is that your sharpened subject now has a foil. The contrast between the two areas does more perceptual work than sharpening alone ever could. Mark describes this as creating a natural falloff, which mirrors how the human eye actually focuses. The viewer’s eye goes to the barn because the barn is doing the most, and everything else is quietly stepping back.
Step 6: Zoom Out and Evaluate at Full Image Scale
 Full image view after selective sharpening applied
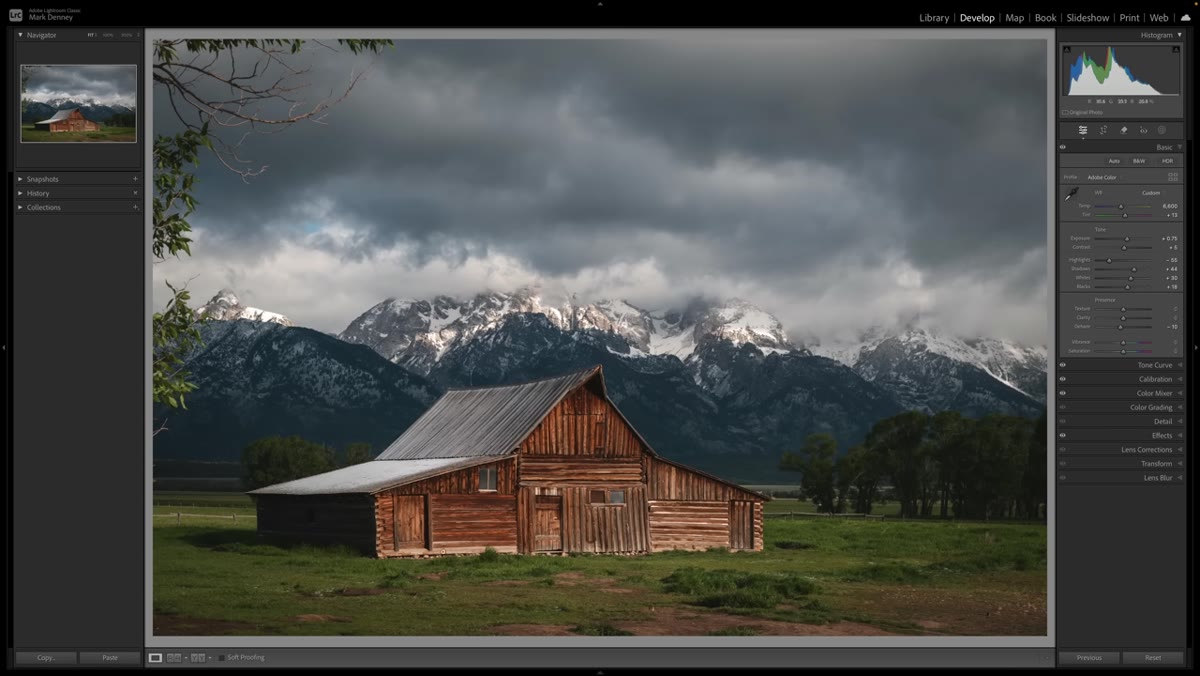
Always make your final call at a zoom level that approximates how someone will actually view the photo. Editing at 1:1 can make you over-sharpen because individual pixels look more pronounced than they will in a finished image at screen or print size. Zoom out to fit the image to your screen, toggle your masks off and on, and trust your first reaction. If the subject jumps forward and the background sits quietly behind it, you’re done.
Full image view after selective sharpening applied
Always make your final call at a zoom level that approximates how someone will actually view the photo. Editing at 1:1 can make you over-sharpen because individual pixels look more pronounced than they will in a finished image at screen or print size. Zoom out to fit the image to your screen, toggle your masks off and on, and trust your first reaction. If the subject jumps forward and the background sits quietly behind it, you’re done.
A Note From My Own Editing Practice
I work mostly on landscapes and travel photography, and one thing I’d add is that this technique pairs extremely well with dodging and burning. Sharpness and brightness both direct the eye the same direction. If your subject is the brightest and the sharpest area of the frame, you’ve effectively doubled down on visual hierarchy. I often run through both passes together now, local sharpening and local luminosity adjustments, before I finalize any edit. It takes maybe three extra minutes and the difference is real.
One caveat: if you’re photographing something like a panoramic where the scene itself is the point and there’s no single subject, this selective approach needs more thought. You might want to distribute the sharpening emphasis across multiple anchor points rather than one. But for any photo with a clear subject, this is the workflow I’d recommend starting with.
The biggest takeaway here is that sharpness is relative. A moderately sharpened subject next to a softly treated background will look crisper than a heavily sharpened subject surrounded by equally sharp everything. Perception is doing the heavy lifting, and smart masking is how you put it to work.
Watch the full tutorial on YouTube to see Mark walk through this on his Grand Teton barn photo, including exactly how he builds the masks and the specific slider values he lands on.
Comments
Leave a Comment