There’s a specific kind of editing frustration I run into a few times a month. I’m looking at a technically solid photo, good exposure, interesting location, sharp focus, and I feel nothing. The image has no heartbeat. Everything in the frame is fighting for equal attention, which means nothing actually wins. I’ve cropped, I’ve tweaked the tone curve, I’ve gone back to the raw file and started over. Sometimes the problem isn’t the exposure or the colors. The problem is the light itself, or more precisely, where it’s pointing.
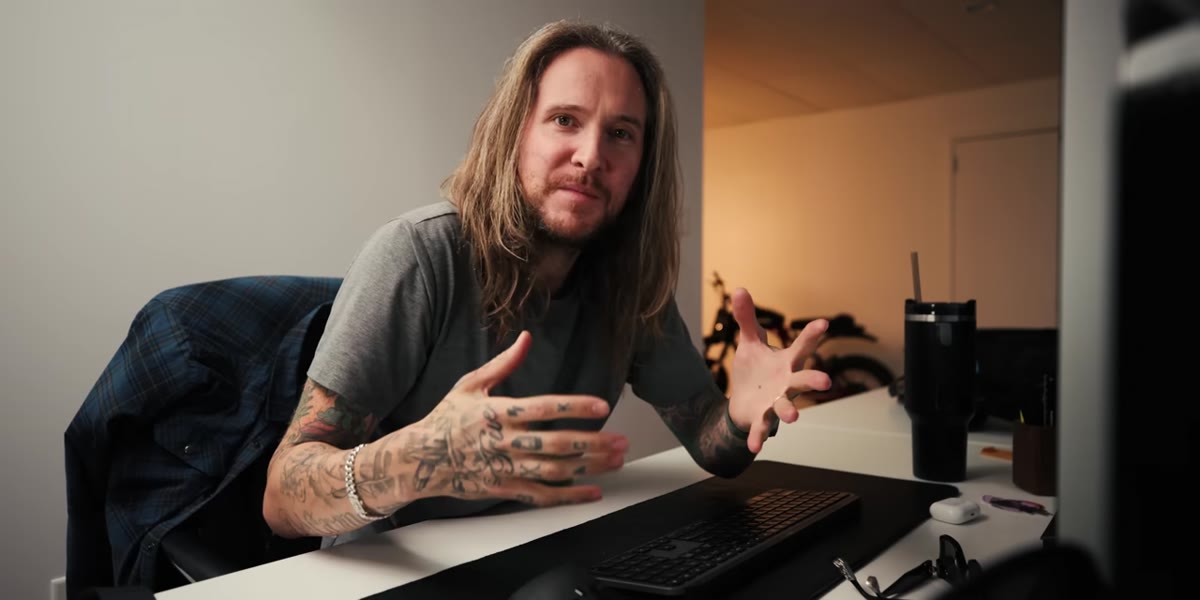
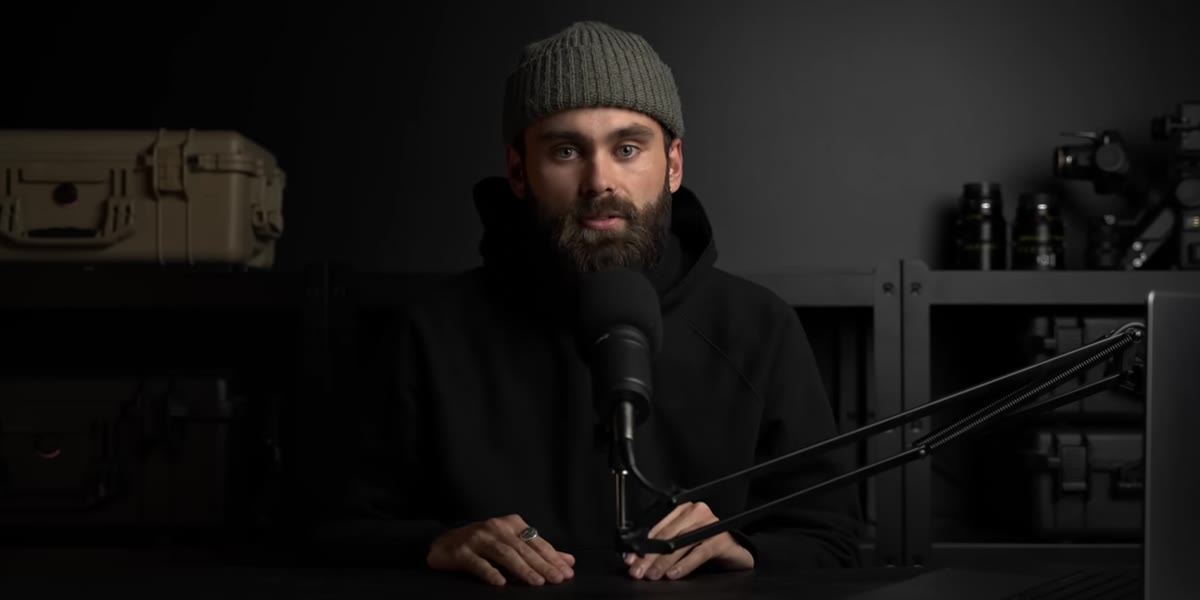
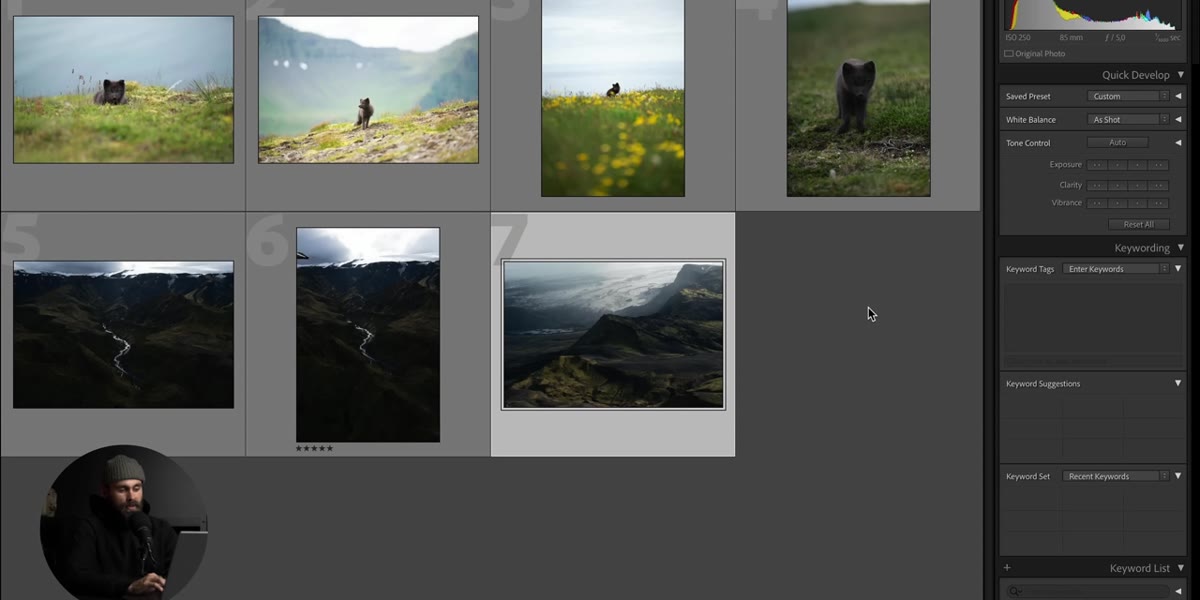
That’s the exact wall Peter McKinnon hit after returning from Iceland with thousands of photos and a handful of wide landscape shots that, despite being genuinely stunning scenes, felt compositionally restless. Watch the full tutorial on YouTube to see both McKinnon and Benjamin Hardman, a photographer who has spent nearly a decade shooting Iceland professionally, walk through the fix in real time. The core idea is this: if the light in your photo doesn’t tell the viewer where to look, you can rebuild it in post using a layered masking approach that feels completely natural.
What Hardman calls “reshaping light” is really about sculpting attention. You’re not faking anything. Photographers have been dodging and burning in darkrooms for decades. Lightroom’s masking tools just make it faster, more precise, and more reversible. The technique is simple to learn and genuinely changes how you think about editing flat images.
Step 1: Identify the Focal Point You Want to Create
 Flat Iceland landscape photo open in Lightroom with no clear subject
Before you touch a single slider, you need to decide where you want the viewer’s eye to land. McKinnon’s example is a wide beach shot with mountains, ocean, rocks, and an open sky all competing equally. Hardman’s example is a flat mountain image where the light is soft and directionless. In both cases, the first job is editorial, not technical. Pick the part of the frame that deserves to be the subject. A peak, a reflection, a patch of texture, it doesn’t matter what it is as long as you commit to it. Every mask you build after this is just reinforcing that decision.
Flat Iceland landscape photo open in Lightroom with no clear subject
Before you touch a single slider, you need to decide where you want the viewer’s eye to land. McKinnon’s example is a wide beach shot with mountains, ocean, rocks, and an open sky all competing equally. Hardman’s example is a flat mountain image where the light is soft and directionless. In both cases, the first job is editorial, not technical. Pick the part of the frame that deserves to be the subject. A peak, a reflection, a patch of texture, it doesn’t matter what it is as long as you commit to it. Every mask you build after this is just reinforcing that decision.
Step 2: Create a Radial Filter to Brighten the Subject Area
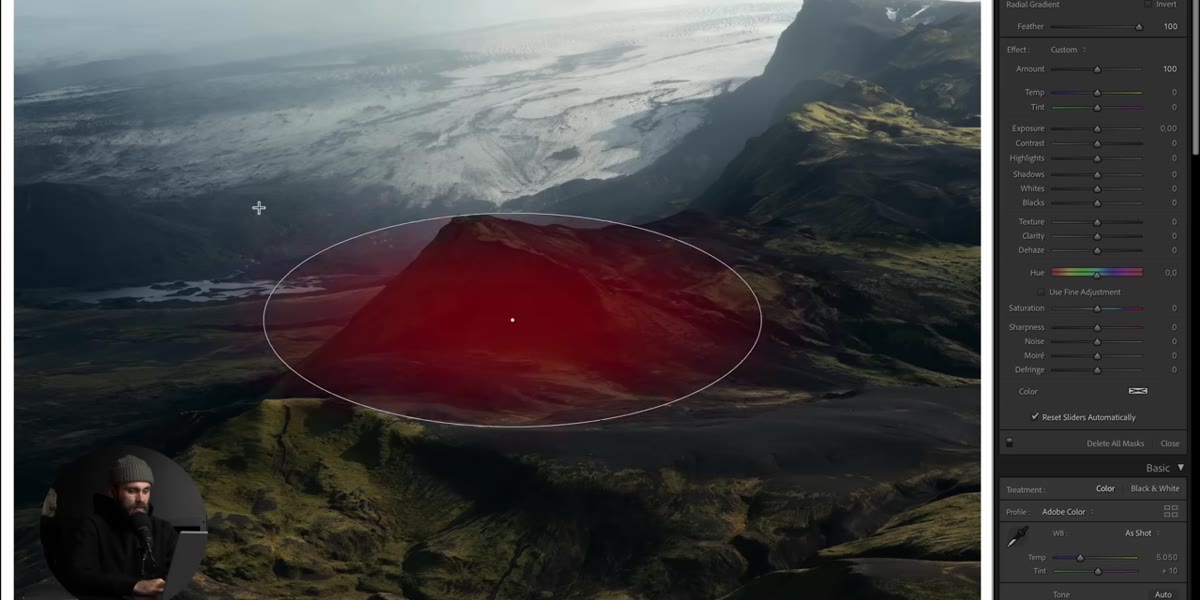 Radial filter being drawn over the center mountain in Lightroom
With your focal point chosen, open the Masking panel and select the Radial Gradient tool. Draw an oval over the area you want to emphasize, your mountain, your rock formation, whatever you picked in Step 1. By default the radial filter applies adjustments to the outside of the oval, so make sure your settings are targeting the inside. Bring up the exposure slightly, just enough to suggest that light is falling on this area with a little more intention. You’re not blowing it out. You’re giving it a gentle priority over the rest of the frame.
Radial filter being drawn over the center mountain in Lightroom
With your focal point chosen, open the Masking panel and select the Radial Gradient tool. Draw an oval over the area you want to emphasize, your mountain, your rock formation, whatever you picked in Step 1. By default the radial filter applies adjustments to the outside of the oval, so make sure your settings are targeting the inside. Bring up the exposure slightly, just enough to suggest that light is falling on this area with a little more intention. You’re not blowing it out. You’re giving it a gentle priority over the rest of the frame.
Step 3: Adjust Contrast and Color Inside the Mask
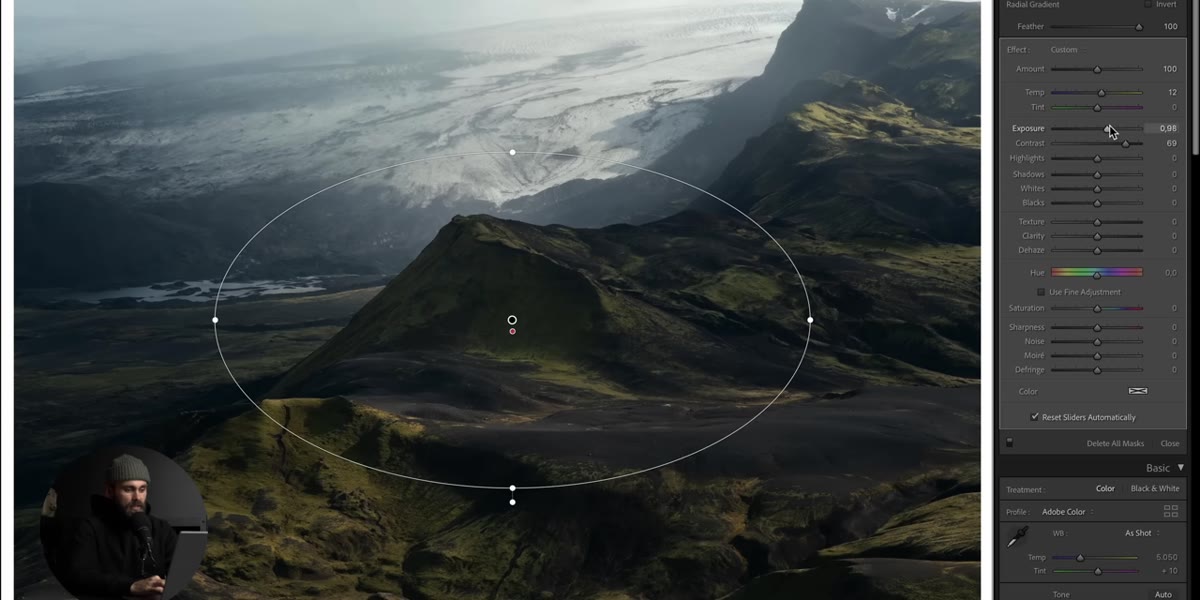 Exposure, contrast, and color sliders being adjusted inside radial mask
Here’s where Hardman’s approach gets specific and it’s the part I found most useful: every time you apply a mask and change the brightness, you also need to revisit the contrast and color temperature. When you lift exposure on a selection, it can flatten the tonal depth and shift the white balance slightly. Push the contrast up a few points inside the mask to keep it from looking washed out. Then check the white balance. If you’re working with golden hour tones, you might warm the masked area slightly. If the scene is cool and overcast, keep it neutral or even nudge it slightly cooler to stay coherent. The goal is for the adjustment to feel baked in, not painted on.
Exposure, contrast, and color sliders being adjusted inside radial mask
Here’s where Hardman’s approach gets specific and it’s the part I found most useful: every time you apply a mask and change the brightness, you also need to revisit the contrast and color temperature. When you lift exposure on a selection, it can flatten the tonal depth and shift the white balance slightly. Push the contrast up a few points inside the mask to keep it from looking washed out. Then check the white balance. If you’re working with golden hour tones, you might warm the masked area slightly. If the scene is cool and overcast, keep it neutral or even nudge it slightly cooler to stay coherent. The goal is for the adjustment to feel baked in, not painted on.
Step 4: Build a Counter-Mask to Darken the Surrounding Areas
 Second mask being created to darken edges and periphery of image
This is the step that makes the whole technique feel cinematic. Create a second radial filter, this time applying the adjustment to the outside of the oval, the area surrounding your subject. Bring the exposure down, not dramatically, somewhere between -0.3 and -0.8 depending on how much natural vignetting you want. You’re essentially pushing the edges of the frame into shadow so that the eye rolls naturally toward the brighter center. Again, revisit contrast and color here. Darkened areas can go muddy if you don’t add a small contrast boost to keep them from looking like a flat gray wash.
Second mask being created to darken edges and periphery of image
This is the step that makes the whole technique feel cinematic. Create a second radial filter, this time applying the adjustment to the outside of the oval, the area surrounding your subject. Bring the exposure down, not dramatically, somewhere between -0.3 and -0.8 depending on how much natural vignetting you want. You’re essentially pushing the edges of the frame into shadow so that the eye rolls naturally toward the brighter center. Again, revisit contrast and color here. Darkened areas can go muddy if you don’t add a small contrast boost to keep them from looking like a flat gray wash.
Step 5: Layer Additional Masks for Refinement
 Multiple masks listed in the masking panel stacked on one image
One mask brightening the subject and one mask darkening the edges will get you 70 percent of the way there. But Hardman’s actual workflow uses several masks stacked together, each one dialing in a specific part of the frame. You might add a linear gradient to handle a horizon line that’s brighter than you’d like. You might add a smaller radial filter to lift just the peak of the mountain without affecting the slope below it. Think of each mask as a separate instruction to the viewer’s eye. More instructions, more control. And because each mask carries its own contrast and color correction, the cumulative effect looks like real light behavior rather than a software filter.
Multiple masks listed in the masking panel stacked on one image
One mask brightening the subject and one mask darkening the edges will get you 70 percent of the way there. But Hardman’s actual workflow uses several masks stacked together, each one dialing in a specific part of the frame. You might add a linear gradient to handle a horizon line that’s brighter than you’d like. You might add a smaller radial filter to lift just the peak of the mountain without affecting the slope below it. Think of each mask as a separate instruction to the viewer’s eye. More instructions, more control. And because each mask carries its own contrast and color correction, the cumulative effect looks like real light behavior rather than a software filter.
One Thing I’d Add to This Workflow
Hardman and McKinnon are both working with landscapes, but this exact technique works just as well on portraits and street photography. Whenever I have a subject that’s competing visually with a busy background, I’ll run a radial gradient centered on the face, lift the exposure slightly, bump contrast, then create a counter-mask to darken the perimeter. It reads as natural studio lighting even on a photo shot in a chaotic market or a crowded city block.
The other thing I’d add: name your masks as you build them. Lightroom lets you rename masks in the panel, and if you’re stacking five or six of them it gets confusing fast. I call mine things like “subject lift,” “edge fall,” “sky pull.” Small habit, big time-saver when you come back to an edit three days later and have no idea what you were doing.
The single most important idea in this tutorial is that light direction is editable. You don’t have to accept the flat, even lighting that a cloudy day or a midday sun handed you. Masks let you redirect the viewer’s attention after the fact, and when you pair each brightness adjustment with a matching contrast and color correction, the result holds up even at full resolution. That’s the part most tutorials skip and the part that makes Hardman’s approach so worth studying.
Watch the full tutorial on YouTube to see Hardman and McKinnon demonstrate the full mask stack on real Iceland landscape photos, including the before-and-after that shows just how much a few radial gradients can change the emotional weight of an image.
Comments
Leave a Comment