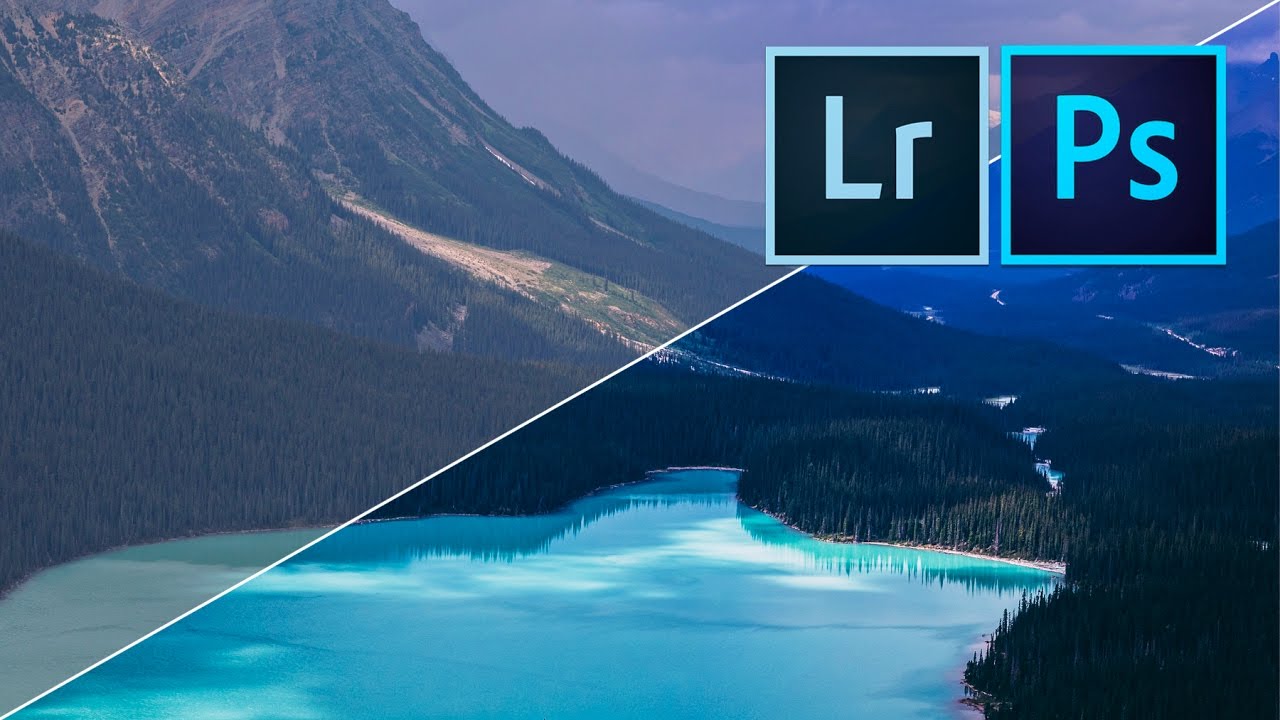
Every time I open a folder of RAW landscape shots, there’s that split second of either excitement or disappointment before I’ve touched a single slider. The difference between those two feelings almost never comes down to the location or the camera. It comes down to whether I’ve built a reliable editing process or whether I’m just winging it again.
In this Peter McKinnon tutorial on editing landscape photos with Lightroom and Photoshop, McKinnon lays out a workflow that’s worth paying attention to because it starts way before you open the develop module. He’s not just talking about sliders. He’s talking about how you think about your images from the moment you’re standing in a field to the moment you export. Watch the full tutorial on YouTube if you want to follow along, but everything you need to actually apply this is right here.
What stuck with me rewatching this is how much of the “editing” advice is really selection and organization advice. Getting the right photo into Lightroom is half the battle. I’ve been editing since I was photographing my old band’s press shots in someone’s basement, and I still catch myself rushing through import and missing frames I later wish I’d worked with. This tutorial is a good reset.
Step 1: Organize Your RAW Files Before You Touch a Slider
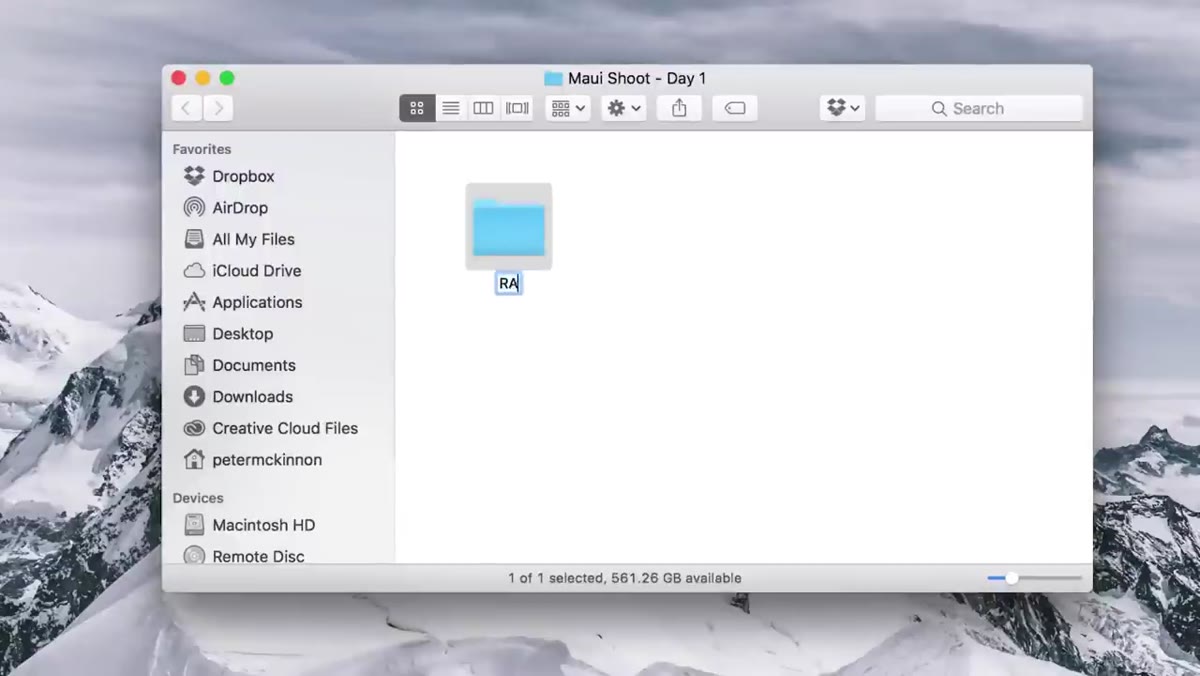 Folder structure shown for RAW and full-size exports
McKinnon’s file system is simple and worth copying. He creates two folders for every shoot: one for the original RAW files, one for finished exports. Naming them something obvious like “RAW” and “Full Size” means you never have to guess where the untouched originals are. It sounds almost too basic to mention, but a clean folder structure prevents you from accidentally overwriting source files, and it keeps your export destination intentional rather than accidental.
Folder structure shown for RAW and full-size exports
McKinnon’s file system is simple and worth copying. He creates two folders for every shoot: one for the original RAW files, one for finished exports. Naming them something obvious like “RAW” and “Full Size” means you never have to guess where the untouched originals are. It sounds almost too basic to mention, but a clean folder structure prevents you from accidentally overwriting source files, and it keeps your export destination intentional rather than accidental.
Import everything into Lightroom without pre-filtering. The instinct to cull during import costs you good photos.
Step 2: Review at Full Size, Not Thumbnail Size
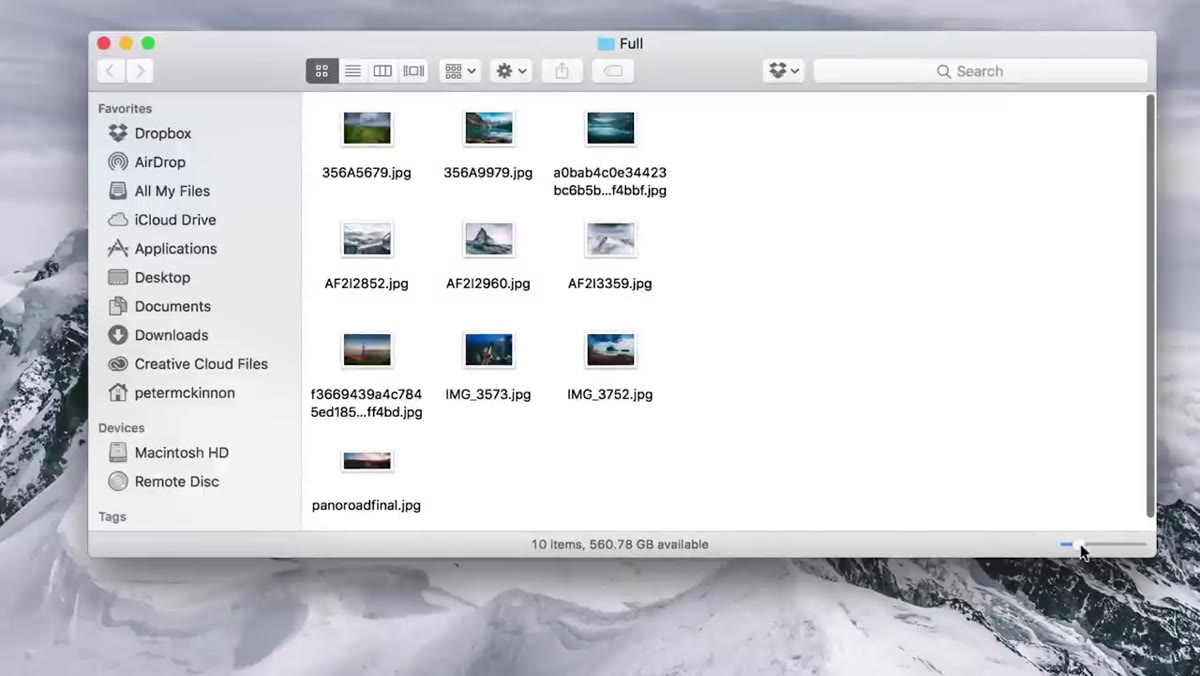 Grid view with large thumbnails in Lightroom library
This is the step most people skip and then regret. When you’re scrolling through a shoot at tiny thumbnail size, underexposed or slightly dark frames look like throwaways. But if you zoom in or expand the grid cell size, you’ll often find sharp, well-composed shots that just need a stop of exposure recovery. McKinnon is direct about this: there are great photos hiding in bad thumbnails.
Grid view with large thumbnails in Lightroom library
This is the step most people skip and then regret. When you’re scrolling through a shoot at tiny thumbnail size, underexposed or slightly dark frames look like throwaways. But if you zoom in or expand the grid cell size, you’ll often find sharp, well-composed shots that just need a stop of exposure recovery. McKinnon is direct about this: there are great photos hiding in bad thumbnails.
In Lightroom’s Library module, drag the thumbnail size slider (bottom right of the grid view) up until the frames are large enough to actually evaluate composition and focus. Then go one by one. It takes longer, but you stop leaving good frames on the table.
Step 3: Rate Photos in the Field and in Lightroom
 Star rating applied to a photo in Lightroom library
Lightroom’s star rating system is more useful than most people make it. Hitting the number 5 on your keyboard flags a photo as a keeper without interrupting your review flow. McKinnon’s tip about rating photos on the camera itself before you even import is underused. Most modern camera menus let you assign a rating in playback mode, and Lightroom reads those ratings on import.
Star rating applied to a photo in Lightroom library
Lightroom’s star rating system is more useful than most people make it. Hitting the number 5 on your keyboard flags a photo as a keeper without interrupting your review flow. McKinnon’s tip about rating photos on the camera itself before you even import is underused. Most modern camera menus let you assign a rating in playback mode, and Lightroom reads those ratings on import.
The practical benefit is that when you come back from a long shoot and your brain is fried, you’re not starting from scratch. Your past self already did the first round of curation. Set a filter in the Library module to show only your 5-star frames and start editing from that set.
Step 4: Prioritize Getting the Shot Right In Camera
 Polarizer filter mentioned alongside discussion of in-camera sharpness
Before the editing conversation goes any further, McKinnon makes a point that I think gets glossed over in a lot of editing tutorials: your post-processing ceiling is set by what you captured. A polarizing filter on your lens, for example, cuts glare, saturates colors in skies and foliage, and adds contrast to reflections in ways that cannot be convincingly replicated in Lightroom after the fact.
Polarizer filter mentioned alongside discussion of in-camera sharpness
Before the editing conversation goes any further, McKinnon makes a point that I think gets glossed over in a lot of editing tutorials: your post-processing ceiling is set by what you captured. A polarizing filter on your lens, for example, cuts glare, saturates colors in skies and foliage, and adds contrast to reflections in ways that cannot be convincingly replicated in Lightroom after the fact.
Shooting RAW helps enormously here because you retain latitude in the highlights and shadows. But even RAW has limits. A blown sky is a blown sky. If you’re consistently recovering the same problem areas in Lightroom, that’s a signal to change something in the field, whether it’s using a polarizer, bracketing exposures, or slowing down to check your histogram before you move on to the next composition.
Step 5: Use a Tripod Selectively, Not Reflexively
 Reference to tripod use for long exposures and night shots
McKinnon’s take on tripods is refreshingly practical. He doesn’t say you need one for every landscape shoot. He uses one specifically for long exposures of water and nighttime shots. Everything else, he handhelds. This matters for editing because motion blur from camera shake is not something you fix in Lightroom. The Denoise AI tools are impressive, but they can’t reconstruct detail that was smeared by movement during a half-second exposure.
Reference to tripod use for long exposures and night shots
McKinnon’s take on tripods is refreshingly practical. He doesn’t say you need one for every landscape shoot. He uses one specifically for long exposures of water and nighttime shots. Everything else, he handhelds. This matters for editing because motion blur from camera shake is not something you fix in Lightroom. The Denoise AI tools are impressive, but they can’t reconstruct detail that was smeared by movement during a half-second exposure.
Know when sharpness is non-negotiable and use the tripod then. For daytime handheld work in good light, a fast shutter speed does the job. The time you save not setting up a tripod every shot is time you can spend finding a better angle.
Step 6: Build a Repeatable Lightroom Starting Point
 Lightroom develop panel implied as the editing destination
McKinnon’s overall philosophy points toward having a consistent starting point in Lightroom rather than starting from zero on every image. That means developing your own baseline preset, even a minimal one, that handles the corrections your RAW files always need: lens correction on, chromatic aberration removed, a slight lift in shadows, your preferred sharpening values. Apply it on import and then adjust from there.
Lightroom develop panel implied as the editing destination
McKinnon’s overall philosophy points toward having a consistent starting point in Lightroom rather than starting from zero on every image. That means developing your own baseline preset, even a minimal one, that handles the corrections your RAW files always need: lens correction on, chromatic aberration removed, a slight lift in shadows, your preferred sharpening values. Apply it on import and then adjust from there.
The develop module’s sync function lets you copy those baseline settings across an entire shoot once you’ve dialed in one frame. For landscape work where the lighting conditions don’t change much, this cuts editing time significantly and keeps your portfolio looking consistent rather than like five different photographers took the same trip.
What I’d Add: Watch Your Color Temperature Before Anything Else
One thing the tutorial doesn’t spend a lot of time on that I’d flag for landscape work specifically: color temperature is the first slider I touch, not exposure. Landscape RAW files often come in with a white balance that reads technically correct but feels slightly clinical. Warming the image by even 200 to 300 Kelvin before you touch anything else changes the mood of every subsequent adjustment you make. Cooler edits and warmer edits use the sliders differently, and if you’re fighting your color temperature the whole time, you’ll often overcorrect other things trying to compensate.
I named my go-to landscape starting preset “Harvest” for this reason. It’s a warm, slightly golden baseline that works for golden-hour shots especially. Your version might be cooler, depending on where you shoot, but locking in a color temperature direction first makes the rest of the process faster and more intentional.
The single most transferable idea in McKinnon’s tutorial is that editing starts with how you manage your images, not with how you move sliders. Slow down during import, rate aggressively, and build systems that make the right photos easy to find. The technical Lightroom work is the easier part once you’ve given yourself the right raw material to work with.
Watch the full tutorial on YouTube to see McKinnon walk through the Lightroom and Photoshop adjustments on his own landscape images. Worth the watch.
Comments (2)
I tried this on a client project yesterday and the results were way better than expected.
This saved me so much time on my last edit. Wish I'd found this sooner.
Leave a Comment