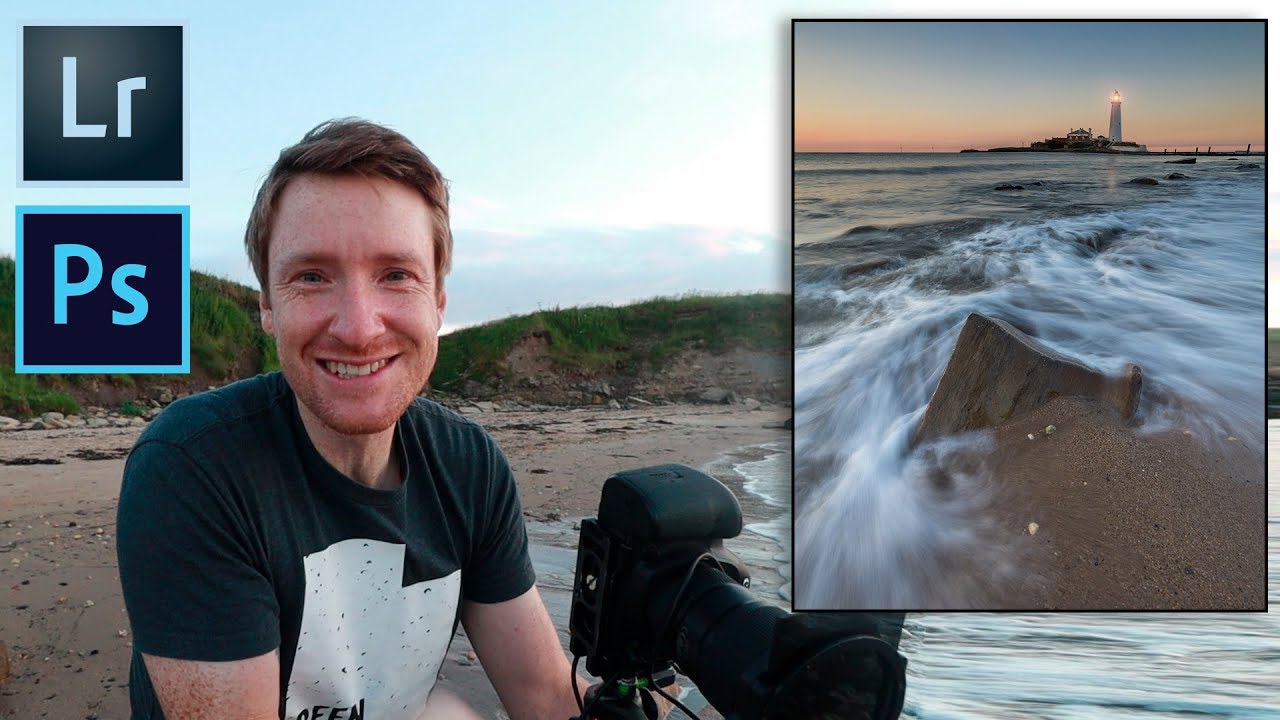
There’s a trap I fell into early in my editing career, and I see it constantly in the forums. People assume great landscape photography requires a passport, a red-eye flight, and a location they’ve never seen before. Thomas Heaton dismantles that assumption in about ten minutes of footage. In this Thomas Heaton tutorial, he heads out to St. Mary’s Lighthouse in Northumberland, a place he’s photographed so many times he almost talks himself out of going. What he pulls out of a familiar location, and then out of Lightroom, is worth studying carefully. Watch the full tutorial on YouTube
What caught my attention as an editor isn’t just the Lightroom side of things. It’s how the decisions made at the location directly shape what’s possible in post. Heaton spends real time solving compositional problems before the light peaks, which means when the light finally gets interesting, he’s not fumbling. That discipline is something I try to build into every shoot I consult on, even when I’m the one behind the keyboard asking a photographer “why didn’t you bracket this?” The location work and the editing work are one continuous process, not two separate events.
This walkthrough follows the video’s actual sequence, so you can move between the article and the footage without losing your place. I’ve expanded on the reasoning behind each step so you can apply it to your own shots, not just this one lighthouse.
Step 1: Scout Before the Light Gets Good
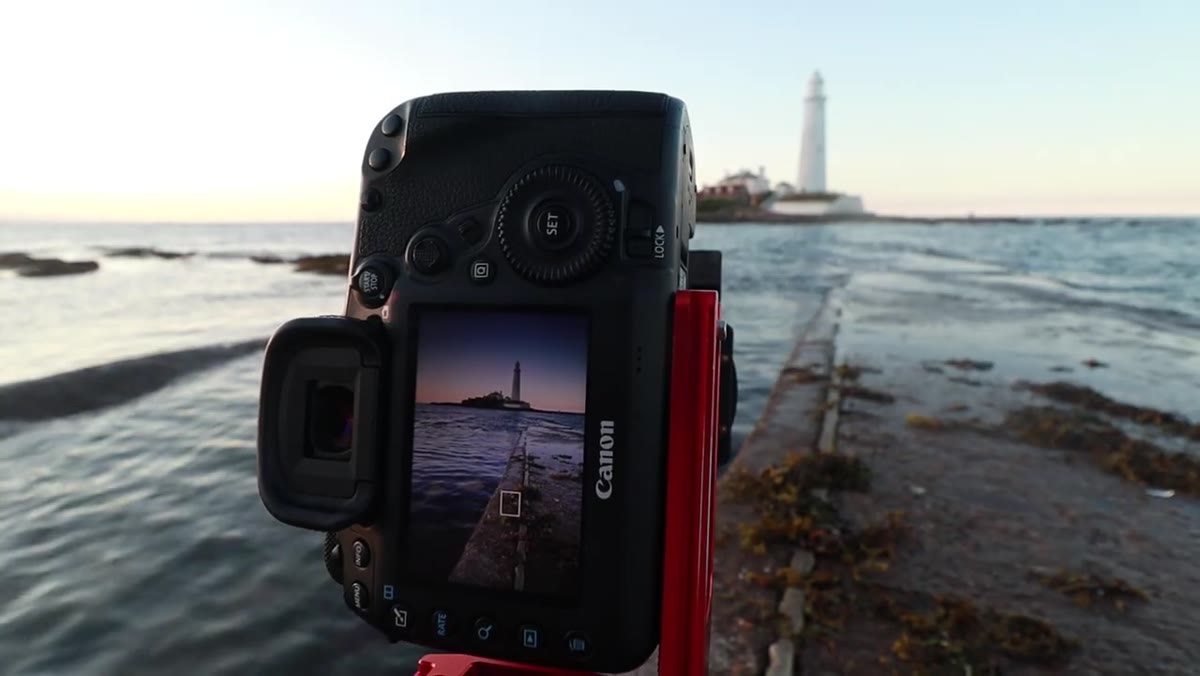 Thomas framing a composition using a rock edge as leading line
When Heaton arrives at the beach, he doesn’t wait for golden light to start building compositions. He works through options while the light is flat and forgiving, using a rocky edge as a leading line into the lighthouse and experimenting with kelp as foreground texture. The logic here is practical: flat light gives you time to think without FOMO burning a hole in your brain. Set up your tripod, walk the scene, and identify your anchor element before the sky does anything interesting.
Thomas framing a composition using a rock edge as leading line
When Heaton arrives at the beach, he doesn’t wait for golden light to start building compositions. He works through options while the light is flat and forgiving, using a rocky edge as a leading line into the lighthouse and experimenting with kelp as foreground texture. The logic here is practical: flat light gives you time to think without FOMO burning a hole in your brain. Set up your tripod, walk the scene, and identify your anchor element before the sky does anything interesting.
This approach also saves your keepers. If you’re still hunting for a composition when the light turns, you’ll rush the shot and end up with a technically correct frame that has no soul. Heaton knows this location well and still commits to the process. That’s the discipline worth borrowing.
Step 2: Find a Specific Foreground Element, Not Just “Something in Front”
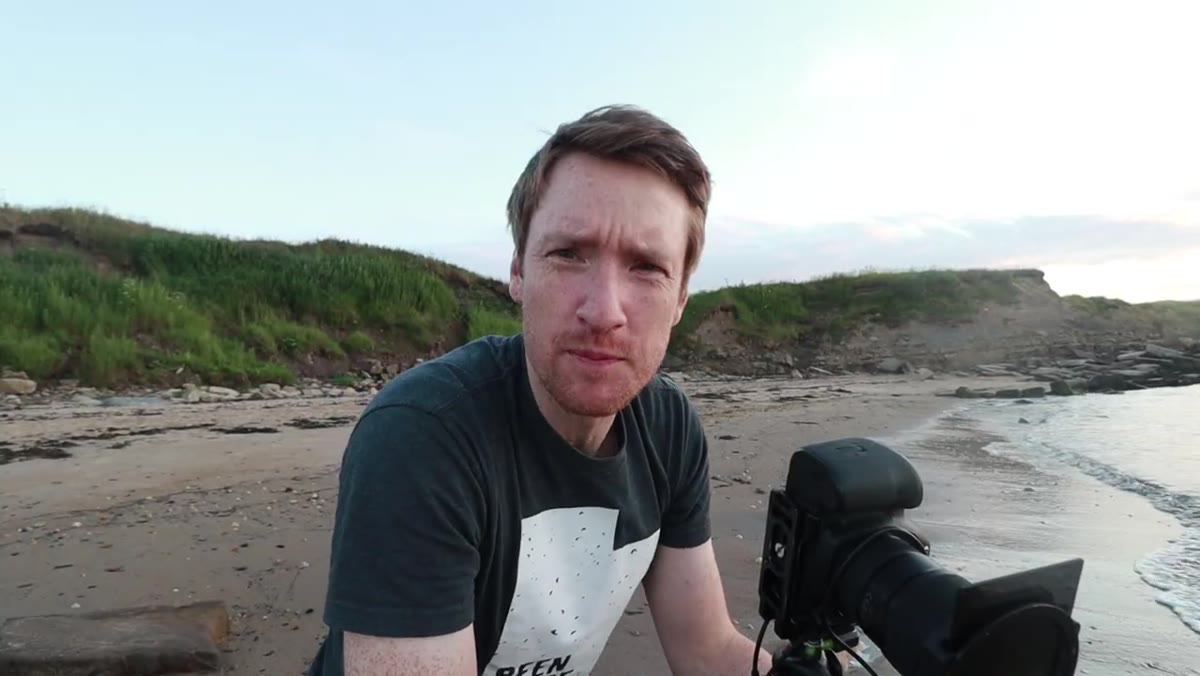 Thomas positioning tripod near a pointy rock with water movement
After walking the beach, Heaton locks onto a single angular rock where retreating waves create fluid motion trails. This is a specific compositional decision, not a general one. He’s not just putting “the beach” in the foreground. He’s found a shape that creates tension and movement, and he’s positioned it so the water interaction is repeatable enough to shoot multiple exposures.
Thomas positioning tripod near a pointy rock with water movement
After walking the beach, Heaton locks onto a single angular rock where retreating waves create fluid motion trails. This is a specific compositional decision, not a general one. He’s not just putting “the beach” in the foreground. He’s found a shape that creates tension and movement, and he’s positioned it so the water interaction is repeatable enough to shoot multiple exposures.
When you’re scouting your own locations, train yourself to ask: what does this foreground element do? Static foregrounds tend to feel decorative. Foregrounds with inherent motion or strong geometry do actual work in the frame. A rock that water hits and retreats from is a foreground that earns its place.
Step 3: Choose Your Exposure Length Based on the Water’s Behavior
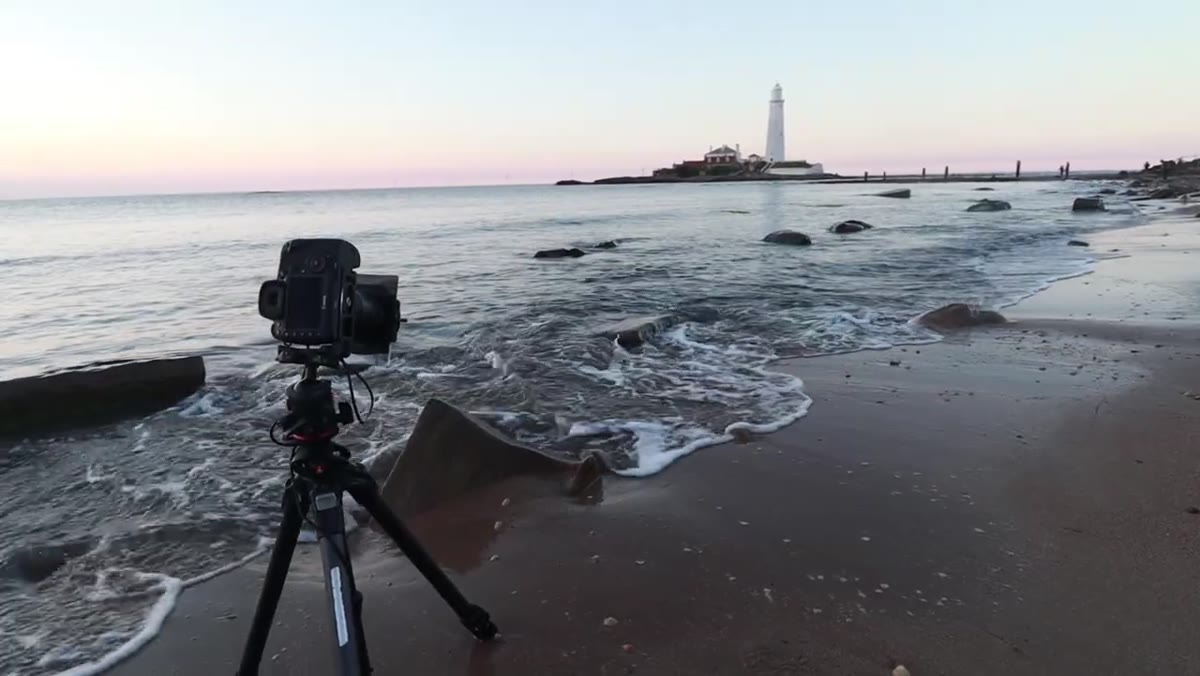 Thomas shooting at half-second to one-second exposure near the rock
Heaton settles on exposures in the half-second to one-second range, which is a deliberate choice given how the water moves over this particular rock. A longer exposure would have turned the motion into a smooth wash and lost the fluid texture he’s after. A shorter exposure would freeze the water and kill the feeling entirely.
Thomas shooting at half-second to one-second exposure near the rock
Heaton settles on exposures in the half-second to one-second range, which is a deliberate choice given how the water moves over this particular rock. A longer exposure would have turned the motion into a smooth wash and lost the fluid texture he’s after. A shorter exposure would freeze the water and kill the feeling entirely.
In Lightroom, this decision already exists in the metadata before you even open the file. Check your EXIF data when you import and remind yourself what you were going for. That context changes how you approach the tone curve and clarity slider later. If you shot for motion, you want your edit to support that softness, not fight it by adding heavy texture or over-sharpening.
Step 4: Use a Graduated ND Filter to Balance the Sky in Camera
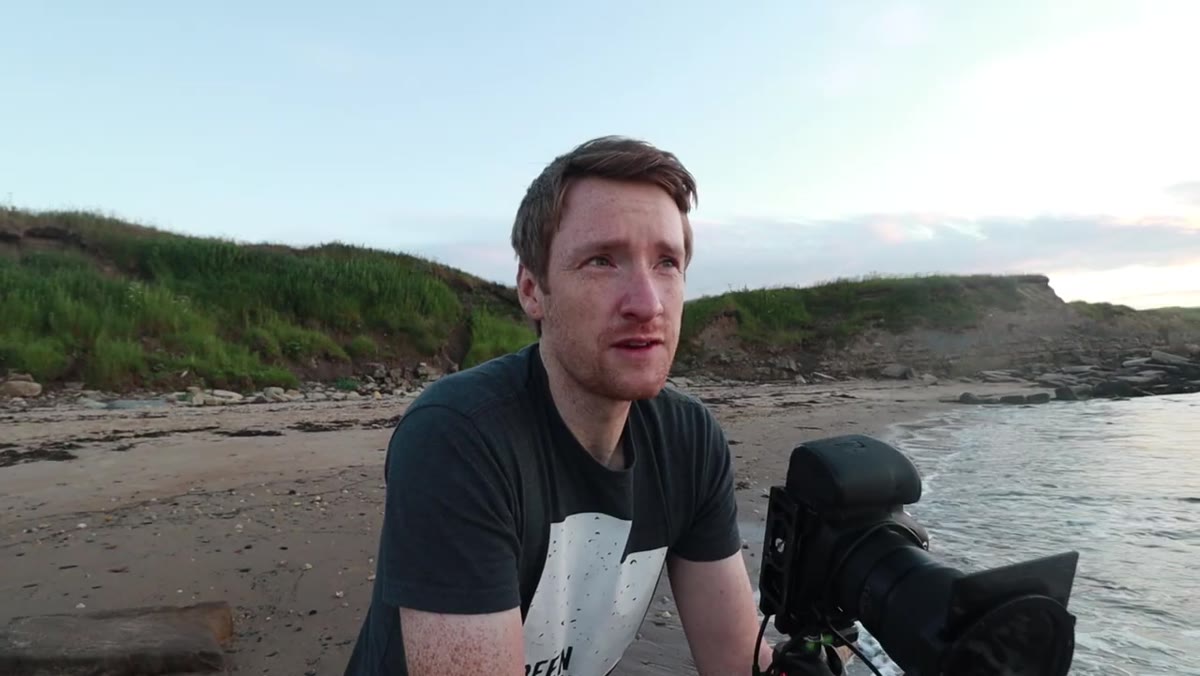 Thomas referencing his three-stop graduated ND filter setup
Heaton has a three-stop graduated ND filter on the lens, which he acknowledges is probably a stop too strong for the conditions since he didn’t bring his two-stop. This is a real-world, field-imperfect situation and it’s worth paying attention to. He shoots the scene anyway, knowing he’ll correct in post.
Thomas referencing his three-stop graduated ND filter setup
Heaton has a three-stop graduated ND filter on the lens, which he acknowledges is probably a stop too strong for the conditions since he didn’t bring his two-stop. This is a real-world, field-imperfect situation and it’s worth paying attention to. He shoots the scene anyway, knowing he’ll correct in post.
When you’re editing a shot with an over-applied graduated filter, watch for a telltale horizontal banding where the exposure transition looks unnatural. In Lightroom’s Tone Curve panel, you can pull the highlights back gently and lift the shadows in the foreground to even things out without creating a fake HDR look. The key is to ask: “what would this sky have looked like with the right filter?” and edit toward that answer, not toward a stylized version of the mistake.
Step 5: Stabilize Your Tripod and Shoot in Volume
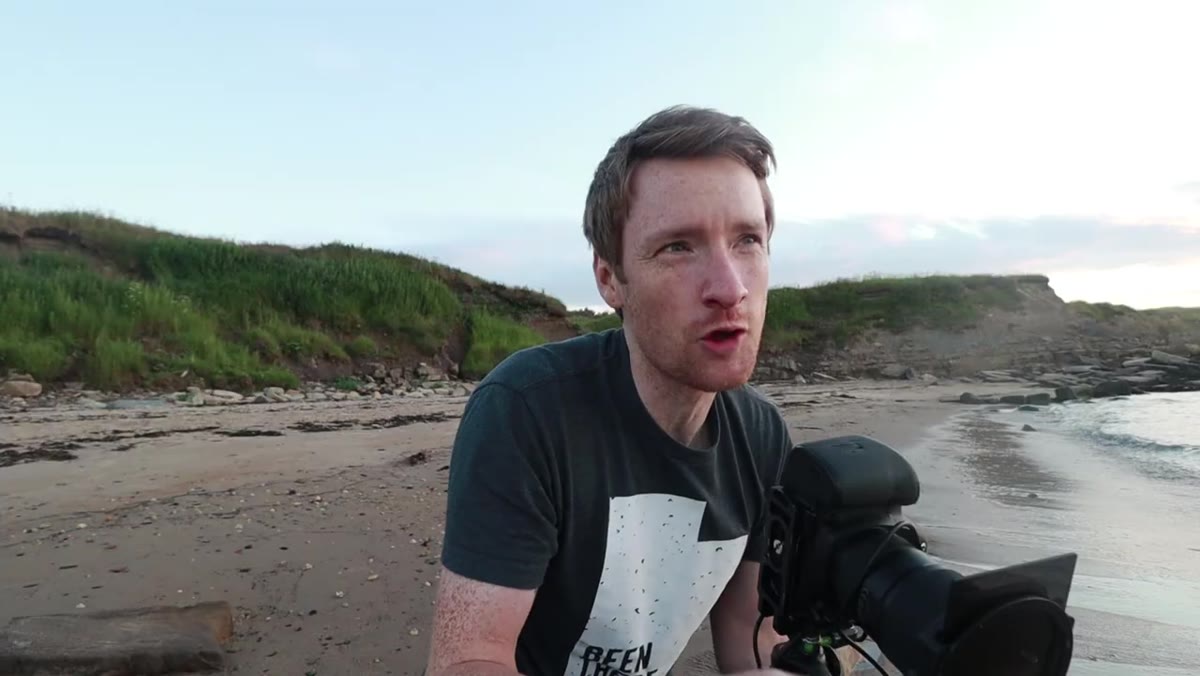 Thomas’s tripod legs in wet sand near the water’s edge
Heaton mentions his tripod legs sinking in wet sand as the water washes over them, which introduces micro-shake across the image series. His solution is simple and effective: shoot a higher volume of frames and select from the sharpest ones in post. This is advice I give constantly, even in controlled studio environments. Cards are cheap. Regret is expensive.
Thomas’s tripod legs in wet sand near the water’s edge
Heaton mentions his tripod legs sinking in wet sand as the water washes over them, which introduces micro-shake across the image series. His solution is simple and effective: shoot a higher volume of frames and select from the sharpest ones in post. This is advice I give constantly, even in controlled studio environments. Cards are cheap. Regret is expensive.
When you import this kind of sequence into Lightroom, use the Survey view (press N) to compare multiple frames side by side before committing to one. Look at the foreground element first, since that’s where any tripod movement will show up most clearly. Once you’ve found your sharpest frame, delete the rest so your catalog doesn’t become a swamp.
Step 6: Work the Edit Around the Mood, Not Just the Exposure
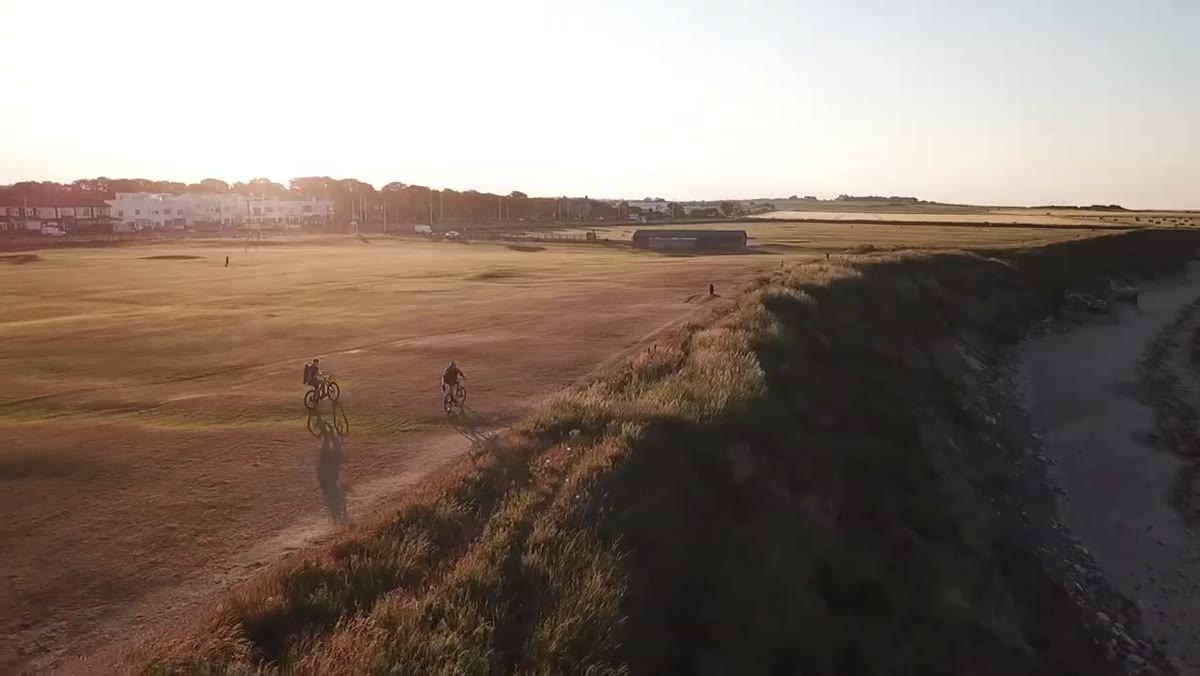 Thomas describing the Photoshop and Lightroom processing stage
In post, Heaton processes the image in both Lightroom and Photoshop, prioritizing the subdued purple sky and soft tonal range the scene already had. This is where a lot of landscape editors go wrong, myself included in my earlier years. The instinct is to max out the vibrance, push the saturation, and make the image “pop.” But this shot’s power comes from restraint.
Thomas describing the Photoshop and Lightroom processing stage
In post, Heaton processes the image in both Lightroom and Photoshop, prioritizing the subdued purple sky and soft tonal range the scene already had. This is where a lot of landscape editors go wrong, myself included in my earlier years. The instinct is to max out the vibrance, push the saturation, and make the image “pop.” But this shot’s power comes from restraint.
In Lightroom, start with your white balance. The purple-blue tones in a coastal dusk scene sit in the 6000K-7000K range on the camera, but you may want to cool the white balance down to 5000-5500K to honor the actual mood. Use the HSL panel to specifically target the blue and purple channels, lifting luminance slightly to keep the sky from going muddy. Then apply graduated filters for any remaining sky/foreground balance work, and keep your clarity slider conservative. This scene breathes; let it.
What I’d Add: Use a Reference Export to Protect Restraint
The hardest part of editing a shot like this is knowing when to stop. My own habit is to export a “reference JPEG” at the point where the edit feels almost done, then step away from the image for at least an hour. When I come back and open the reference beside the working file, the over-edits become obvious fast. It’s the same principle as listening to a mix on bad speakers. Distance reveals truth. I’ve saved more shots from over-processing with this one habit than with any other technique I’ve picked up.
The single most important thing Heaton demonstrates here isn’t a slider setting or a filter choice. It’s the habit of treating location work and editing as one continuous creative decision. Every choice at the beach, how long to expose, where to stand, which foreground to commit to, creates the conditions for what becomes possible in Lightroom. Edit with those original intentions in mind rather than against them, and your images will have a coherence that no amount of post-processing trickery can fake.
Watch the full tutorial on YouTube and pay attention to how Heaton talks himself through the scene. The internal monologue of a working photographer is often more instructive than the technique itself.
Comments
Leave a Comment